Lesson5 SD card stores images and displays them locally
Welcome to the application tutorial of Lesson 5.
The effect to be achieved in this lesson is to store the images that need to be displayed on the SD card and display them on the CrowPanel ESP32 Advance HMI AI Display.
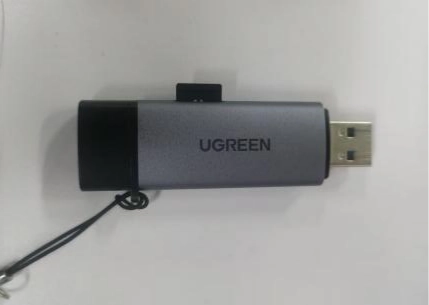
This lesson requires everyone to prepare an SD card to store pictures. And a card reader.
1. Select the photos you want to display on the browser and save them on the desktop (the save path can be customized)
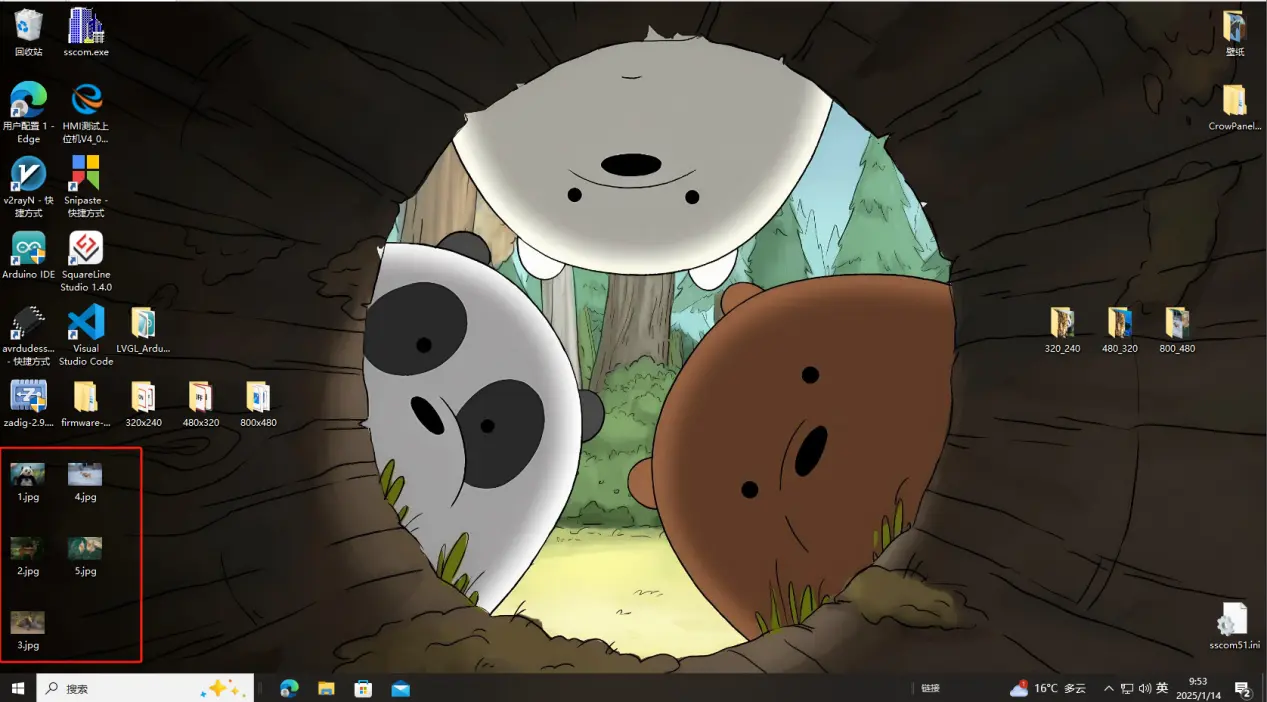
You can download the sample images we provide:
2. Modify the resolution of the image based on the size of the product you are using.
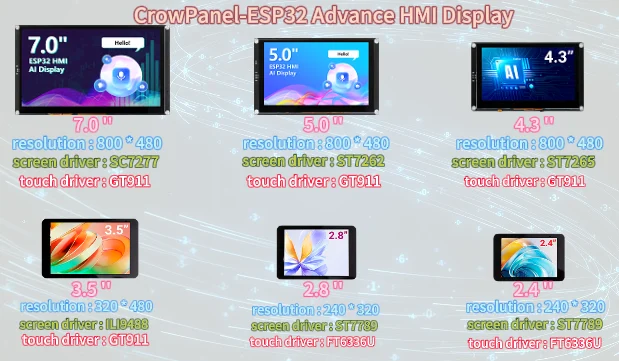
This is the resolution size we accept for each size product.
Here, taking the 2.8-inch product as an example, I will explain how to modify the image resolution.
You can adjust the project resolution according to the size of the CrowPanel ESP32 Advance HMI AI Display you are using. Simply modify the resolution settings to match your specific display size.
The resolution of the 2.8-inch product is 320 x 240.
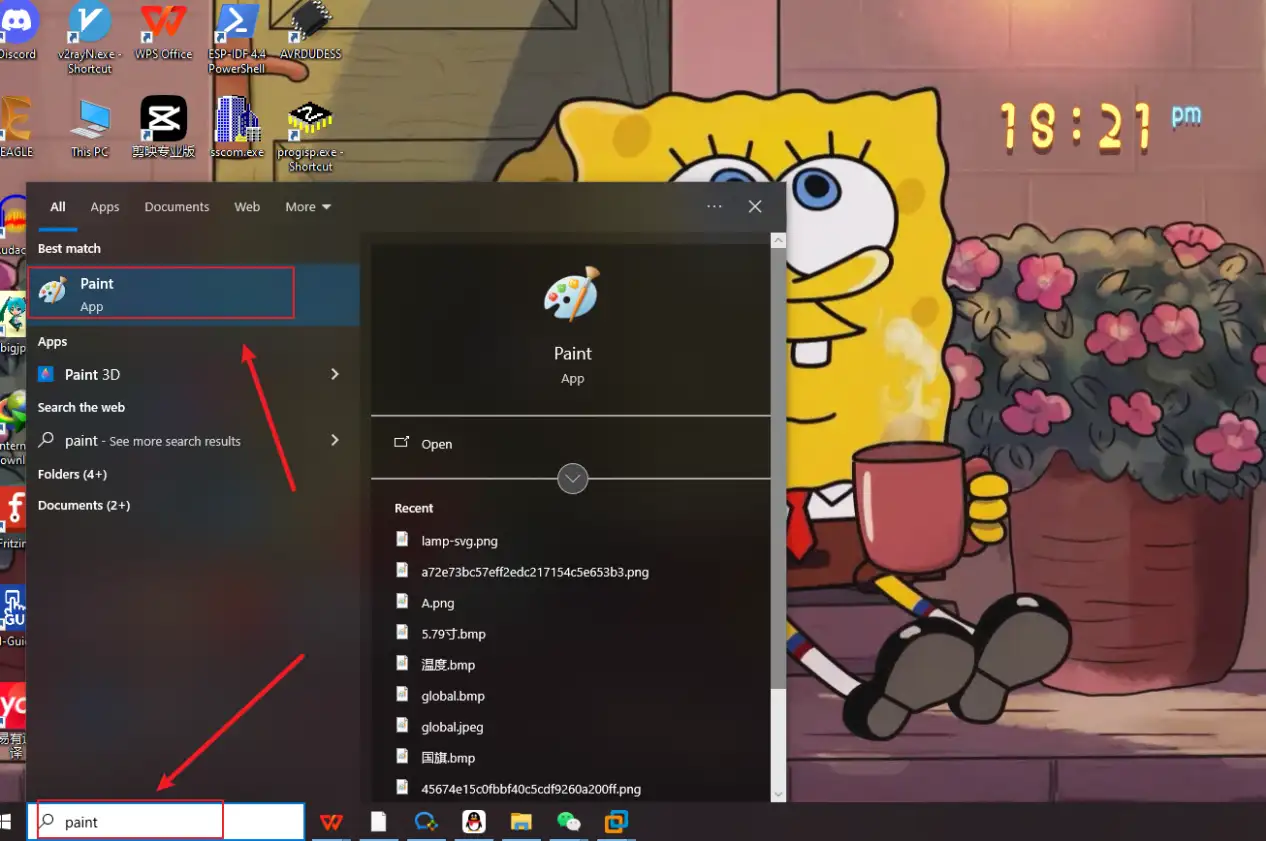
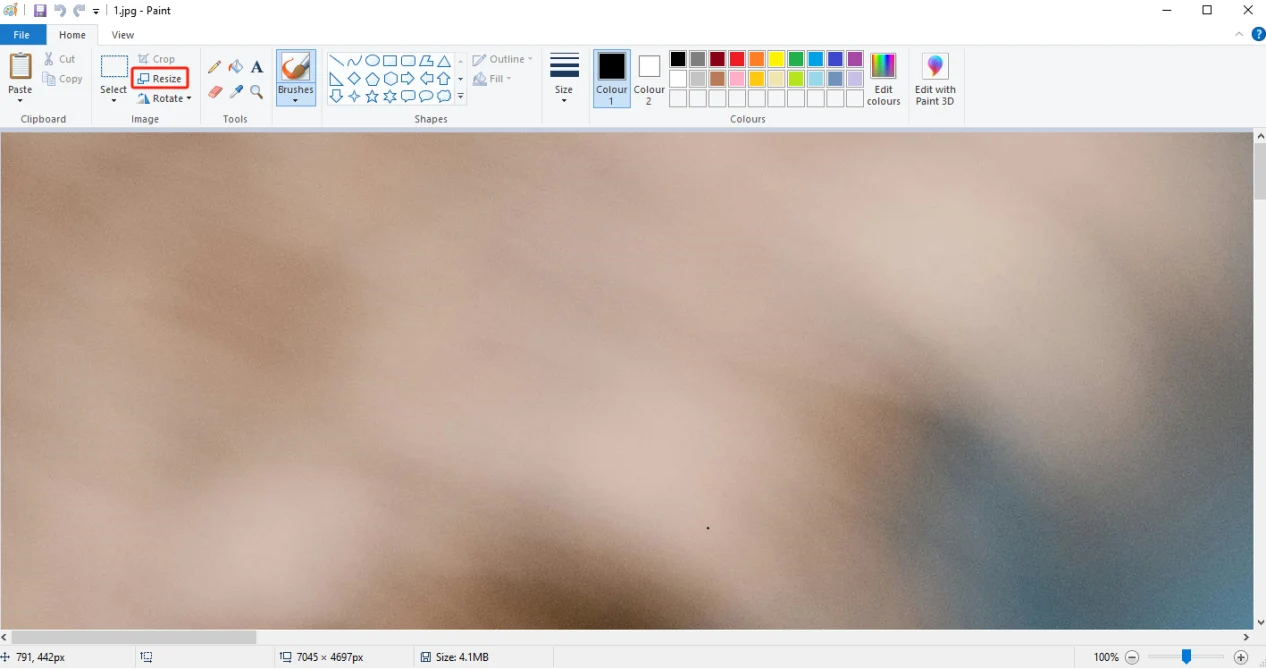
First, open the "paint" tool on the computer.
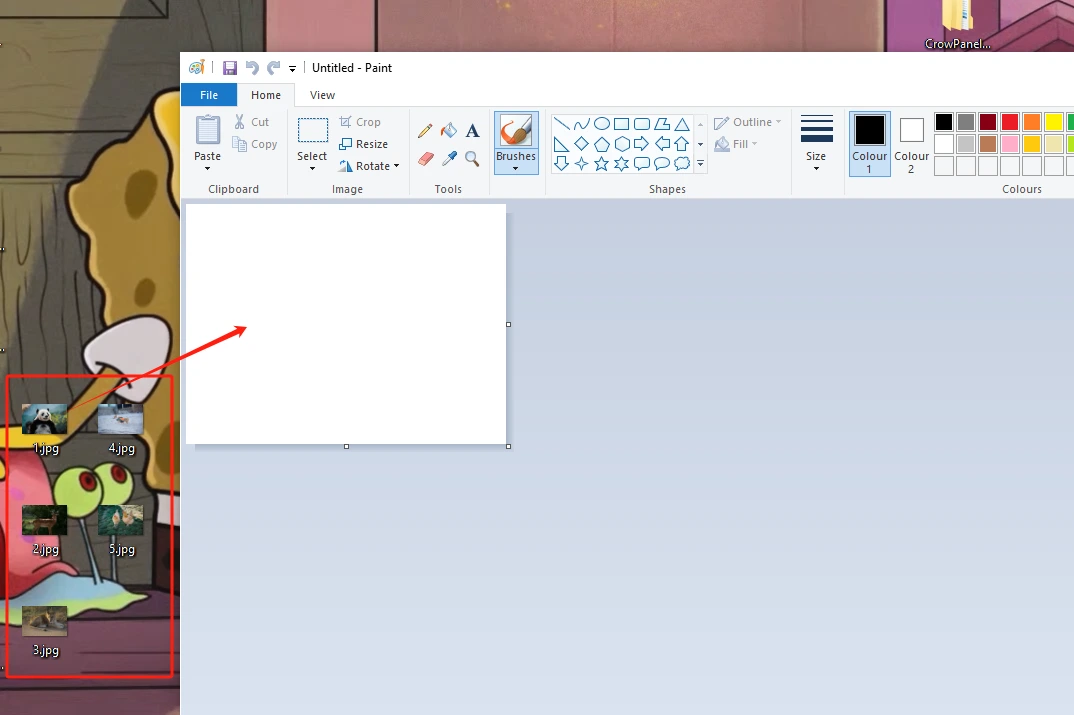
Drag and drop the image into the "paint" tool to readjust the pixels of the image
(Images can be uploaded to the browser and selected according to everyone's preferences)
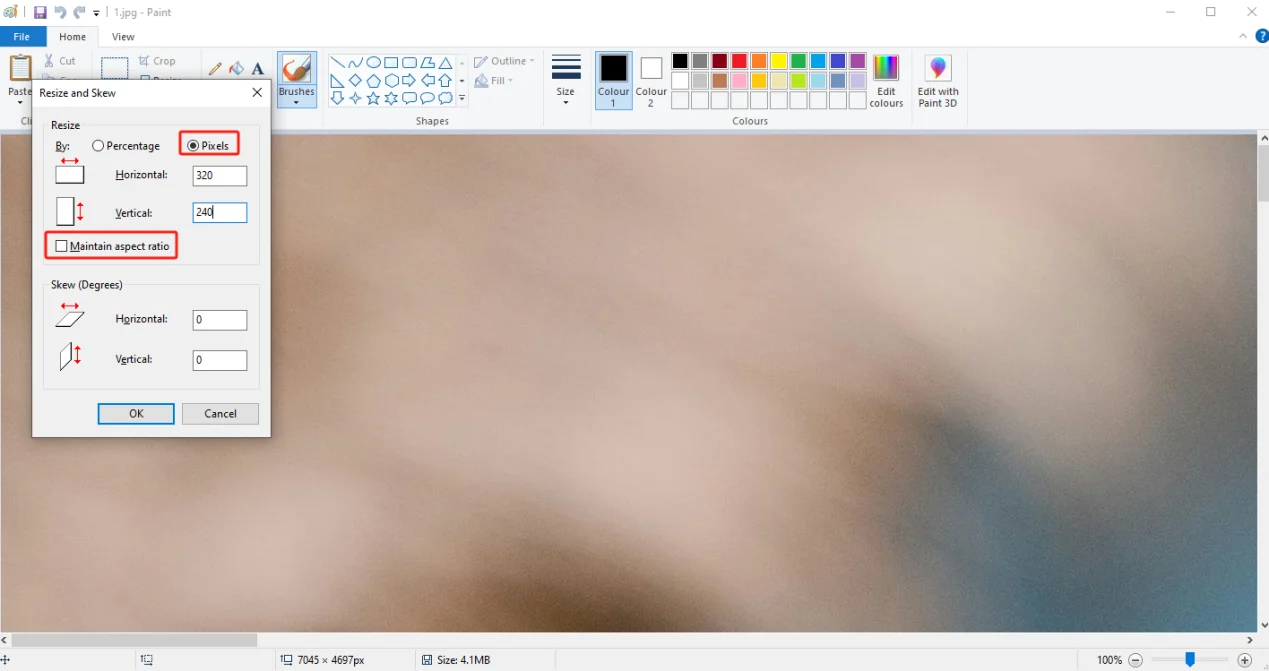
Adjust the pixel to 2.8-inch screen resolution: 320 x 240
The resolution of products of different sizes varies. Please refer to the first picture above for details.
If you are using a different size, please set the correct resolution.
If you are currently using a 3.5-inch product, then change the resolution to 480 x 320.
Can be referred to:There are resolutions of different sizes as references above. (Second point)
Click confirm
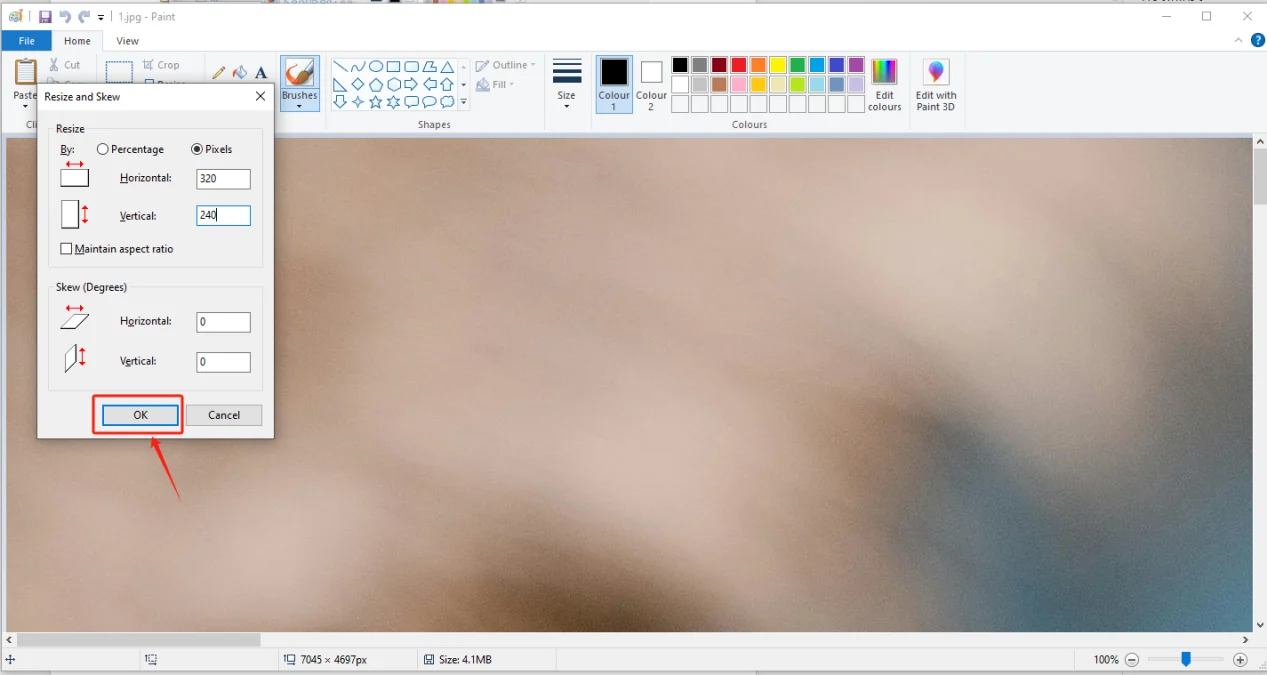
Adjust the resolution of the image as shown in the picture
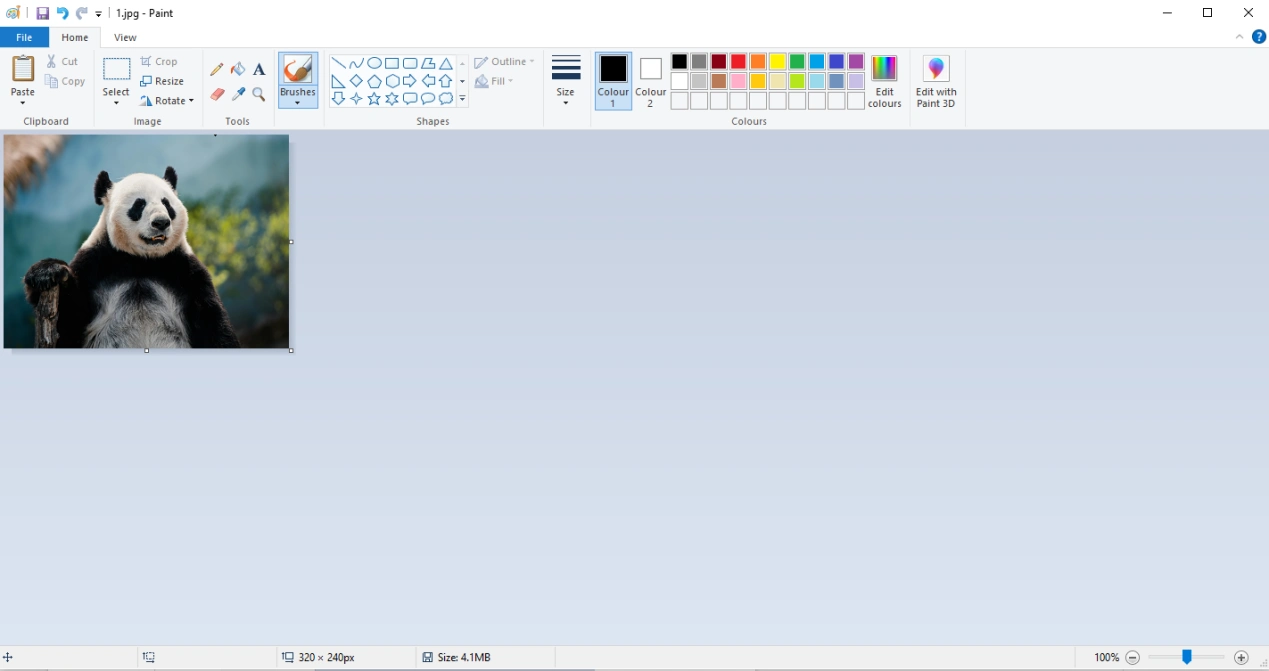
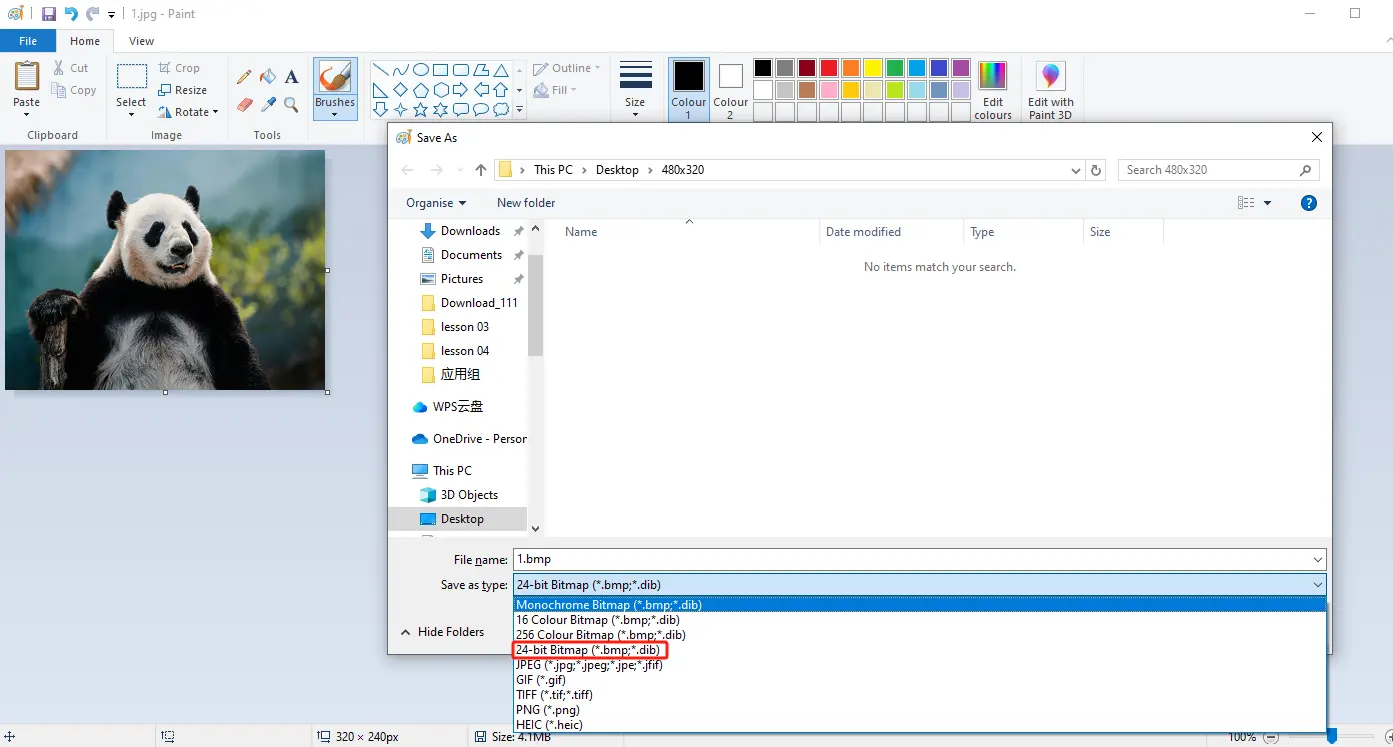
Save to a folder for easy use (folder path can be customized)

Save in BMP format (must have a 24 bit image depth)
Insert the SD card into the card reader
Open the SD drive, copy the modified image to the SD drive and save it
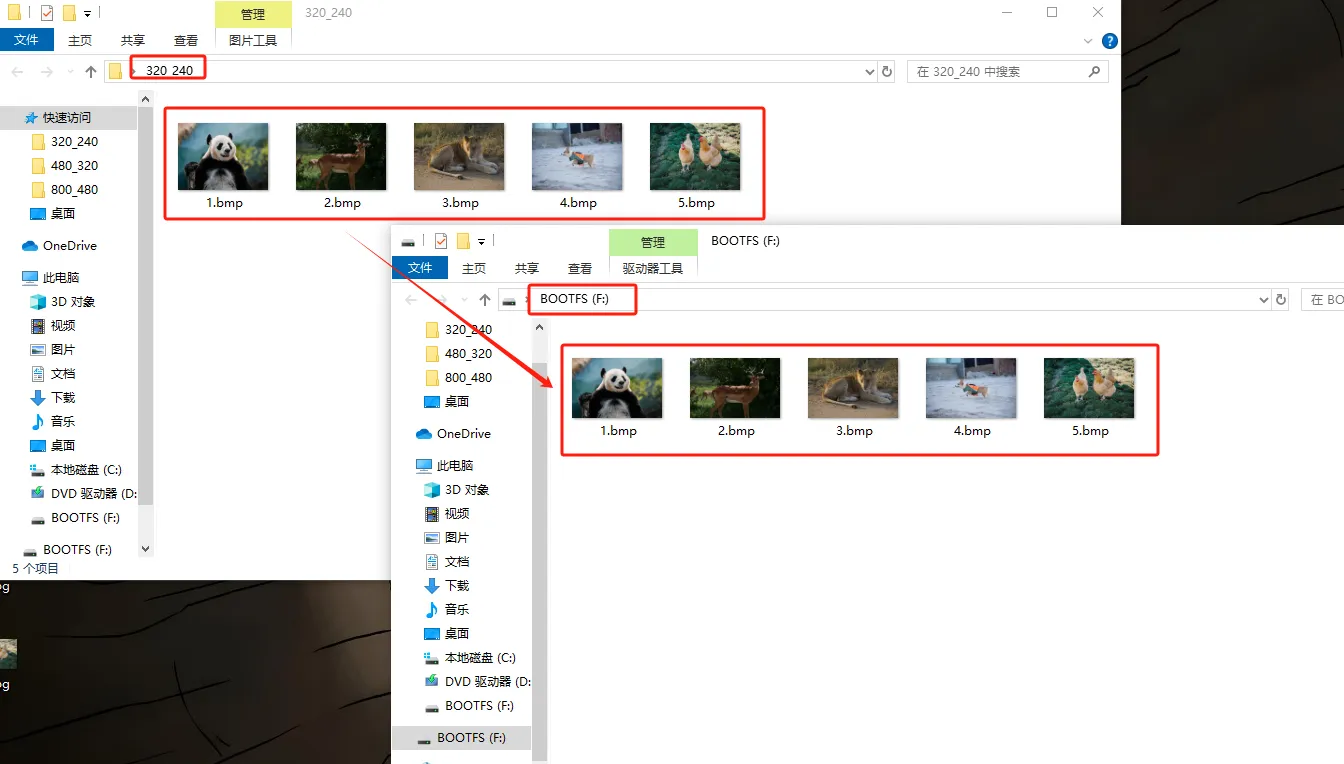
Exit the SD card and remove the SD card
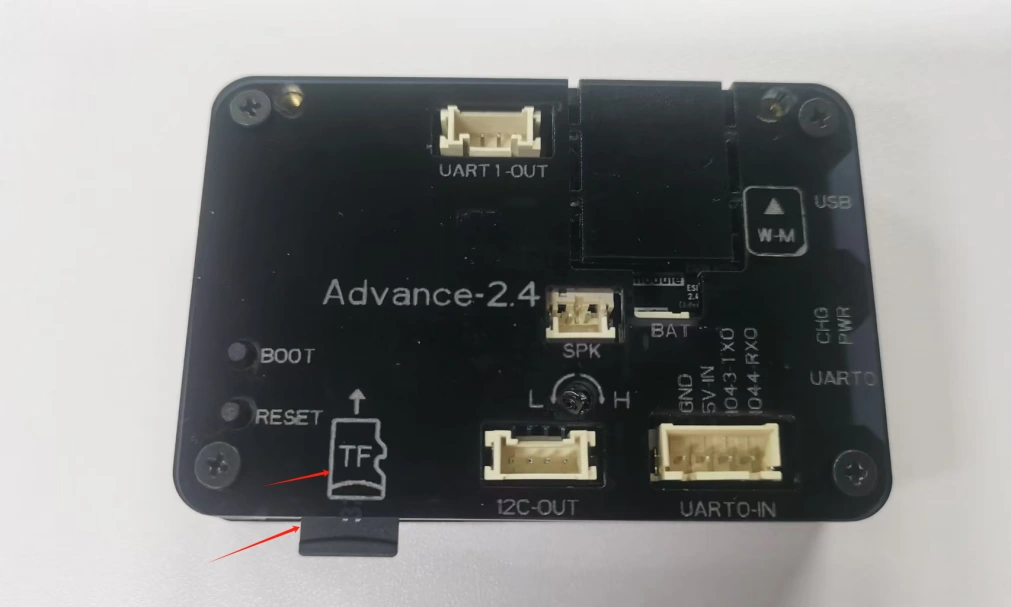
3. Insert the SD card containing this saved image into your CrowPanel ESP32 Advance HMI
4. Open the code we provide
Code download link:
V1.1、V1.2:
Download it to the Desktop and Open it with VS Code
This project is developed and run on ESP-IDF version 5.5.4.
First, you need to specify the version of the arduino-esp32 component in the idf_component.yml file under the main folder. In this project, version 3.3.10 is used to ensure compatibility with ESP-IDF 5.5.4. After the configuration is completed, the ESP-IDF build system will automatically download and integrate the specified Arduino framework version during the first compilation.
This setup allows the project to combine the ESP-IDF development environment with the Arduino programming interface, enabling the use of Arduino-style APIs within an ESP-IDF-based project.

This section creates two global objects: SD_SPI is an independent HSPI hardware SPI instance that specifically drives the SD card and does not share the SPI bus with the screen to prevent bus contention from causing screen flickering; the global LGFX screen object gfx allows all screen drawing and image rendering functions to be directly called, ensuring that the underlying drawing interface can be accessed uniformly globally.

This section encapsulates the drawing logic for the SD card status prompt text. It receives the screen size, text coordinates, and prompt text. First, it fills the entire screen with black to clear the screen, sets the font size to twice the default and the text color to red, moves the cursor to the specified XY coordinates to print the text, which is used for screen pop-up prompts when the SD card is successfully or unsuccessfully mounted.

This section implements the recursive scanning tool function for SD card directories, receiving three parameters: file system object, directory path, and recursion level; open the target directory and check its validity; loop through each file in the directory; distinguish between folders and ordinary files and print their names separately; if it is a folder and the remaining recursion level is greater than 0, recursively enter the subdirectory to continue the traversal; after the SD card initialization is completed, automatically print all files and sizes in the root directory to facilitate debugging and confirmation of whether the image files exist normally.

This section completes the hardware initialization of the SD card SPI and mounts the file system. It starts the independent HSPI bus and mounts the SD card at a 80MHz high-speed clock. If the mounting fails, it prints the error, releases the SPI bus and returns error code 1. If the mounting is successful, it prints the total capacity of the SD card, calls the directory traversal function to print all files in the root directory, and finally returns 0 to indicate a normal initialization, which is used by the setup to determine the status of the SD card.

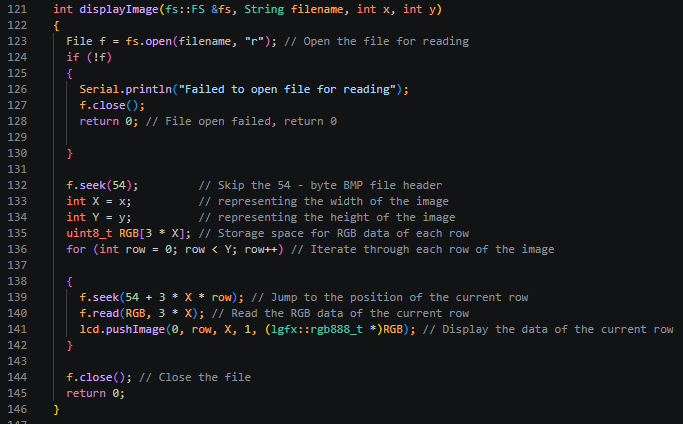
This section implements the logic for reading 24-bit uncompressed BMP images from the SD card and drawing them onto the screen. The input parameters are the file system, the image path, and the width and height of the image. The image file is opened in read-only mode. If the opening fails, it returns directly. The first 54 bytes of the BMP file are the file header and information header. The header is skipped using seek and the pixel data starting position is directly jumped to. A single-row RGB888 cache is created, and the image pixel data is read row by row. The LovyanGFX single-row pixel push interface is called to render it onto the corresponding row of the screen. After the entire image is rendered, the file handle is closed and a return value of 0 indicates that the drawing is complete.
This section is the initialization process that is executed only once upon power-on. The execution sequence is as follows:
- Enable the 115200 baud rate serial port for printing SD card logs, file list debugging information;
- Initialize the LovyanGFX screen hardware, enable DMA hardware acceleration for pixel transmission, clear the screen blackness in advance and delay for 500ms to wait for the screen hardware to stabilize;
- Configure GPIO38 as the backlight output pin and pull it high to turn on the screen backlight;
- Call SD_init to initialize the storage card. Based on the return value, determine the mounting status, the screen pops up corresponding success/failure text and stays for 3 seconds;
- Modify the screen rotation angle to 2, fill the screen with black to clear the prompt text, print the initialization completion log, and enter the image carousel loop.

This section is the main body of the program's infinite loop. It loads 5 BMP images from the SD card in sequence, starting from 1 to 5. It then calls the "displayImage" function to display the images across the entire screen. Each image stays on the screen for 5 seconds before automatically switching to the next one. During the switch, the serial port prints the refresh log to achieve the automatic slideshow effect of the electronic photo album.

5. Configure the runtime environment and burn code
Click the link below and you can access the code for this lesson.

Select the code folder for this lesson, right-click on it, and then choose to open it with VS Code.
Note:
Remember to prepare the hardware environment as per the first point of this course.
Then, following Step 5 “Run the program” from Lesson 1, upload and execute the code in the correct sequence.
Please proceed in the following order: 1 → 2 → 3 → 4 → 5 → 6 → 10

After uploading the code, the display will automatically cycle through and show each image stored on your SD card. Simply make sure that the image filenames on the SD card match the filenames specified in the code.
6. Phenomenon display
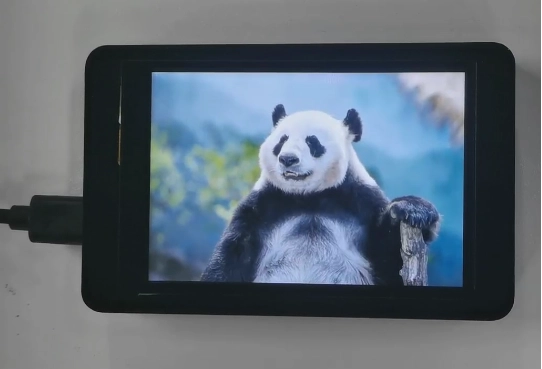
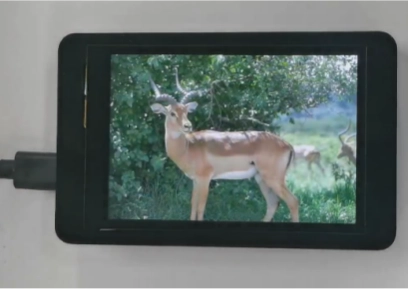
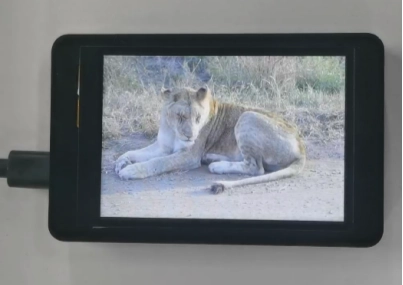

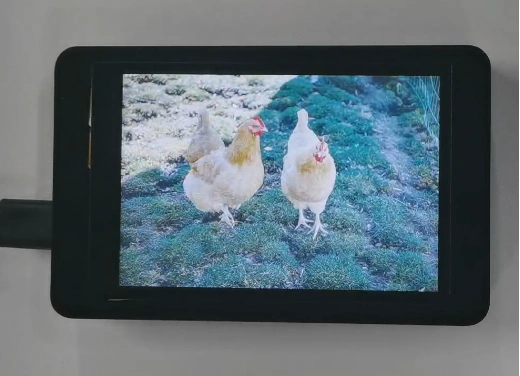
The five photos I saved on the SD card will be displayed in a loop.