Crowtail- Strain Gauge sensor
Description
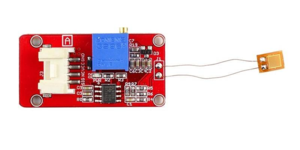
A strain gauge is a device used to measure strain on an object. This strain gauge module uses the strain gauge BF350-3AA to detect the strain, with the amplifier and potentiometer on the board to adjust the measured results, users can easily get the result with any microcontroller such as Arduino. This module can be positively used in measuring deformation (for example, across a bridge by loading positions and effects) in engineering and in physical distortions proportional to loading or thermal environments. In everyday, this module can be used to applications such as gating a traffic light into a new sequence when a car on a lightly traveled side-street enters a Tee-intersection. For better using on our crowduino, we add a crowtail port so that you can plug and use directly.
Model: CT0070SGS 
Features
- Working Voltage: 5VDC
- Analog Output: 0~3.5VDC
- Potentiometer to adjust the zero point
- Dimension: 32mm X 17mm
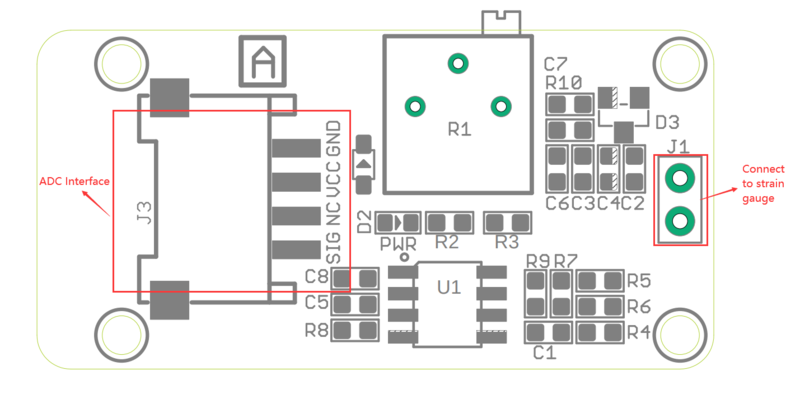
Interface
Platforms Supported
| Arduino |
|---|
 |
Usage
Hardware
STEP1 Prepare the below stuffs:
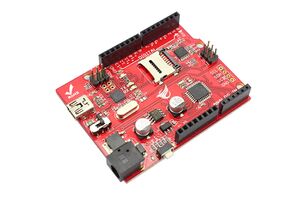
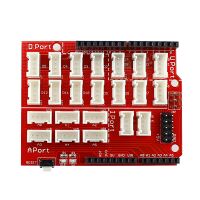
| Crowduino Uno | Base Shield | Crowtail- Strain Gauge Sensor |
|---|---|---|
 |  |  |
| Get one now | Get one now | Get one now |
STEP2 Plug Crowtail-Base Shield into Crowduino Uno;STEP3 Plug Crowtail-Strain Gauge Sensor to A0 slot of Crowtail-Base Shield via 4 pin Crowtail Cable;STEP4 Connect Crowduino Uno to PC via a Mini USB cable.
| NOTE |
|---|
| If we don't have Crowtail Base Shield, We also can directly connect this module to Crowduino Uno as below. |
| Crowduino Uno | Crowtail- Strain Gauge Sensor |
|---|---|
| ANALOG 0 | SIG |
| 5V | VCC |
| GND | GND |
Software
STEP1 Download program files Strain_gauge_sensor.zip
STEP2 Configure controller board&communication port
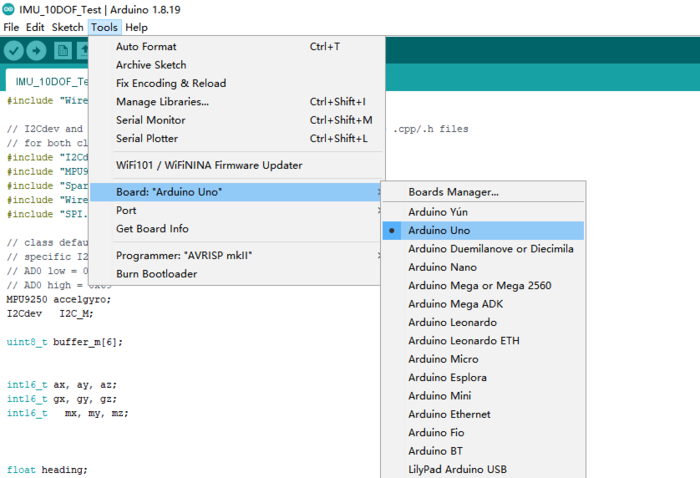
On top of the Arduino IDE, click “Tools>Board>” and select “Arduino Uno” from the available options
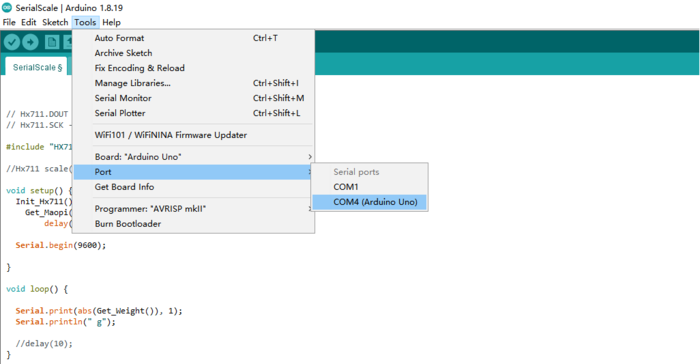
Select the COM port that indicates Arduino Uno. Please note that the actual numbers after the “COM” word will vary from computer to computer, so they could be different from the ones shown in the figure.
STEP3 Open the program in the Arduino IDE

const int sensor=A5;
int sensorValue = 0;
void setup()
{
  Serial.begin(9600);
}
void loop()
{
  sensorValue = analogRead(sensor);
   Serial.print("sensor value= " );
  Serial.println(sensorValue);
  delay(500);
}
STEP4 Click the  to upload the code to the Crowduino board
STEP5 After the program is burned, open the serial monitor of Arduino IDE. Adjust the sliding rheostat until the serial monitor prints about 300. Then gently bend the strain gauge and you will see the serial monitor output changes from 0 to 700.
FAQS
You can list you question here or contact with techsupport@elecrow.com for technology support.
Resources
Strain_gauge_sensor.zip
Crowtail-_Strain_Gauge_sensor_v2.0-Eagle.zip
datasheet

