AVR ISP Shield
Introduction
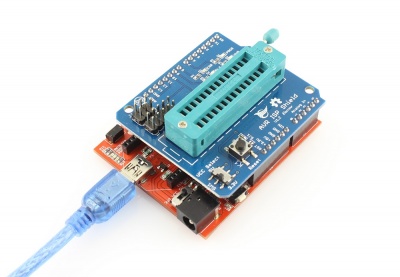
Did you know your Arduino can burn bootloaderds onto Atmega chips, turning them into Arduino compatible microcontrollers. It required a breadboard and a whole mess of jumper wires but we've just made it a ton easier on you with the AVR ISP Shield!
It is very easy to use. Just following the Arduino tutorial, You can turn your Atmega chips to Arduino compatible microcontrollers or change the bootloader of the Arduino boards. Such as you can turn the Crowduino to a Arduino UNO board.
Model: ACS26020S
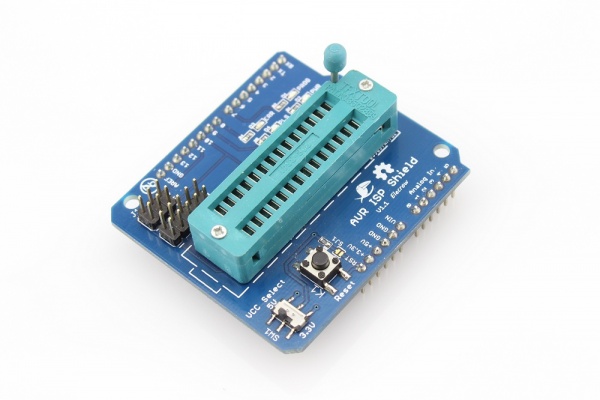
Features
Dimensions(mm):60.0(L)x53.5(W)x34.0(H)
Usage
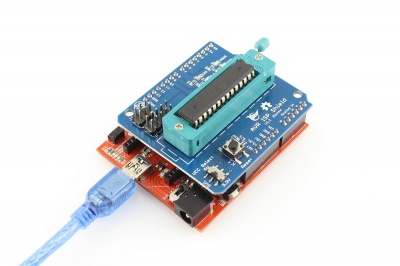
1.Plug AVR ISP Shield onto the Arduino/Crowduino. Connect the board to PC using USB cable.
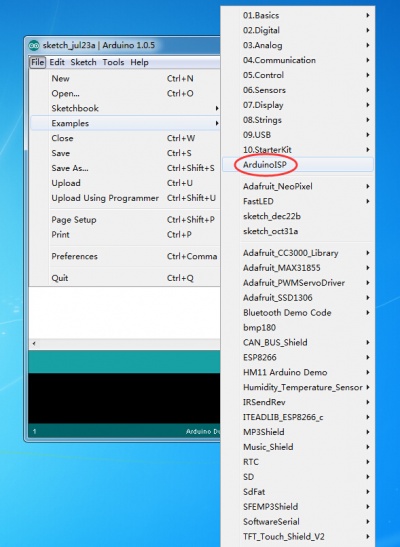
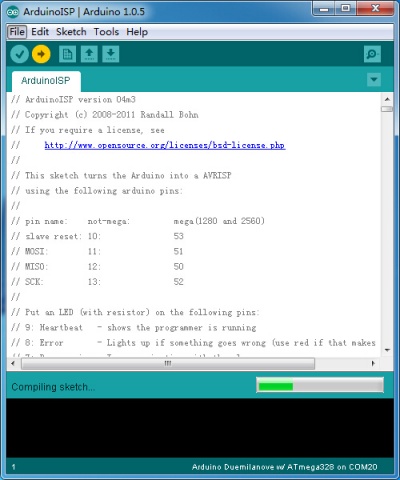
2.Upload the ArduinoISP firmware (in Examples) to your Arduino board.(File>examples>ArduinoISP)
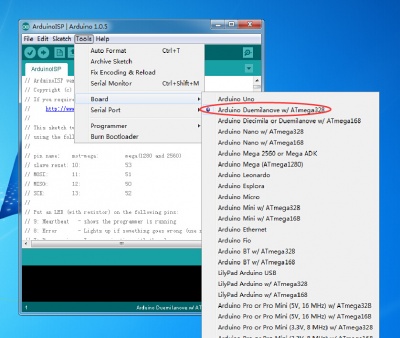
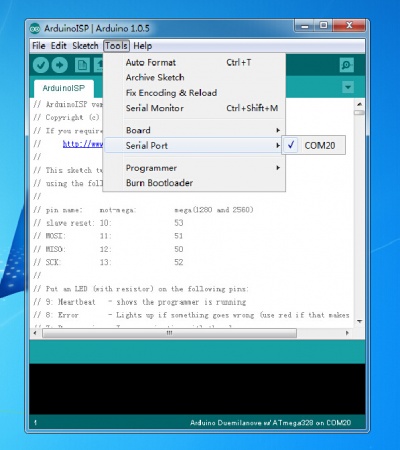
3.Select the items in the Tools > Board and Serial Port menus that correspond to the board you are using as the programmer (not the board being programmed).
4.Upload the ArduinoISP sketch.
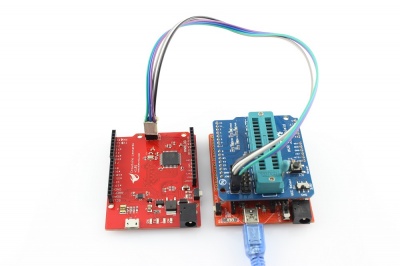
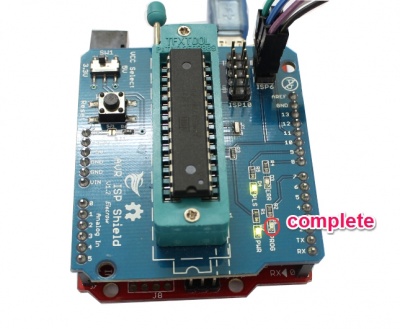
5.Plug the atmega328P-PU IC into the IC holder of the AVR ISP shield. please be careful about the direction of the atmega328 Or Wire your Arduino board to the target as shown in the diagram below.
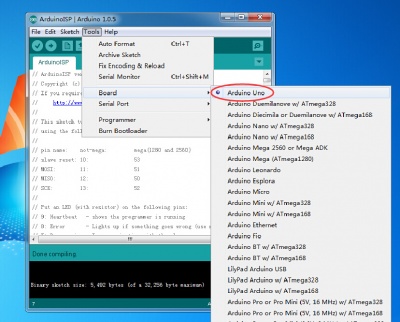
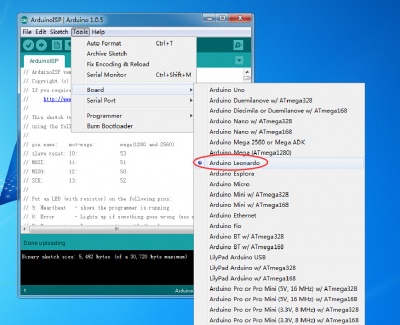
7.Select the item in the Tools > Board menu that corresponds to the board on which you want to burn the bootloader (not the board that you're using as the programmer). See the board descriptions on the environment page for details.
For example: Burn the bootloader to the Arduino UNO.
Burn the bootloader to the Crowduino Leonardo.
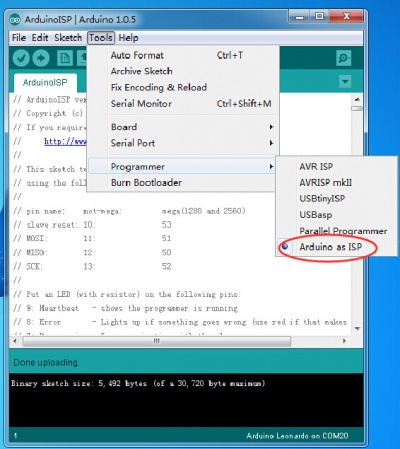
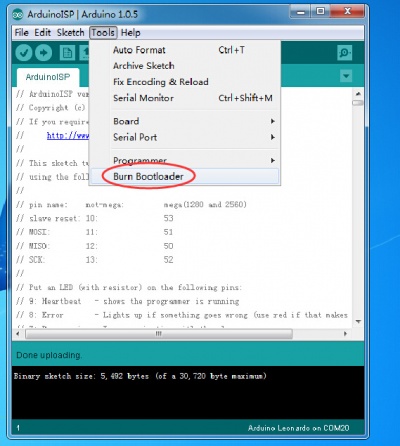
8.Use the Burn Bootloader > Arduino as ISP command.
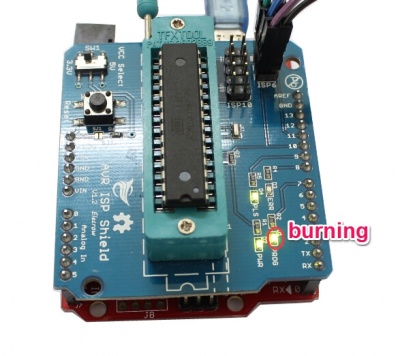
9.When burning the bootloader, you will see the LED(PROG) on AVR ISP Shield is blinking, and it will put out when completing the burn.

