Crowtail- Voltage Sensor
Description
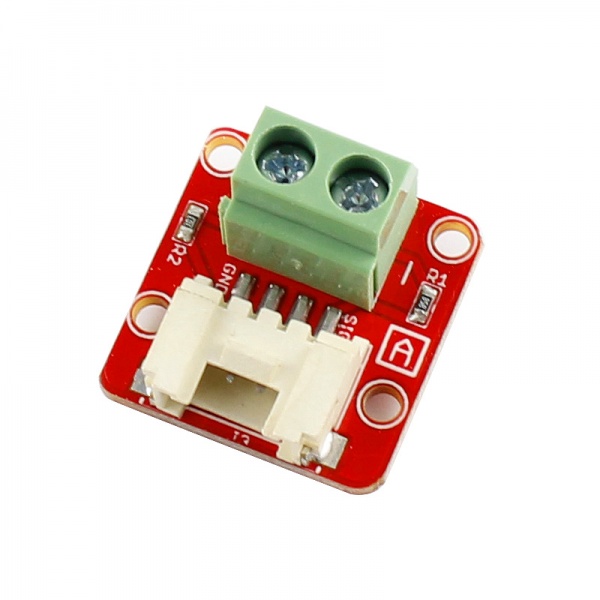
The Crowtai- Voltage Sensor module designed on the basis of the input voltage is not greater than 5 V x 5 = 25 V (if use 3.3 V system, the input voltage is not greater than 3.3 Vx5 = 16.5 V).Because the Aduino using AVR chip for 10 AD, so this module simulation resolution of 0.00489 V (5 V / 1023), so the voltage detecting module minimum input voltage of 0.00489 V * 5 = 0.02445 V.
Model: CT010219V 
Features
- Input voltage range: DC0-25 V
- Voltage detection range: DC0.02445 V - 25 V
- Voltage simulation resolution: 0.00489 V
- Crowtail Interface
- Easy to use
- Dimensions(mm):20.0(L)x20.0(W)x12.0(H)
SCH
Usage
Here is an example showing how to turn on the Crowtail- Voltage Sensor.
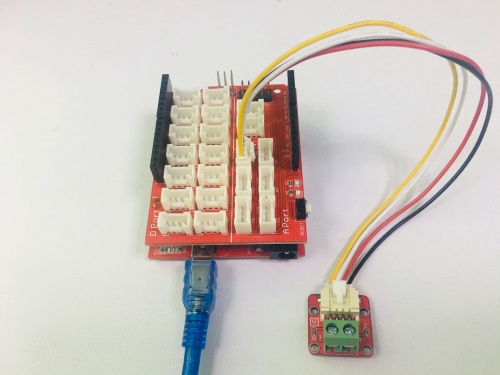
1. Plug it onto the Analog port 2 of Crowtail - Base Shield using a Crowtail cable.
2.Plug the Crowtail - Base Shield onto Arduino.
3. Connect Arduino to PC by using a USB cable.
4.parallel the Metering ports to the object that you want to measure.
5. Copy and paste code below to a new Arduino sketch, and upload it to your Arduino.
#include <Wire.h>
float val11;
void setup()
{
 Serial.begin(9600);
 Serial.println("Emartee.Com");
 Serial.println("Voltage: ");
 Serial.print("V  ");
}
void loop()
{
 float temp;
 val11=analogRead(2);
 temp=val11/40.92;
 Serial.println(temp);
 delay(1000);
}
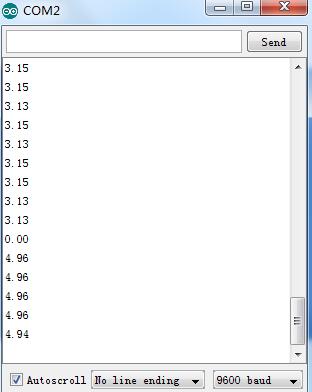
5.When you upload the code complete,you can measure the voltage(0-25V) of different objects and see the result via the serial port debug window


