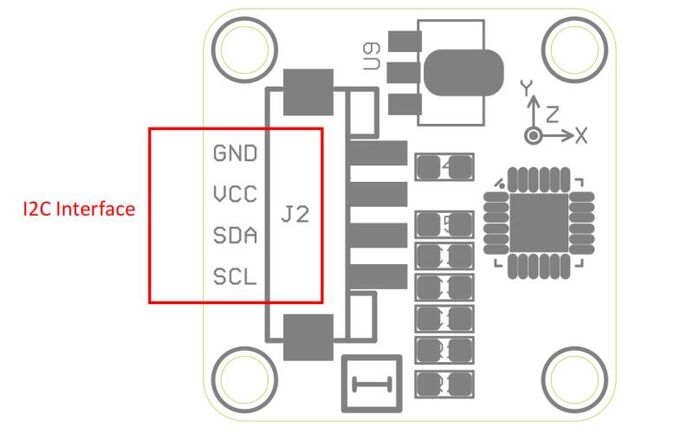
Crowtail- MPU6050 Accelerometer & Gyro
Description
A Crowtail- MPU6050 Accelerometer &Gyro which has 3-Axis digital accelerometer and 3-Axis gyroscope,and a Digital Motion Processor hardware accelerator engine with an auxiliary I2C port that interfaces to 3 party digital sensors such as magnetometers. It’s the first motion processing solution projects and it can apply on game controllers, motion controls, Four - axis aircraft and other consumer devices. The MPU-60X0 is a 2nd generation motion processor and is compatible with the MPU-30X0.
Model: CRT02122G
Features
- RoHS/WEEE lead-free compliant
- Crowtail compatible interface
Specifications
| Item | Value |
|---|---|
| Operating Voltage | 5.0 to 6.0V |
| Measure dimension | Acceleration: 3D, angular velocity: 3D, attitude angle: 3D |
| Current consumption | not more than 10mA |
| Measuring range | Acceleration:±16g, angular velocity: ±2000 degree per second |
| Measurement error | Acceleration:±6.1e-5g, angular velocity: ±7.6e-3 degree per second |
| Stability | Acceleration:0.001g, angular velocity: 0.02 degree per second |
| Data output frequency | 100Hz(115200bps)/ 20Hz(9600bps) |
| Data interface | I2C |
| Dimensions(mm) | 20.0(L)x20.0(W)x9.8(H) |
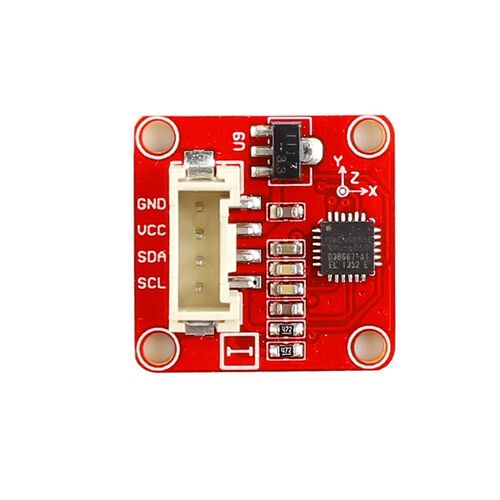
Interface
Platforms Supported
| Arduino |
|---|
 |
Usage
Hardware
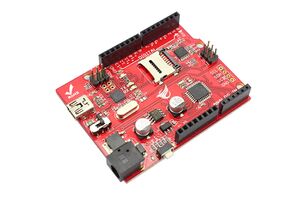
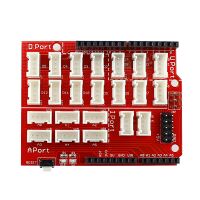
STEP1 Prepare the below stuffs:
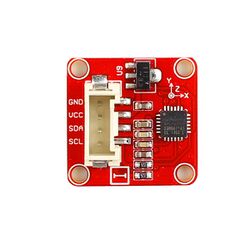
| Crowduino Uno | Base Shield | MPU6050 Accelerometer Gyro |
|---|---|---|
 |  |  |
| Get one now | Get one now | Get one now |
STEP2 Plug Crowtail-Base Shield into Crowduino Uno and set Crowtail-MPU6050 Accelerometer&Gyro to I²C port of Crowtail-Base Shield;
STEP3 Connect Crowduino Uno to PC via a Mini USB cable.

| NOTE |
|---|
| If we don't have Crowtail Base Shield, We also can directly connect this module to Crowduino Uno as below. |
| Crowduino Uno | MPU6050 Accelerometer Gyro |
|---|---|
| A4(J7) | SDA |
| A5(J7) | SCL |
| 5V | VCC |
| GND | GND |
Software
STEP 1.Download program filesMPU6050.zip
STEP 2 Configure controller board&communication port
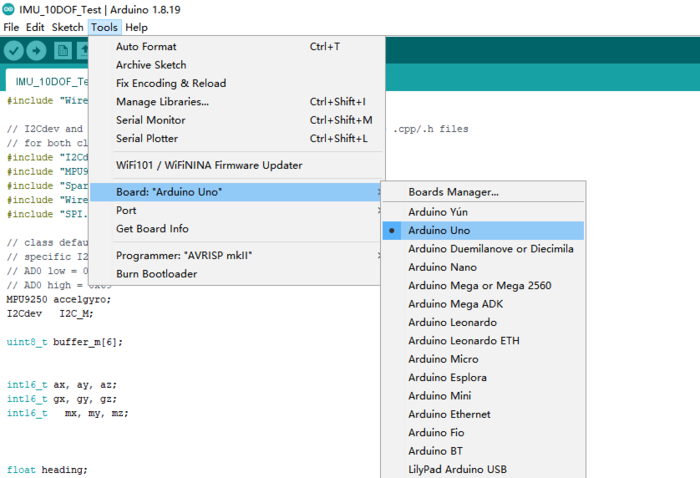
On top of the Arduino IDE, click “Tools>Board>” and select “Arduino Uno” from the available options
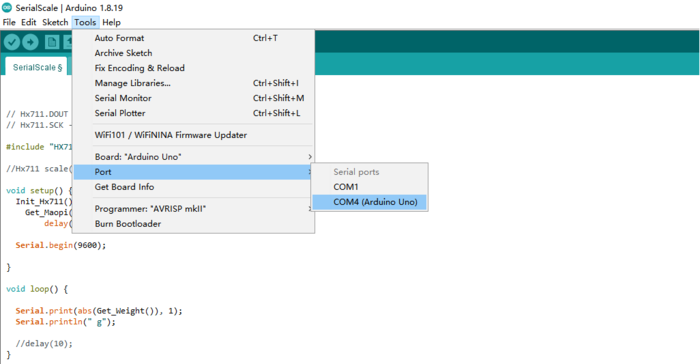
Select the COM port that indicates Arduino Uno. Please note that the actual numbers after the “COM” word will vary from computer to computer, so they could be different from the ones shown in the figure.
STEP 3 Install Library: Unzip the mpu6050.zip file and copy it to the Libraries directory under the Arduino installation directory 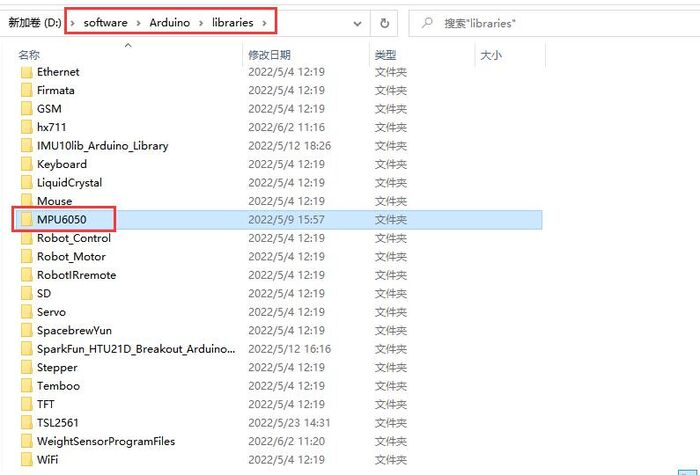
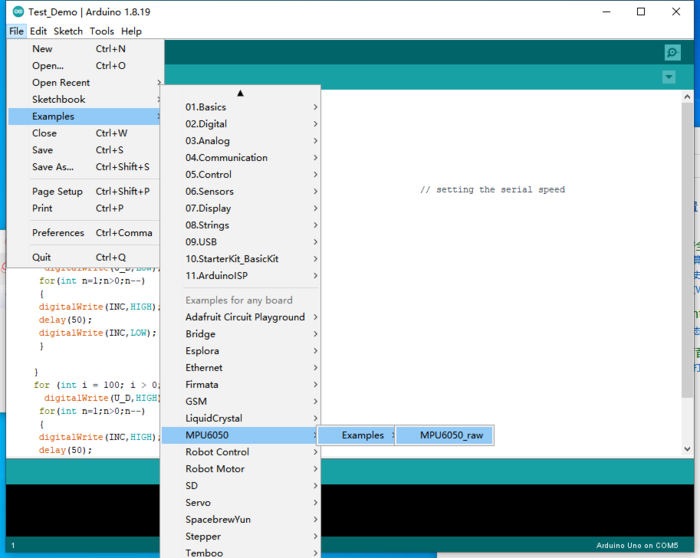
STEP4 Open Arduino IDE and load MPU6050_raw.ino:click "File→Examples→MPU6050→Examples→MPU6050_raw.ino"
// Arduino Wire library is required if I2Cdev I2CDEV_ARDUINO_WIRE implementation
// is used in I2Cdev.h
#include "Wire.h"

// I2Cdev and MPU6050 must be installed as libraries, or else the .cpp/.h files
// for both classes must be in the include path of your project
#include "I2Cdev.h"
#include "MPU6050.h"

// class default I2C address is 0x68
// specific I2C addresses may be passed as a parameter here
// AD0 low = 0x68 (default for InvenSense evaluation board)
// AD0 high = 0x69
MPU6050 accelgyro;

int16_t ax, ay, az;
int16_t gx, gy, gz;

#define LED_PIN 13
bool blinkState = false;

void setup() {
    // join I2C bus (I2Cdev library doesn't do this automatically)
    Wire.begin();

    // initialize serial communication
    // (38400 chosen because it works as well at 8MHz as it does at 16MHz, but
    // it's really up to you depending on your project)
    Serial.begin(38400);

    // initialize device
    Serial.println("Initializing I2C devices...");
    accelgyro.initialize();

    // verify connection
    Serial.println("Testing device connections...");
    Serial.println(accelgyro.testConnection() ? "MPU6050 connection successful" : "MPU6050 connection failed");

    // configure Arduino LED for
    pinMode(LED_PIN, OUTPUT);
}

void loop() {
    // read raw accel/gyro measurements from device
    accelgyro.getMotion6(&ax, &ay, &az, &gx, &gy, &gz);

    // these methods (and a few others) are also available
    //accelgyro.getAcceleration(&ax, &ay, &az);
    //accelgyro.getRotation(&gx, &gy, &gz);

    // display tab-separated accel/gyro x/y/z values
    Serial.print("a/g:\t");
    Serial.print(ax); Serial.print("\t");
    Serial.print(ay); Serial.print("\t");
    Serial.print(az); Serial.print("\t");
    Serial.print(gx); Serial.print("\t");
    Serial.print(gy); Serial.print("\t");
    Serial.println(gz);

    // blink LED to indicate activity
    blinkState = !blinkState;
    digitalWrite(LED_PIN, blinkState);
}
STEP5 Click the  to upload the code to the Crowduino board
STEP6 After the program is downloaded, open the Serial port monitor of Arduino IDE, set baud rate to 38400, turn the sensor, and the printed value will change, as shown in the figure

FAQS
You can list you question here or contact with techsupport@elecrow.com for technology support.
Resources
MPU6050.zip
Crowtail-MPU6050_Accelerometer&Gyro-V2.0-Eagle.zip

