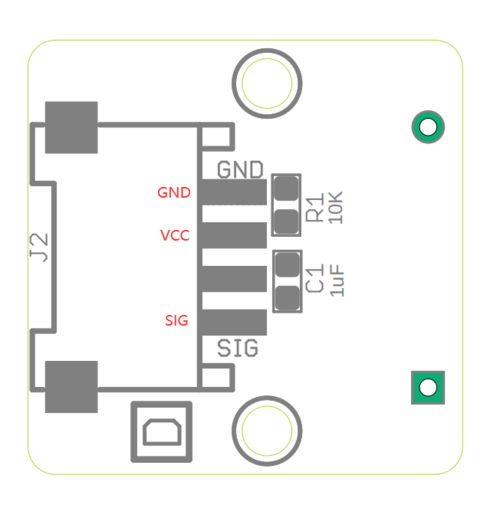
Crowtail-Knock Sensor
Description
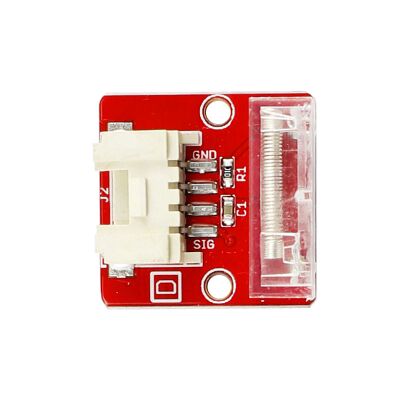
The Crowtail-knock sensor is a piezoelectric sensor that contains a piezoelectric sensing crystal and a resister. This crystal creates a small amount of voltage when shaken and takes advantage of this unique property. It will output a pulse when vibration is detected.
Model: CRT00516K
Features
- Digital Crowtail connector
Specifications
| Item | Value |
|---|---|
| Presence sensing | vibration |
| Sensor | KY-031 |
| Power supply | 5V |
| Dimensions(mm) | 20.0(L)x20.0(W)x7.1(H) |
Pin Map
| Pin Name | Description |
|---|---|
| VCC | Supply Voltage |
| GND | GND |
| SIG | Output a pulse when vibration is detected |
Platforms Supported
| Arduino |
|---|
 |
Usage
Hardware
STEP1 Prepare the below stuffs:
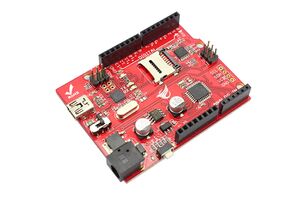
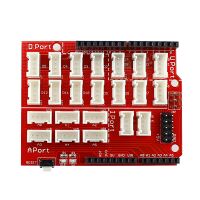
| Crowduino Uno | Base Shield | Crowtail-Knock Sensor | Crowtail-LED |
|---|---|---|---|
[ |  | 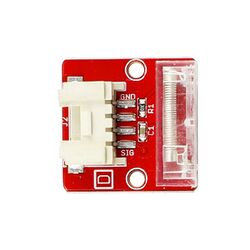 | 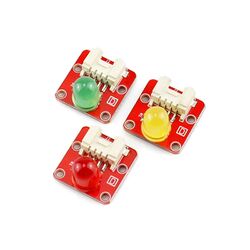 |
| Get one now | Get one now | Get one now | Get one now |
STEP2 Plug Crowtail-Base Shield into Crowduino Uno;
STEP3 Plug Crowtail-Knock Sensor into D2 slot on the Crowtail-Base Shield I Port with Crowtail cable;
STEP4 Plug Crowtail-LED into D3 slot on the Crowtail-Base Shield I Port with Crowtail cable;
STEP5 Connect Crowduino Uno to PC via a Mini USB cable.
| NOTE |
|---|
| If we don't have Crowtail Base Shield, We also can directly connect this module to Crowduino Uno as below. |
| Crowduino Uno | Crowtail-Knock Sensor | Crowtail-LED |
|---|---|---|
| DIGITAL 2 | SIG | \ |
| DIGITAL 3 | \ | SIG |
| 5V | VCC | VCC |
| GND | GND | GND |
Software
STEP 1.Download program filesKnock_Sensor.zip
STEP2 Configure controller board&communication port
On top of the Arduino IDE, click “Tools>Board>” and select “Arduino Uno” from the available options 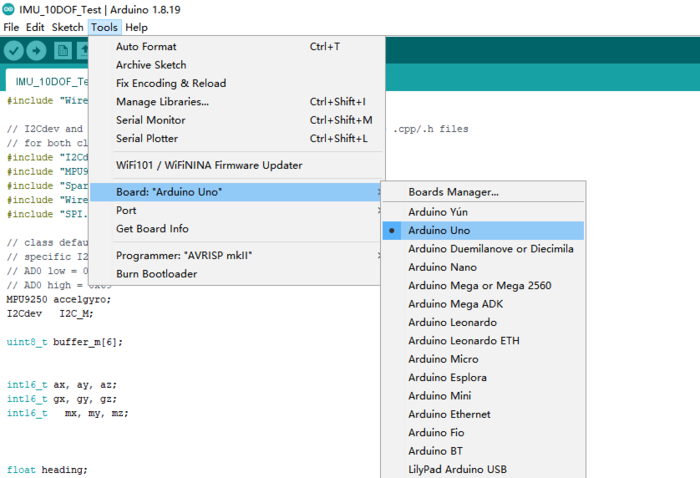
Select the COM port that indicates Arduino Uno. Please note that the actual numbers after the “COM” word will vary from computer to computer, so they could be different from the ones shown in the figure. 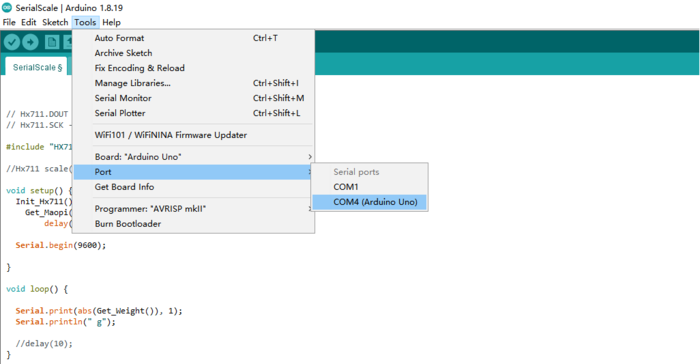
STEP 3 Load the program in the Arduino IDE
const int SensorPin = 2;     // the number of the pushbutton pin
const int ledPin =  12;      // the number of the LED pin

// variables will change:
int SensorState = 0;         // variable for reading the pushbutton status

void setup() {
  // initialize the LED pin as an output:
  pinMode(ledPin, OUTPUT);
  // initialize the pushbutton pin as an input:
  pinMode(SensorPin, INPUT);
}

void loop(){
  // read the state of the pushbutton value:
  SensorState = digitalRead(SensorPin);

  // check if the pushbutton is pressed.
  // if it is, the buttonState is HIGH:
  if (SensorState == HIGH) {
    // turn LED on:
    digitalWrite(ledPin, HIGH);
  }
}
STEP4 Click the  to upload the code to the Crowduino board
STEP5 After the program is downloaded, knock the sensor you will see the LED lights up.
FAQS
You can list you question here or contact with techsupport@elecrow.com for technology support.

