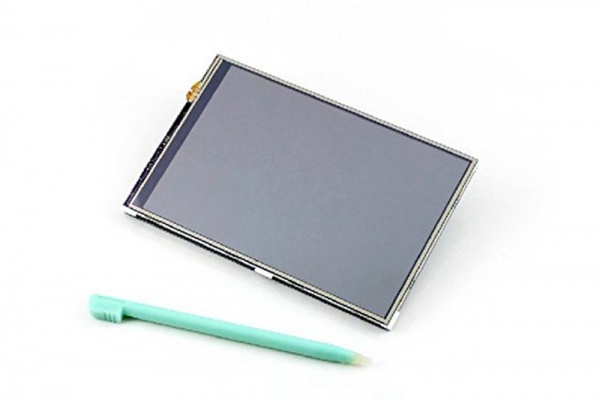
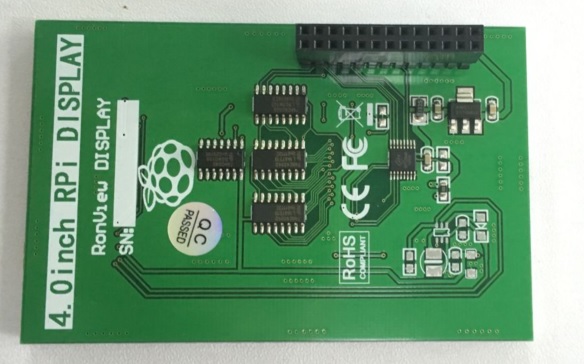
4 Inch HD 480x320 TFT Display with Touch Screen for Rapberry Pi
Description
This 4 inch TFT Display with Touch Screen is a mini panel-mountable monitor. So small and simple, and the shape makes it easy to attach to a electronic product. Although the 480*320 common display is made for Raspberry Pi, we can use it for other where not only for Raspberry Pi.
Model:RPD48320D

Features
- A good solution for those seeking for a bigger resolution display
- Good touch response
- Fast response time
- For Raspberry Pi B+/2B /3B
Specifications
- Display type: TFT
- Interface: SPI
- Touch panel control chip: XPT2046
- Index Levels:65536
- Backlit: LED
- Size ratio: 4:3
- Working Temperature (℃): -20 ° to 70 °
Interface Function
Usage
A. Use with Raspbian
Step 1:Install Raspbian official image
1)Please download the image of the latest version from Raspberry Pi's website:https://www.raspberrypi.org/downloads/raspbian/
2)Download the compressed file to your PC and unpack it to get the .Img file.
3)The TF card is connected to the PC and formatted using the “SDFormatter” software.
4)Open the “Win32DiskImager” software, select the system image prepared in step 1), and click write to burn the system image.
5)Insert the TF card into the Raspberry Pi.
6)Connect to Raspberry Pi
Step 2: Install the LCD driver
Install drivers in the Raspbian system (Raspberry Pi requires Internet connection)
1)Log on to the Raspberry Pi terminal (User: pi; Password: raspberry)
2)Execute the following command (copy and paste it by right-clicking on the Putty window):
sudo rm -rf LCD-show
git clone https://github.com/goodtft/LCD-show.git
chmod -R 755 LCD-show
cd LCD-show/
sudo ./MHS40-show
3)Wait for a moment after executing, the system will restart automatically. If the LCD can be normally displayed and touched, the installation of the driver is successful.
B.Install the LCD driver
Install drivers in the Raspbian system (Raspberry Pi requires Internet connection)
1)Log on to the Raspberry Pi terminal (User: pi; Password: raspberry)
2)Execute the following command (copy and paste it by right-clicking on the Putty window):
sudo rm -rf LCD-show
git clone https://github.com/goodtft/LCD-show.git
chmod -R 755 LCD-show
cd LCD-show/
sudo ./MHS40-show
3)Wait for a moment after executing, the system will restart automatically. If the LCD can be normally displayed and touched, the installation of the driver is successful.
Touch screen calibration
- This LCD can be calibrated using a program called xinput_calibrator
- Install it with the commands:
- Click the Men button on the task bar, choose Preference -> Calibrate Touchscreen.
- Finish the touch calibration following the prompts. Maybe rebooting is required to make calibration active.
- You can create a 99-calibration.conf file to save the touch parameters (not necessary if file exists).
- Save the touch parameters (may differ depending on LCD) to 99-calibration.conf, as shown in the picture:
Install Soft Keyboard
- Install the reference link:https://github.com/Elecrow-keen/Elecrow-LCD5/wiki/How-to-Install-Soft-Keyboard


