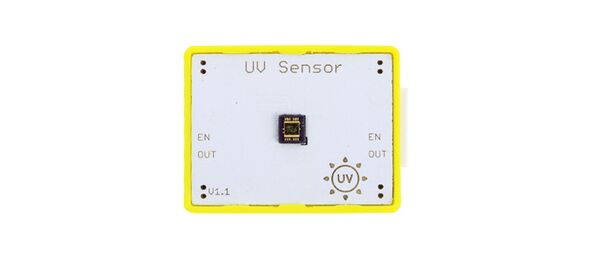
Crowbits-UV Sensor
Description
The Crowbits-UV Sensor is easy to use the ultraviolet light sensor. The MP8511 UV (ultraviolet) Sensor works by outputting an analog signal in relation to the amount of UV light that's detected. This breakout can be very handy in creating devices that warn the user of sunburn or detect the UV index as it relates to weather conditions.
Features
- Easy to use
Specification
- Operating Voltage: 3.3V DC
- Dimensions: 31.5(L)*24.5(W)*13(H)mm
Usage
The following sketch demonstrates a simple application of the module.
1. You need to prepare a Crowbits motherboard, such as Crowbits-UNO board.
2. Connect the module to the A2 and A3 interface of the Crowbits-UNO board, as shown in the figure:
3. Upload the following code to the Crowbits-UNO board.
/*
MP8511 UV Sensor Read Example
The MP8511 UV Sensor outputs an analog signal in relation to the amount of UV light it detects.
This sensor detects 280-390nm light most effectively. This is categorized as part of the UVB (burning rays)
spectrum and most of the UVA (tanning rays) spectrum.
There's lots of good UV radiation reading out there:
*/
//Hardware pin definitions
int UVOUT = A3; //Output from the sensor
int REF_3V3 = A2; //3.3V power on the Arduino board
void setup()
{
 Serial.begin(9600);
 pinMode(UVOUT, INPUT);
 pinMode(REF_3V3, INPUT);
 Serial.println("MP8511 example");
}
void loop()
{
 int uvLevel = averageAnalogRead(UVOUT);
 int refLevel = averageAnalogRead(REF_3V3);
 //Use the 3.3V power pin as a reference to get a very accurate output value from sensor
 float outputVoltage = 3.3 / refLevel * uvLevel;
 float uvIntensity = mapfloat(outputVoltage, 0.99, 2.9, 0.0, 15.0);
 Serial.print("MP8511 output: ");
 Serial.print(uvLevel);
 Serial.print(" MP8511 voltage: ");
 Serial.print(outputVoltage);
 Serial.print(" UV Intensity (mW/cm^2): ");
 Serial.print(uvIntensity);
 Serial.println();
 delay(100);
}
//Takes an average of readings on a given pin
//Returns the average
int averageAnalogRead(int pinToRead)
{
  byte numberOfReadings = 8;
  unsigned int runningValue = 0;
  for(int x = 0 ; x < numberOfReadings ; x++)
    runningValue += analogRead(pinToRead);
  runningValue /= numberOfReadings;
  return(runningValue);
}
//The Arduino Map function but for floats
float mapfloat(float x, float in_min, float in_max, float out_min, float out_max)
{
  return (x - in_min) * (out_max - out_min) / (in_max - in_min) + out_min;
}
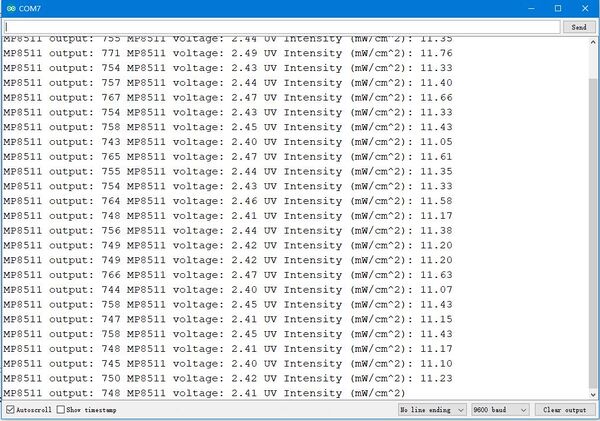
4. After the upload is successful, open the serial port monitor, the baud rate is set to 9600, you can see the following print information.


