RC070M 7 inch 1024 X 600 Touch Screen Display with 720P Camera for Raspberry Pi/ MacBook Pro./ Windows 10
Description
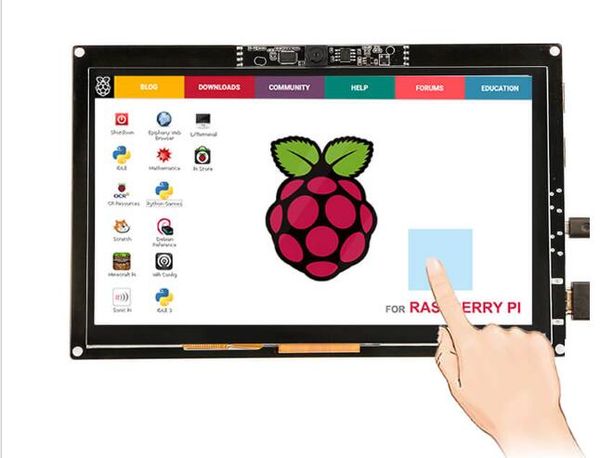
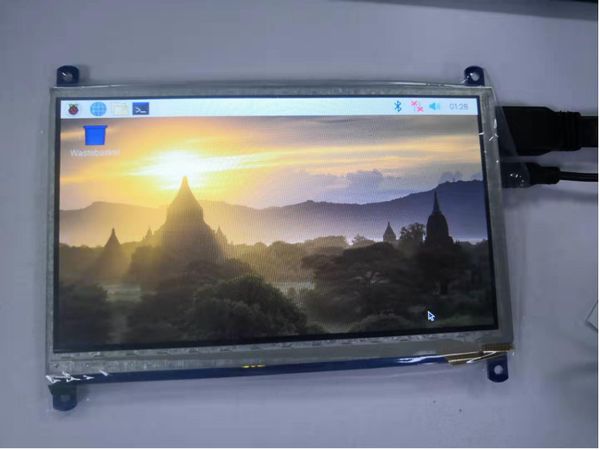
This is a wonderful 7 inch HDMI monitor with capacitive touchscreen and 720p camera module and it's driver free. It's compatible for Raspberry Pi, beagle bone black, windows 10 and Mac book pro. It works well on these platforms, easy to plug and play, all you need to do is to adjust the resolution on Raspberry Pi. What exciting is that it has been extended with two USB HOST ports, that allows you connect more devices to your screen, such as the USB dongle or the USB mouse or keyboard. If you want to use it with your Raspberry Pi, you could edit config.txt to set the HDMI to the native 1024 x 600 in case it doesn't detect the resolution properly. The easiest way to edit config.txt is to insert the Pi TF card using any text editor and save the edit config.txt.
Model:RC070M
Features
- It supports multi-point touch.
- Low power consumption and compatible with UVC standard.
- USB capacitive touch control.
- Free driver, plug and play.
- Supports Raspbian, Ubuntu Mate, NOOBS with Raspberry Pi.
- Supports Debian, Angstrom with BeagleBone.
- Supports Windows / Ubuntu / Mac with PC.
- Supports Intel-Processor Base MiniPC.
- ULP (Ultra Low Power) consumption backlight.
- Extend Two USB HOST Ports.
Specifications
- Power: 5V power by USB Micro
- Current: max 500mA
- Display type: 7 inch TFT LCD
- Resolution: 1024 x 600
- Touch screen: USB capacitive
- Touch points: 10 points maximum
- Interface: HDMI, USB 2.0 full speed
- Dimension: 177.06mm x 113.09mm x 15.2mm
Usage
1: Connect Raspberry Pi to use
- Step 1: Please download the image of the latest version from Raspberry Pi's website.
https://www.raspberrypi.org/downloads/raspbian/
- Step 2: Download the compressed file to your PC and unpack it to get the .Img file.
- Step 3: The TF card is connected to the PC and formatted using the “SDFormatter” software.
- Step 4: Open the “Win32DiskImager” software, select the system image prepared in step 1), and click write to burn the system image.
- Step 5: After the programming is completed, open the “config.txt” file in the root directory of the TF card, and add the following code at the end of “config.txt” to save and safely eject the TF card.
hdmi_group=2
hdmi_mode=87
hdmi_cvt 1024 600 60 3 0 0 0
hdmi_force_hotplug=1
- Step 6: Save and insert the TF card into the Raspberry Pi.
- Step 7: Connect the touch interface of the 7-inch screen to the USB interface of the Raspberry Pi with Micro USB cable.
- Step 8: Connect the HDMI interface of the 7-inch screen to the HDMI interface of the Raspberry Pi, power on the Raspberry Pi, and wait for a few seconds to display normally.
2: Use as PC monitor
- Step 1: Connect the computer HDMI output signal to the LCD HDMI interface by using the HDMI cable.
- Step 2: Connect the LCD's USB Touch interface to the USB port of the device.
- Step 3: If there are several monitors, please unplug other monitor connectors first, and use LCD as the only monitor for testing.

