Crowbits-LED Bar
Description
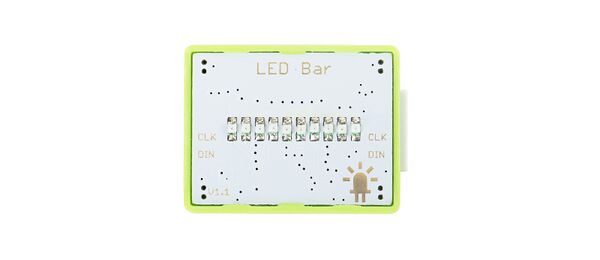
The LED light bar is a digital output module. Through the light bar, you can display the battery power, voltage value, water depth, sound size, and any other scene that needs to represent the gradient value.
Features
- Detect various signals
Specification
- Interface Type:GPIO
- Operating Voltage: 3.3V DC
- Dimensions: 31.5(L)*24.5(W)*13(H)mm
Application Ideas
- Display test information
Usage
The following sketch demonstrates a simple application of digital display.
1.You need to prepare a Crowbits motherboard, such as Crowbits-UNO board.
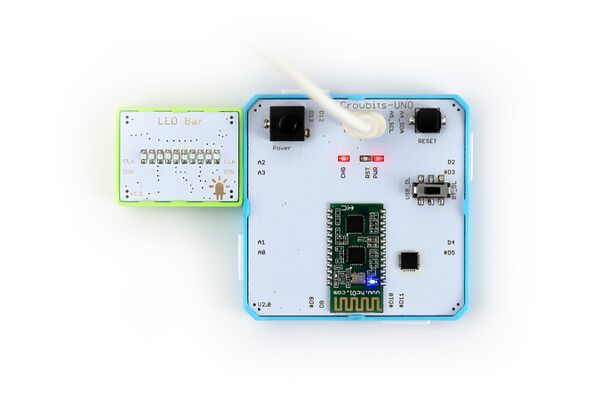
2.Connect the module to the D2 and D3 interface on the Crowbits-UNO board, as shown in the figure:
3.Download the library Crowbits-LED Bar library. Unzip and put it in the libraries file, for example: C:\Program Files (x86)\Arduino\libraries.
4.Upload the following code to the Crowbits-UNO board.
/*
  Crowtai LED Bar - Level Example
  This example will show you how to use setLevel() function of this library.
  The setLevel() function illuminates the given number of LEDs from either side.

  Syntax setLevel(level)
  0  = all LEDs off
  5  = 5 LEDs on
  10 = all LEDs on
*/

#include <Grove_LED_Bar.h>
Grove_LED_Bar bar(2, 3, 0);  // Clock pin, Data pin, Orientation

void setup()
{
  // nothing to initialize
  Serial.begin(9600);
  bar.begin();
}

void loop()
{
  // Walk through the levels
  for (int i = 0; i <= 10; i++)
  {
    bar.setLevel(i);
    delay(1000);
  }

}
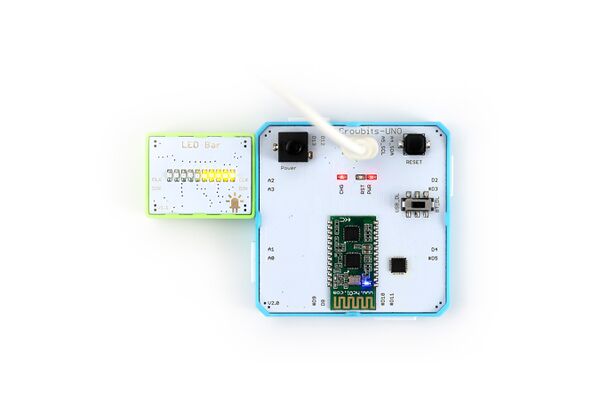
5. After the code is uploaded successfully, you will see the light bar change.


