Pi Terminal Node Red Tutorial
Node Red Introduction
Node-RED is an open source visual interface development tool for building IoT applications. It provides a browser-based flow editor. Through the programming method of dragging and dropping connection nodes, hardware and devices can be quickly connected to Web services and other software. It can be deployed and run with one click. The created process can also be easily transplanted by exporting and importing JSON files. It is a lightweight open source tool built on Node.js, which is very suitable for running on low-cost edge devices such as Raspberry Pi and the cloud. Compatible operating environments are as follows:
Local servers: including any Debian-based operating system (Ubuntu, Diet-Pi), RedHat, Fedora, CentOS, Windows, Docker, KylinOS (domestic Galaxy Kirin), etc.
Equipment: Raspberry Pi, BeagleBone Boards, Arduino, Android
Cloud: IBM Cloud, SenseTecnic FRED, Amazon Web Services, Microsoft Azure, Alibaba Cloud, etc.
Features of Node-RED: graphical programming, rich API library, high extensibility, and a large number of nodes are available for download and use
Node-RED can obtain the collected data at the data layer or device layer by installing modules in the repository, and can also process and convert the collected data into a custom json format for page display or storage.
In addition to some basic network service application nodes such as HTTP and WebScoket, Node-RED also provides connection support for the MQTT protocol. Currently, an MQTT subscription node and an MQTT publishing node are provided at the same time. The subscription node is used for data input, while the publishing node can be used for data output.
How to create nodes
Next, we will explain how to create a custom node and use the specified driver. There are also detailed customization guidelines on the nodered official website for detailed reading: https://nodered.org/docs/creating-nodes/
Create a node directory
First, we need to create a directory. This directory is used to store all the information files of the custom node. For example, I create a myNode directory in my home directory to store all custom nodes.

Next, follow the example on the official website to create lower-case.
Create the required files
-
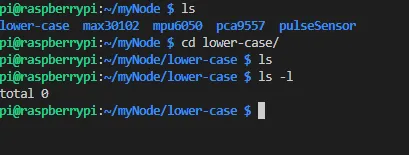
First create a directory lower-case and enter it.
-
To create a simple node, you need the following three files.
-
paskage.json: the registration description file.
-
lower-case.js: the node driver file, written in javascript.
-
lower-case.html: the display style file of the node on the web page.

-
-
The .json file can be created as a template using the command npm init.
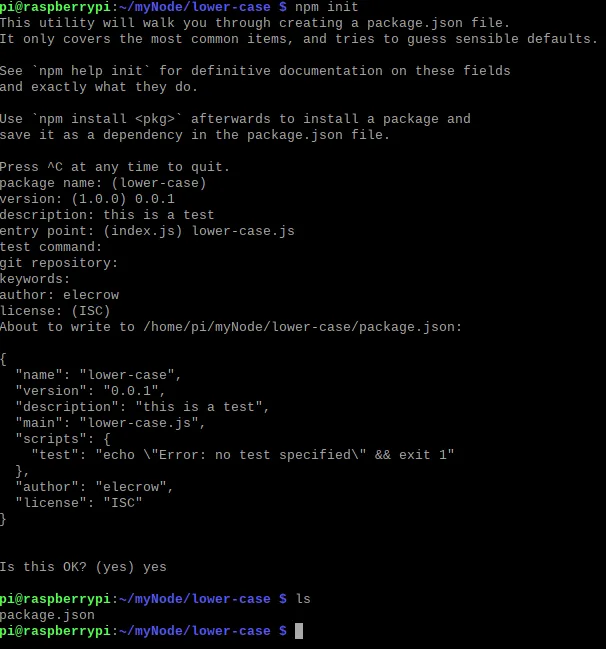
After enter npm init, the system will give a prompt, and you need to enter the corresponding description according to the prompt. After confirmation, a .json file will be automatically generated.
-
Manually create the lower-case.js file:
module.exports = function(RED) {
   function LowerCaseNode(config) {
      RED.nodes.createNode(this,config);
      var node = this;
      node.on('input', function(msg) {
            msg.payload = msg.payload.toLowerCase();
            node.send(msg);
      });
   }
   RED.nodes.registerType("lower-case",LowerCaseNode);
}
This code will call this function when the node is dragged out to run and load, and the function is called with only one parameter
RED, which provides the module with access to the Node-RED runtime api. The node itself is defined by the functionLowerCaseNode, which is called whenever a new node instance is created. The function is passed an object containing the node-specific properties set in the flow editor. The function calls theRED.nodes.createNodefunction to initialize the characteristics shared by all nodes. After that, the node-specific code begins to run. In this case, the node registers an input event listener, which is called whenever a message arrives at the node. In this listener, it changes the payload to lowercase and then calls the send function to pass the message in the flow. Finally, theLowerCaseNodefunction is registered at runtime with the node name lowercase. -
Manually create lower-case.html.
The HTML file for a node provides the following:
-
The main node definition registered in the editor
-
The editing template
-
Help text
In this case, the node has only one editable property, the name. Although not required, there is a widely used convention for this property to help distinguish multiple node instances in a single process. The .html text content is as follows:
<script type="text/javascript"> RED.nodes.registerType('lower-case',{ category: 'function', color: '#a6bbcf', defaults: { name: {value:""} }, inputs: 1, outputs: 1, icon: "file.svg", label: function() { return this.name||"lower-case"; } });</script> <script type="text/html" data-template-name="lower-case"> <div class="form-row"> <label for="node-input-name"><i class="fa fa-tag"></i> Name</label> <input type="text" id="node-input-name" placeholder="Name"> </div></script> <script type="text/html" data-help-name="lower-case"> <p>A simple node that converts the message payloads into all lower-case characters</p></script> -
Install nodes
After you have the most basic files required above, you can go to the node installation directory and install the node. After the nodered software is installed(The PiTerminal image has NodeRed installed. Just click to open the NodeRed software and start the server running in the background.), a hidden directory .node-red/ will be generated in the system's home directory /home/pi
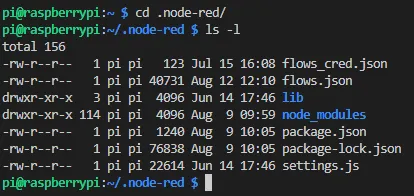
The node_modules directory stores all the driver directories for the nodes we have installed. We will temporarily use /home/pi/.node-red/ as the root directory of nodered. In the root directory, use the command:
npm install *****(here is the directory path of your node)
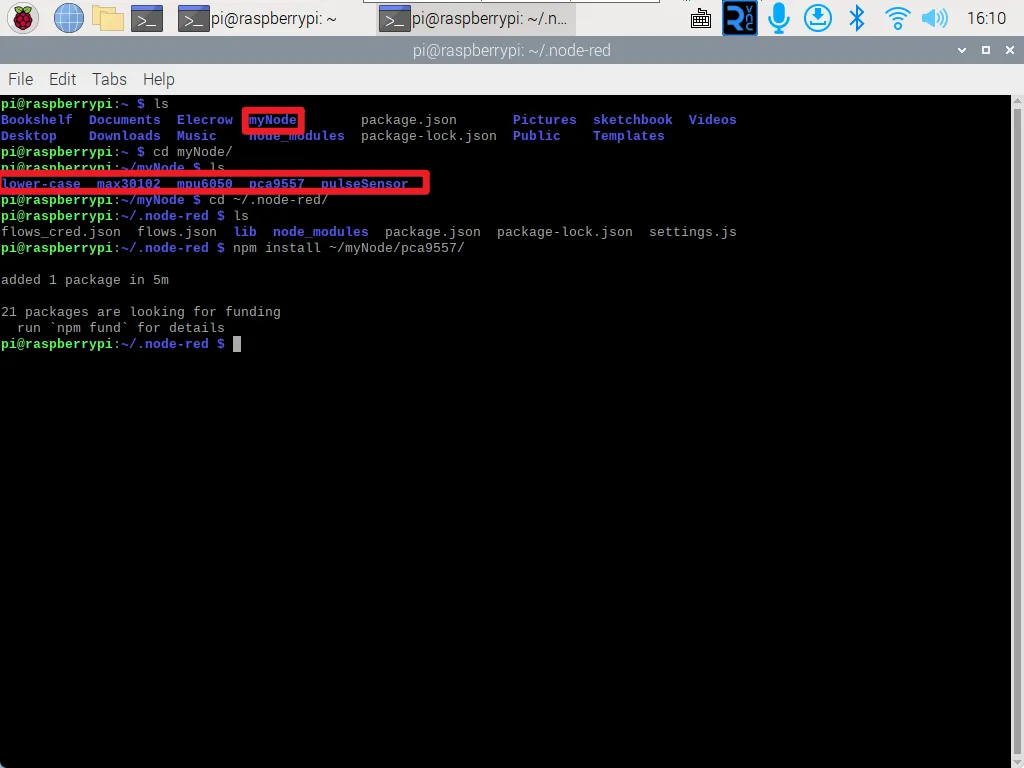
Take the node I created as an example. The custom node I created is in home/pi/myNode/lower-case/. The tree structure is as follows
So I can install it according to the relative (absolute) path (absolute path is recommended), that is: npm install /home/pi/myNode/lower-case
I put all the directories of custom nodes in /home/pi/myNode/. When installing the node, go to the /home/pi/.node-red/ directory and run the command to install it (remember to specify the directory path of the custom node)
Reboot server
After the installation is successful, restart the nodered server, and you can view your node lower-case in the node column on the left side of the panel
Pi Terminal+Node Red Application
Start up Node Red Server
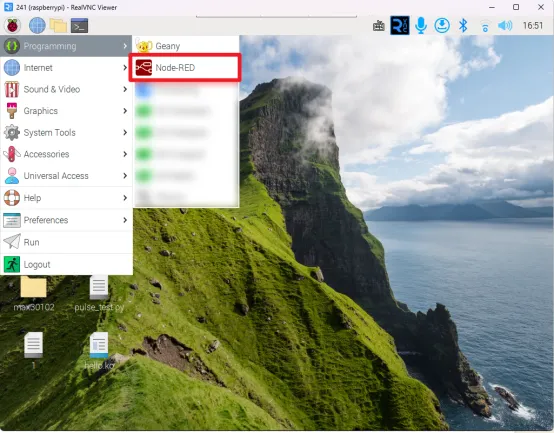
Since the NodeRed software is installed in the PiTerminal image, you only need to click to open the NodeRed software and let the server run in the background.
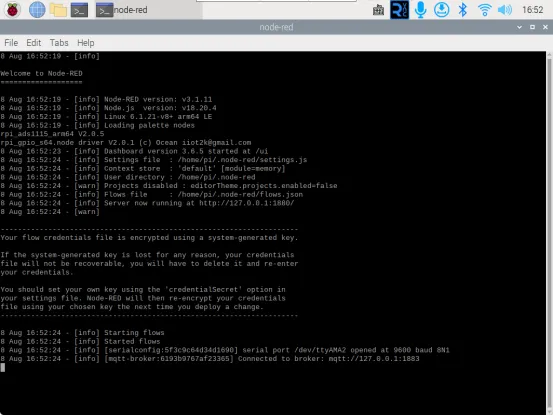
After opening the server, the terminal will also display the log information of the server operation
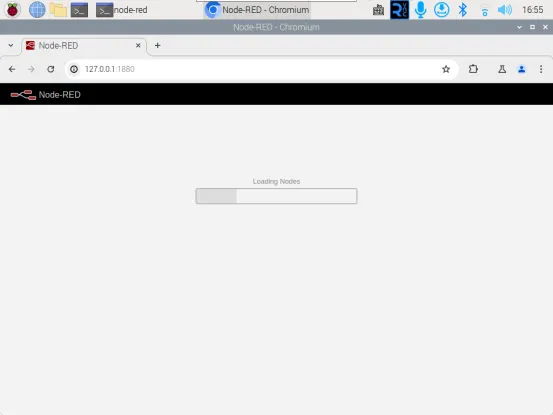
Now you can use any device in the LAN to access the local server's IP address + port number (fixed 1880) to access the NodeRed node panel. You can also directly open the browser in the Raspberry Pi system and enter 127.0.0.1:1880 to access
Basic introduction to node
Since NodeRed is a programming method that connects nodes by dragging and dropping, you only need to drag the corresponding nodes in the node bar on the left side of the browser panel and place them, and connect them with a more logical input and output relationship.
-
Let me introduce the most basic inject node and debug node.
The
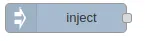 node is the most basic input node, which mainly outputs corresponding information to the downstream node. The type of information can be global variable type, string type, integer type, Boolean type, JSON data, buffer type or timestamp type, etc. Just double-click the inject node in the panel to perform the corresponding configuration.
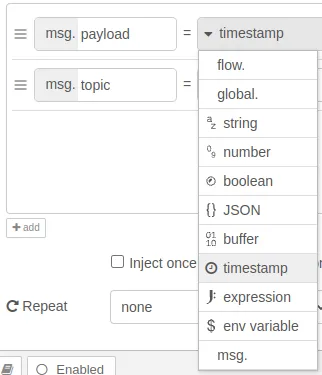
The function of the
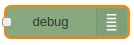 node is to print the output information of the upstream node. The printed information data content will be displayed on the debugger.
 -
After placing the two nodes, you can connect the two nodes

-
Then click the red button Deploy (equivalent to compile) in the upper right corner.
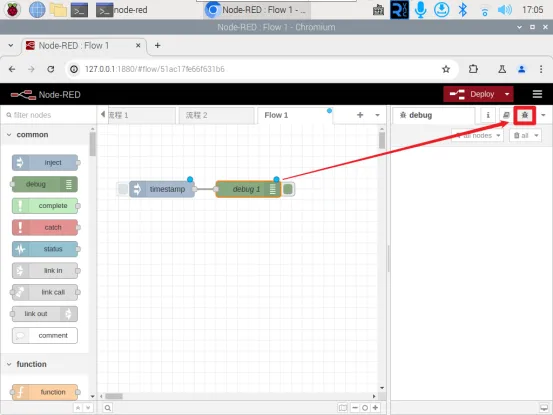
-
Clicking the blue square on the left side of timestamp is equivalent to triggering an inject output operation, and the corresponding debugging information will appear in the debug bar.
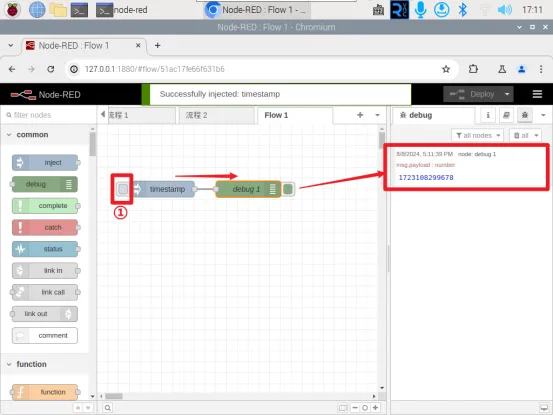
Note that the debugging information here is displayed using integer data, but the actual output information is a timestamp. You can configure the actual data you want to output in inject.
Install node-red-dashboard
-
Enter https://nodered.org/, you can find "flows" in the top navigation bar. Various nodes can be found in it.
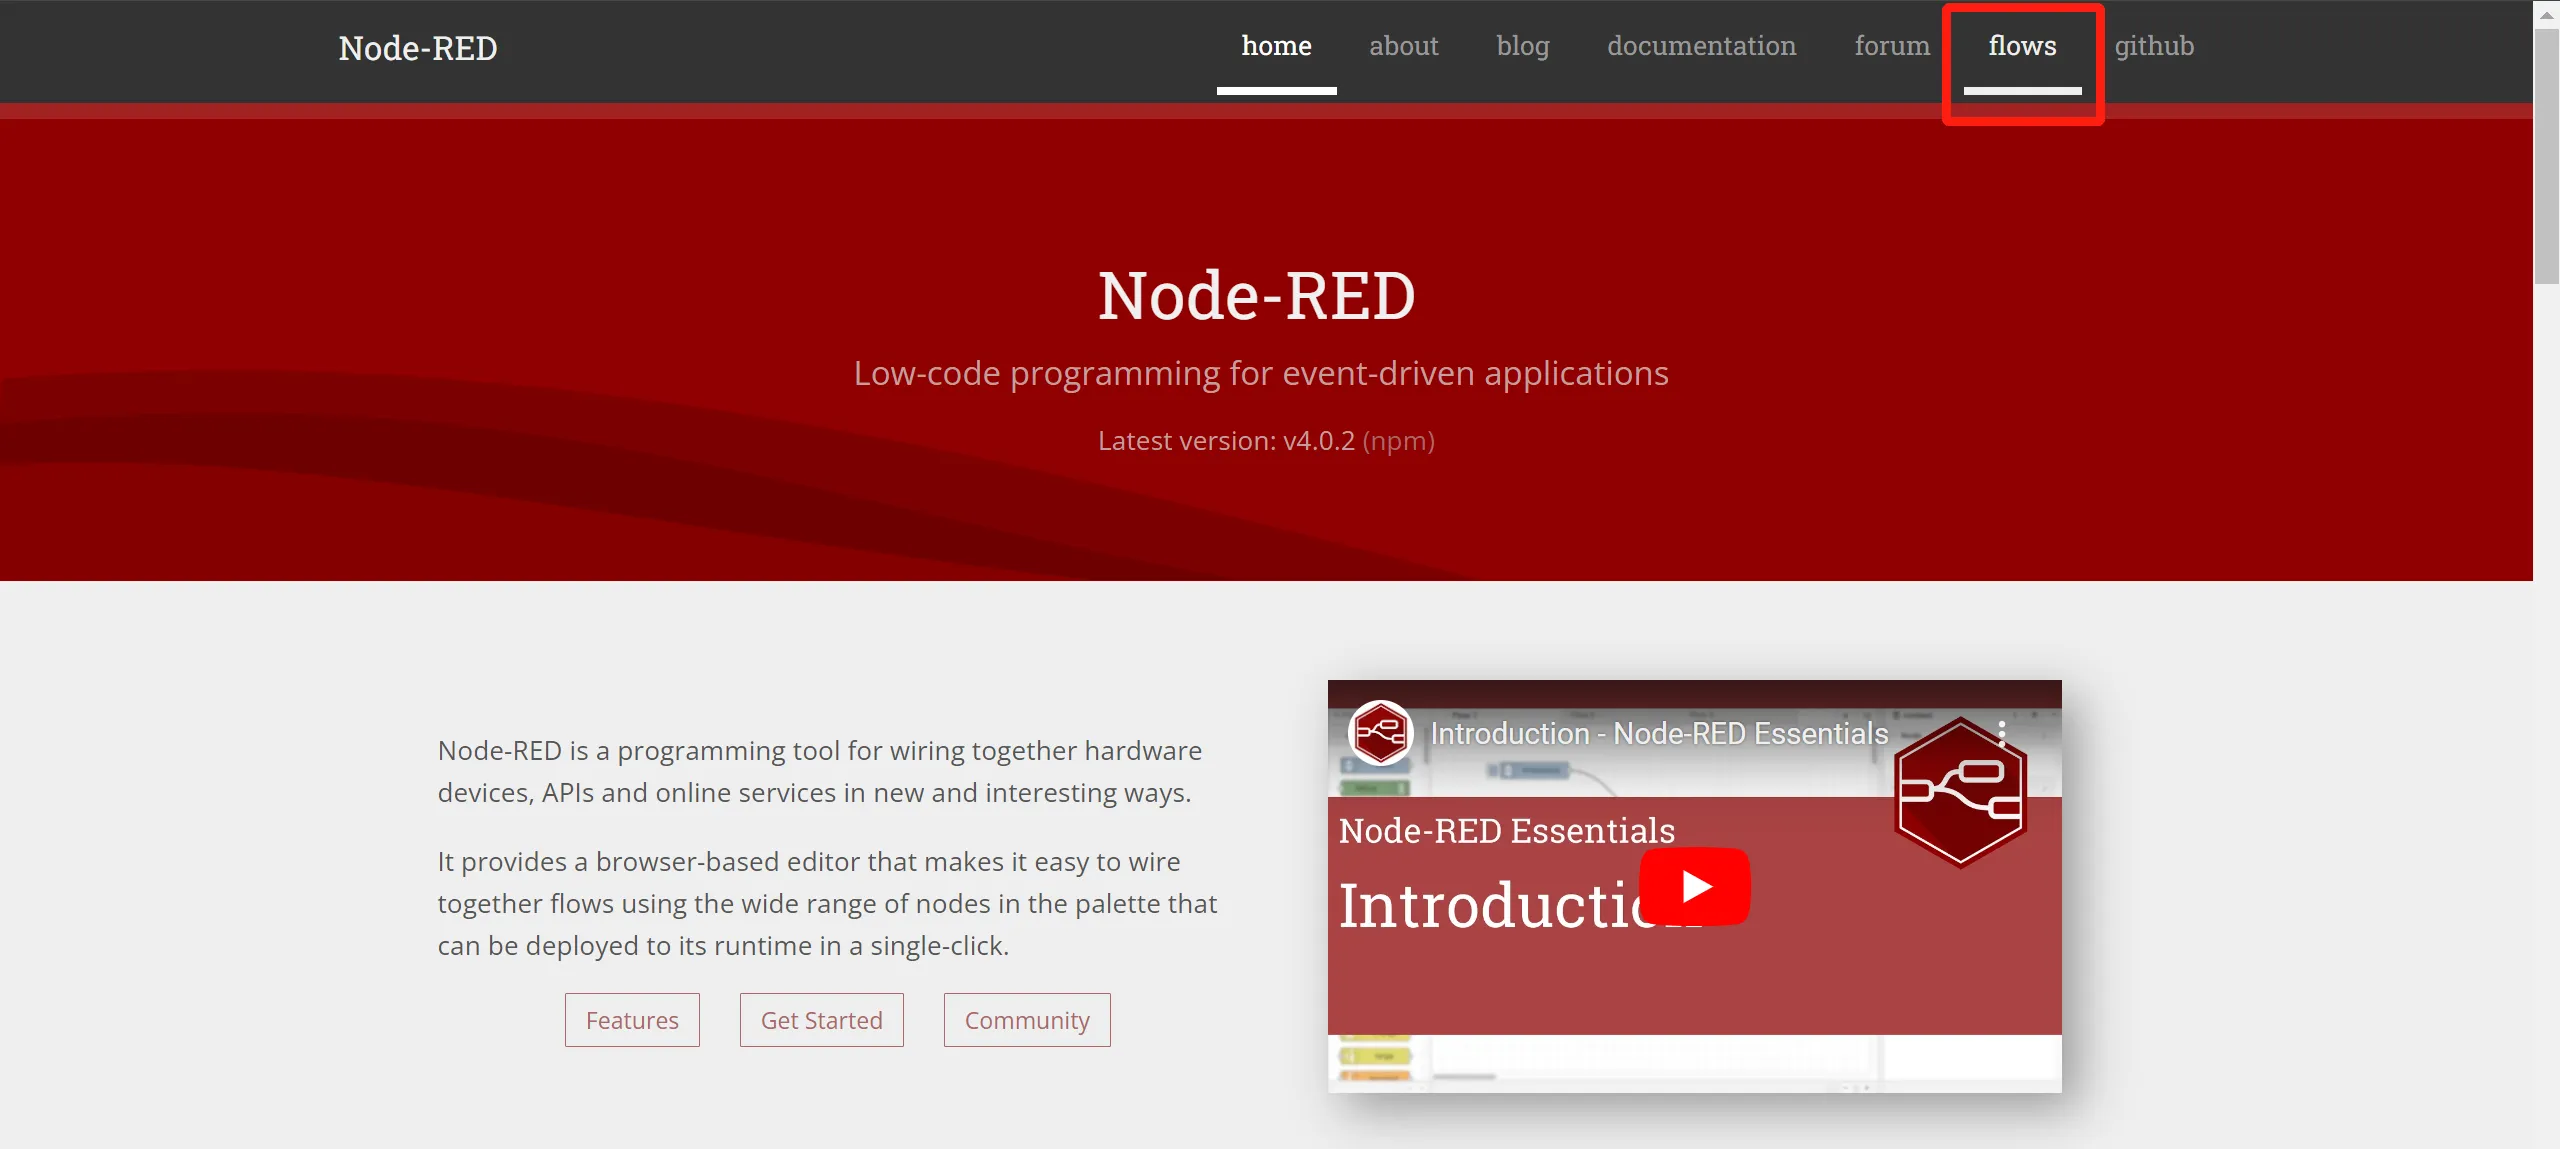
-
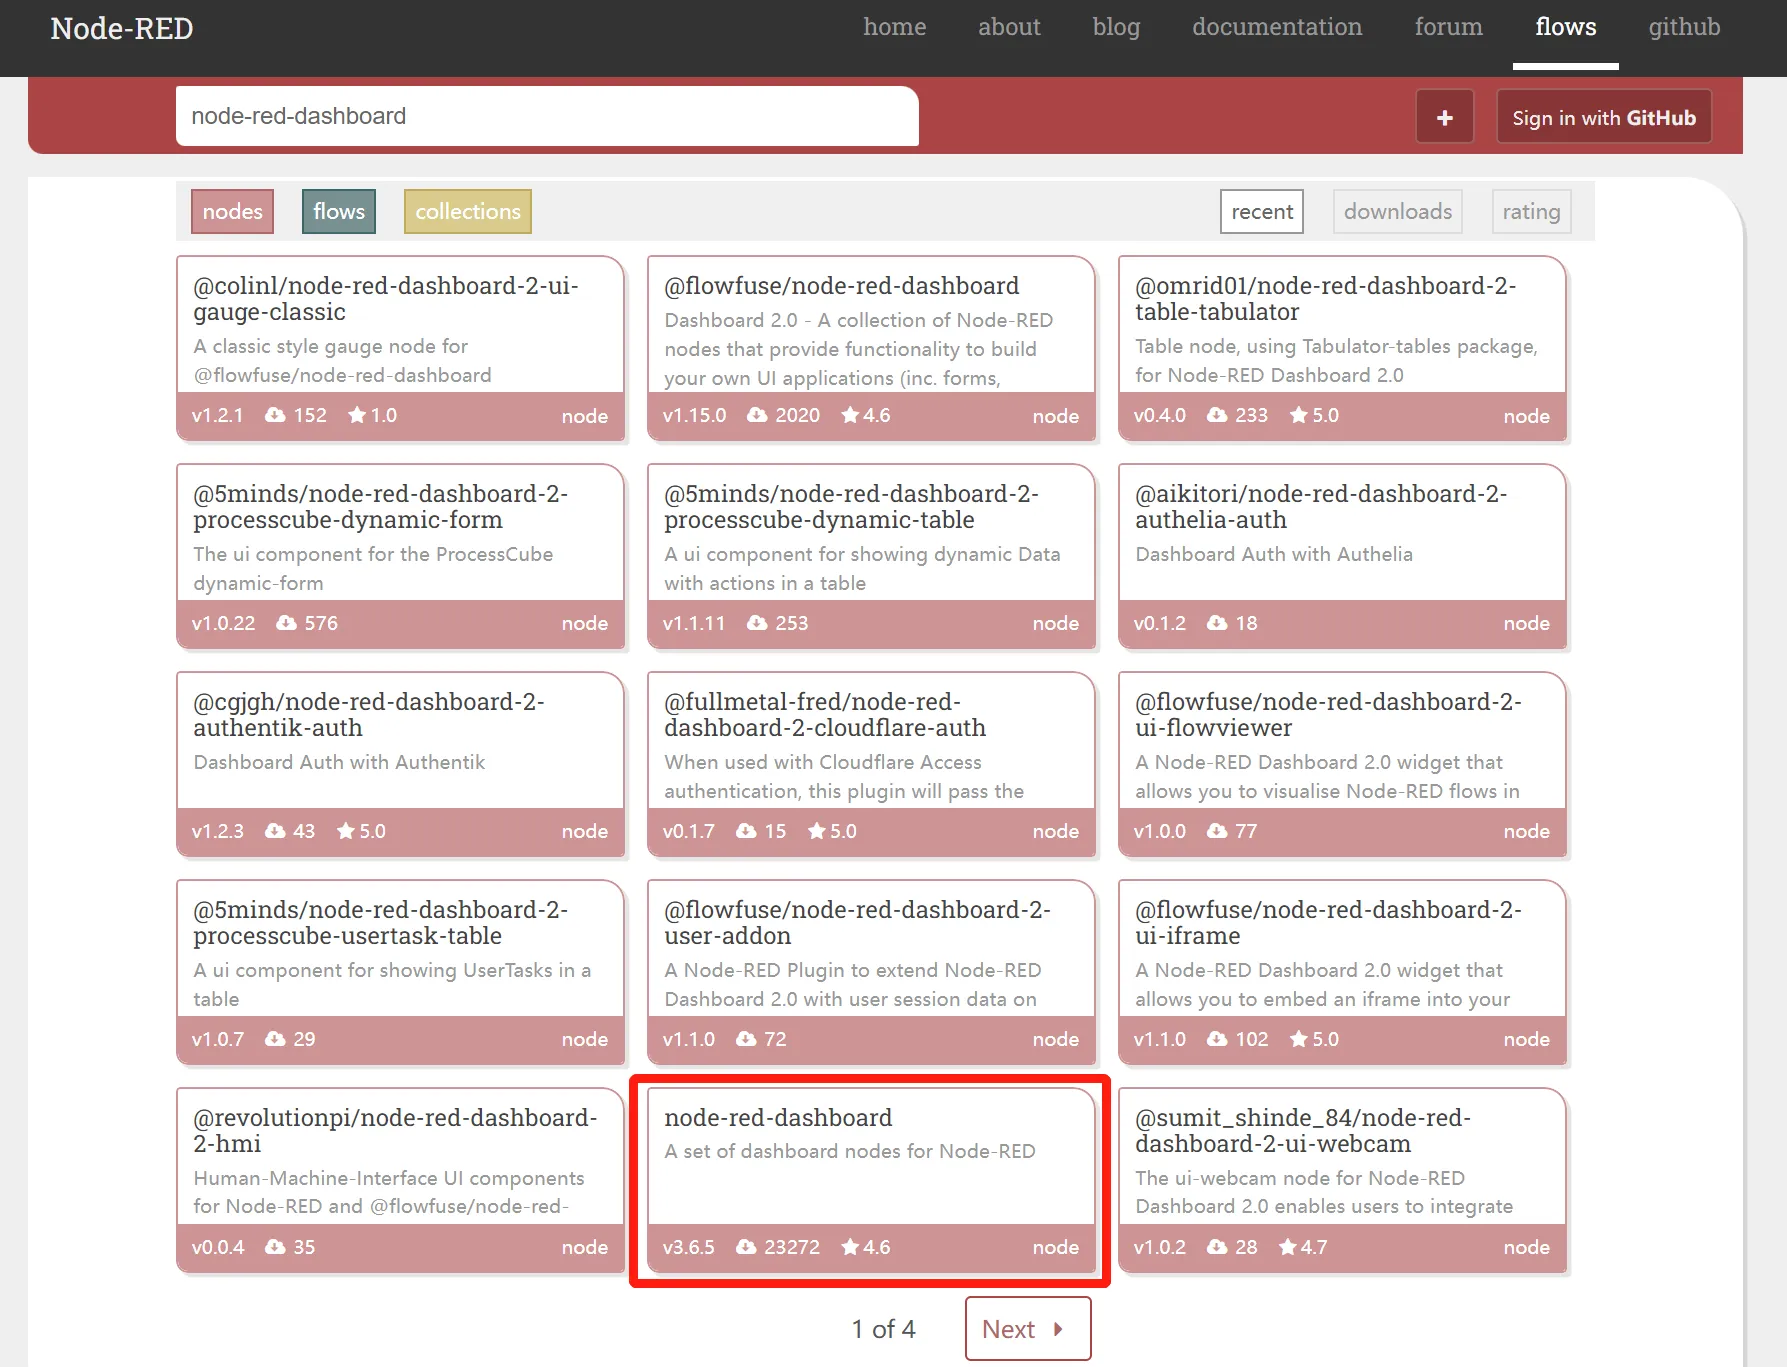
Search for node-red-dashboard. This module provides a set of nodes in Node-RED to quickly create a live data dashboard. Click the card and enter https://flows.nodered.org/node/node-red-dashboard. There will be detailed descriptions, usage, installation instructions, examples, etc.
-
I will introduce 2 methods to install node-red-dashboard.
Method A
In the terminal, type the command
cd ~/.node-redto enter the ~/.node-red directory of the Raspberry Pi, and then use the command:npm i node-red-dashboardto install node-red-dashboard.Method B(Recommended)
a. Open the browser in the Raspberry Pi system and enter 127.0.0.1:1880 to access the NodeRed node panel.
b. Click the drop-down menu and click "Manage palette".
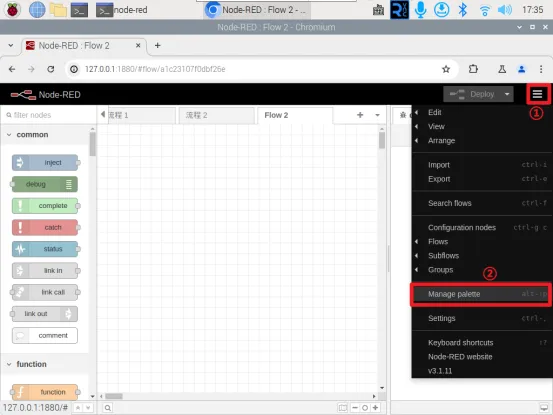
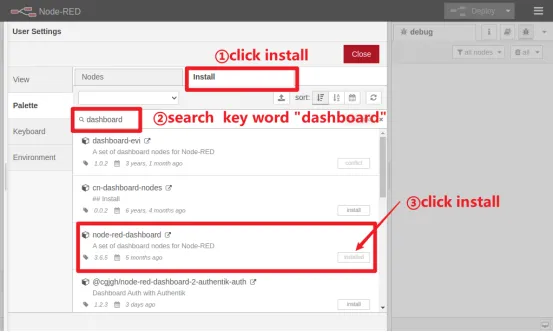
c. Click "Install" in the Palette setting window, and search for "dashboard" or "node-red-dashboard". Find "node-red-dashboard" then click "Install".
-
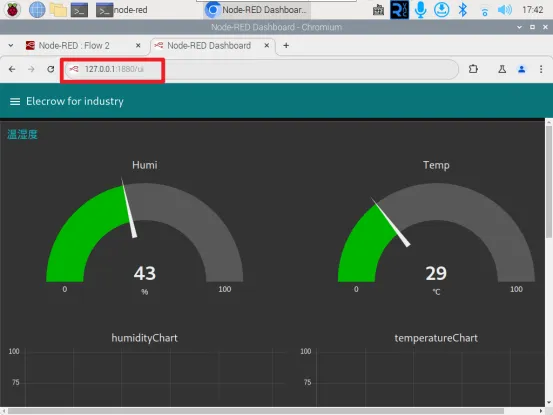
Drag the nodes to configure, then enter the URL: 127.0.0.1:1880/ui in the browser to access the corresponding ui
Example 1 Environment Monitor
Please click the card below to get started with example 1.

Example 2 Health Monitoring
Please click the card below to get started with example 2.