Get Started with SquareLine Studio
SquareLine Studio Brief Introduction
SquareLine Studio is a next-generation user interface (UI) solution for individuals and professionals that allows users to quickly and easily design and develop beautiful UIs for embedded devices. This software provides integrated design, prototyping and development capabilities, supporting the export of platform-independent C or MicroPython code for LVGL (Lightweight Graphics Library) that can be compiled and run on any vendor's device.
Install the SquareLine Studio Software
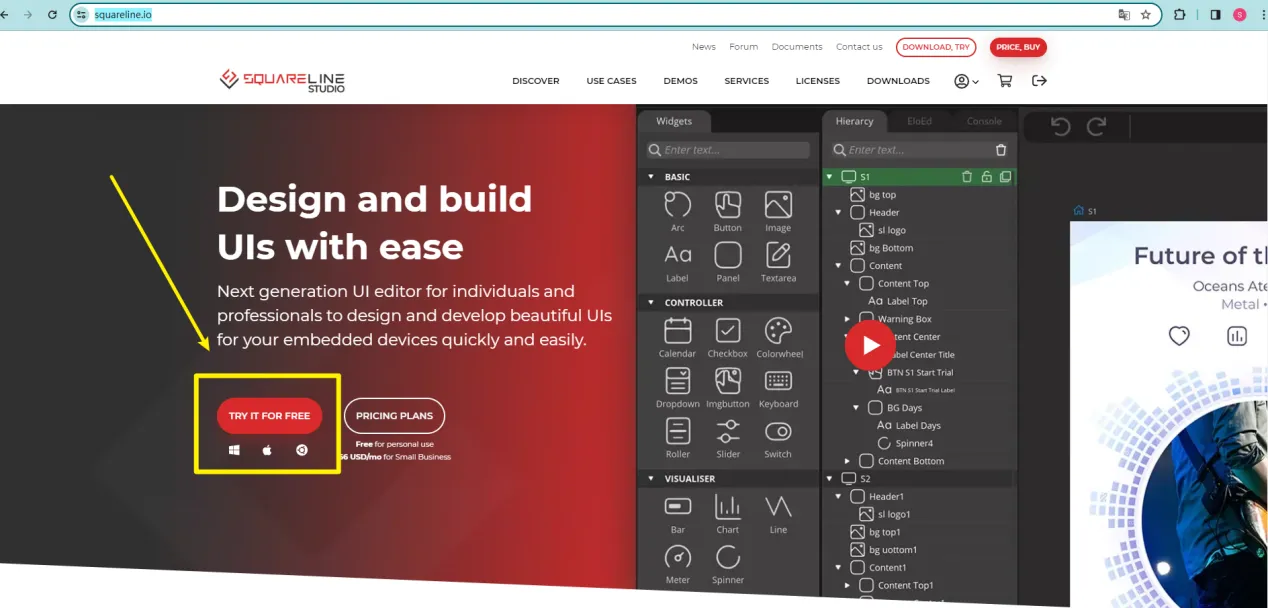
Enter the https://squareline.io/ to download the SquareLine installation file.
Download the version corresponding to your system (here we take the Windows version as an example, it is recommended to use version 1.3.4, which has one more simulation running function than version 1.4).
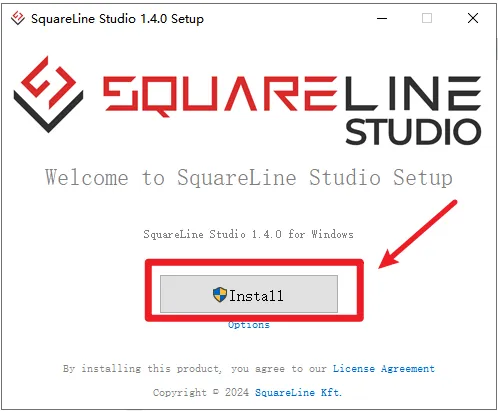
Double-click the setup.exe file.
Click install.
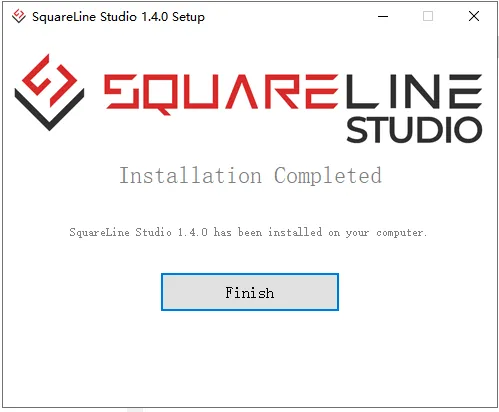
Wait for installation.
Installation finish.
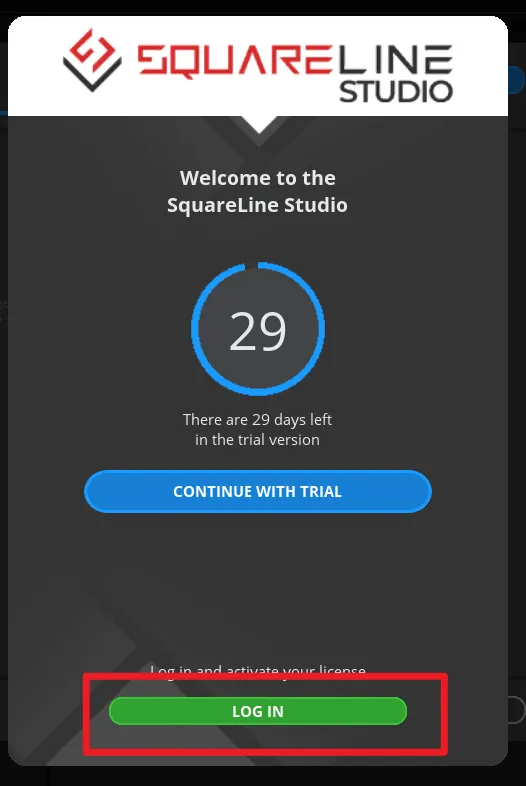
There is a 30-day trial period for the first time you use it. Please follow the prompts to register an account. You will continue to use it when you log in to your account next time.
Basic introduction of software interface
Enter the software
-
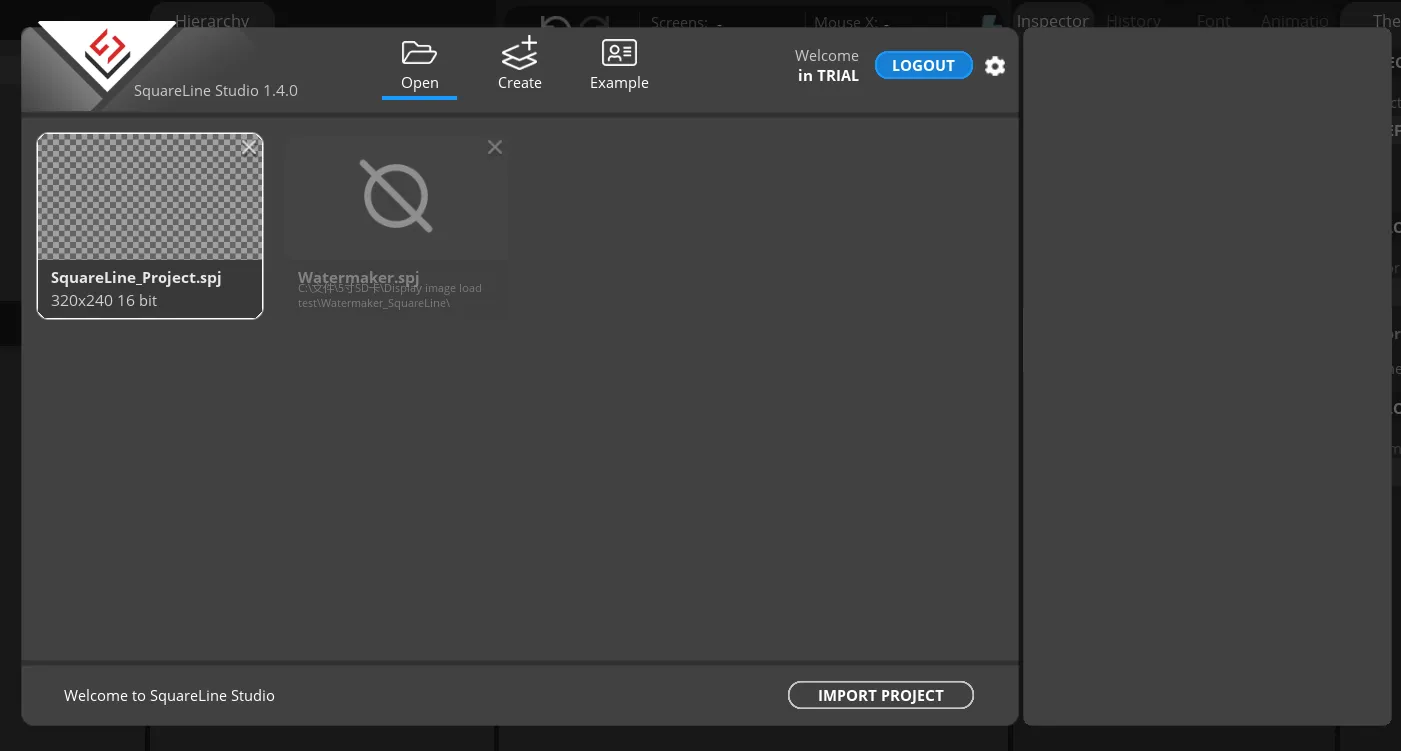
The historical project page: open the project built earlier.
-
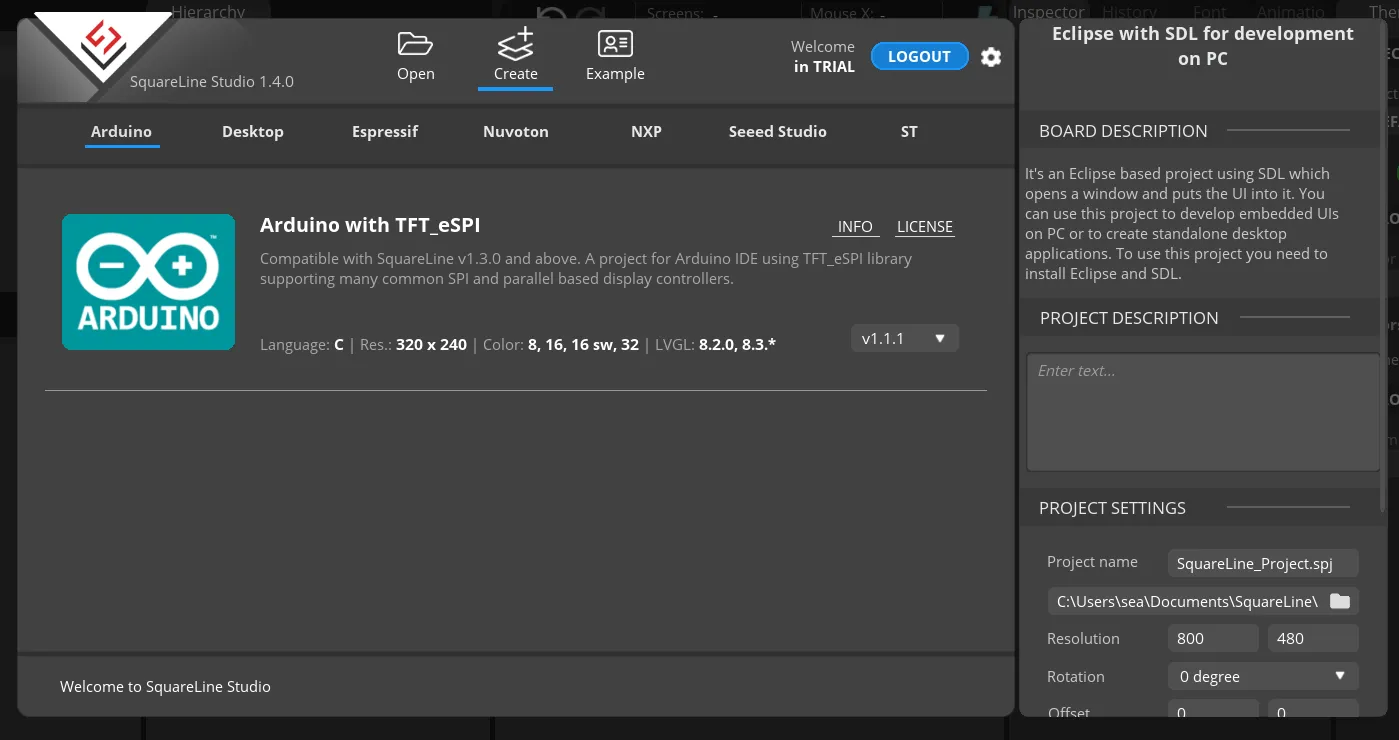
Create a project page: choose different platforms according to different hardware of the project.
Note:
When select the Arduino framwork, there's only one option "Arduino with TFT_eSPI". By choosing this, the squareline studio will generate a template code suitable for the TFT_eSPI library. However, squareline studio not only supports the TFT_eSPI library, it supports a variety of libraries to suit different hardware and application needs. For example, Adafruit_GFX library, LovyanGFX etc.
After using SLS to generate UI code, we then use different graphics libraries according to different hardware and modify the corresponding code to display the content you design.
-
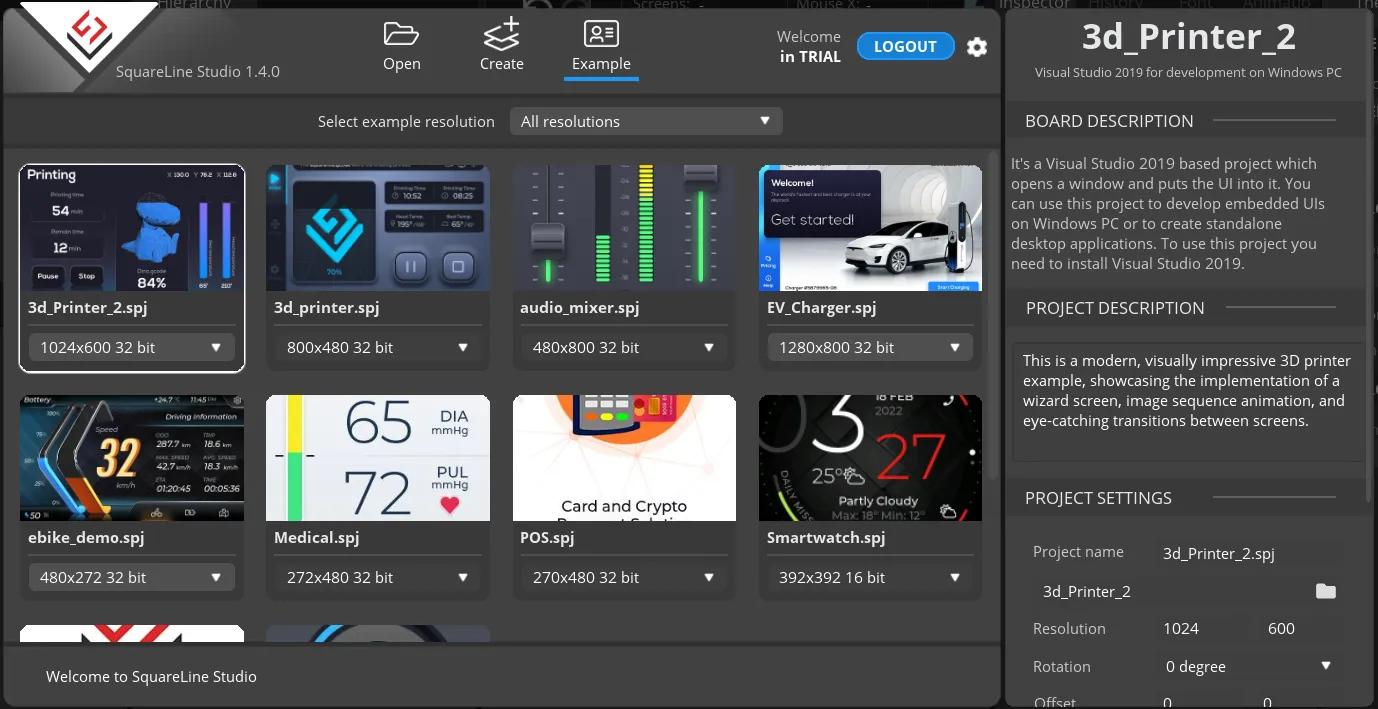
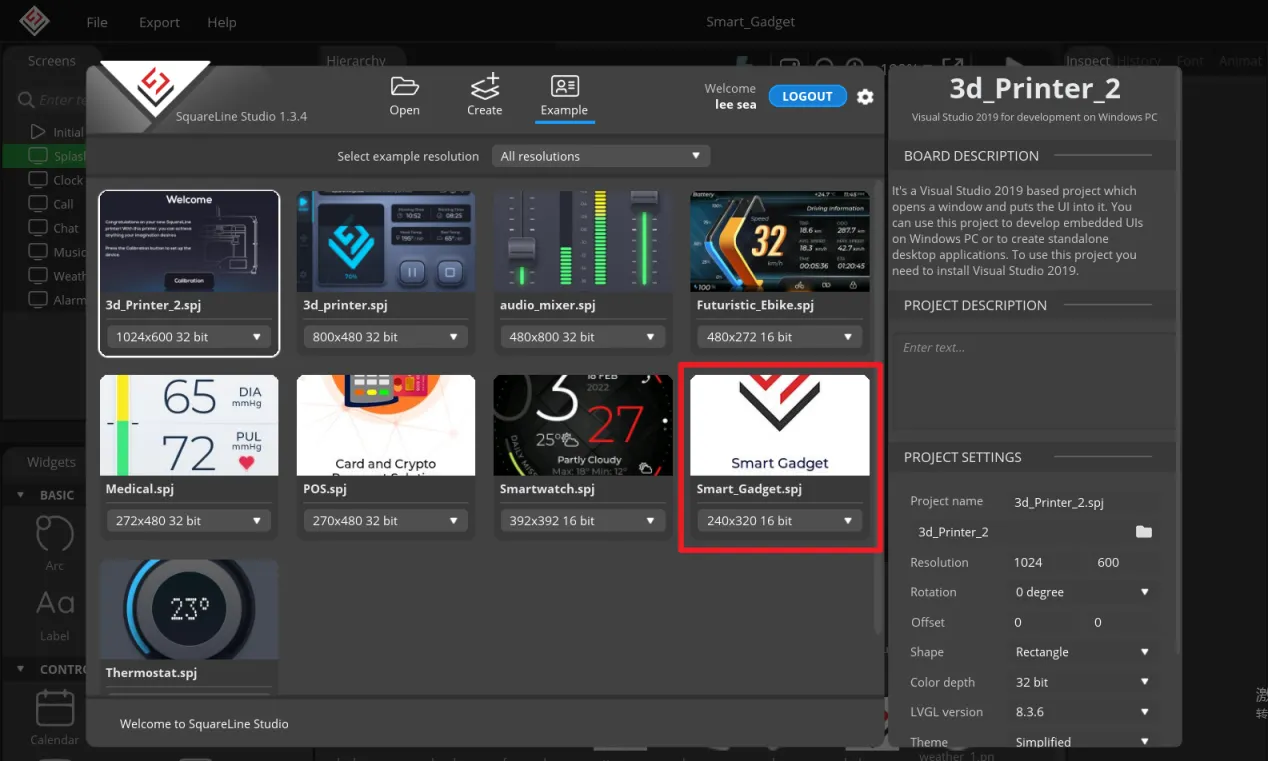
Example page. This page has several official examples for reference.
-
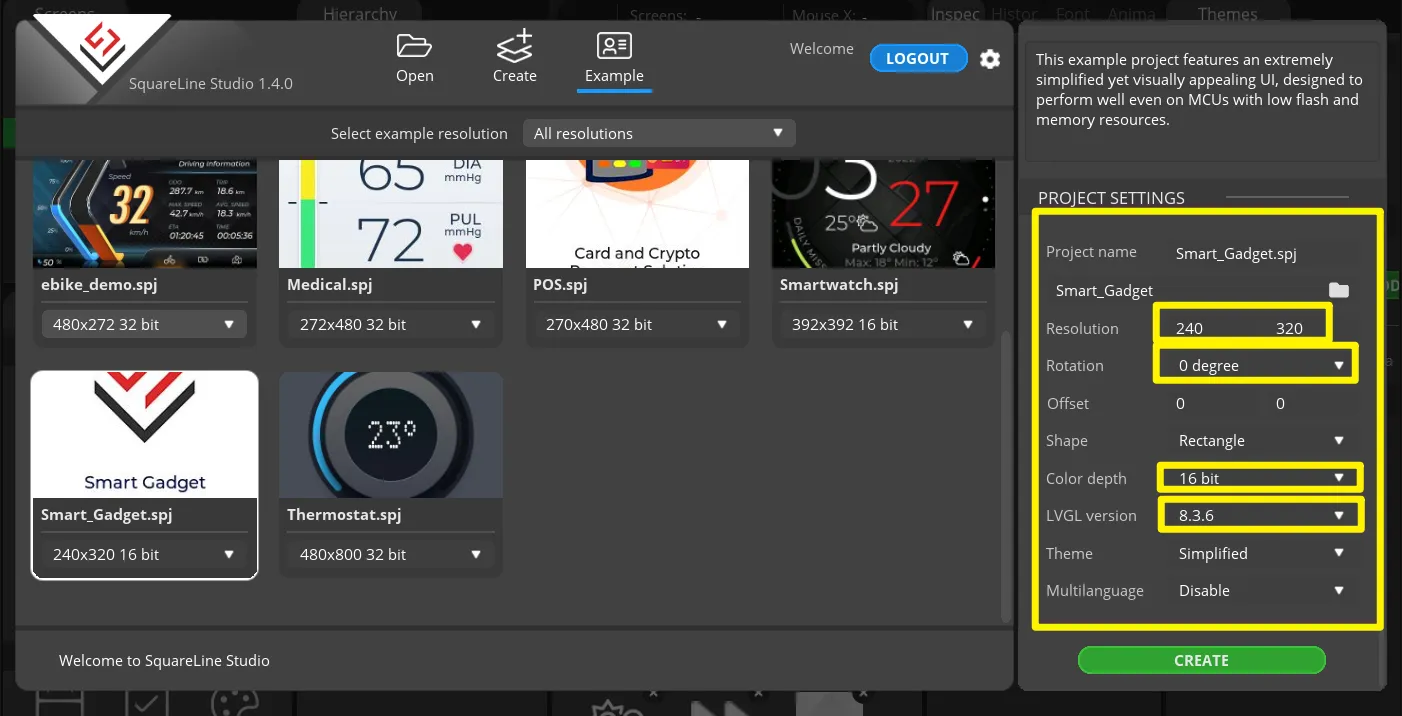
The project settings bar is used to make basic settings for the project, including property settings such as project name, screen size, display angle, etc.
Note: Please select the corresponding resolution and color depth according to the screen specifications.
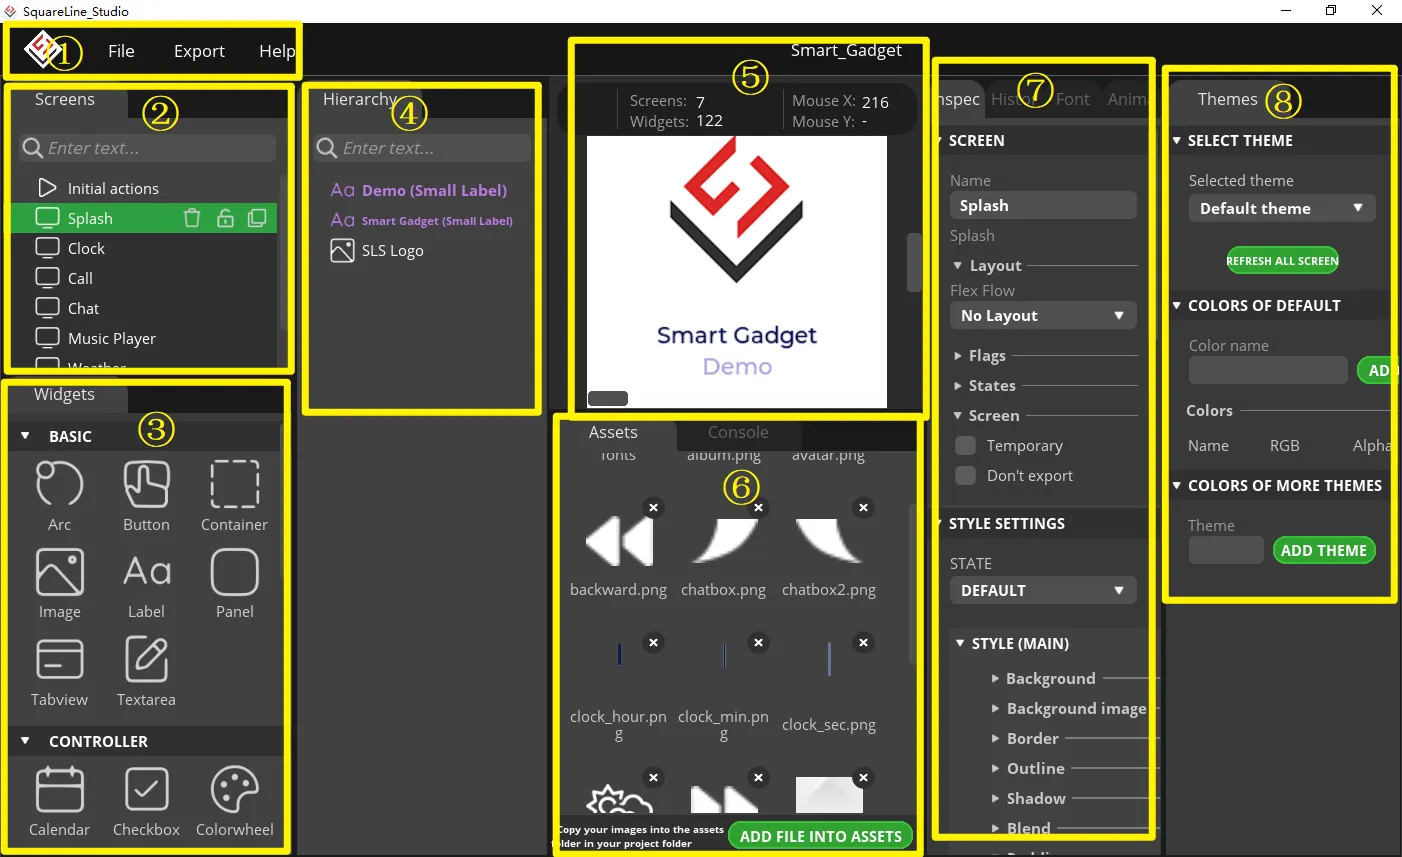
Operation Area
- Toolbar, including File, Export, and Help. Basic file operation bar, create or open files, export UI files and other operations. Click help and there are related introductory documents.
- Screen bar, the project screen will be listed here.
- Widget area, all widgets are here and can be selected and used according to project needs.
- Hierarchy area, it will show every widget used in each screen.
- This area shows the actual display effect, you can adjust the widgets or screen here.
- Material column, the added materials are displayed here.
- Setting bar, where you can make basic settings for each part, including the basic attributes and trigger operations of the part.
- Theme bar, different themes can be set.
Example Demonstration
-
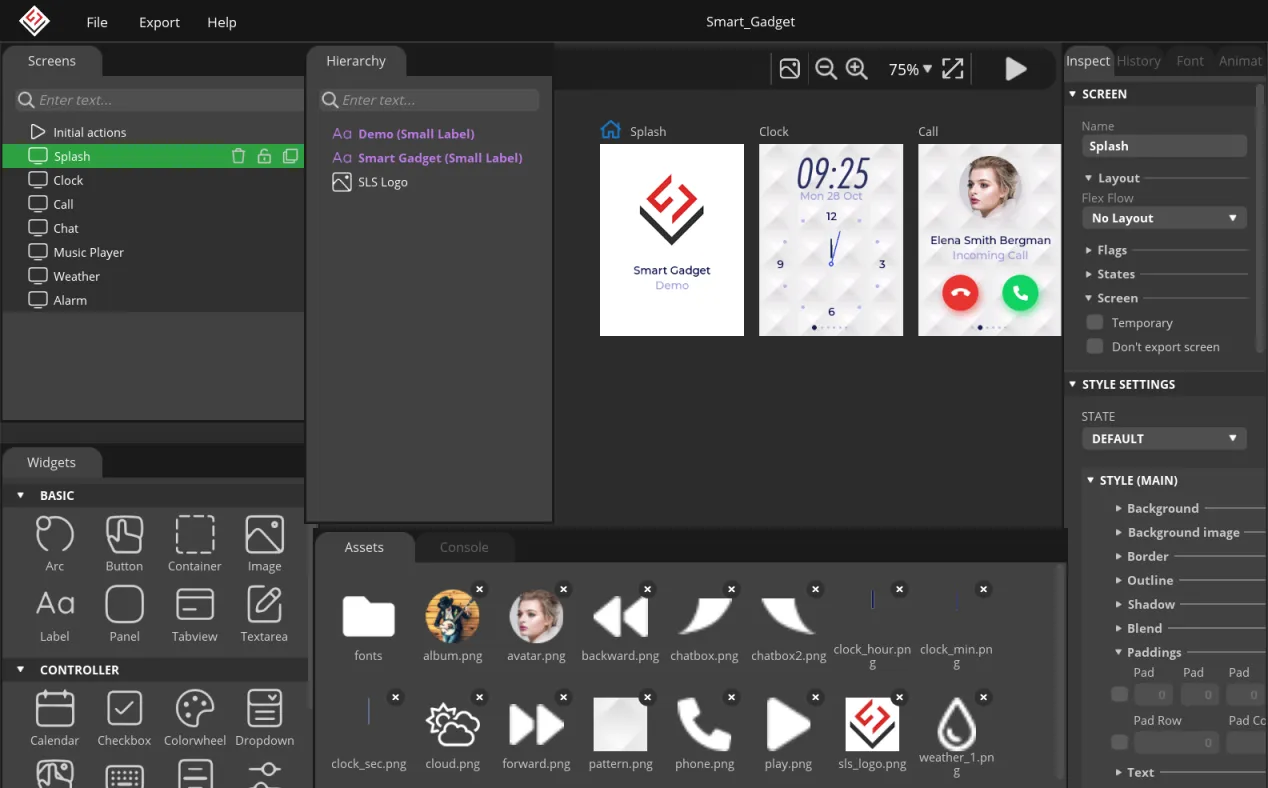
Open an example.
-
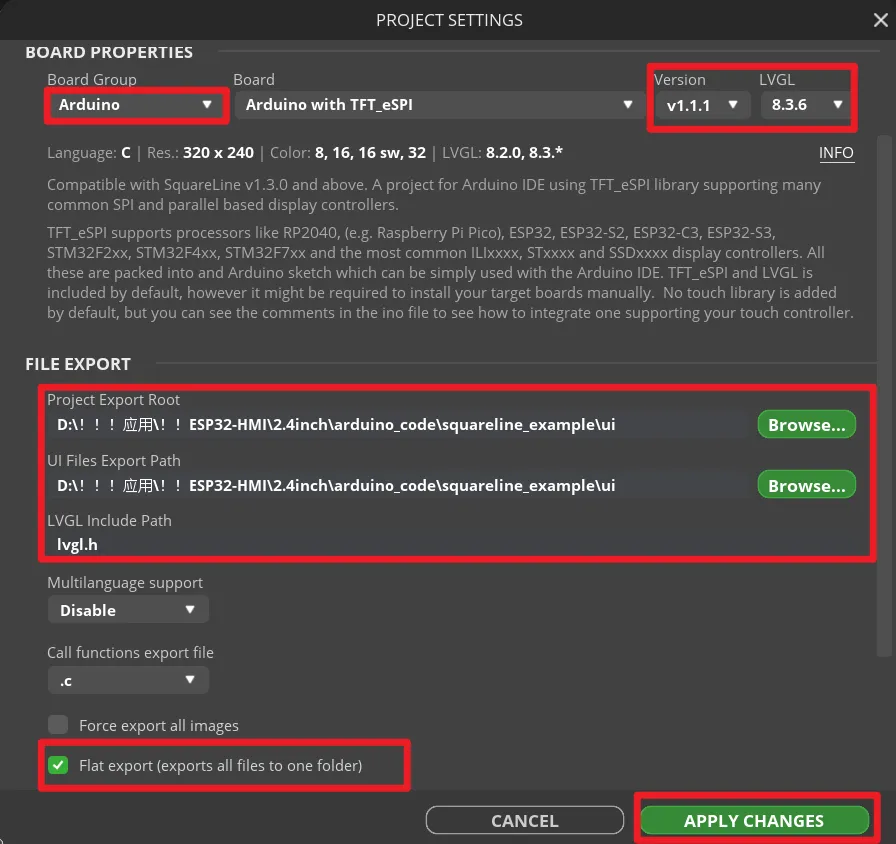
Click "File->Project Settings" to modify the project setting.
-
Modify the resolution and color depth according to the hardware specification.
-
The board properties select Arduino Choose the latest version of lvgl Select the export path, the exported UI file will be at this location Set lvgl path: lvgl.h Set export all files to to one folder After all settings are completed, click "APPLY CHANGES".
-
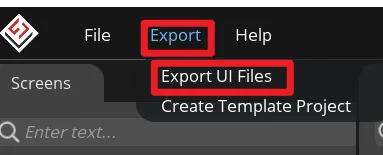
To export the file, click Export->Export UI Files, and the UI file will be generated.
-
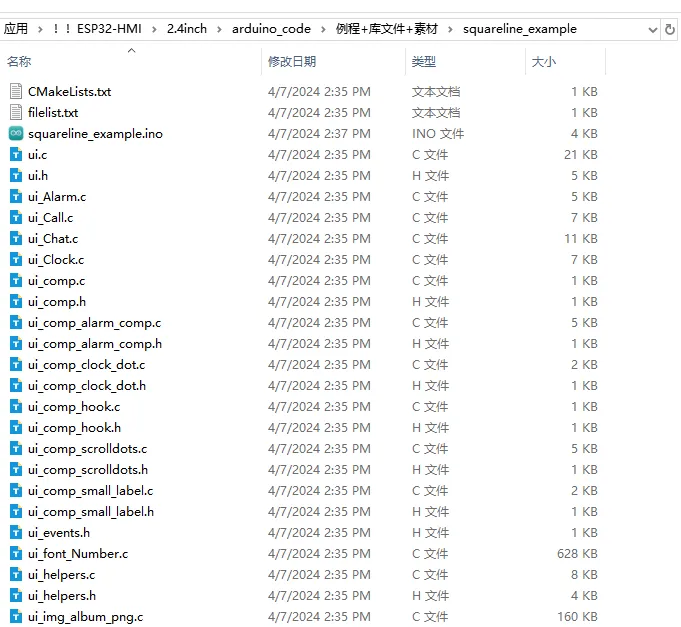
In the path set previously(in step 4), copy all the generated ui files to folder where main program located.(Please go back to the Arduino Tutorial page to download the main program for each screen.)
-
Open the main program.
-
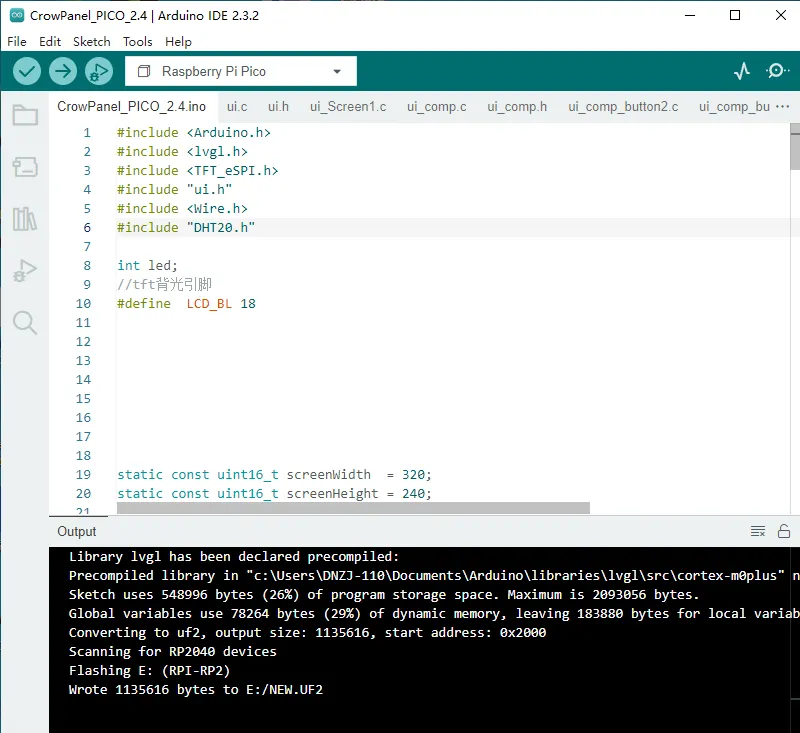
Install the required libraries in Arduino IDE, select the corresponding board, configure the board, and upload the program (please turn to the Arduino Tutorial on each screen for details).
-
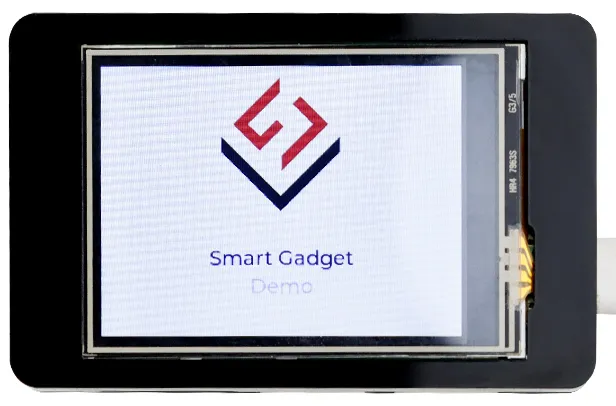
After uploading, the demo project will be displayed on the screen.
