Get Started with PlatformIO
Install the software
Install Visual Studio Code
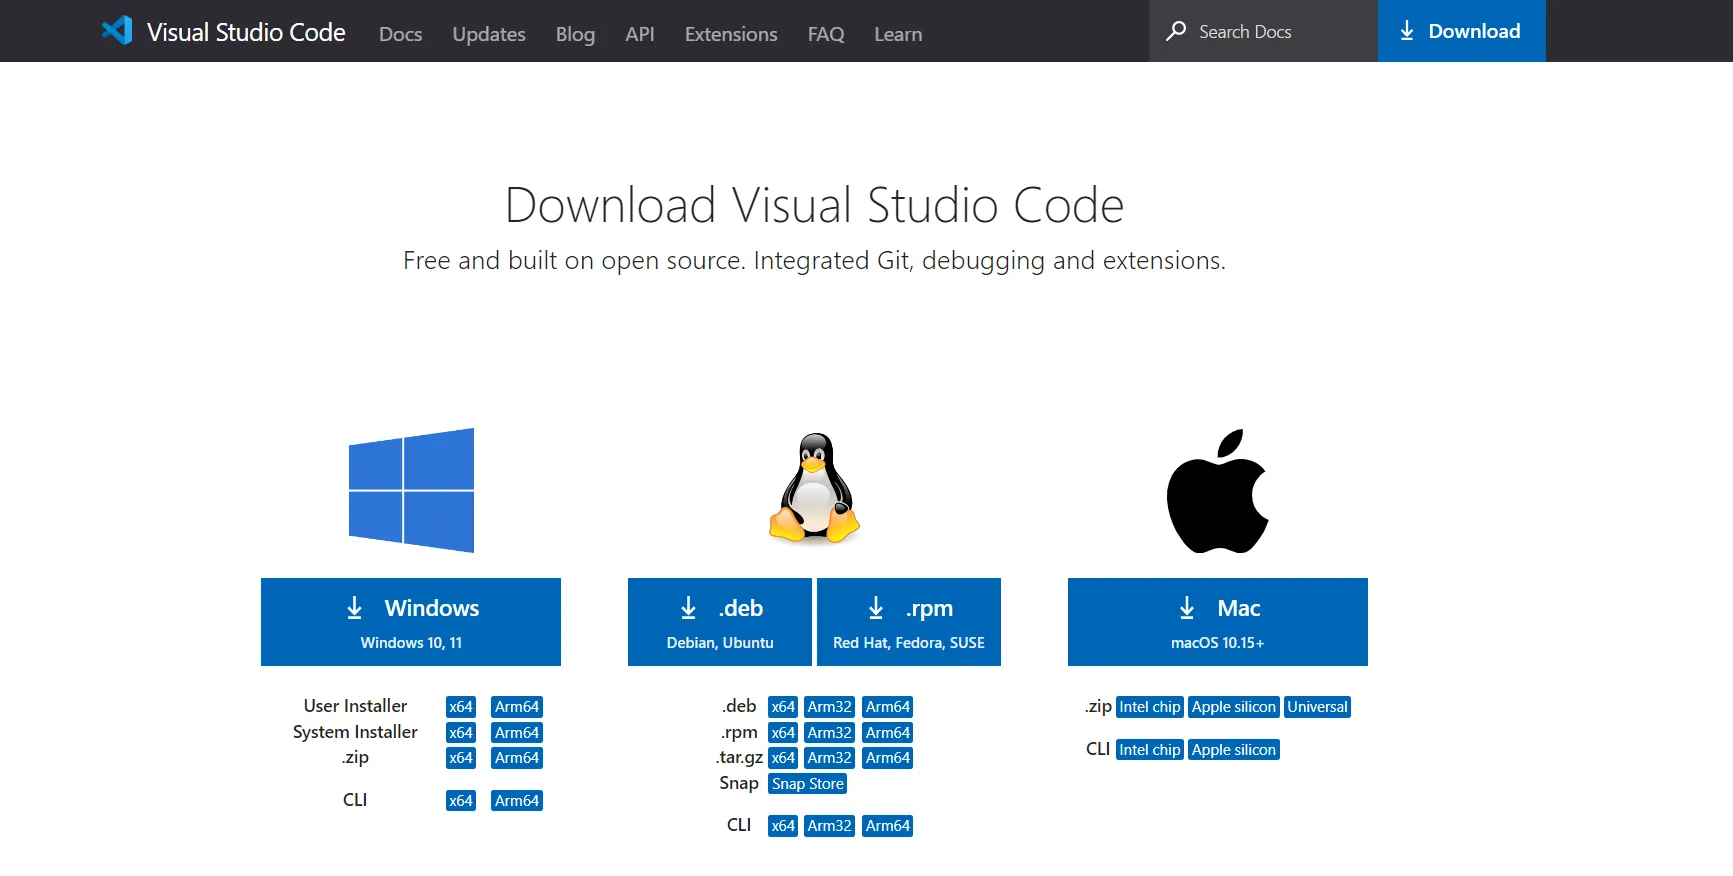
Search for Visual Studio Code download on Google or enter the https://code.visualstudio.com/download, select the version compatible with your computer system and download Visual Studio Code installer. In this instructions we are selecting Windows.
Double-click the VSCodeUserSetup file to install the Visual Studio Code.

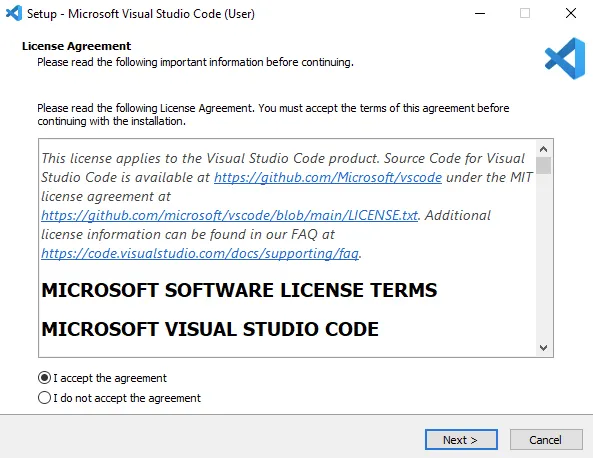
Accept the license agreement and go next.
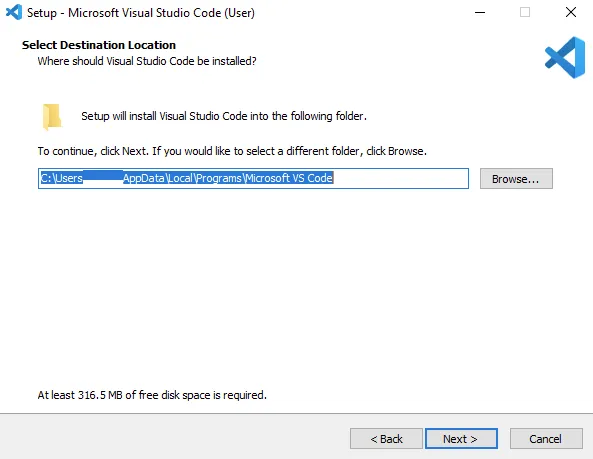
Accept the default location or click 'Browse...' to change the installation location.
Accept the resting default option and click 'Next >'...
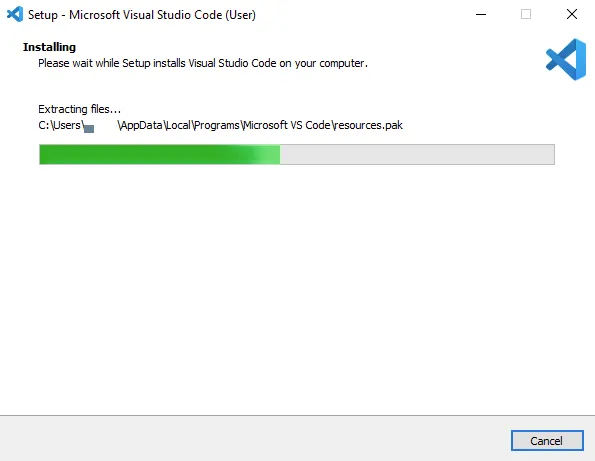
Click install and waiting for the installation ...
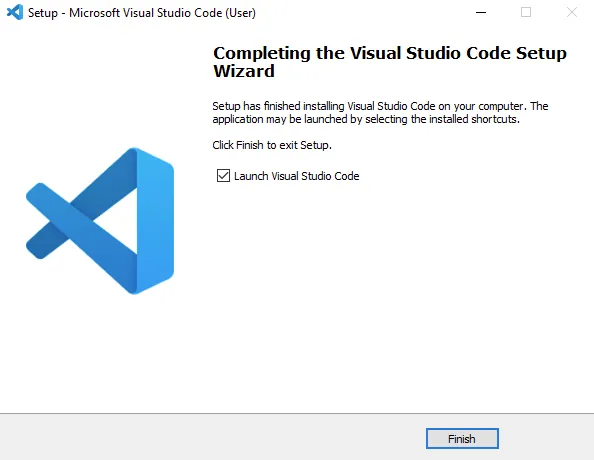
Click 'Finish' to exit the installation and (by default) launch Visual Studio Code:
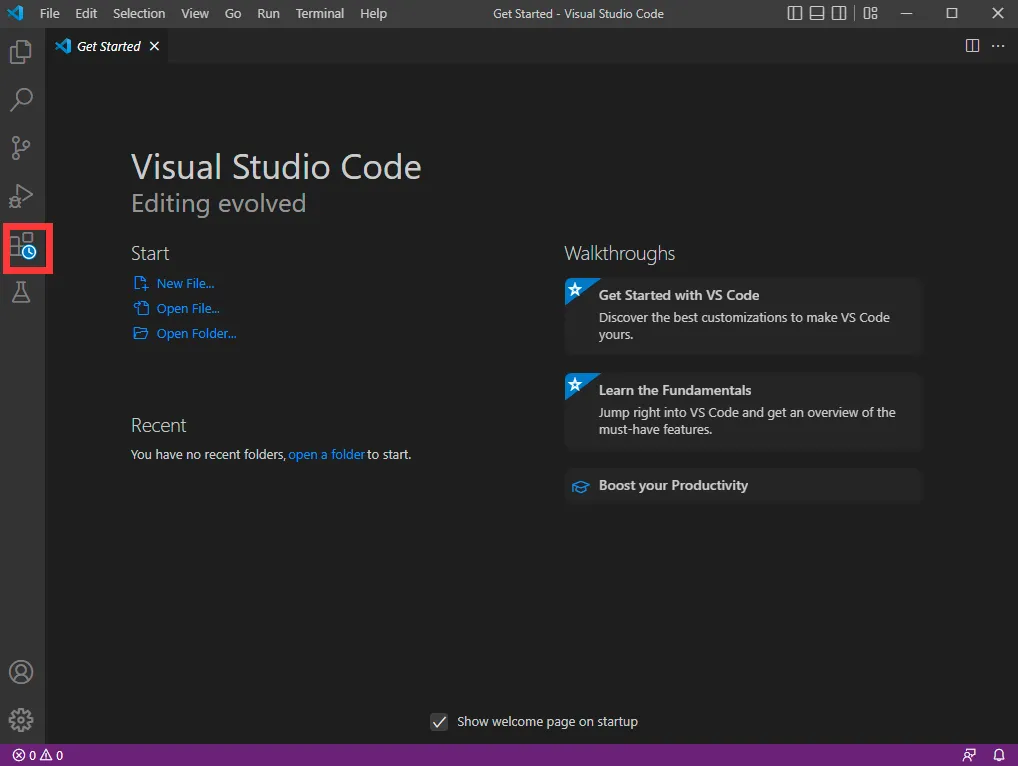
Open Visual Studio Code and open Extension Manager.
Install Python
Search for 'Python' and install.

Install PlatformIO
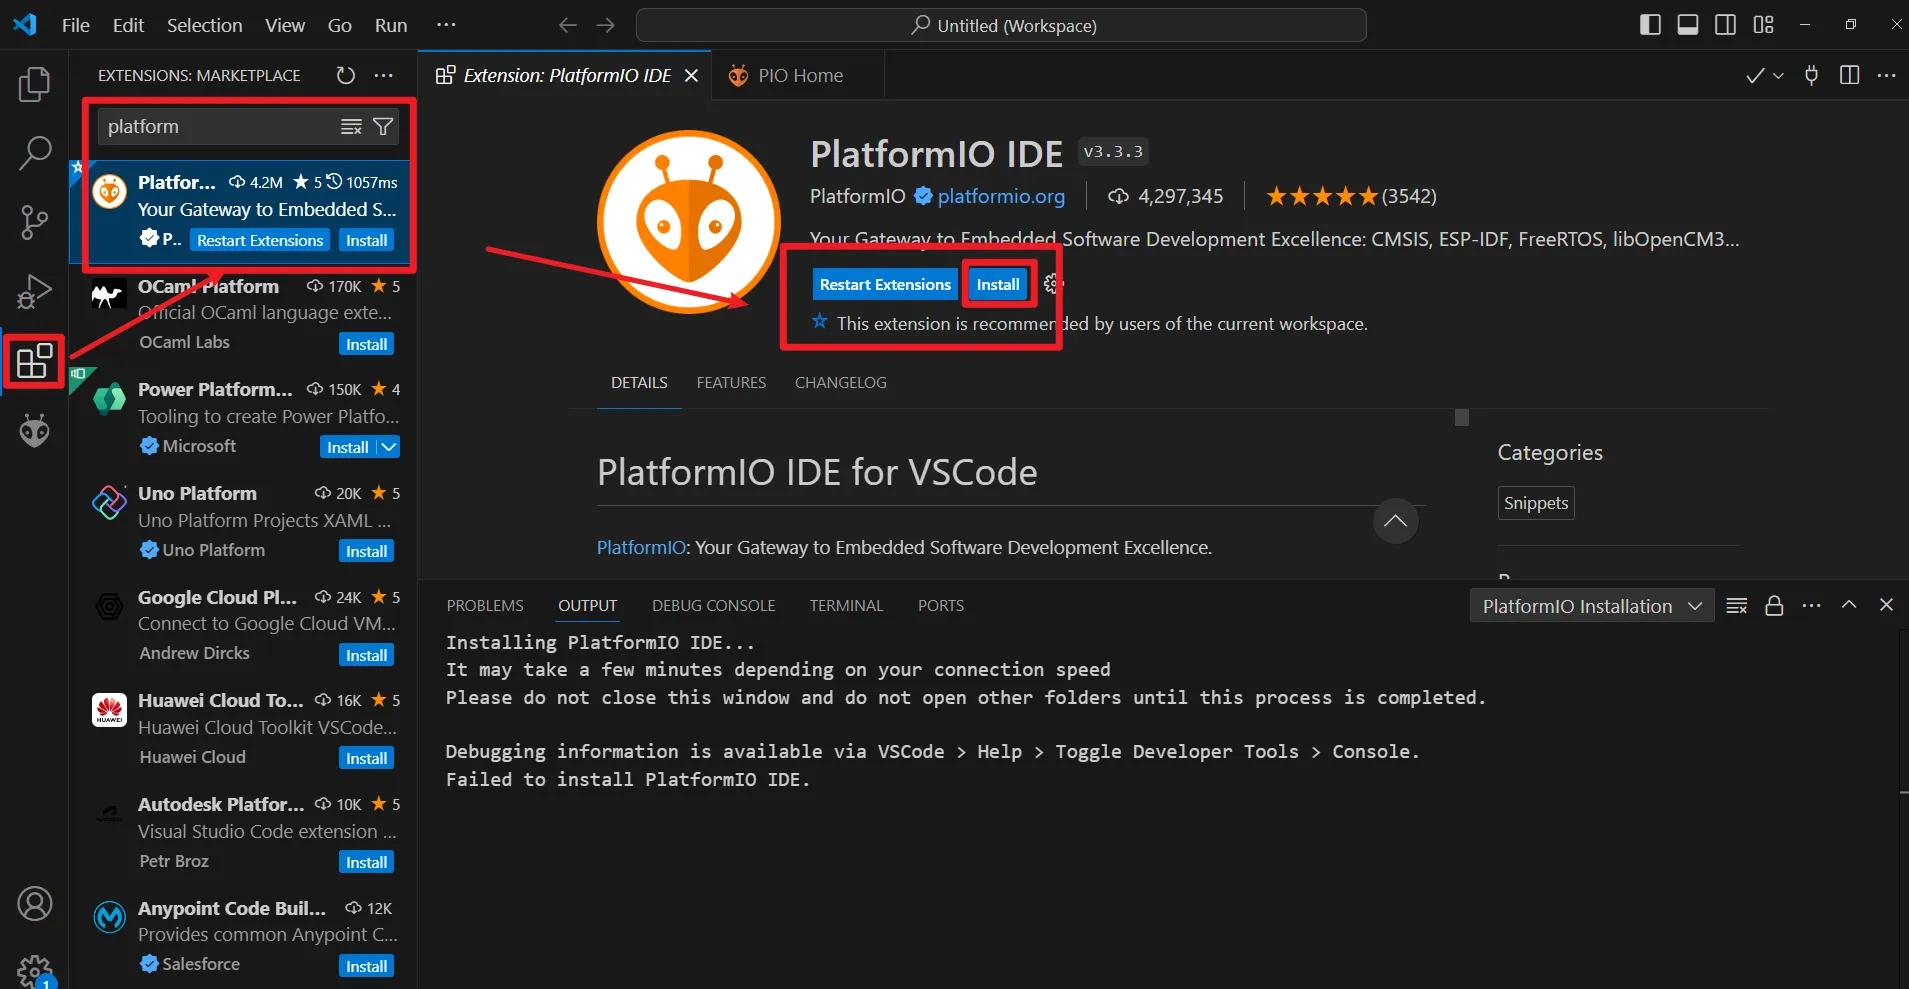
Search for 'PlatformIO' and install.
Install Driver(Optional)
If you have not installed the USB driver, you need to install it: https://www.silabs.com/developers/usb-to-uart-bridge-vcp-drivers
Run a Program
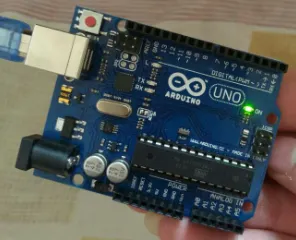
In this case, we'll run an LED_Blink demo on an Arduino Uno to check that the installation is correct.
-
Connect the Arduino Uno to the computer with a USB cable.
-
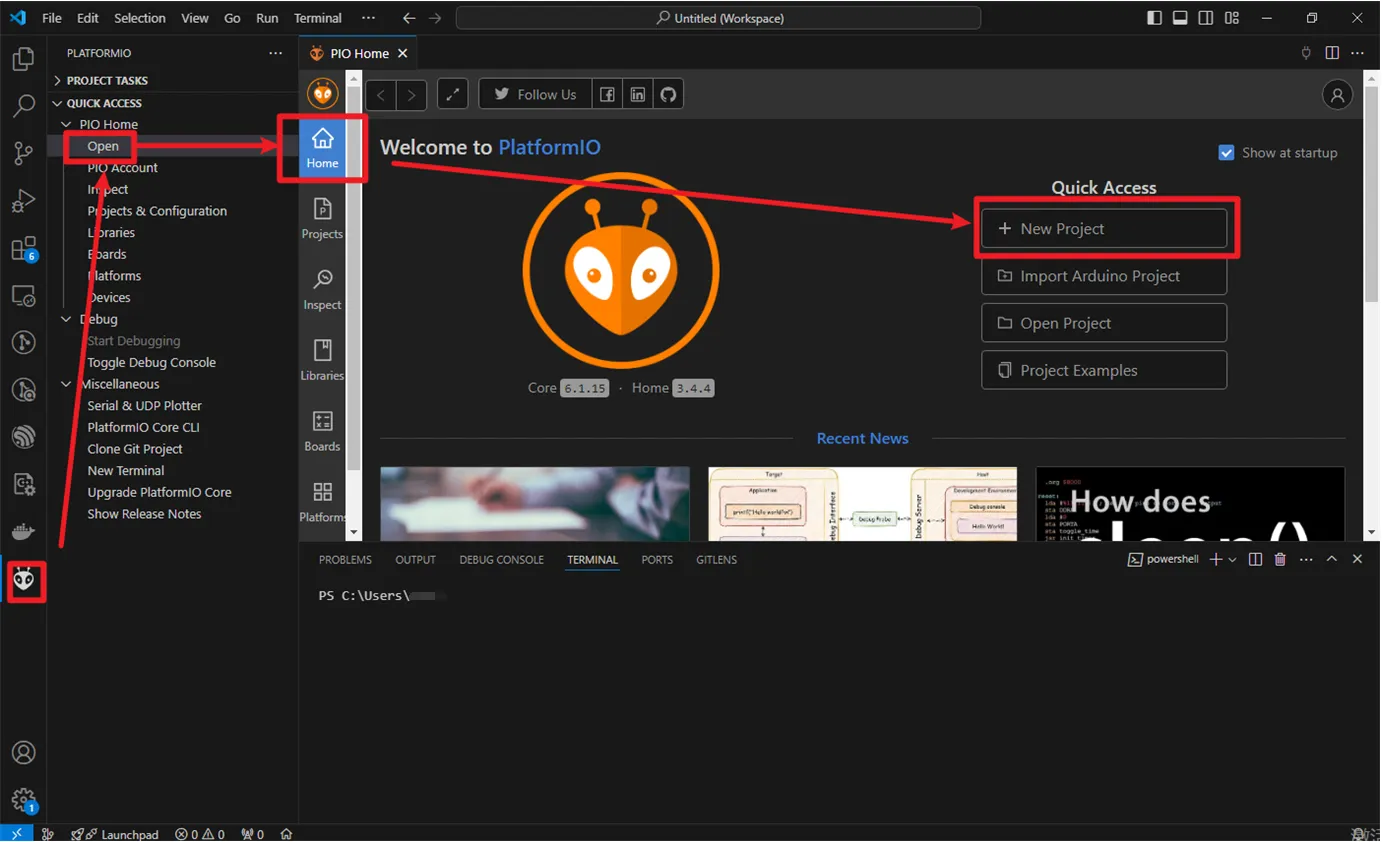
Click the PlatformIO icon, click QUIK ACCESS 'Open', then click '+New Project'.
-
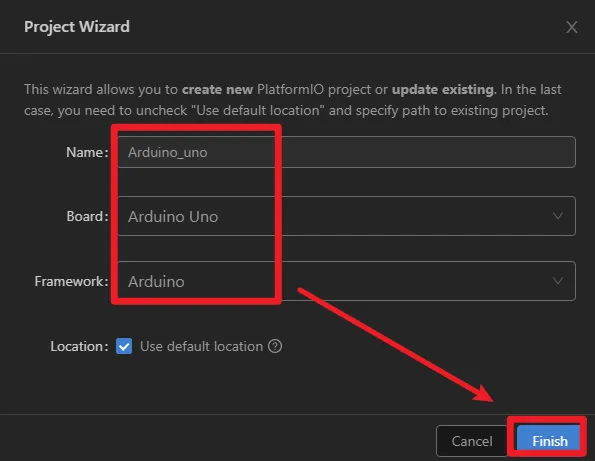
Add a project name. Select "Arduino Uno" for the board and Arduino for the framework.
-
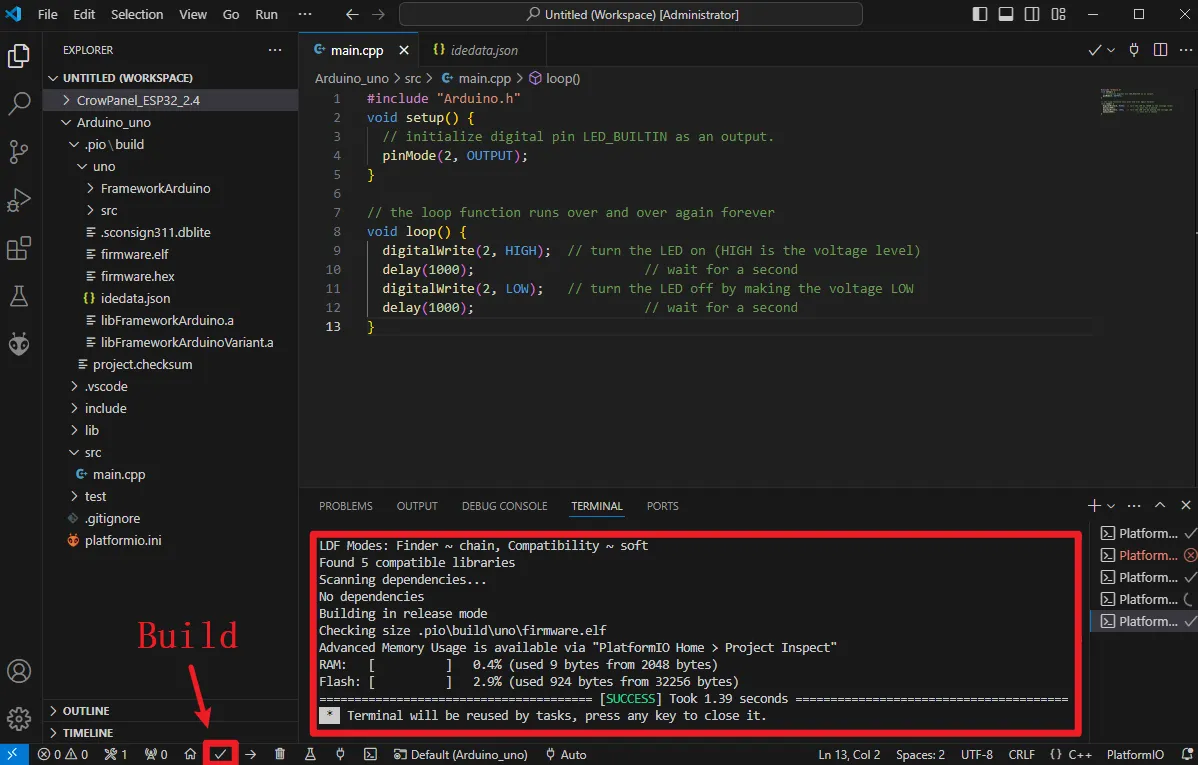
Write the main program in main.cpp.
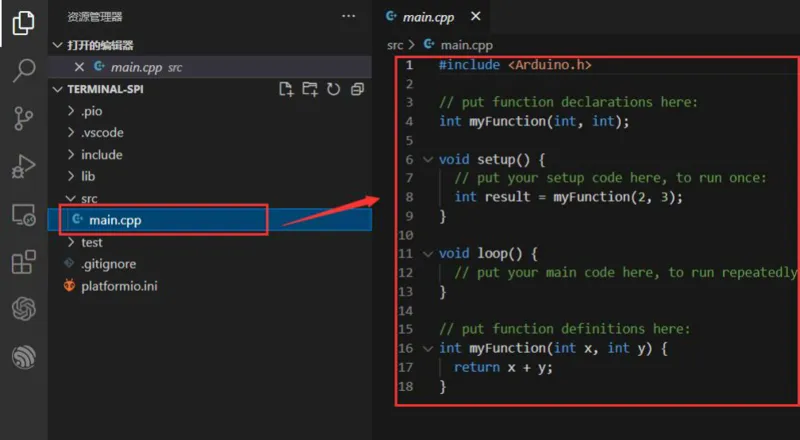
#include "Arduino.h" void setup(){ // initialize digital pin LED_BUILTIN as an output. pinMode(2, OUTPUT); } // the loop function runs over and over again forever void loop(){ digitalWrite(2, HIGH); // turn the LED on (HIGH is the voltage level) delay(1000); // wait for a second digitalWrite(2, LOW); // turn the LED off by making the voltage LOW delay(1000); // wait for a second } -
After the code is written, we can then compile the program.
-
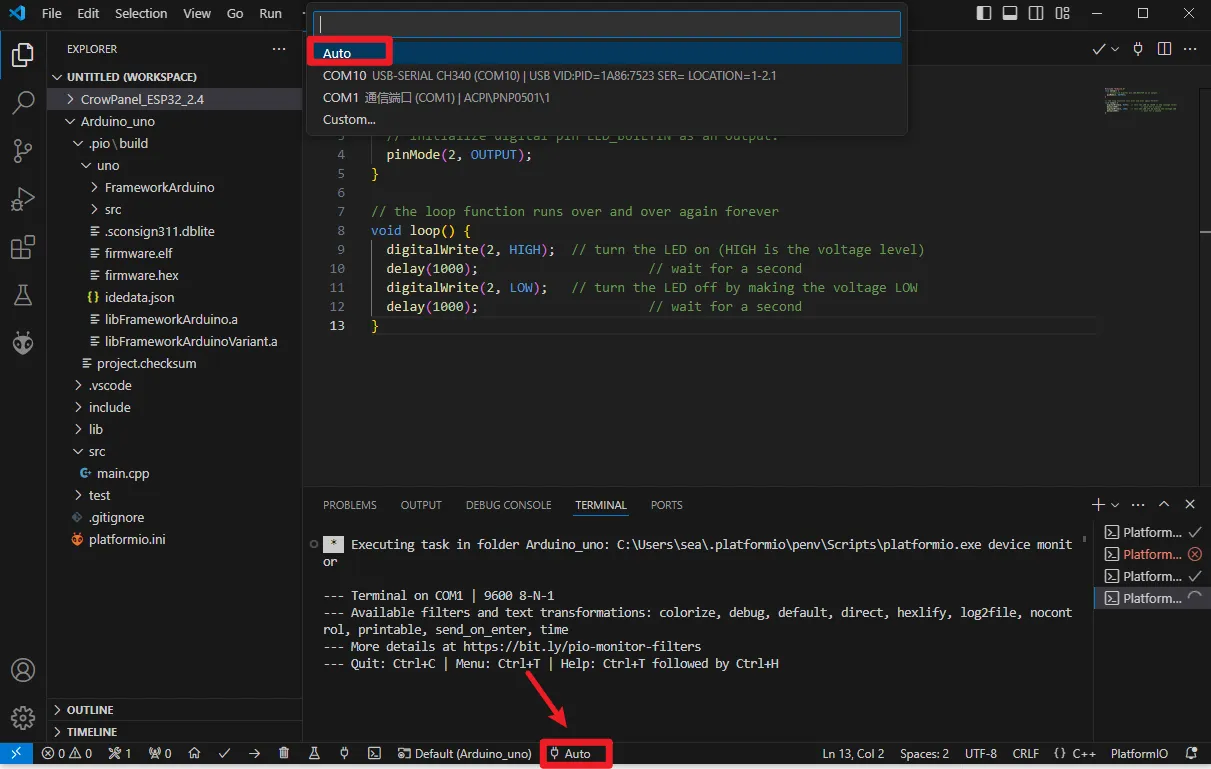
Select the serial port and upload the code.
Here we select Auto. The software will automatically select the corresponding serial port for program download. If the automatically selected serial port is incorrect, you can manually select the correct serial port.
-
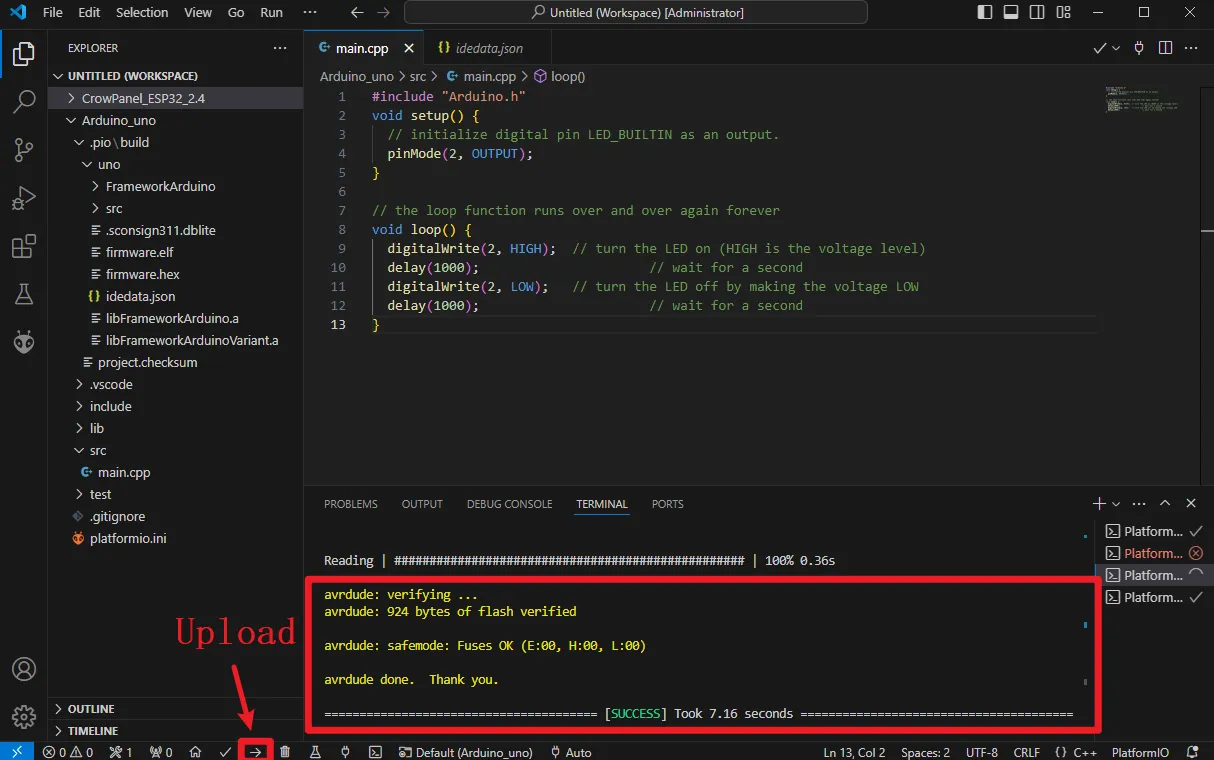
Click the upload button to up the program to the board.
-
The program will run on the board!