Get Started with ESP IDF
Get Started with ESP-IDF
Install Visual Studio Code
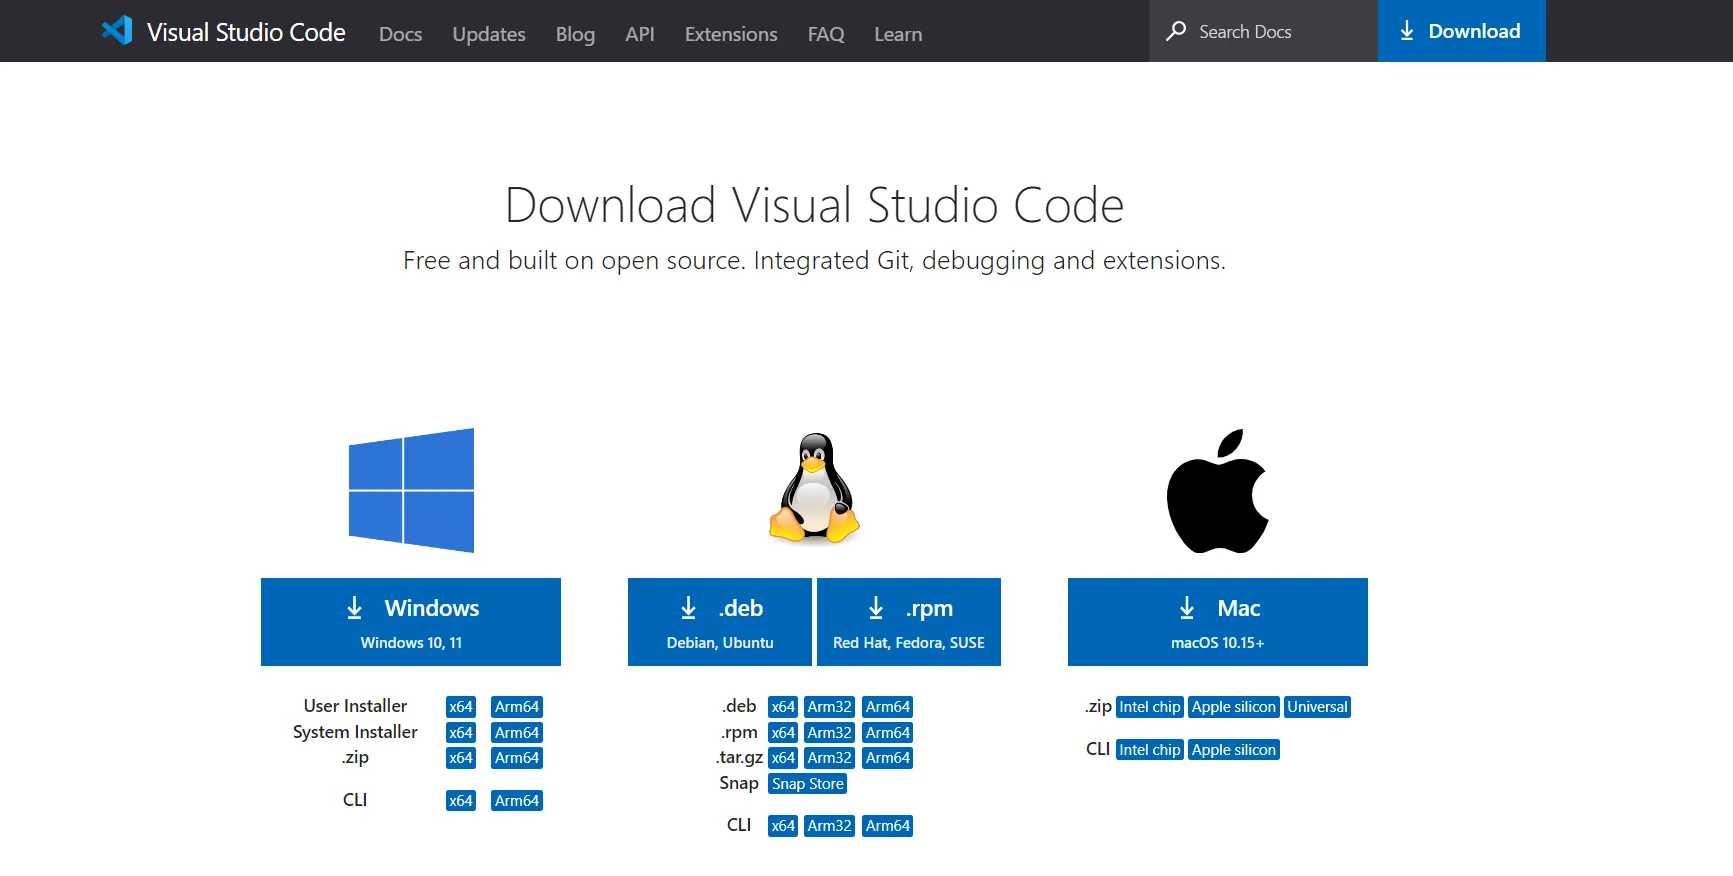
Search for Visual Studio Code download on Google or enter the https://code.visualstudio.com/download, select the version compatible with your computer system and download Visual Studio Code installer. In this instructions we are selecting Windows.
Double-click the VSCodeUserSetup file to install the Visual Studio Code.

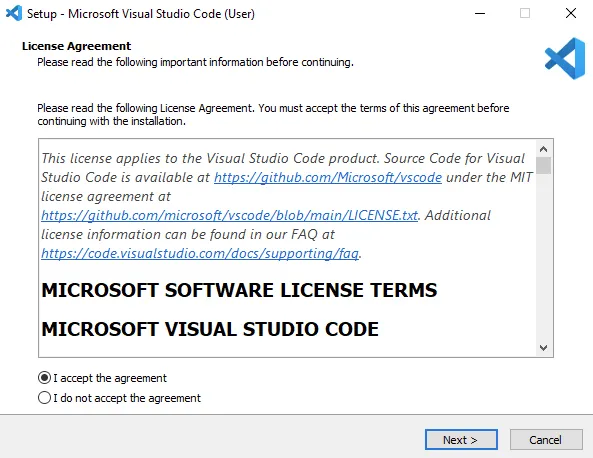
Accept the license agreement and go next.
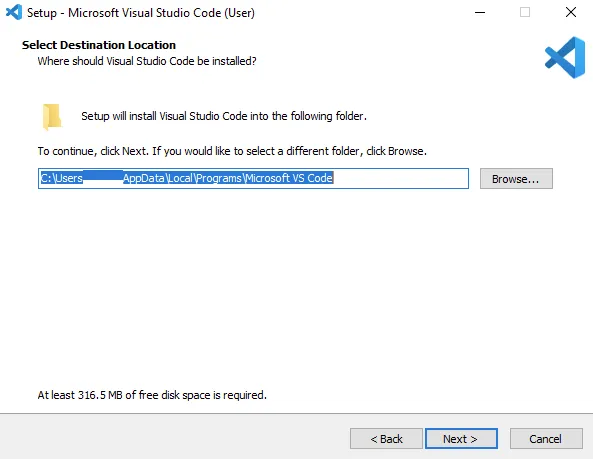
Accept the default location or click 'Browse...' to change the installation location.
Accept the resting default option and click 'Next >'...
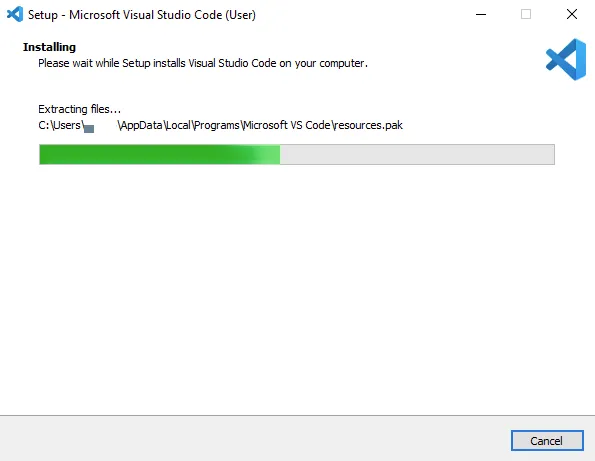
Click install and waiting for the installation ...
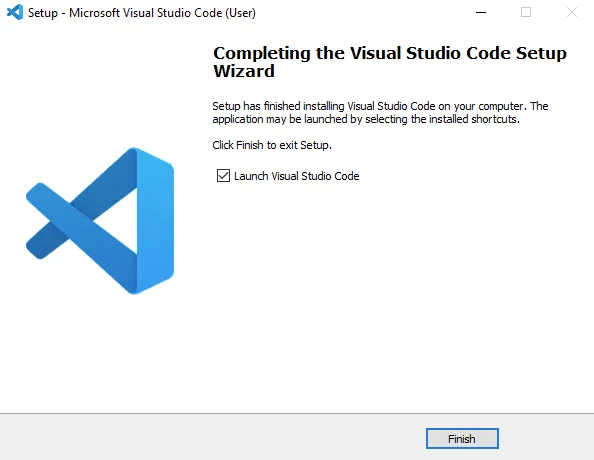
Click 'Finish' to exit the installation and (by default) launch Visual Studio Code:
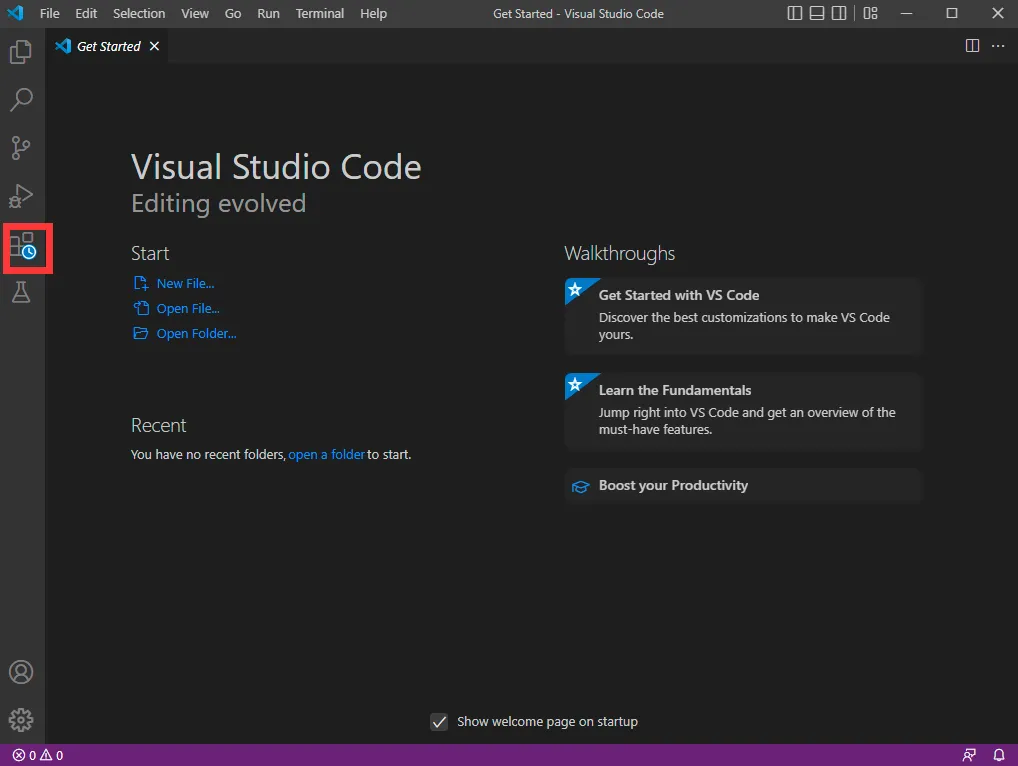
Open Visual Studio Code and open Extension Manager.
Install Python
Search for 'Python' and install.

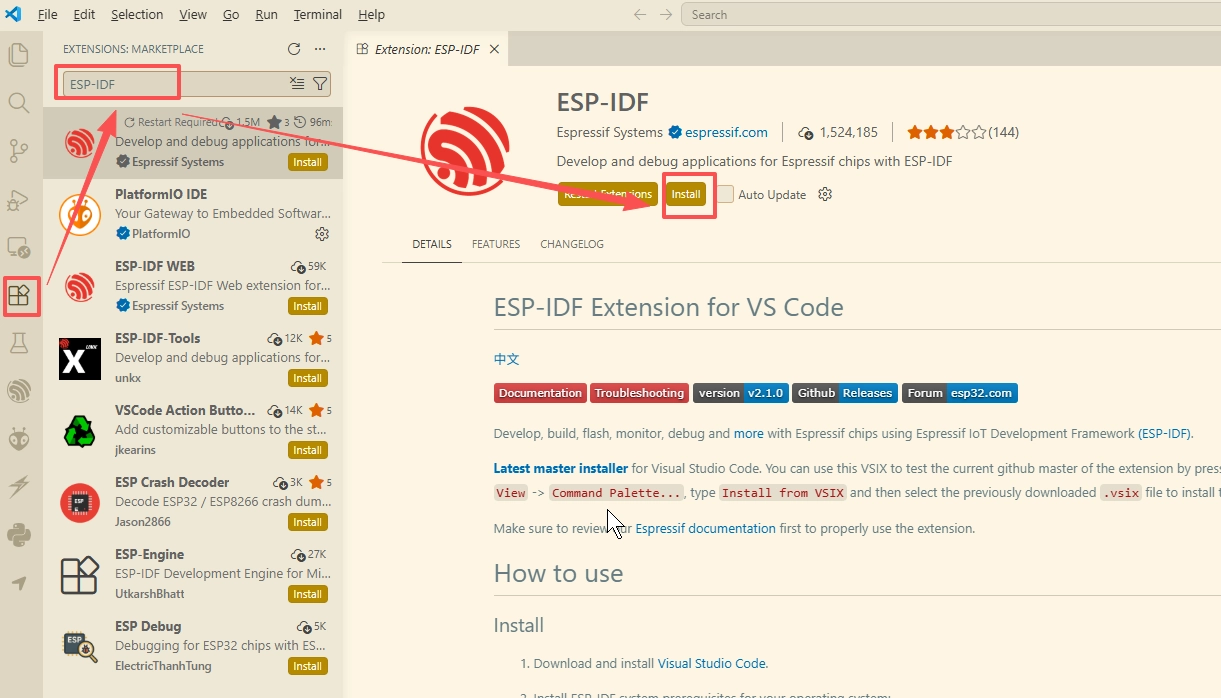
Install ESP-IDF
Search for 'ESP-IDF' and install
After ESP-IDF is installed, launch the ESP-IDF Tools Manager
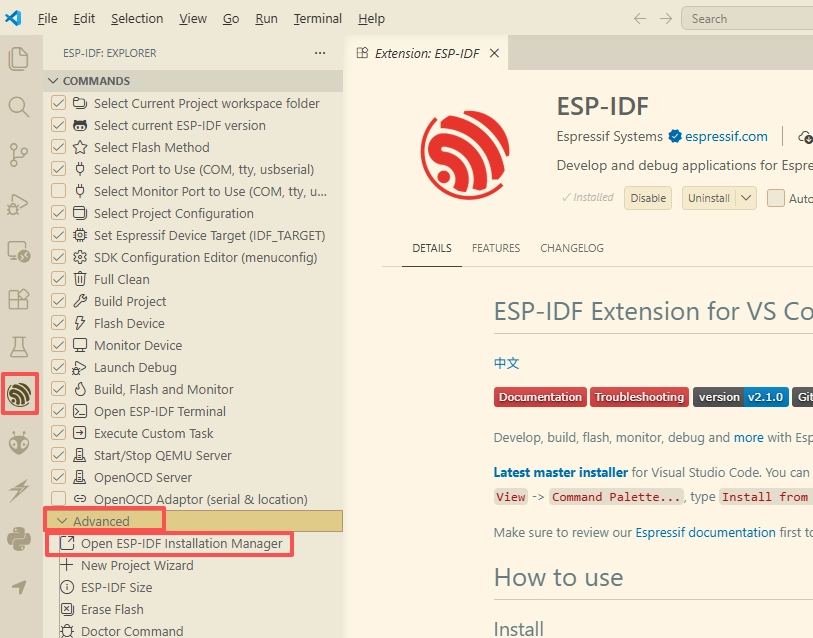
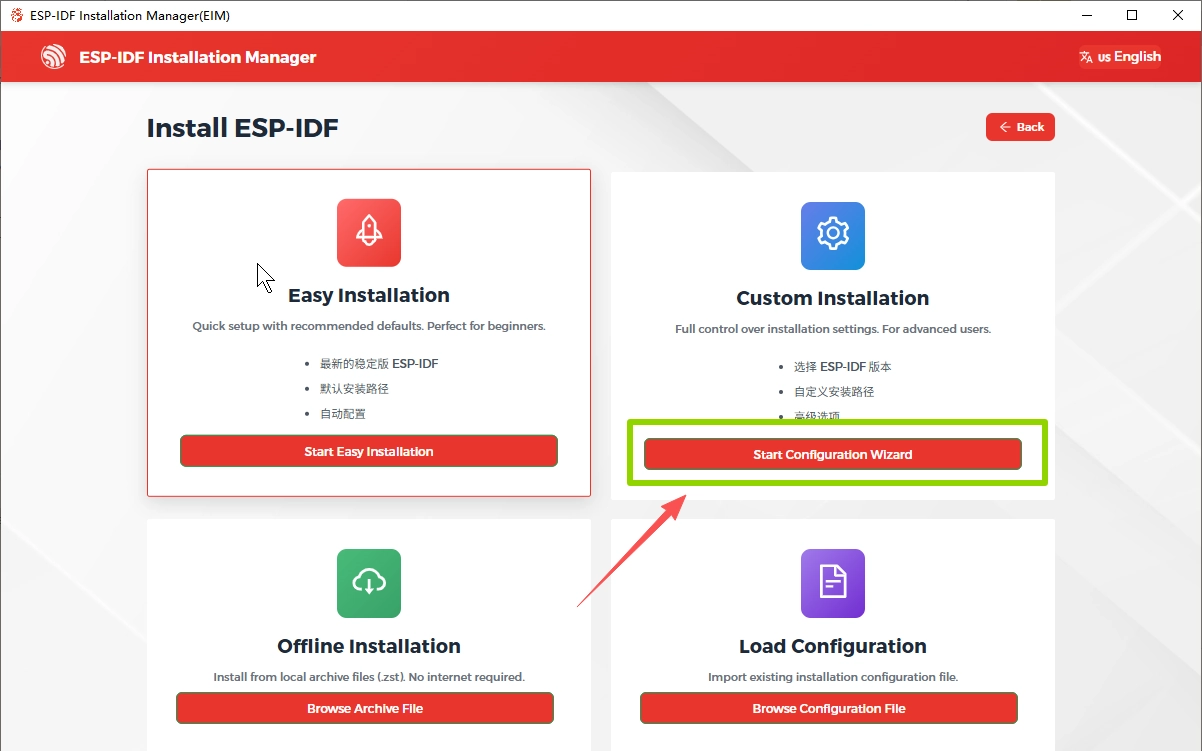
Select Custom Installation
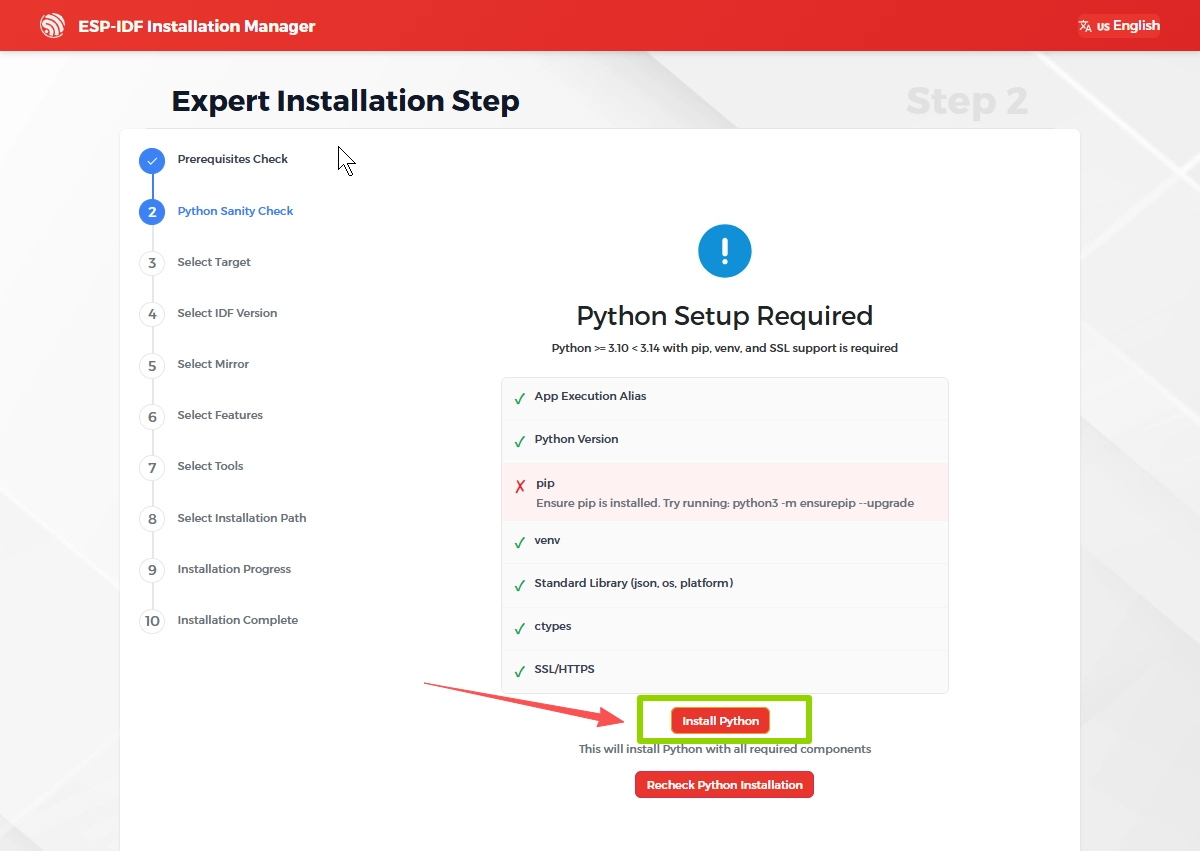
After entering, the installer will automatically check whether your system meets the requirements for installing ESP-IDF. If any required components are missing, click ‘Install Python’ to install the necessary environment
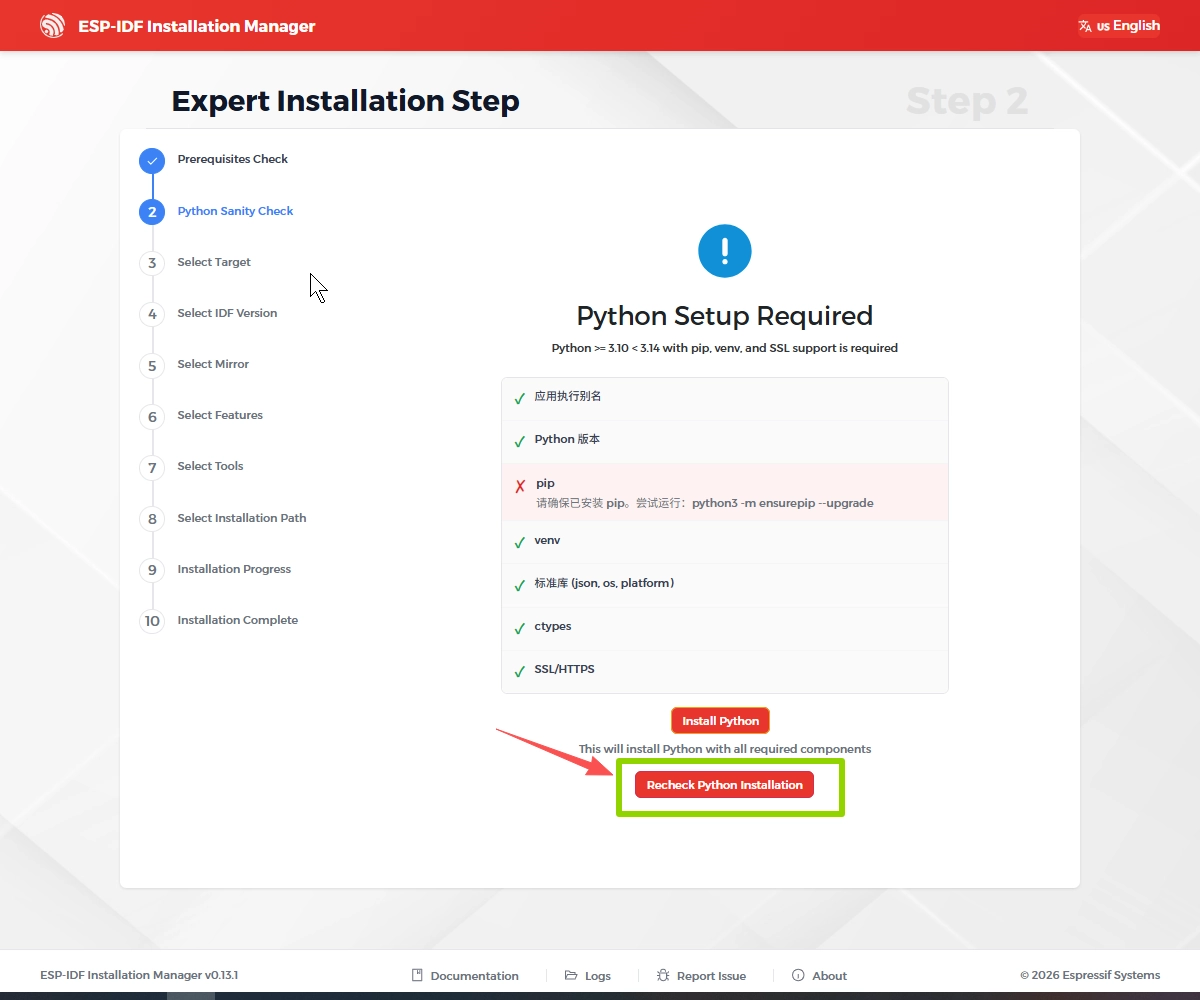
After the installation is complete, click it again to recheck whether the environment meets the requirements
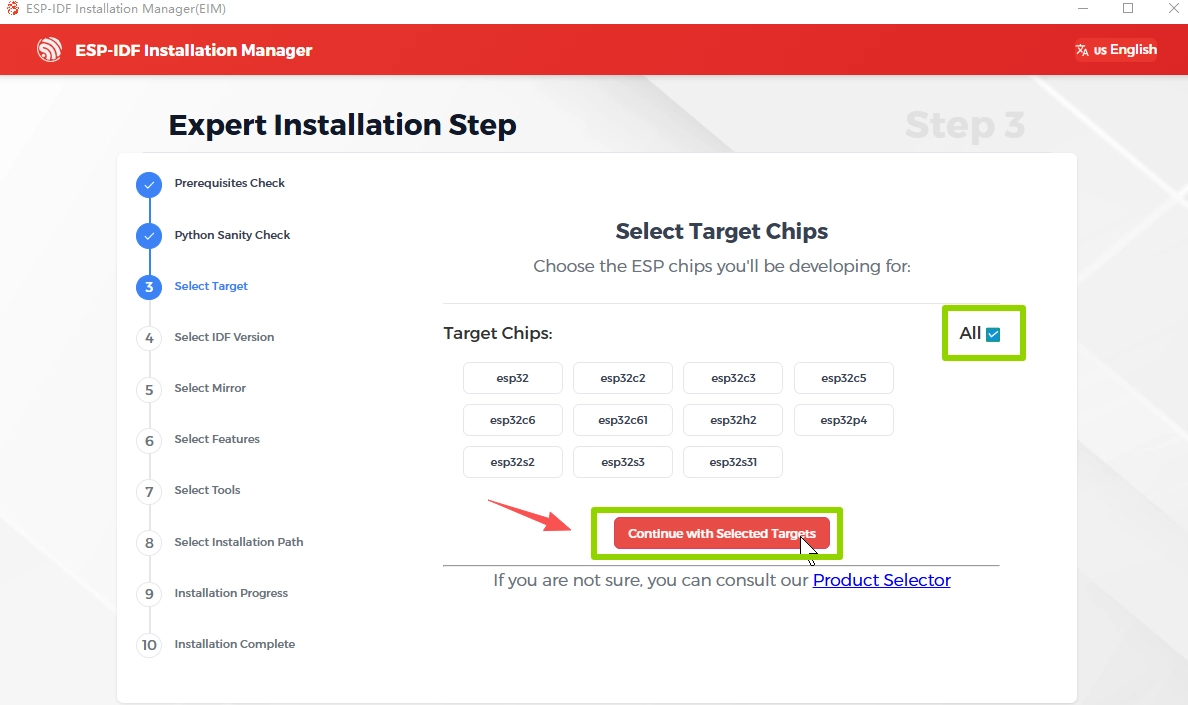
Select Target Chips
Select the ESP-IDF version (please choose the version required by your course)

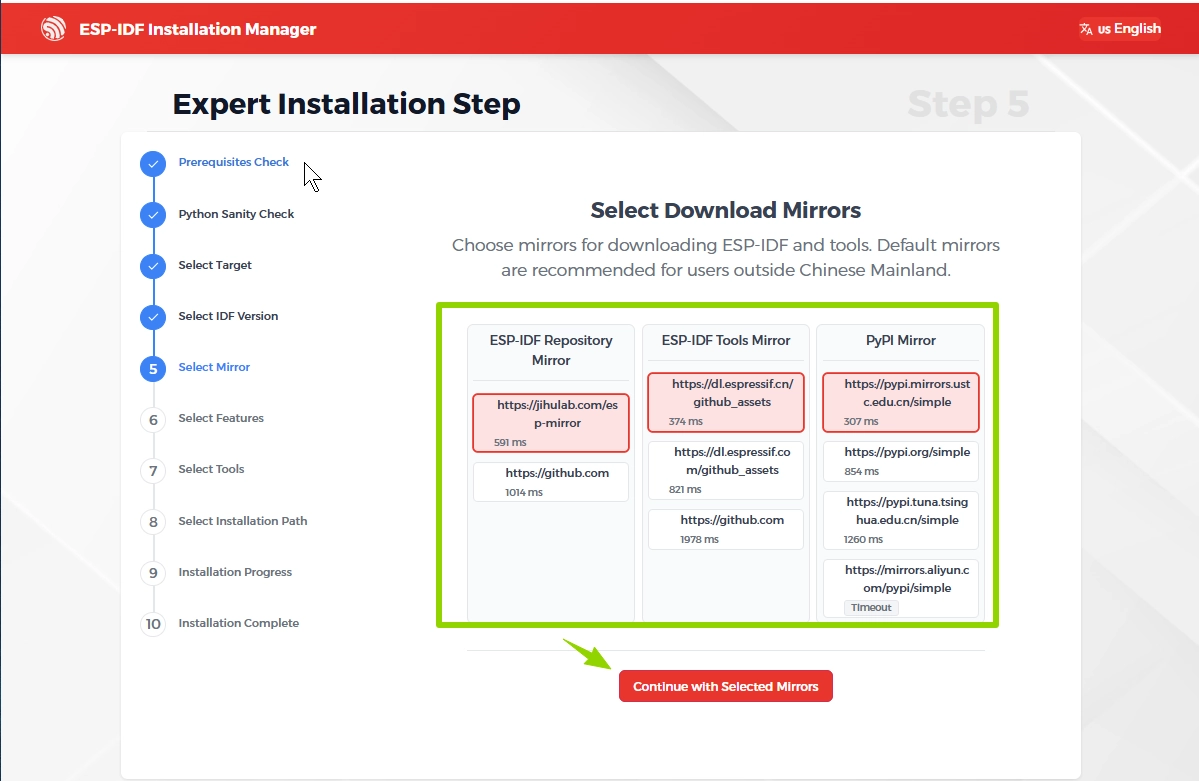
Select Download Mirrors
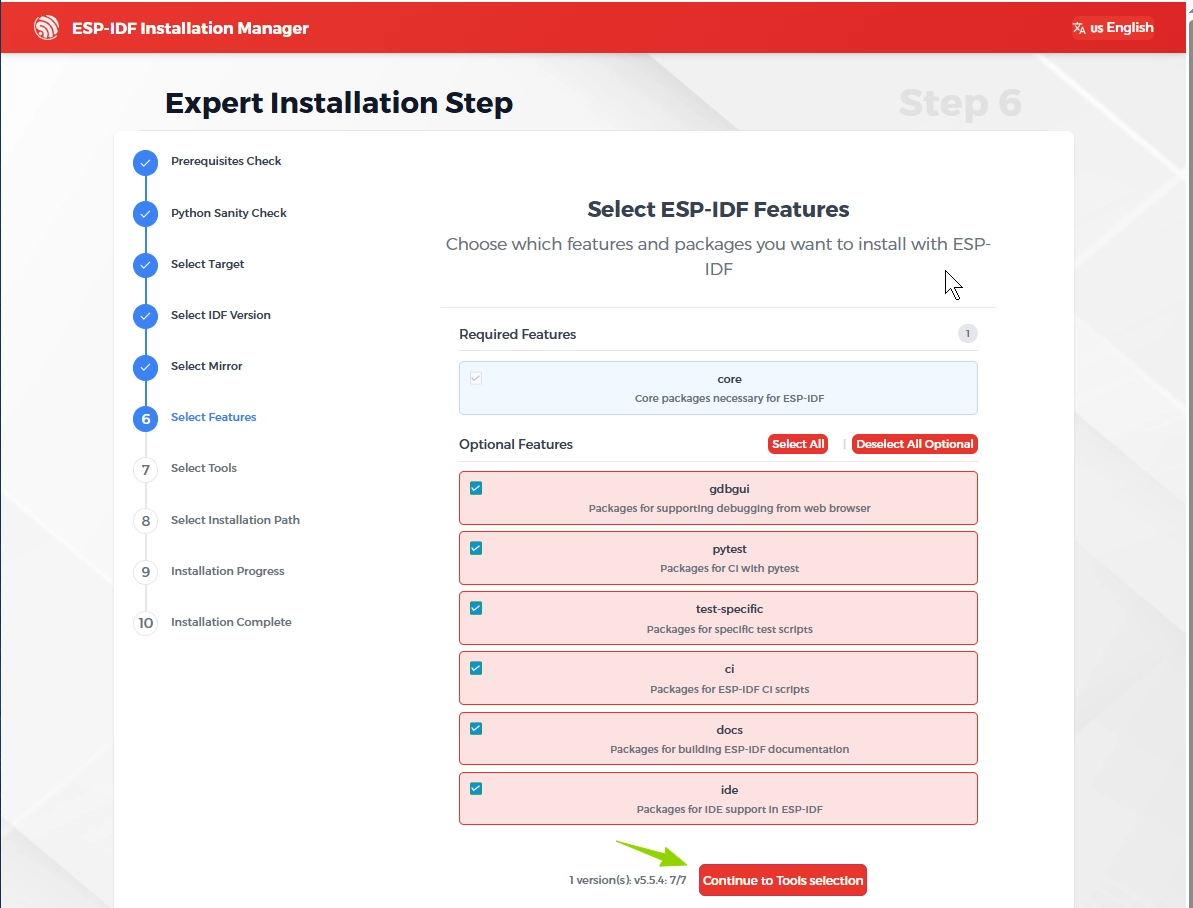
Select ESP-IDF Features
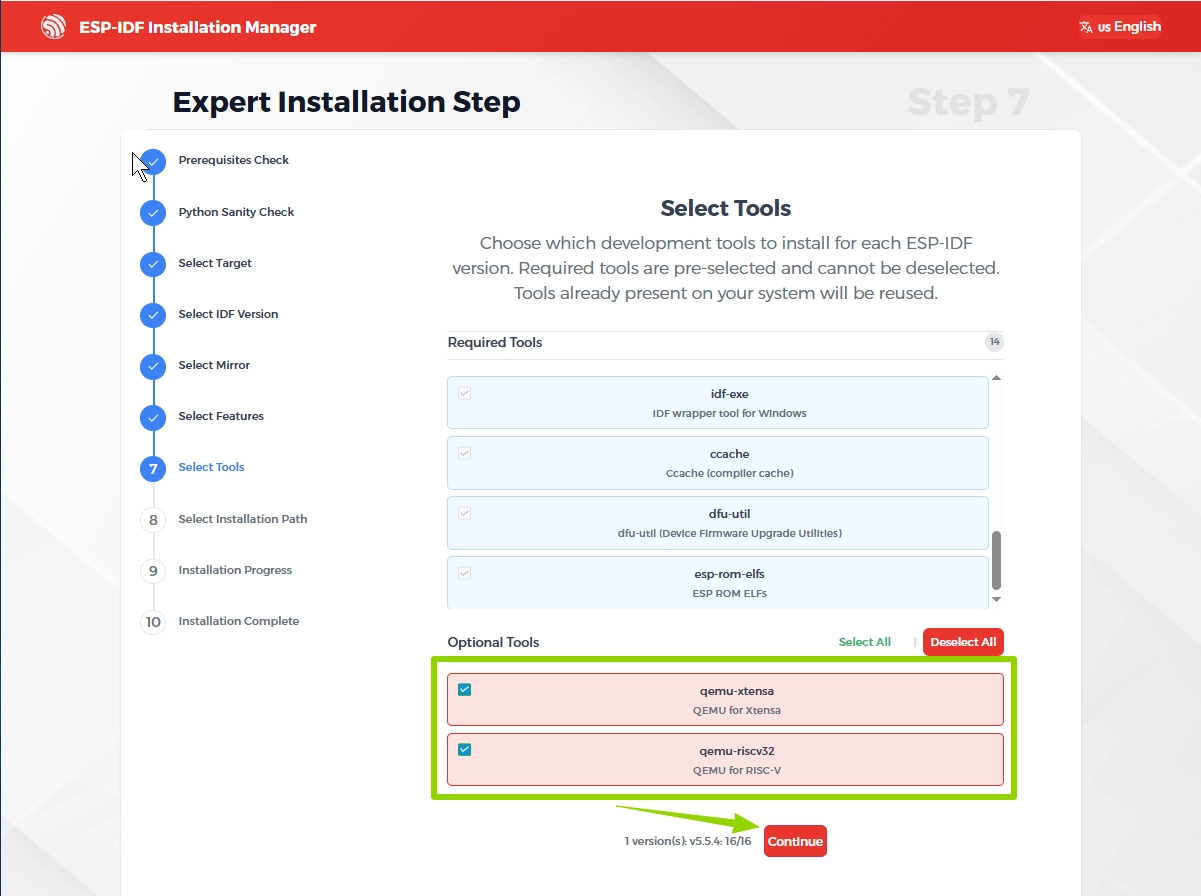
Select Tools
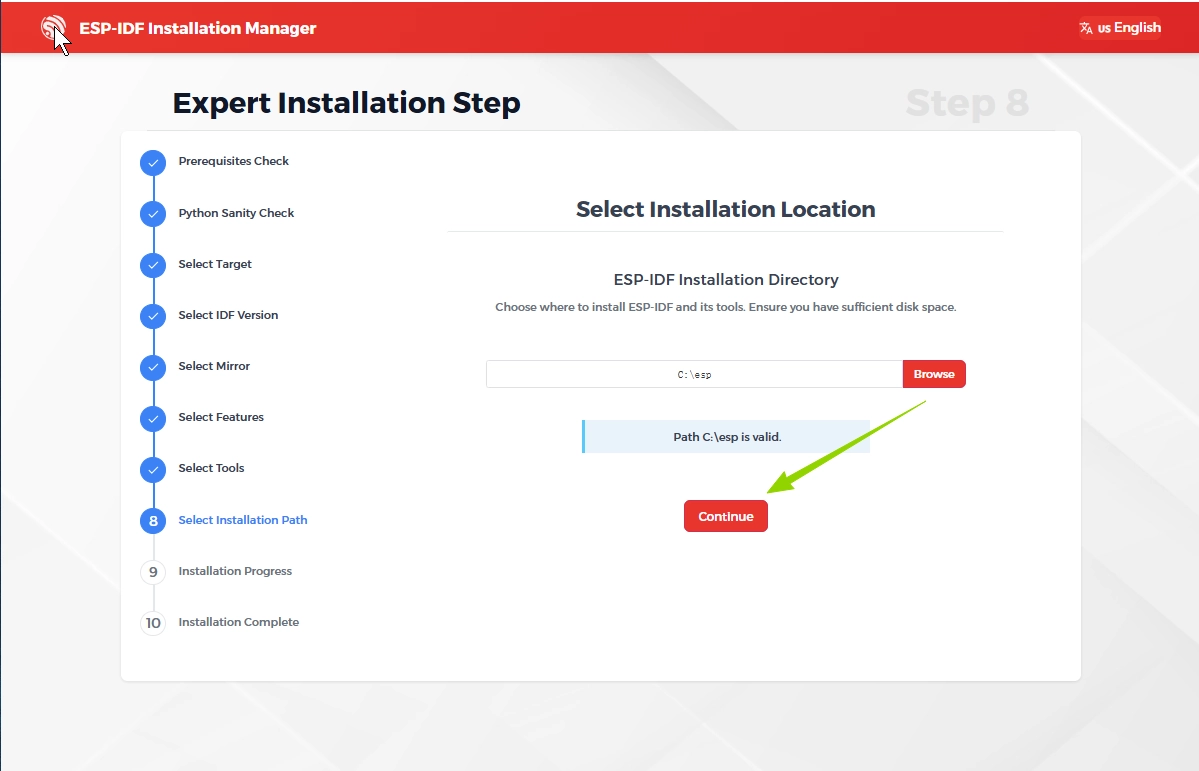
Select Installation Location
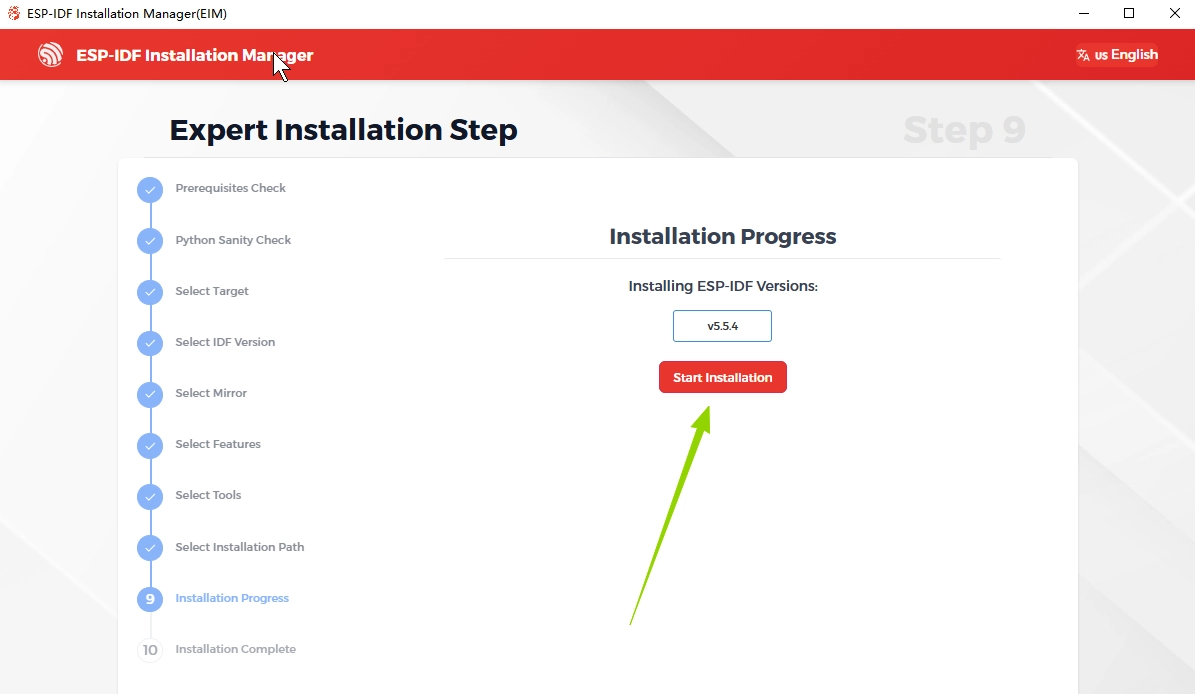
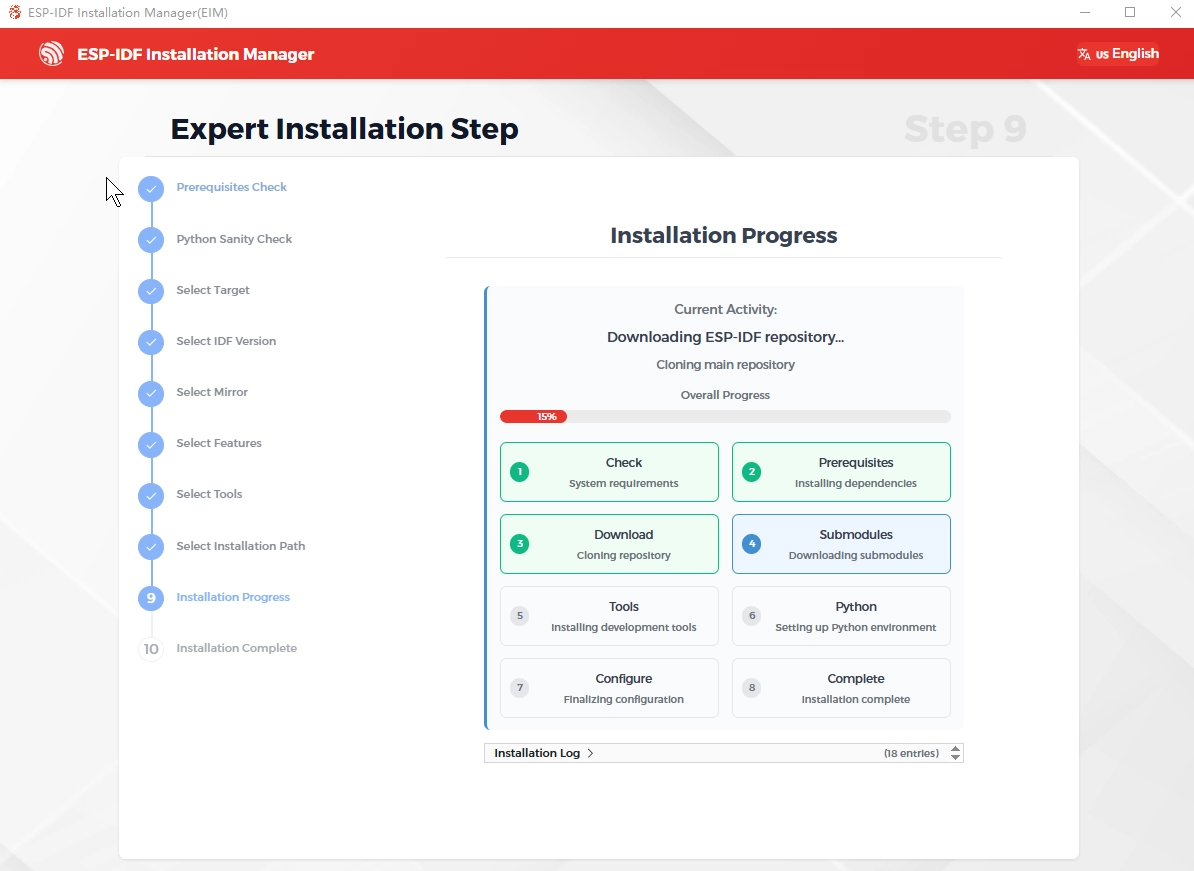
Installation progress

Run the program
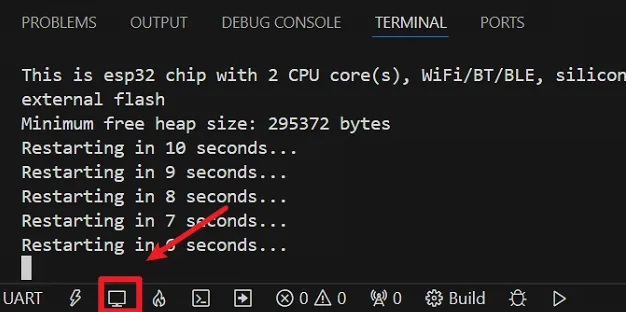
In this case, we'll run a hello_world demo on the CrowPanel-ESP32 Display to check that the installation is correct.
- Connect the CrowPanel-ESP32 Display to the computer with a USB cable.
-
Click the Compile button and wait for the project to compile successfully.
-
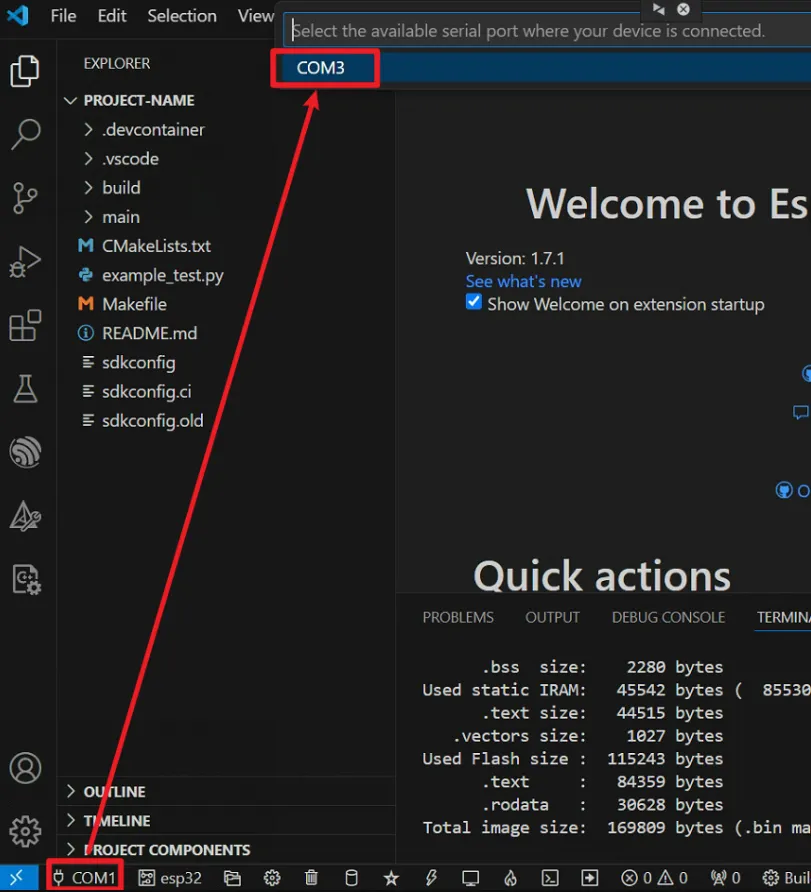
Select the corresponding serial port.
-
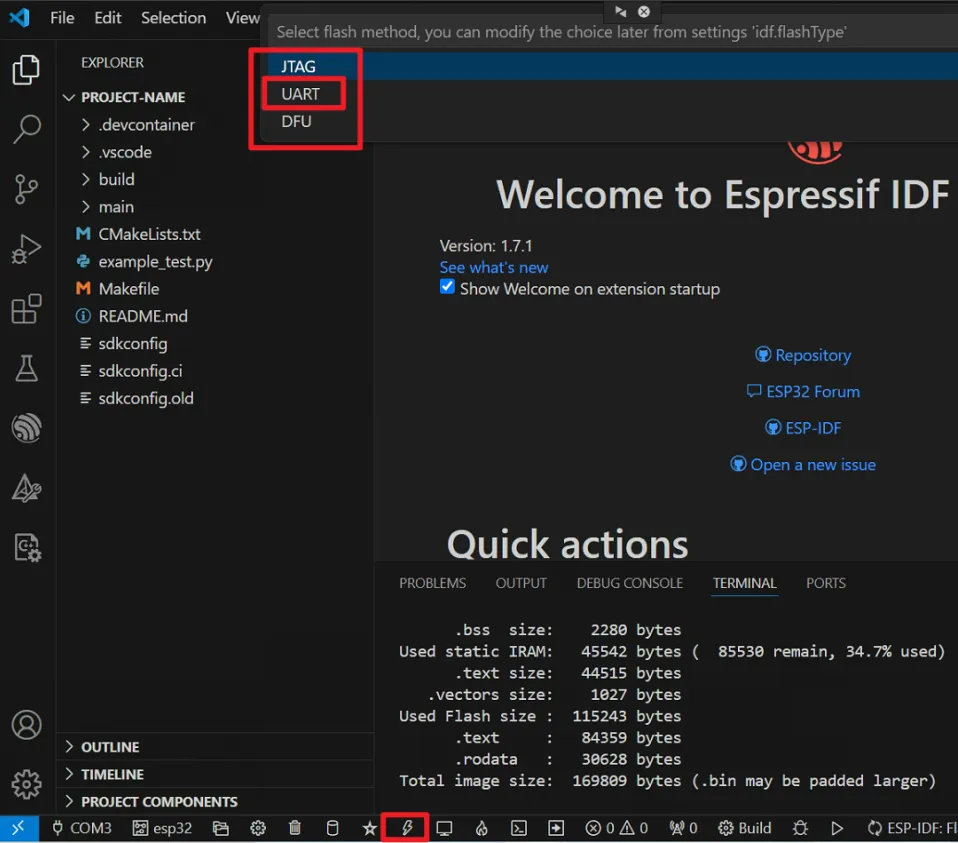
Click Download and select UART.
-
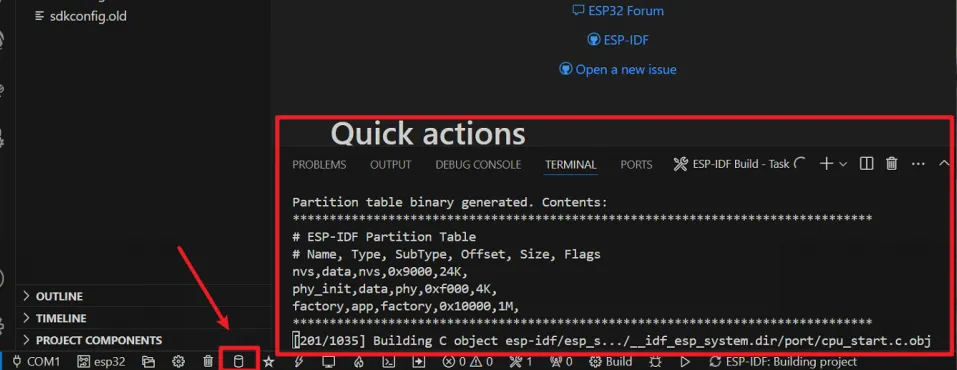
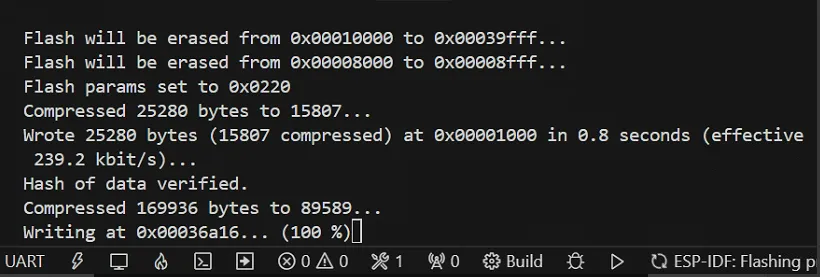
Wait a while until the download is successful.
-
Click the serial port to view the terminal information.