Download_Arduino_IDE
"Arduino" is not only the name of the microcontroller board, but also the name of a programming IDE based on C/C++.
Arduino IDE features simplicity and ease of use, extensive development board support, rich library support, community support, and open source extensibility, making it an ideal choice for beginners to learn and start developing embedded systems.
Please download the Arduino IDE at: http://arduino.cc/en/Main/Software
You can choose the latest version of IDE, or install the version specified by the course instructions.
In this tutorial, we will show how to download the Arduino IDE, add additional board, and test the installation.
Download the latest version
1.Enter http://arduino.cc/en/Main/Software, and select the corresponding installation file according to your operating system. In this tutorial, we take "Windows Win 10 and newer, 64 bits" for example.
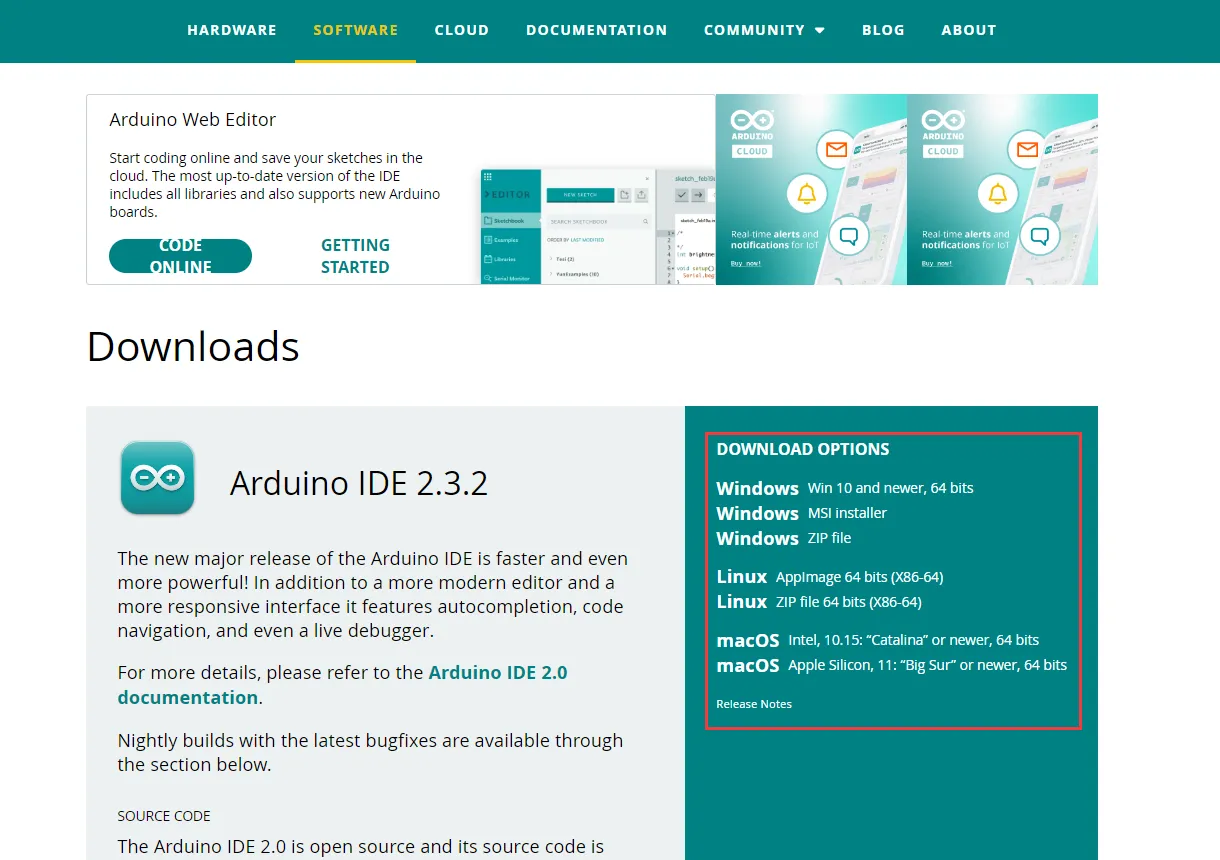
- Windows Win 10 and newer, 64 bits: You can manually select the installation path.
- Windows MSI installer: Automatically install to the default path.
- Windows ZIP file: It is a portable version and does not require installation. It can be opened and used immediately after decompression.
2.Click "JUST DOWNLOAD" to download the file. Or click "CONTRIBUTE AND DOWNLOAD" to support the team.

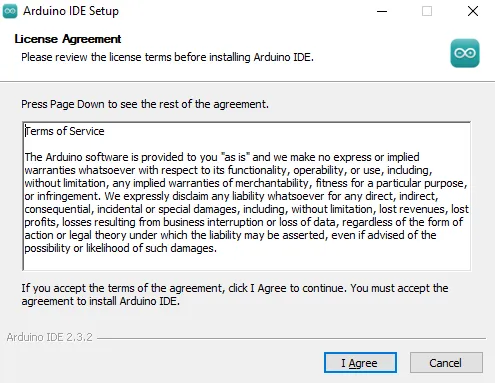
3.Double-click the exe file to install.

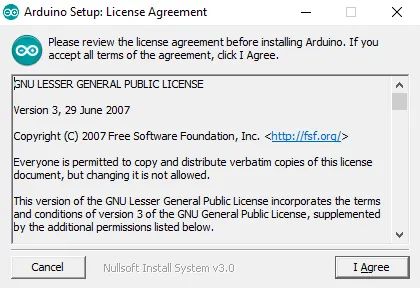
3.1 Agree with License Agreement.
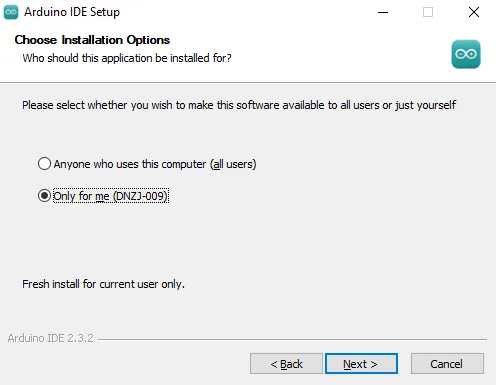
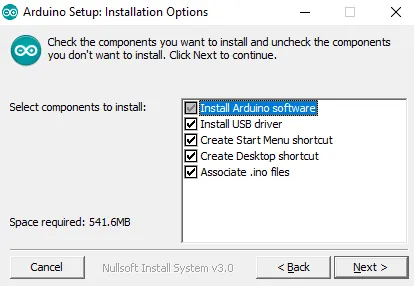
3.2 Choose installation options and go next.
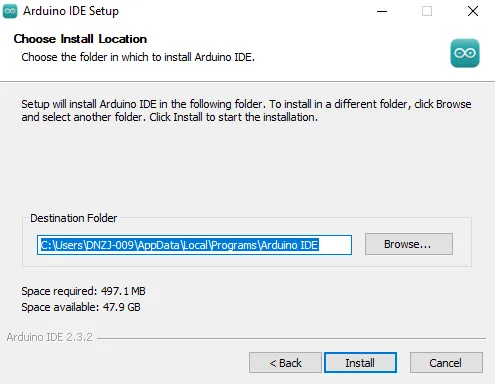
3.3 Choose installation location, then click "Install".
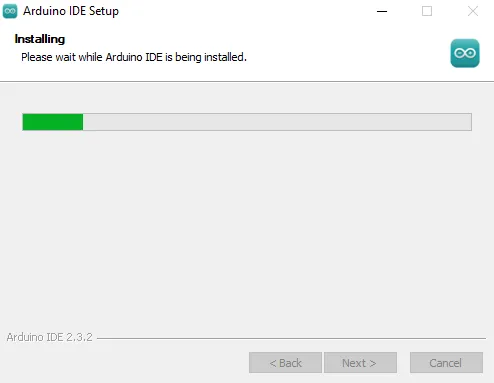
Waiting for installing...
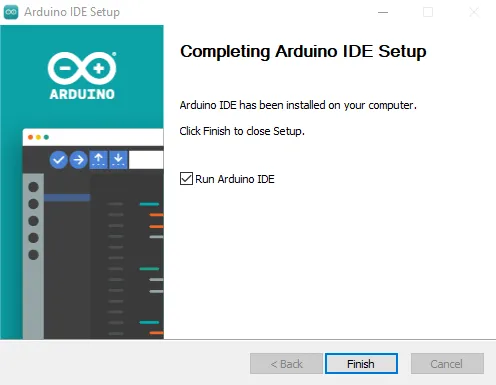
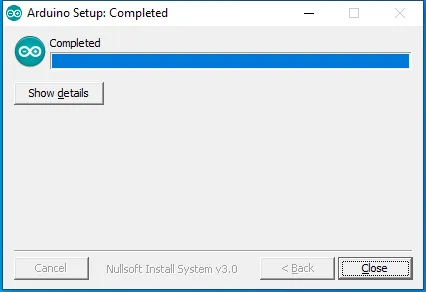
3.4 Install successfully! Click "Finish" and run Arduino IDE.
3.5 The first installation will automatically to install the USB driver, click Install.
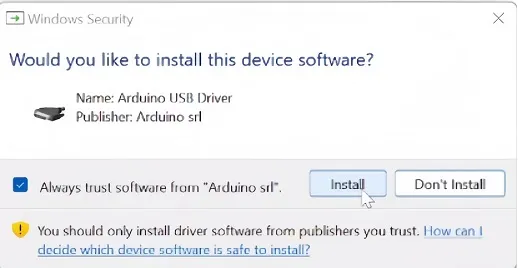
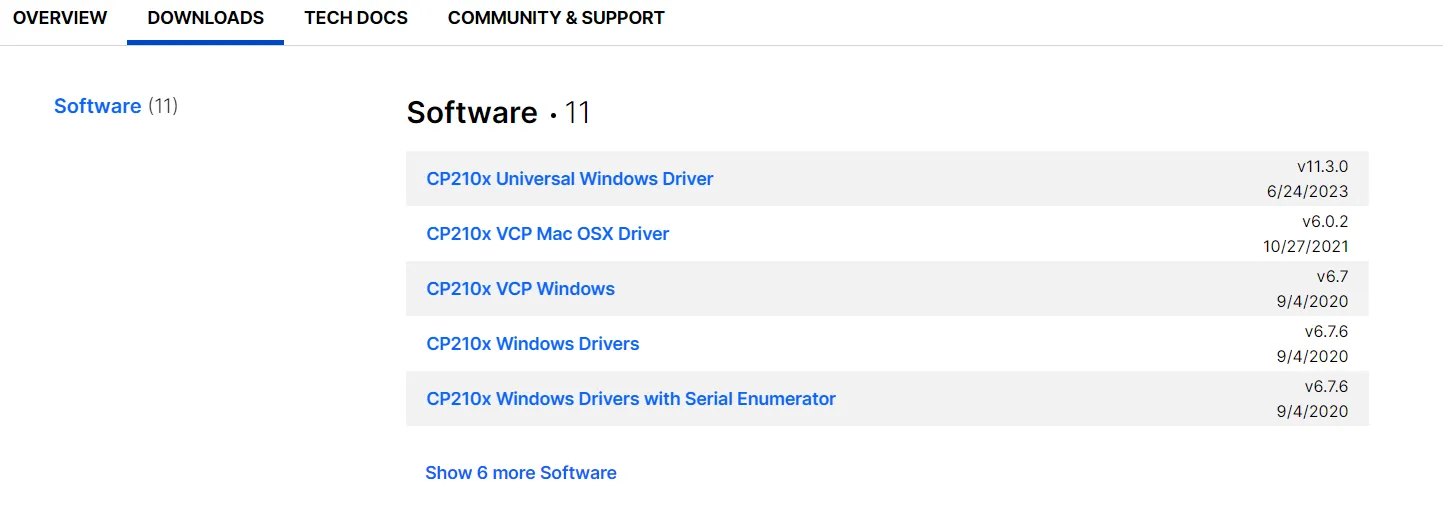
If the driver is not installed at this step, please manually install the driver at: https://www.silabs.com/developers/usb-to-uart-bridge-vcp-drivers?tab=downloads
Download_Arduino_IDE 1.8.9(Please download the version required by your course. The version 1.8.9 shown here is only an example.)
1.Enter http://arduino.cc/en/Main/Software, and scroll down. Find Legacy IDE(1.8.X) and choose download options. Here I will select "Windows Win 7 and newer".

- Windows Win 7 and newer: You can manually select the installation path.
- Windows ZIP file: It is a portable version and does not require installation. It can be opened and used immediately after decompression.
2.Click "JUST DOWNLOAD" to download the file. You can also click "CONTRIBUTE AND DOWNLOAD" to support the team.
3.Double-click the exe file to install.

3.1 Agree with License Agreement.
3.2 Choose installation option and go next.
3.3 Choose installation location, then click "Install".

Waiting for installing...When the installation complete, close the window.
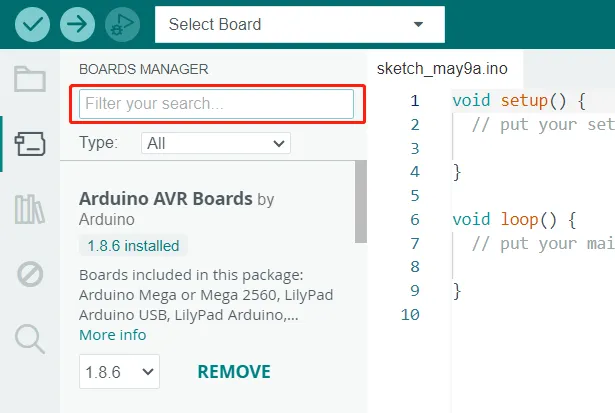
Add Development Board
1.Click “Tools”→“Board” to find if there's the board model you use.
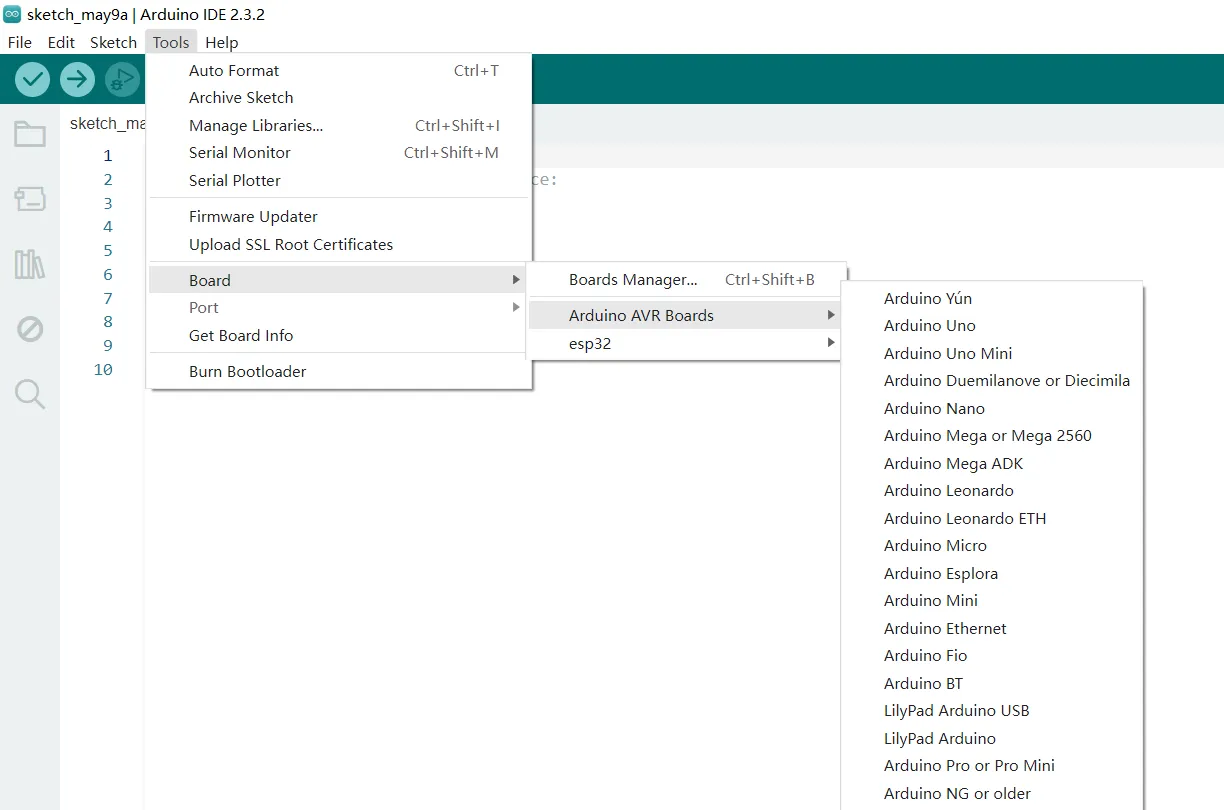
2.If there is the board model you use, just select the board. If not, click "Boards Manager" and search for the model of your development board, and then install it.