Get started with ESPHome
Burn the image
-
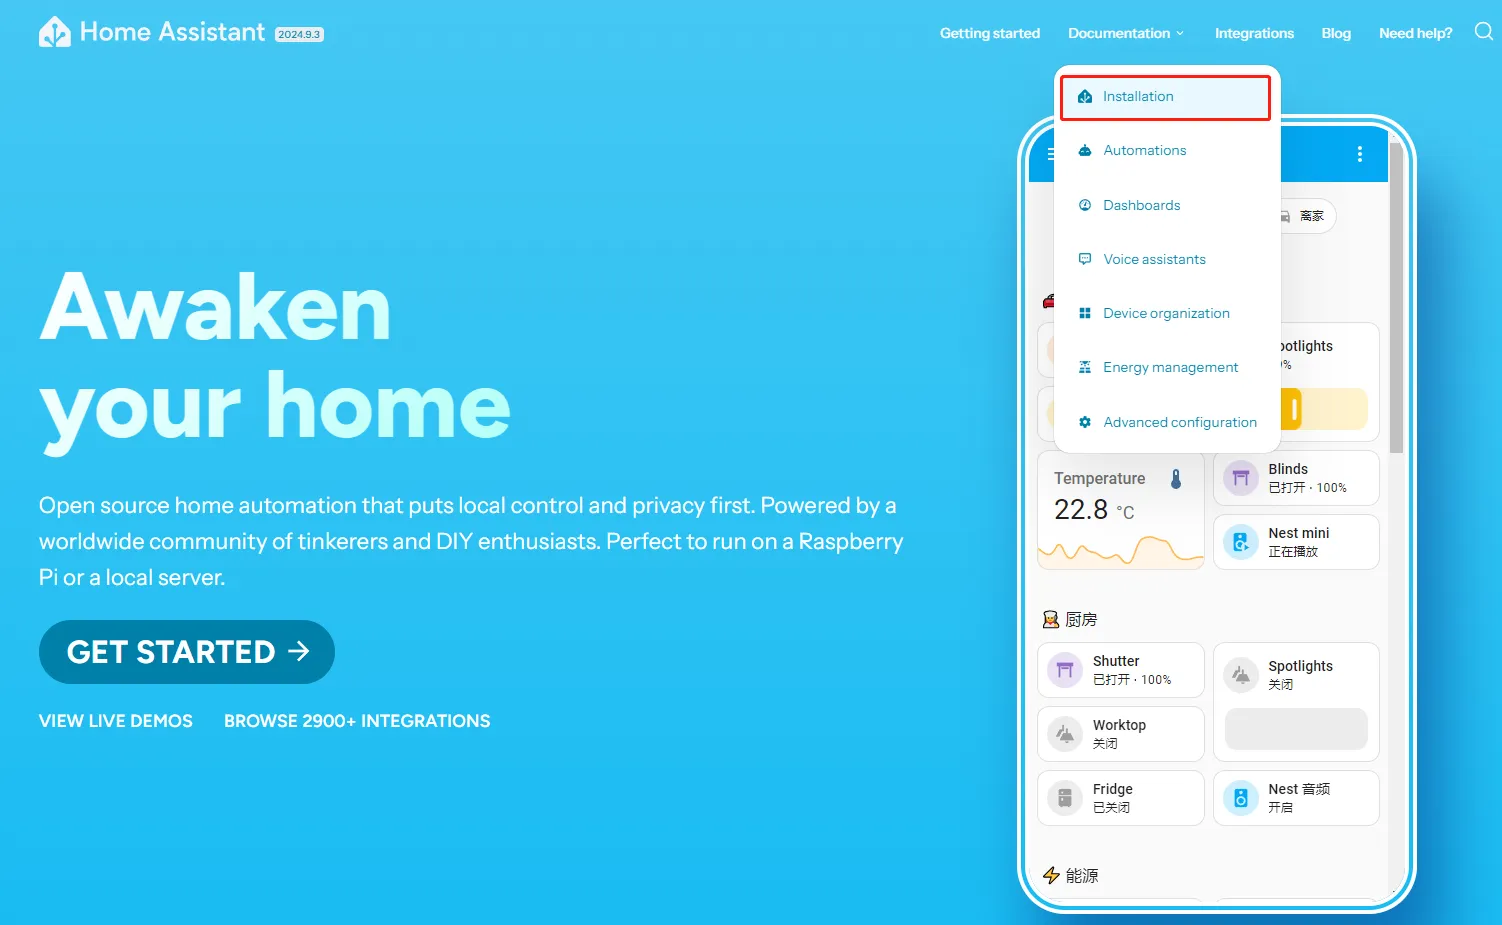
Open your browser and type https://www.home-assistant.io/, then move your mouse to ‘Documentation’ and select ‘Installation’.
-
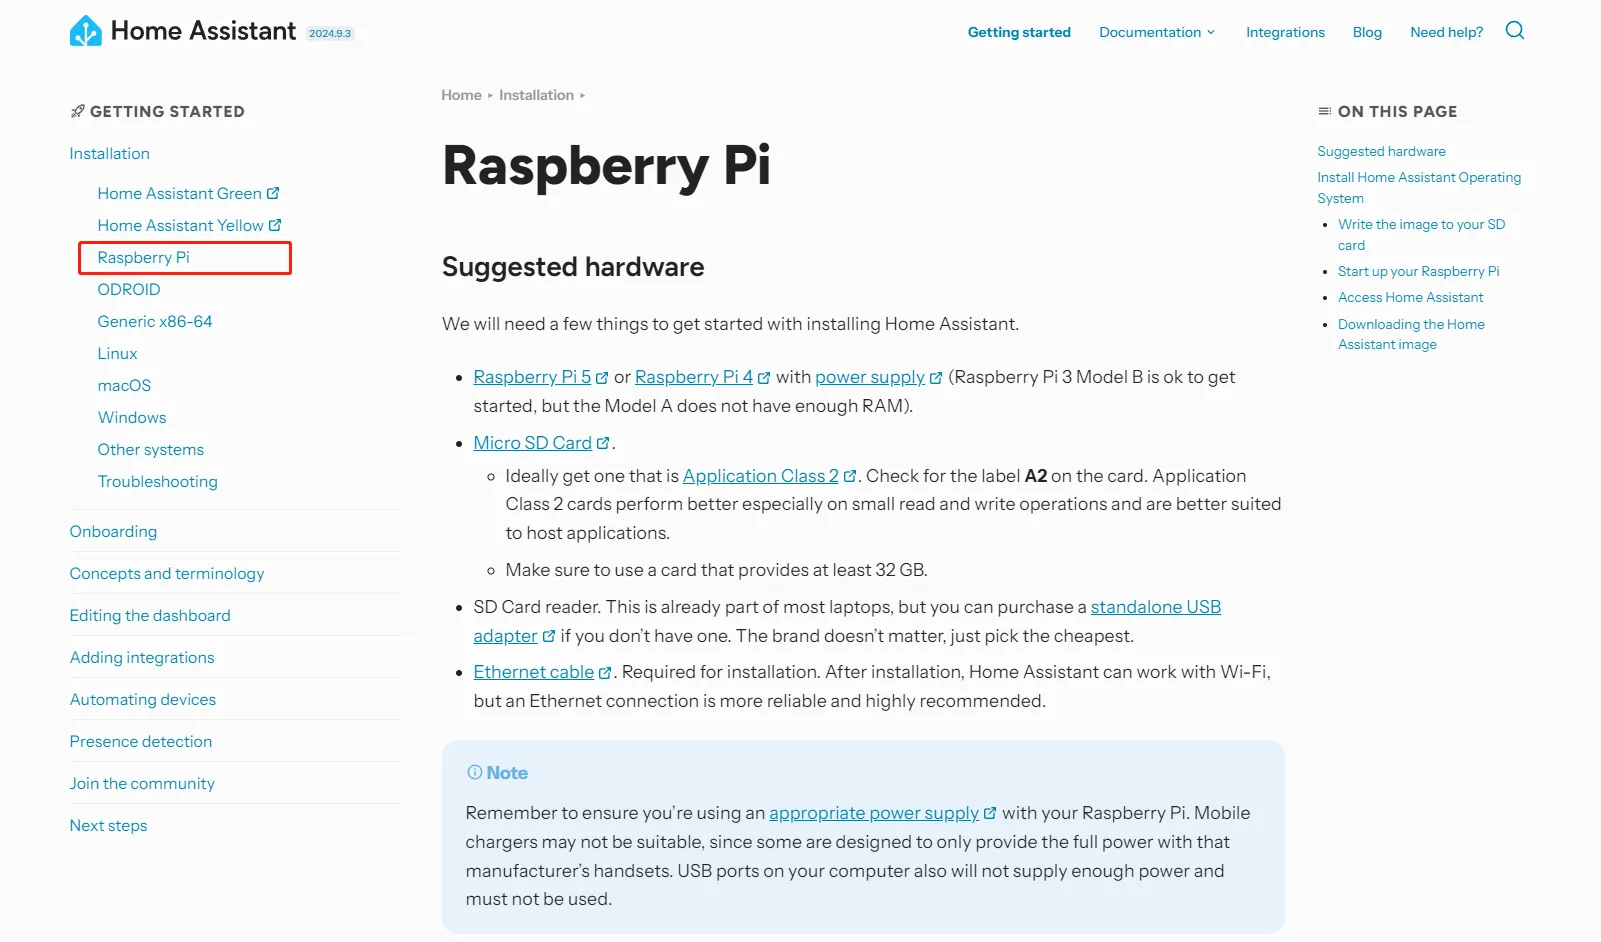
In this tutorial, we'll use the Raspberry PI as an example.
-
The Home Assistant has shown how to burn an image using the Raspberry Pi Imager. We will show you how to burn an image using other image burning tools. Here we will take balenaEtcher as an example.
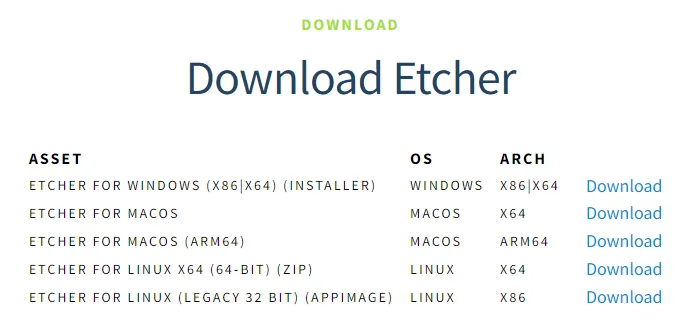
Open a new webpage and type https://etcher.balena.io/ then select 'Download Etcher'.

-
Please download the adaptable version for your system.
-
After installation, we need to download the image. You can download the image through here
After downloading the image, we will start to burn the image to the TF card. Insert the TF card into the card reader and connect it to your device. And open the balenaEtcher.

-
Click 'Flash from file' and select the image file you just downloaded. Then click 'Select target' and select your TF card.

-
Finally, click 'Flash!' and wait for the burn to finish.

Connect the Raspberry Pi
- Remove the TF card from the device and insert the TF card into the Raspberry PI. We also need to connect the ETH port of Raspberry Pi.
-
Please note that Raspberry PI must connect to a screen to view information. Once everything is ready, power the Raspberry PI and wait for it to load. The screen will display the following picture.
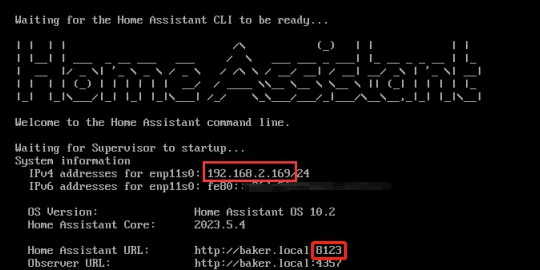
Remember the IP addresses and Home Assistant URL.
Register an account
- The information framed by the red line is what we need to use. The above information is for demonstration purposes only. Your information and mine are not the same.
-
Make sure your device is on the same LAN as the Raspberry PI. Open the browser and enter the information in the frame. The example is as follows.

-
The first time you use Home Assistant, you need to create an account.

-
You can either manually locate or automatically detect the location.
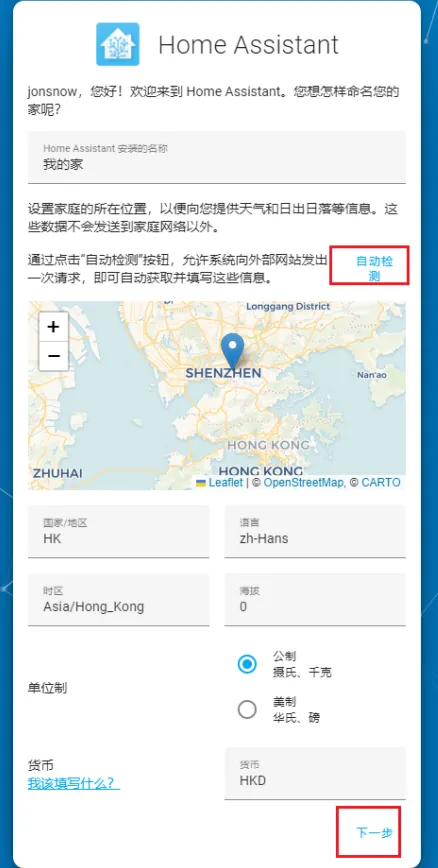
-
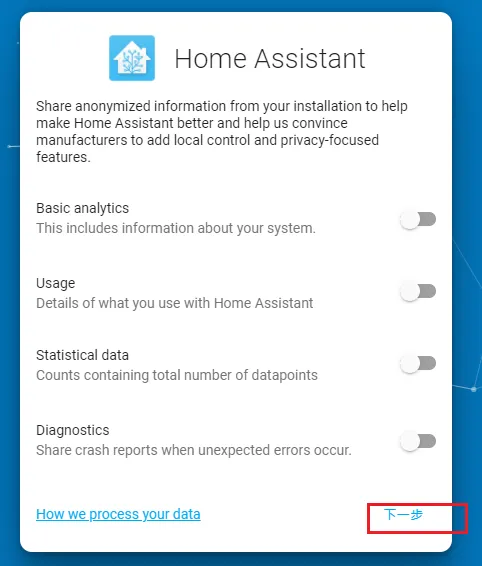
Default click ‘Next’.
-
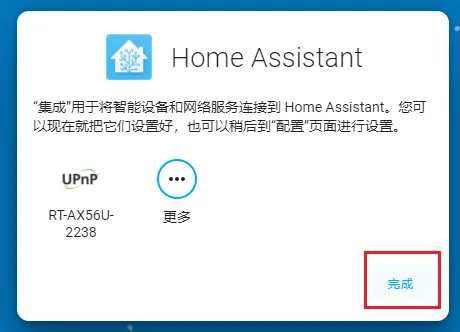
You can add the smart device first or click Finish to add it later. Here, we'll add devices later.
Add ESPHome
-
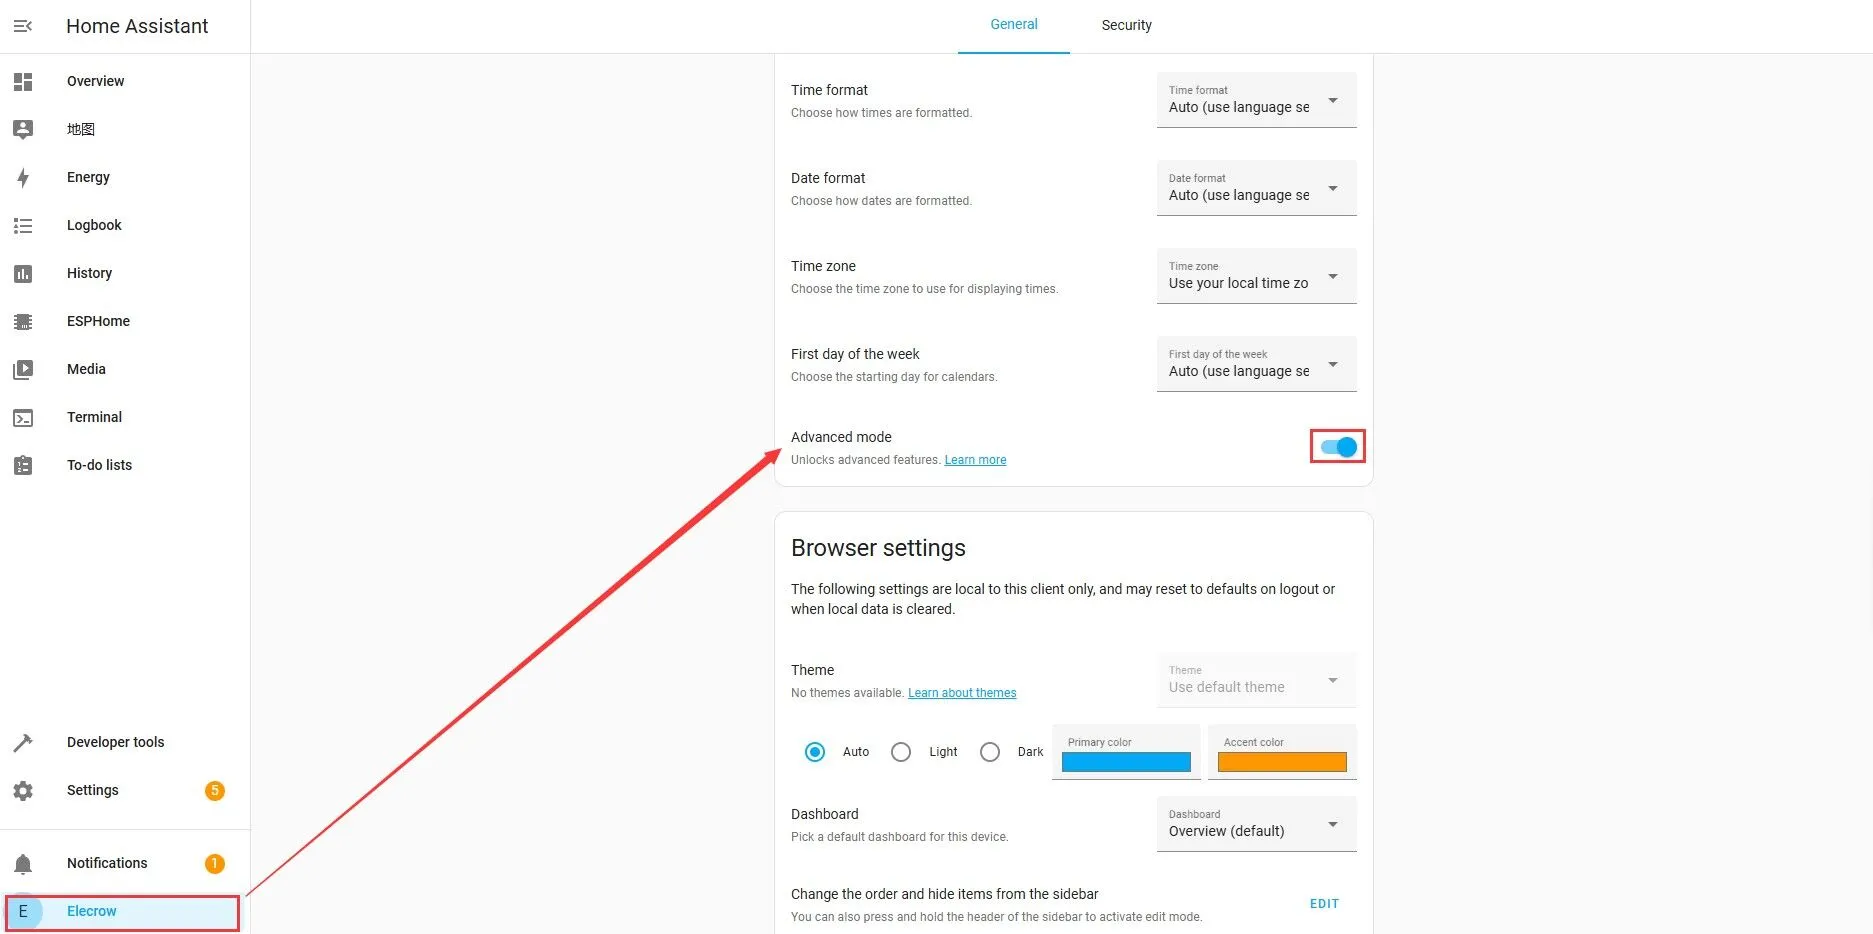
Click the username and open the ‘advanced mode’.
-
Click ‘settings’ and ‘Add-ons’.
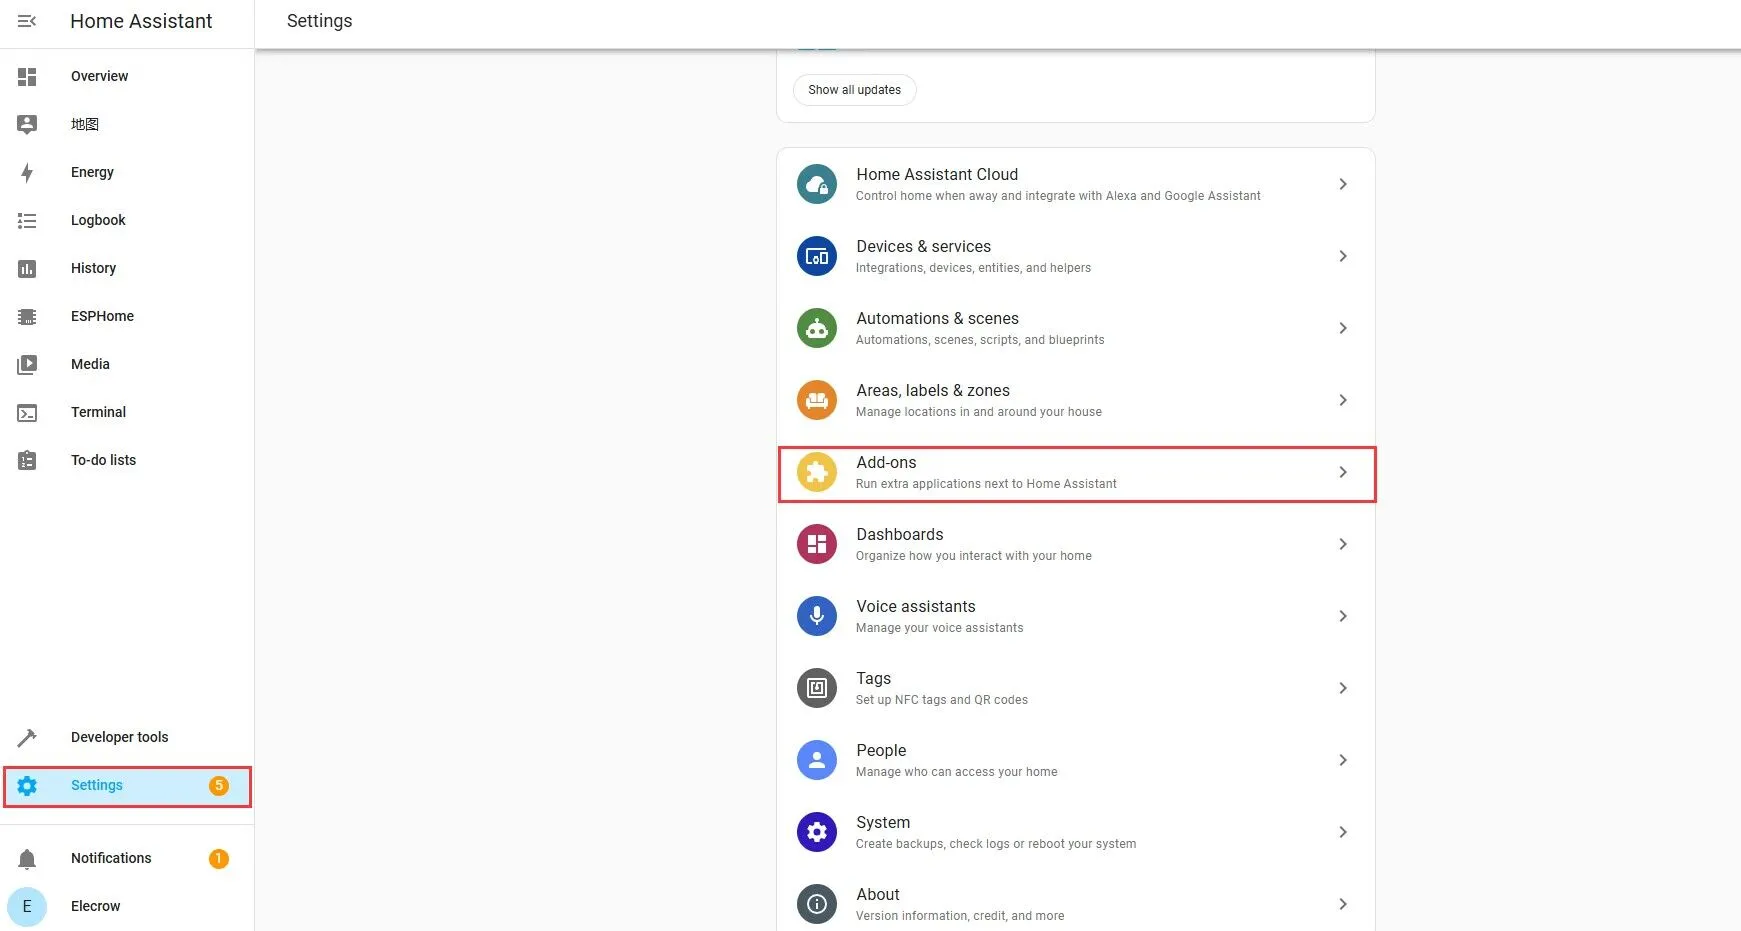
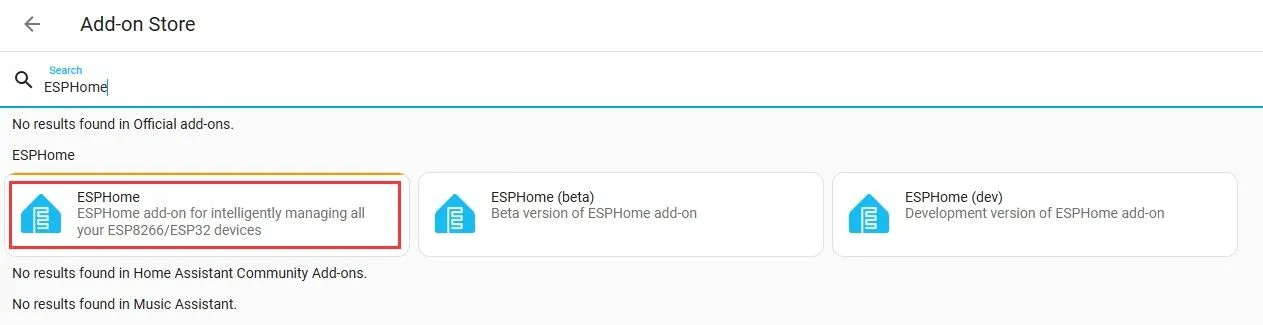
Click ‘ADD-ON STORE’ and type ESPHome to install it

-
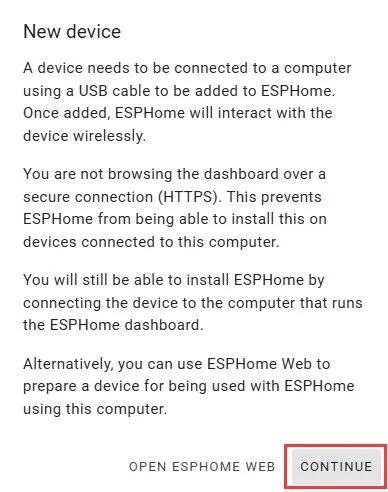
Once the installation is complete, we can start adding devices. Click ‘+NEW DEVICE‘-> ’CONTINUE‘

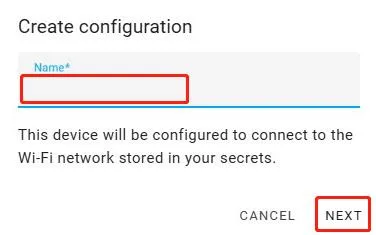
Enter name and click ’NEXT‘
-
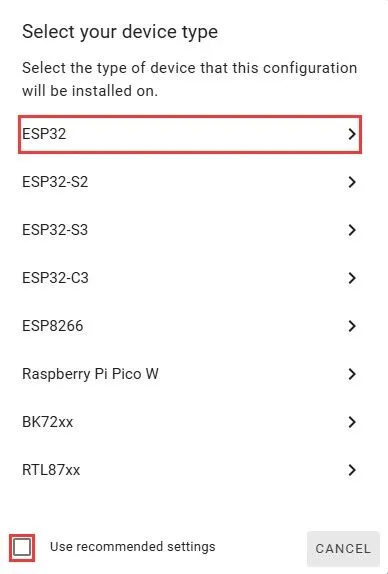
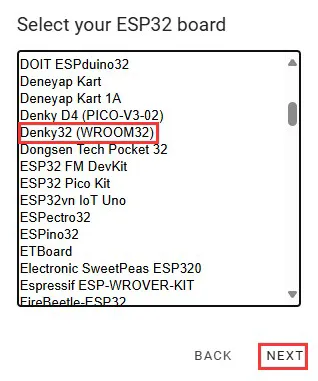
Here, we take the ESP32 HMI screen as an example. Do not check ’Use recommended settings‘ and select ’ESP32‘-> ’Denky32(WROOM32)‘-> ’NEXT‘-> ’INSTALL‘
-
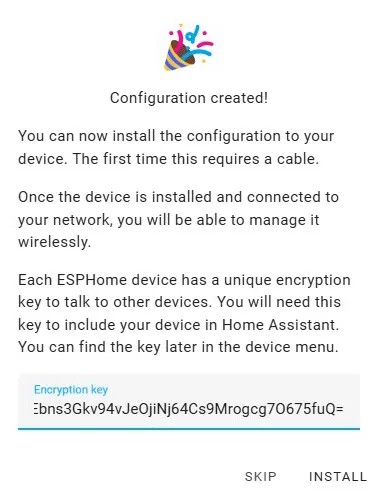
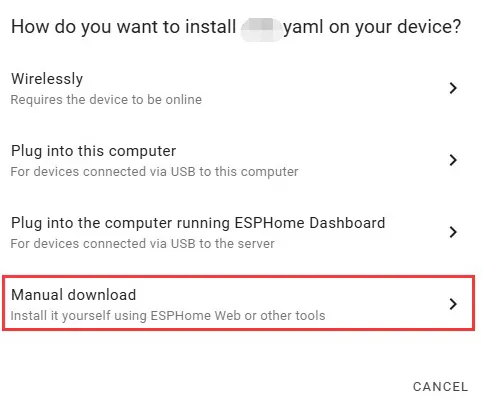
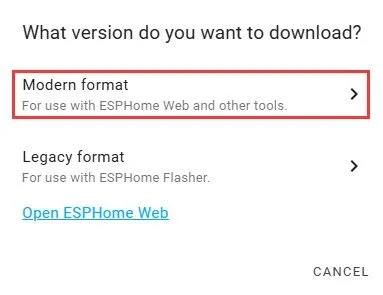
After successful configuration, we will burn the bin file to the device. Select ’Manual download‘-> ’Modern format‘.
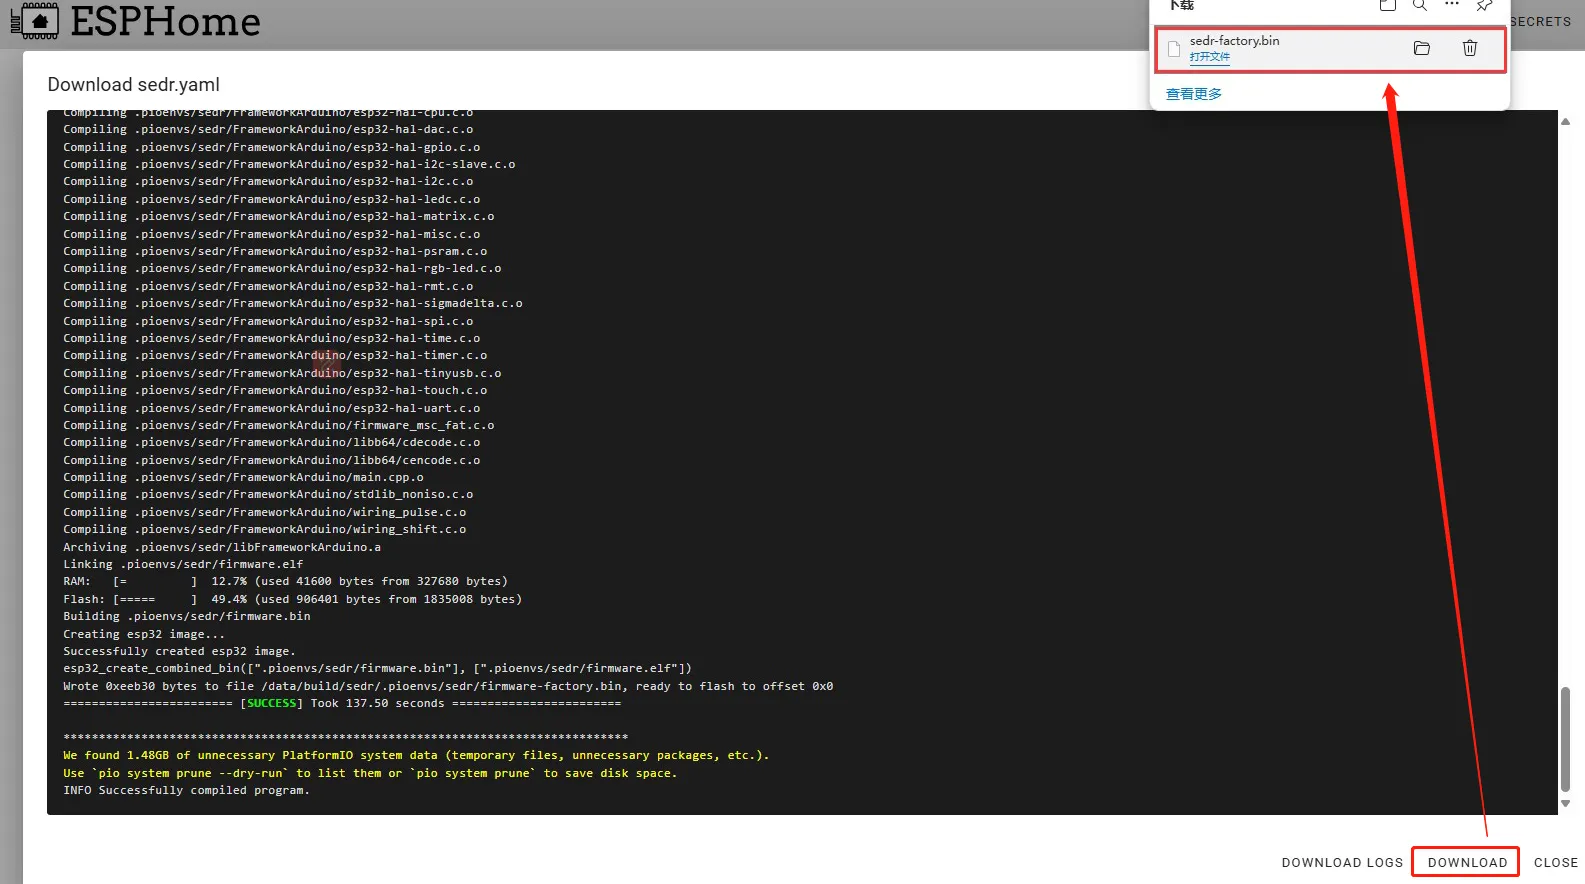
-
It will download automatically. If without automatically download, you can download it by clicking ’DOWNLOAD‘.
Burn the bin file
-
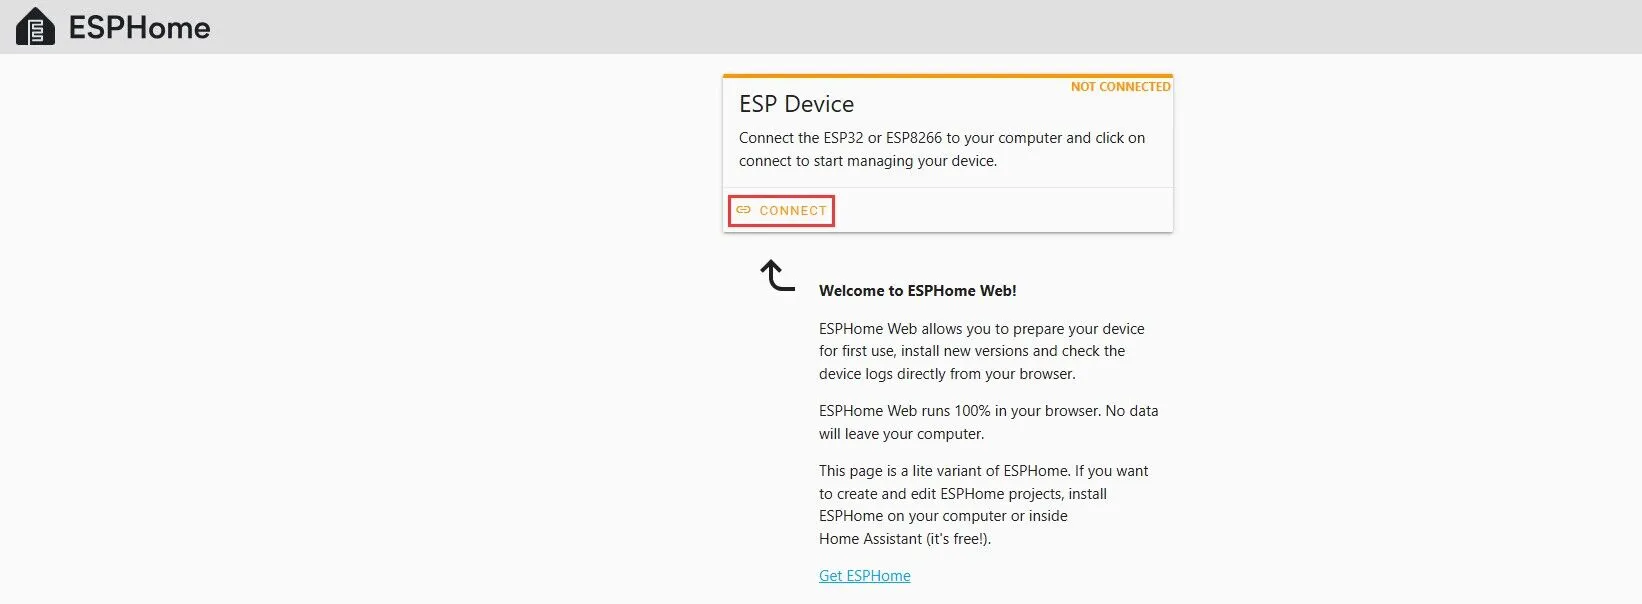
First, connect ESP32 display to the computer. Then open a new page and type https://web.esphome.io/?dashboard_wizard and click ’CONNECT‘. Select the COM and connect it.

-
Once the ESP32 Display is connected, click ’INSTALL‘.
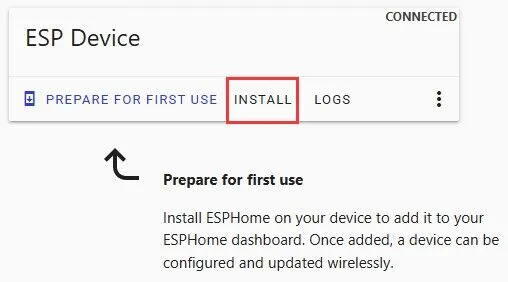
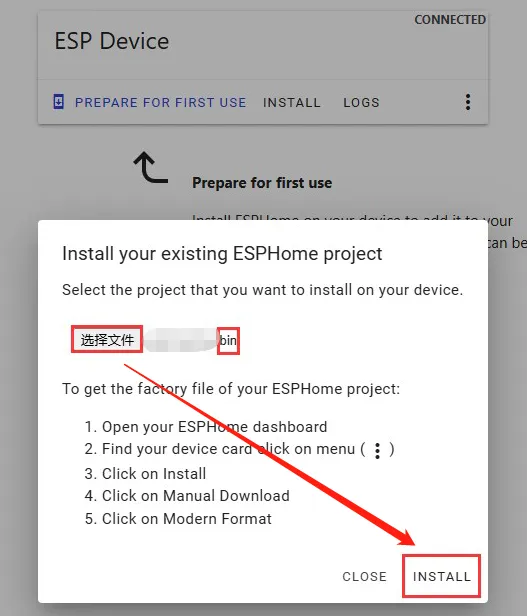
Add the bin file you just downloaded and click ’INSTALL‘.
-
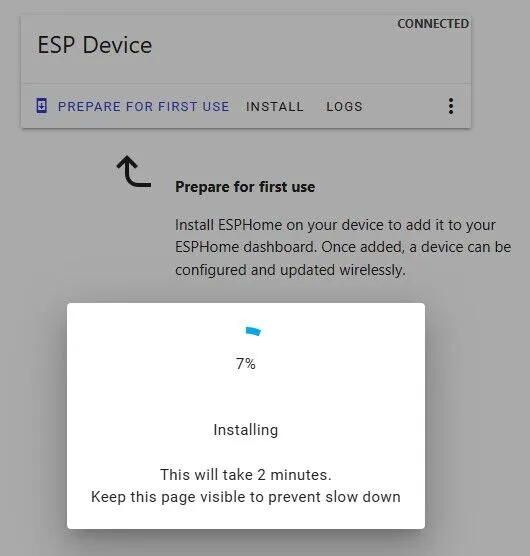
Wait for some minutes.
-
After installation, click ’CLOSE‘. Then return to Home Assistant-ESPHome page. We can start to write a program to achieve smart home control.