8.Elementary chatbot
Welcome to the Lesson of CrowPanel ESP32 Advance HMI Series Tutorial.
In this lesson,I will show you how to use this series of products to independently connect to a large-scale AI model. Because the code in this lesson is applicable to all sizes in the series, I will use the 5.0 inch product to demonstrate the process.
1 Create a dedicated large model API interface
Before we create a large model API interface, let's learn an AI website specifically set up by Nvidia:
https://build.nvidia.com/explore/discover
On this site, you can use some of the top open source large language models for free or near free, including some of the latest models, such as Llama 3.
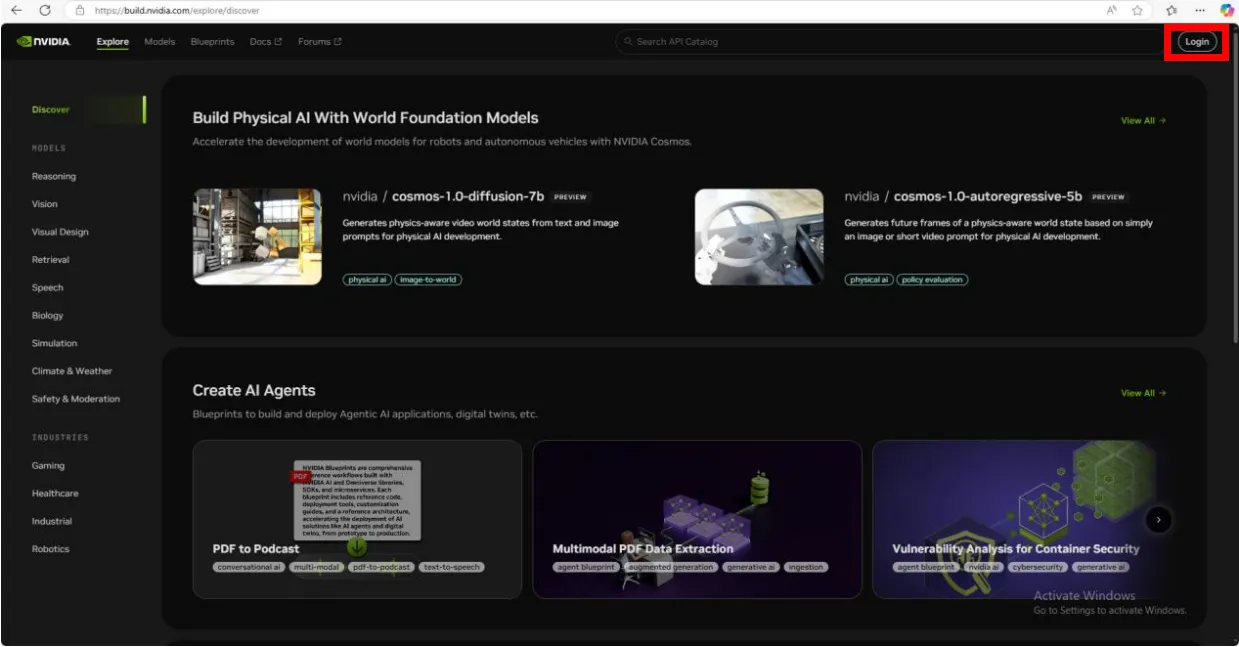
First let's go to the site and you'll see a page like this.
Click the Sign In button at the top right of the page. If you have an account, enter your email address. If not, the system will prompt you to register.
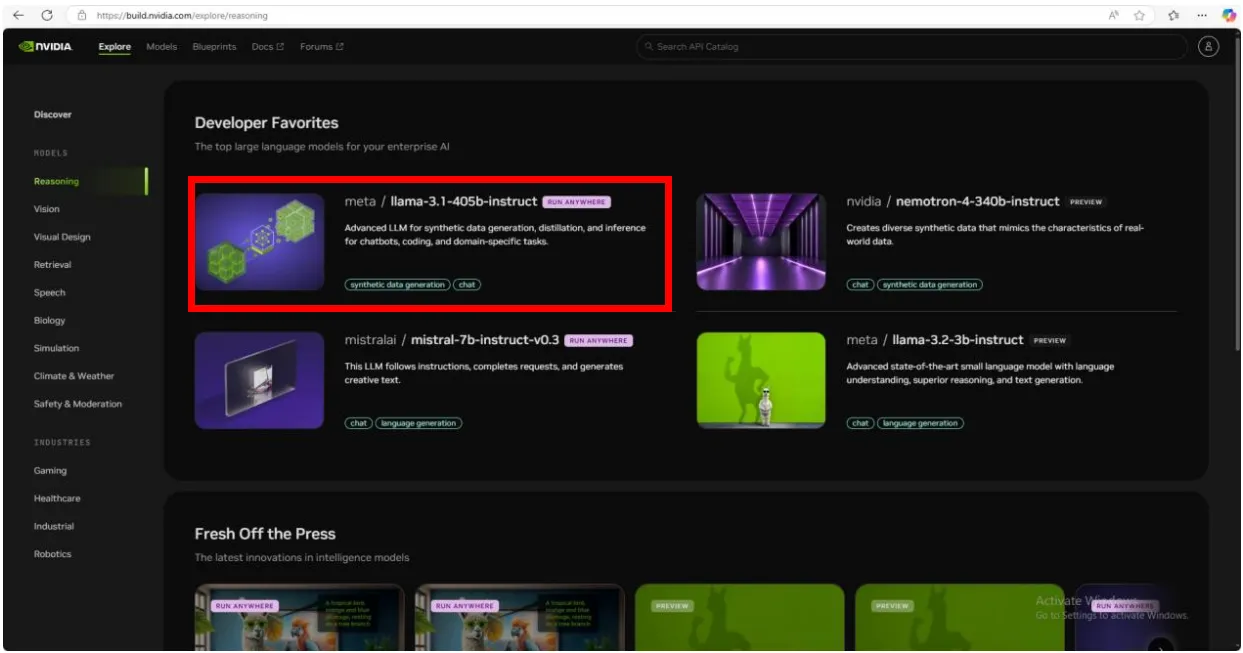
Once registered, you will be redirected to the main screen. Here, you can select the model you are interested in. I have chosen Meta’s new model, Llama 3.1.
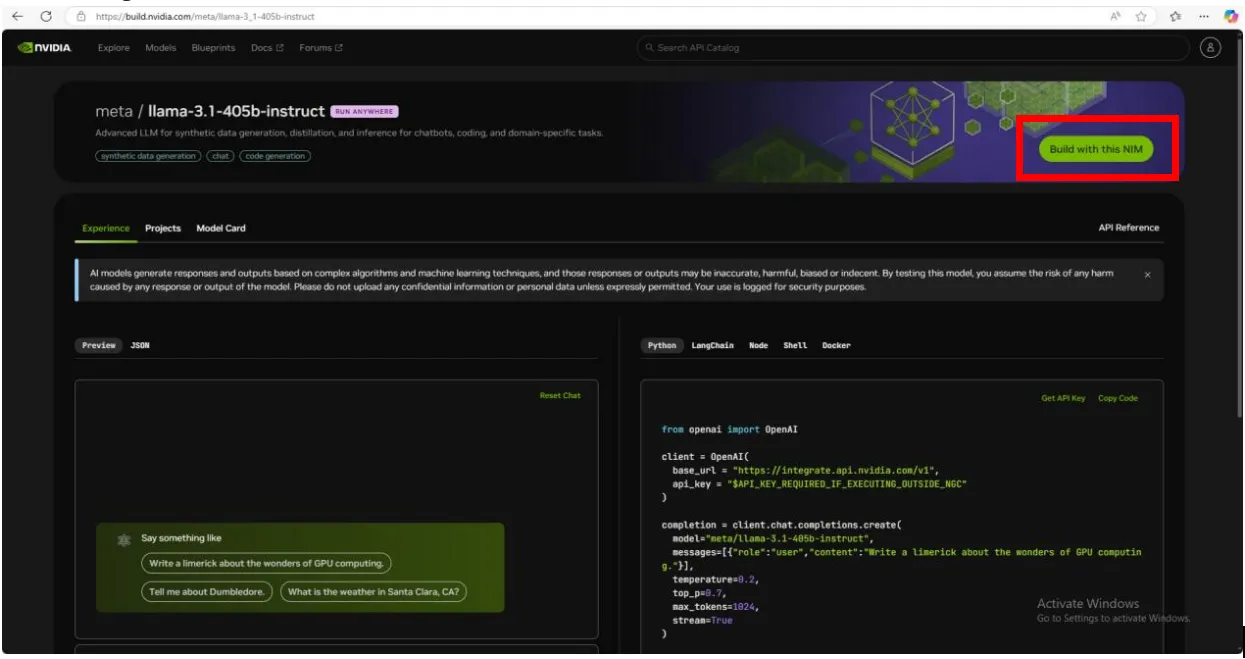
Click on it and you'll see an interface similar to the one below. Click "build with this NIM" on the right.
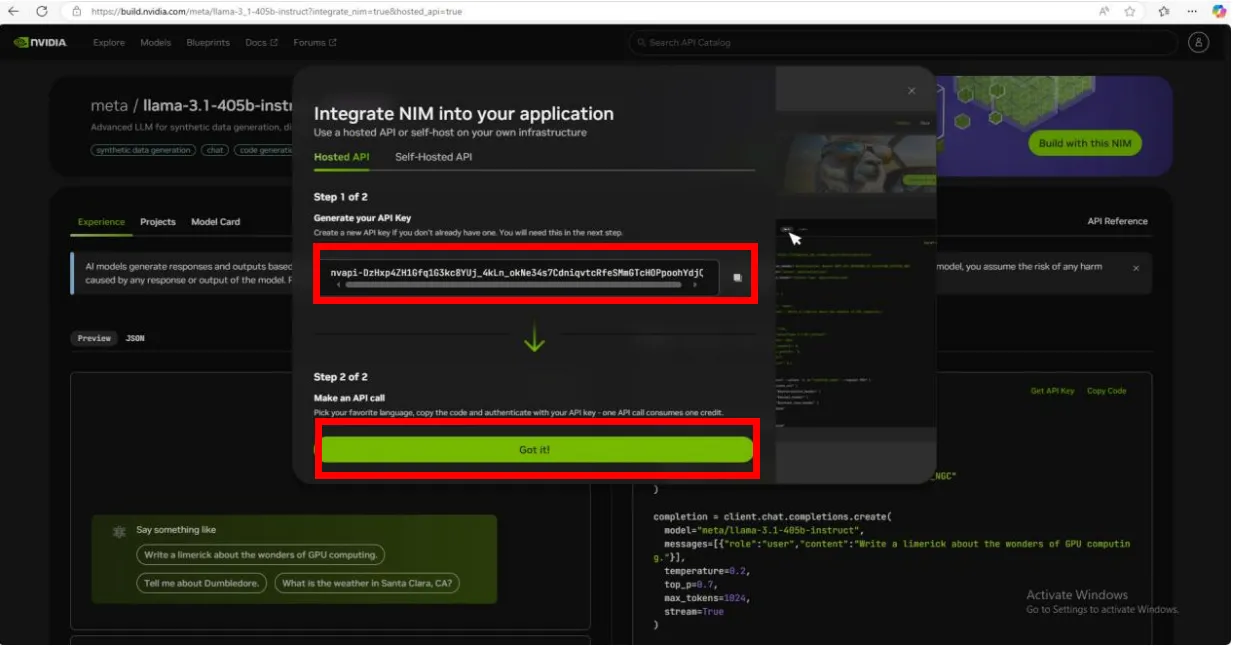
Create a new API key dedicated to you.
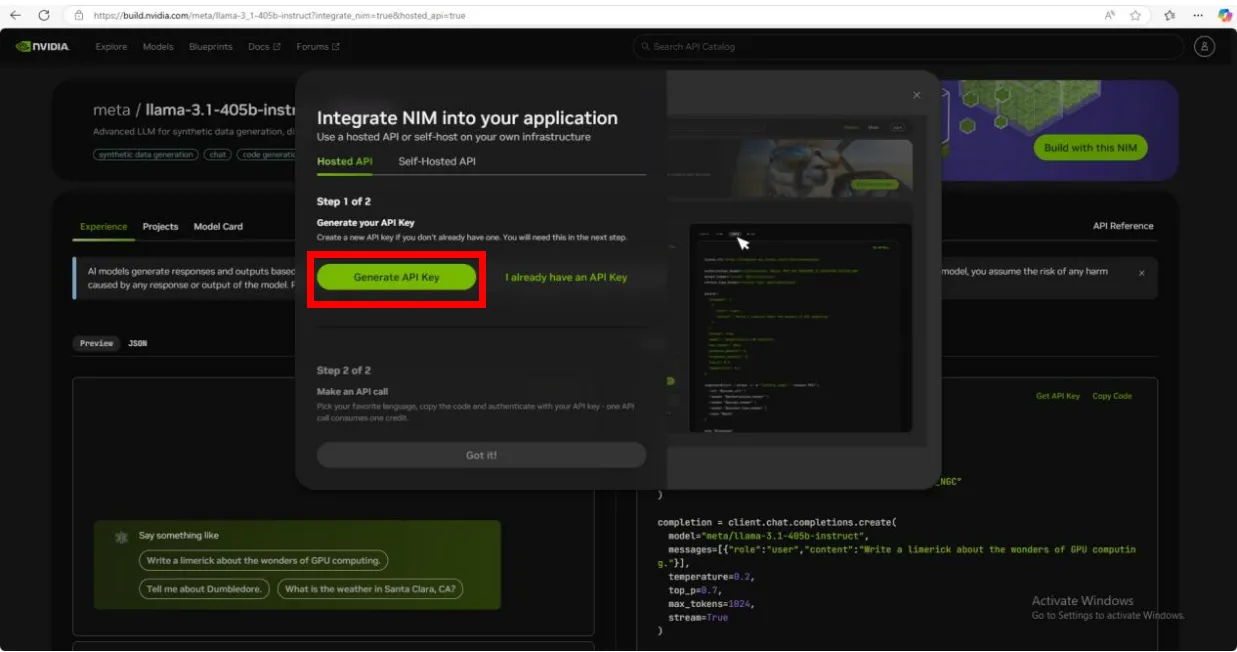
Copy the API key and save it in a place where you can easily find it. You will then embed this API key into your code. Click “Got it!” to proceed.
2 Code Explanation
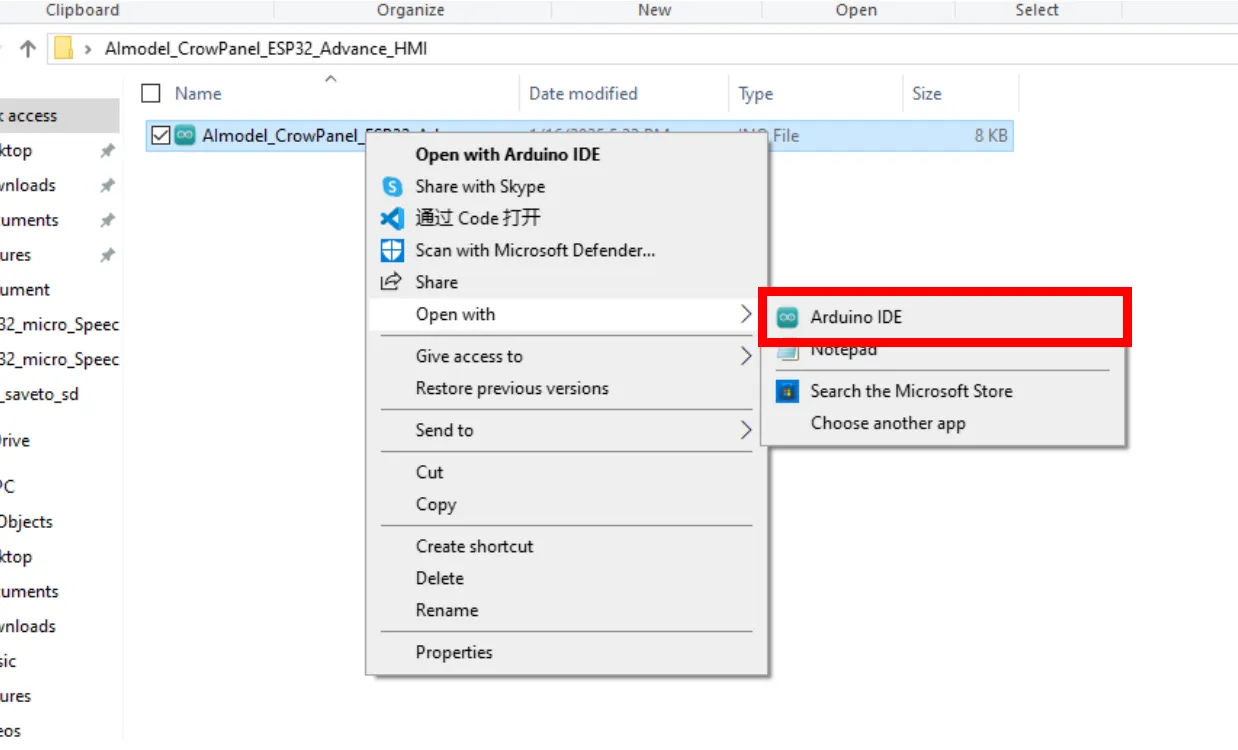
Use Arduino IDE to open the ino file in the folder.
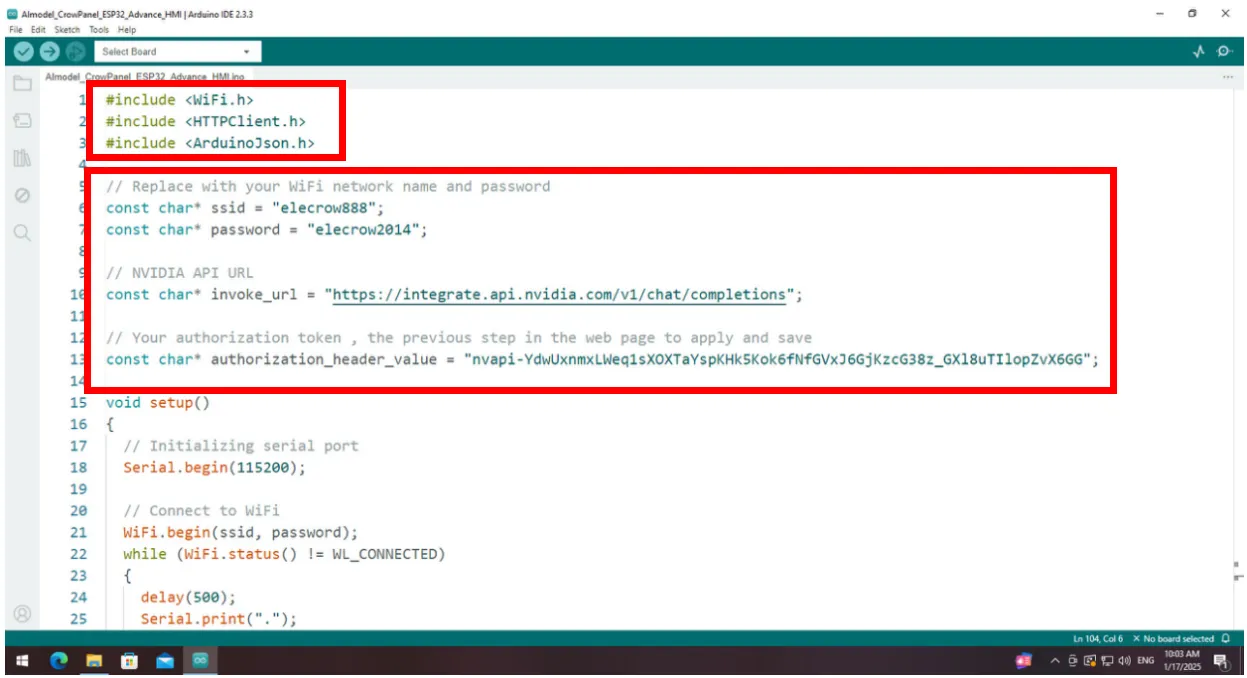
The development board needs to connect to WiFi. The returned information is in JSON format and is transmitted over the HTTP protocol. Therefore, three library files need to be included at the top of the code.
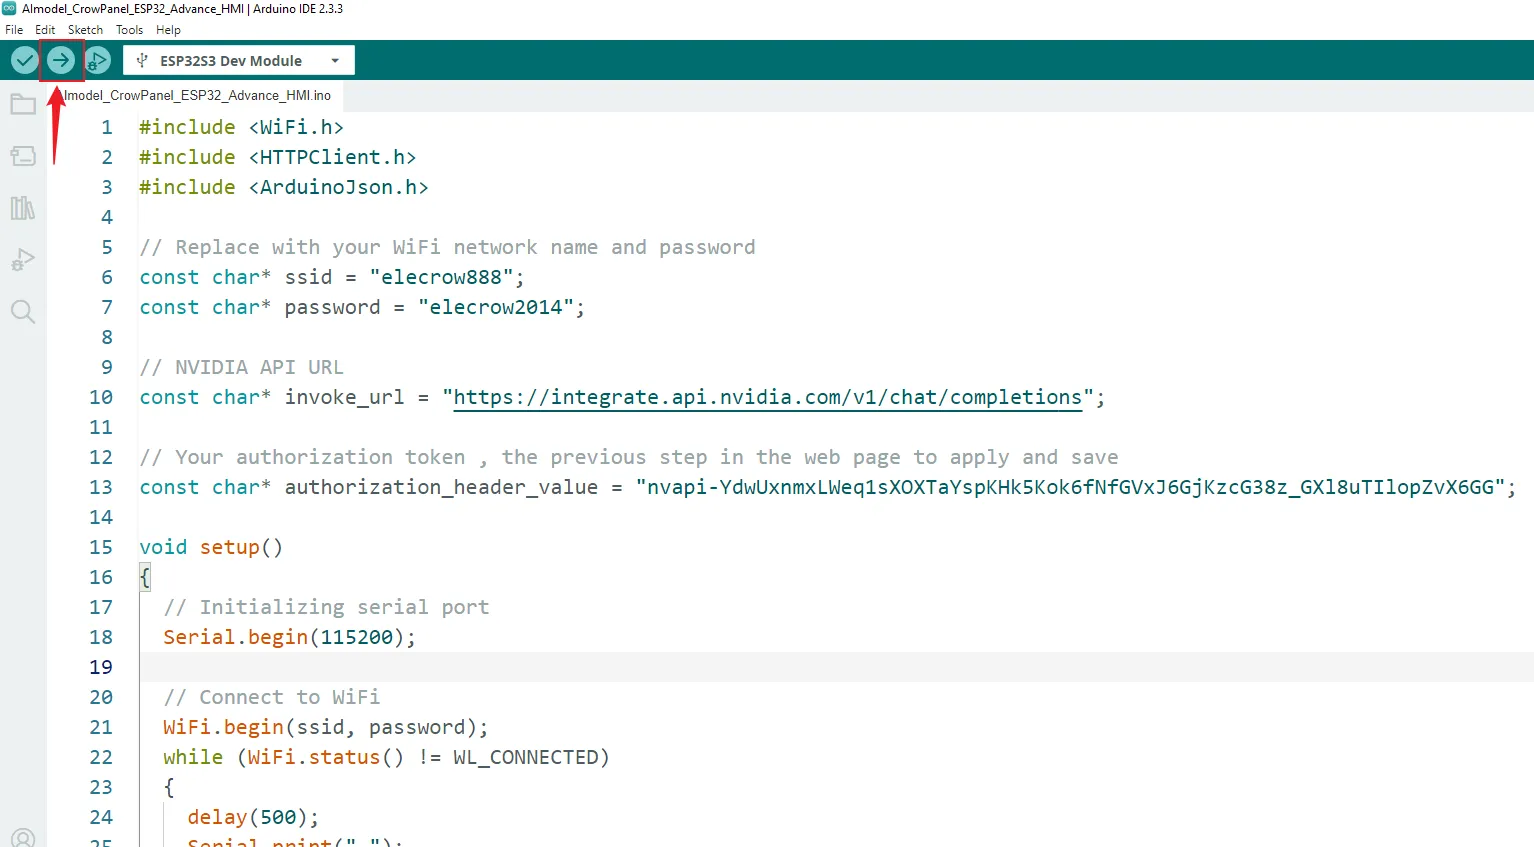
Starting from the sixth row, fill in the following information:
The name of your WiFi
Your WiFi password
The URL of the large model
The API key for the large model
If you want to use another model, you need to replace the corresponding URL and follow the model's API agreement.
The code initializes the serial port baud rate and WiFi connection.
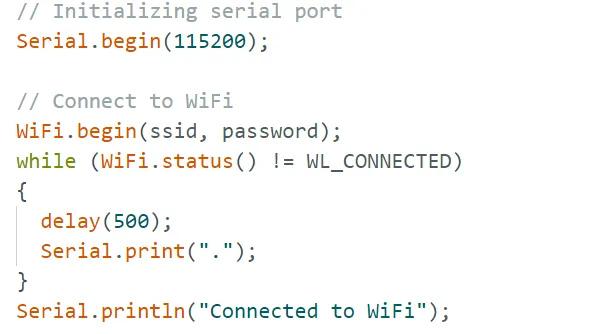
When the WiFi connection is set up, the URL connection is also established. Configure the request to be sent, and embed the URL, API key, and parameters in the request header.
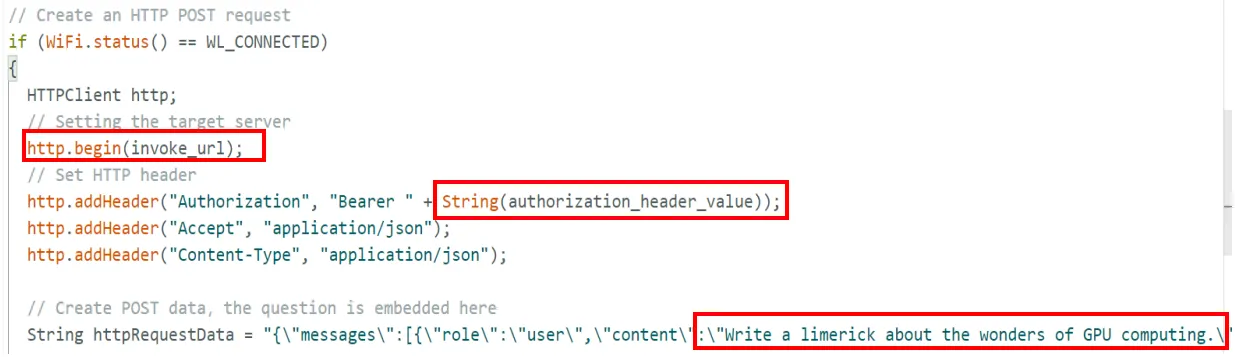
Send a request to the URL.

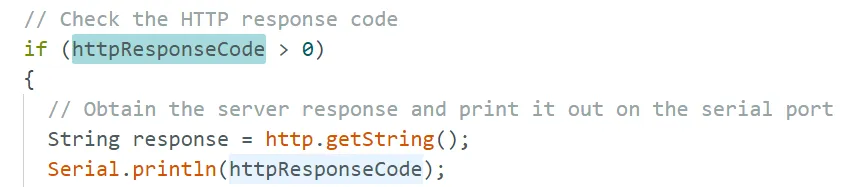
If the URL responds, receive the response information and print the response code.
Because the returned response information is transmitted in chunks, you need to process and store it for further use.
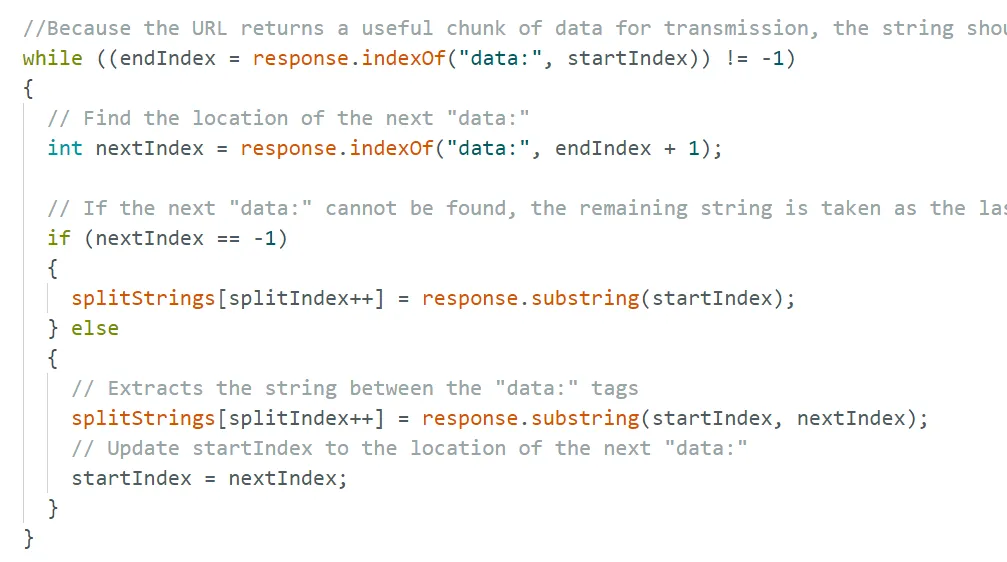
After extracting the content of each cutting message, return the content and print it in the serial port.

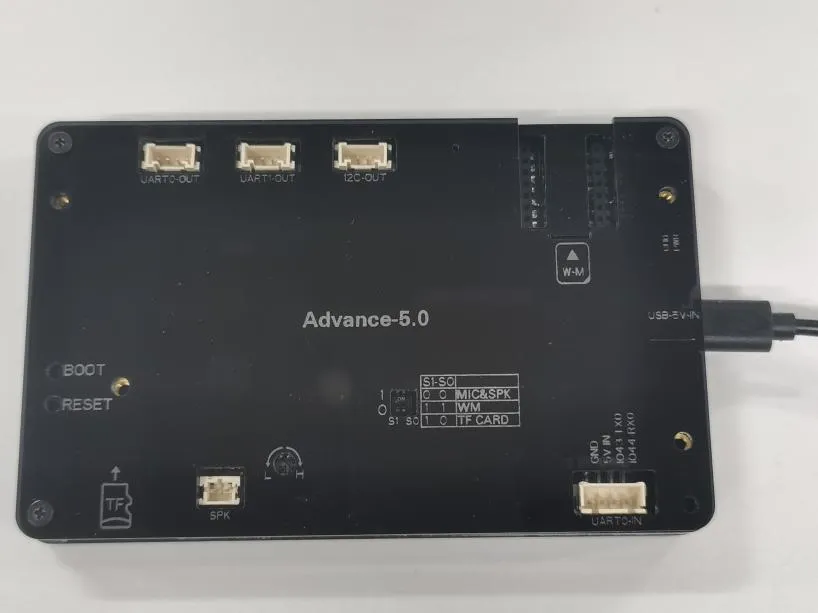
3 Hardware connection
Connect the USB port of the development board to the computer
4 Configure the environment, upload code, and view phenomena
(Before uploading the code, please replace the relevant library files. Please refer to Lesson 2 for instructions on how to replace them.)
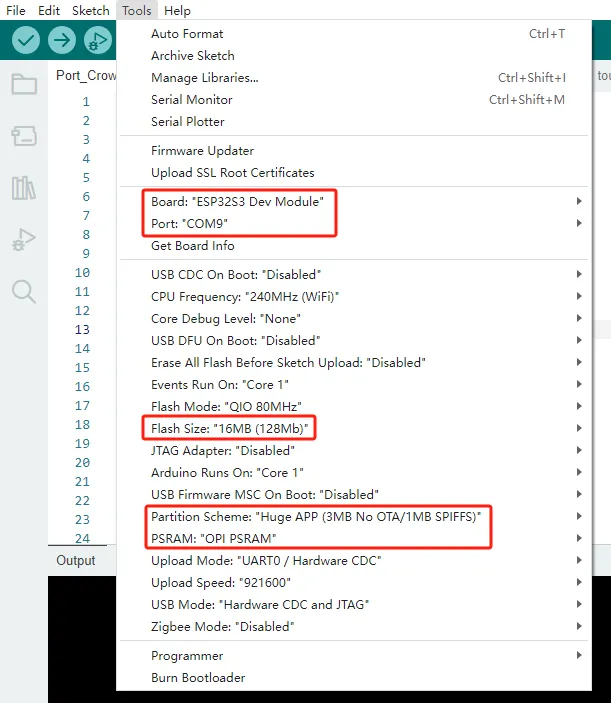
Configure the operating environment according to the guidance.
Upload code
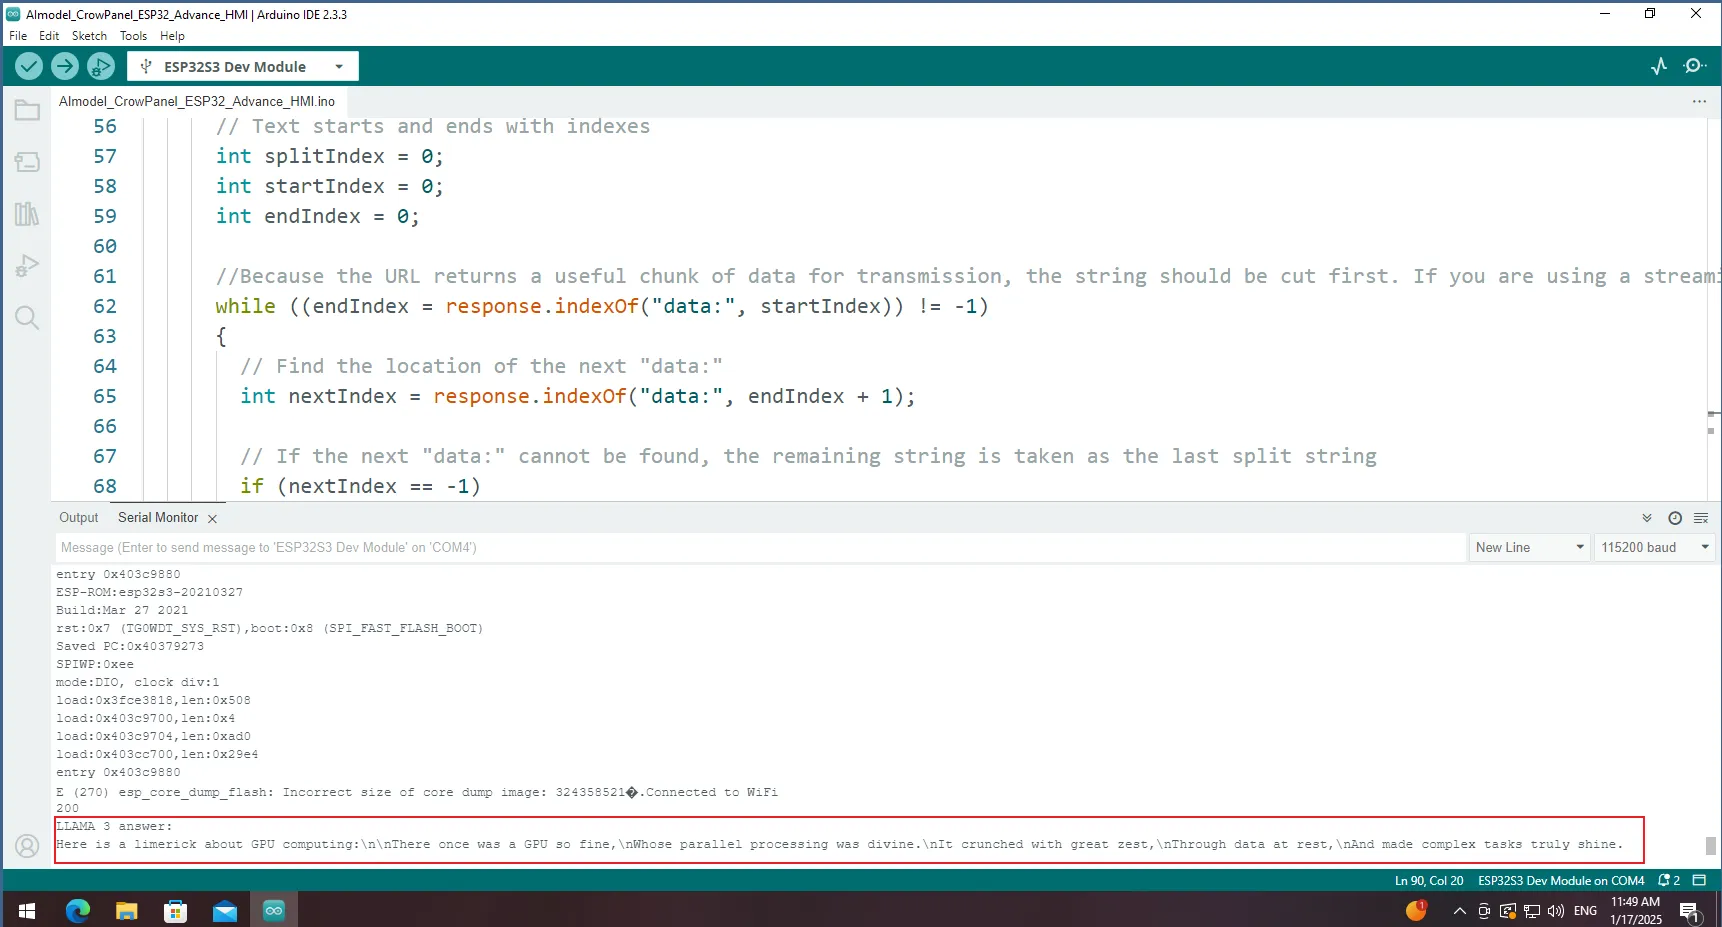
After compiling, open the serial port to view the URL return information.
If your code compiles incorrectly, you can check if the ESP32 version number is correct. The ESP32 version number we need for this lesson is 3.0.2.

Secondly, please pay attention to replacing the corresponding size library file.
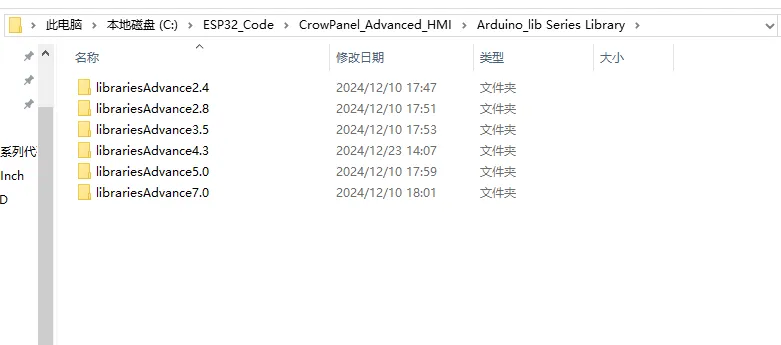
Select the appropriate library file based on the product screen size
Path reference:C:\ESP32_Code\CrowPanel_Advanced_HMI\Arduino_lib Series Library
I will use the Advance 7.0-inch product as an example for operation
Copy the Libraries Advanced 7.0 folder
Open Arduino IDE runtime library file path
Reference path: C:\Users\14175\Documents\Arduino
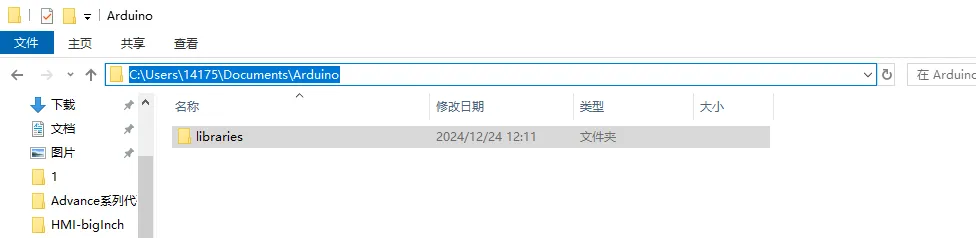
Delete the existing libraries folder
Paste the copied library Advanced 7.0 folder into this path

Change the folder name to the original libraries

Library update completed, restart Arduino IDE.
When using other sizes, changing the library file is the same operation