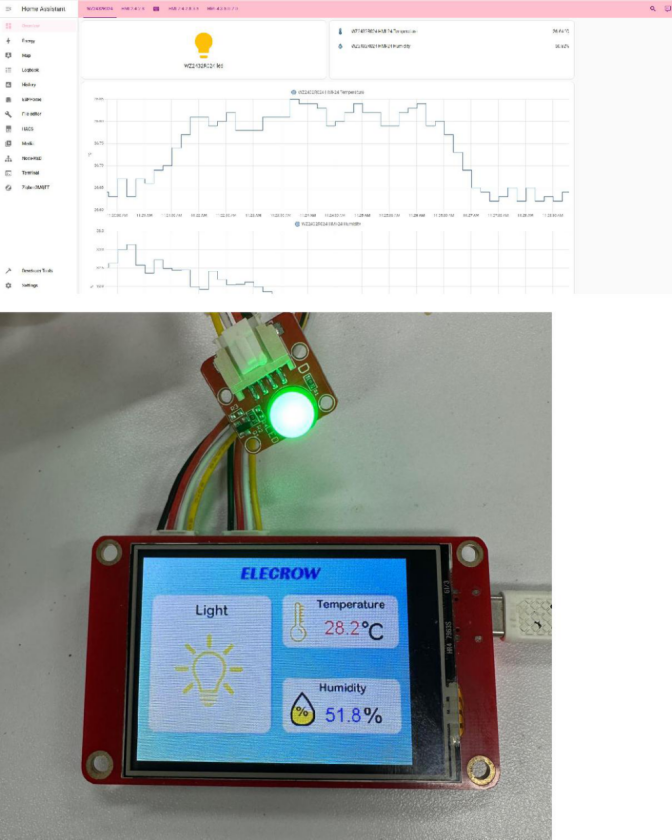
2.4-inch ESP32 Dispaly HomeAssistant Tutorial
Overview
In this tutorial, we will show you how to make a little system with ESPHome. The Raspberry Pi is used as a server.
Hardware Preparation
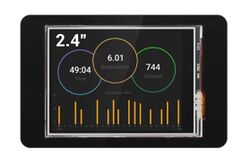
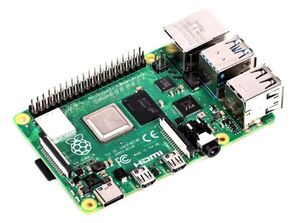
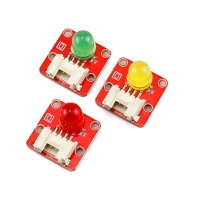
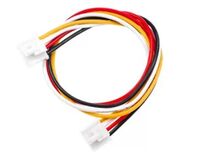
| 2.4-inch ESP32 HMI Display | Raspberry Pi4 & TF Card | Crowtail-LED | USB-A(or USB-C) to USB-C cable | 4-Pin HY2.0 Cables |
|---|---|---|---|---|
 |  |  |  |  |
| Get one now | Get one now | Get one now | Get one now | Get one now |
Software Usage
Install Home Assistant Operating System
Go to https://www.home-assistant.io/. Click on Documentation→Installation
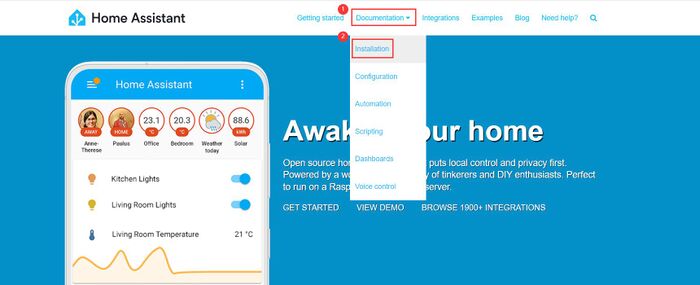
Scroll down and choose Raspberry Pi

Here we will write the image with Balena Etcher.
Download the Balena Etcher on https://etcher.balena.io/
Download the image to your computer: https://github.com/home-assistant/operating-system/releases/
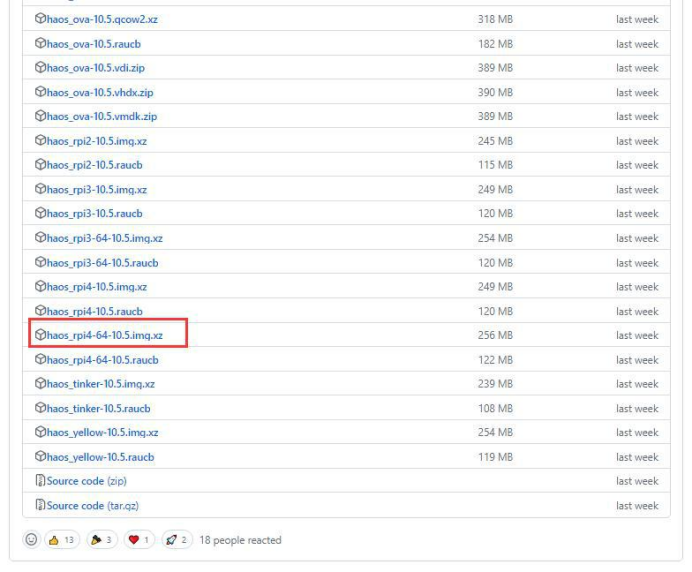
Select Flash from file and select the image you just downloaded. Then insert the TF card to your computer and select target. Select Flash! to start writing the image.
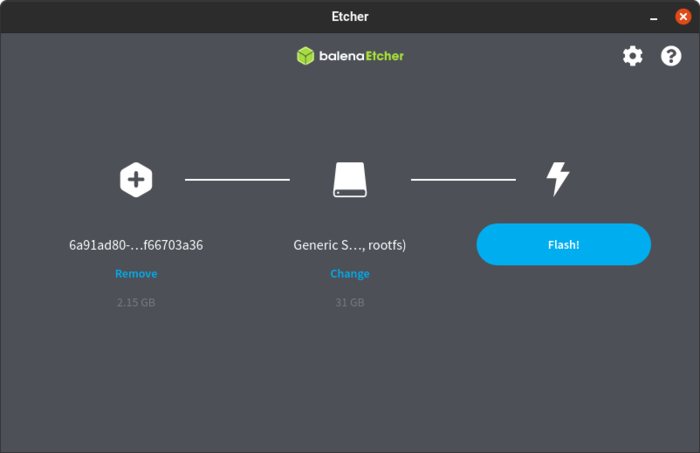
Once Balena Etcher has finished writing the image, you will see a confirmation.

Boot up Raspberry Pi
Insert the system card into Raspberry Pi and power it up.
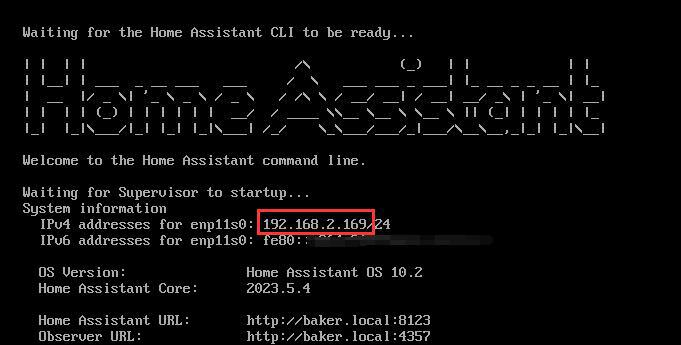
Install ESPHome
Open the website: http://192.168.2.169:8123
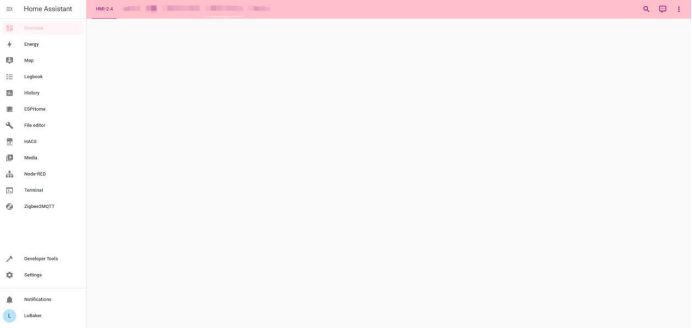
The following interface will appear after setting the account and password:
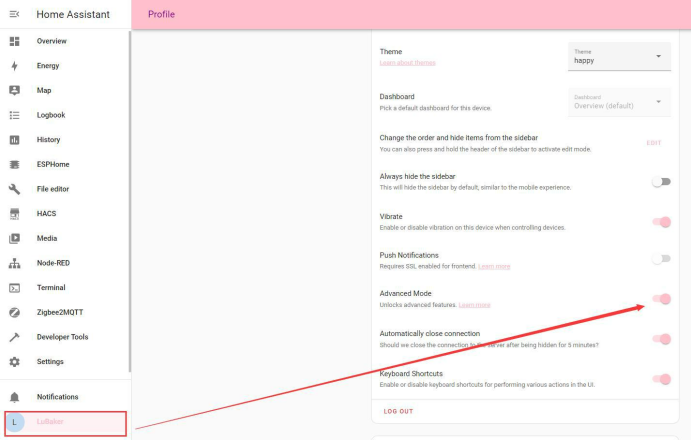
Click your profile→Enable Advanced Mode;
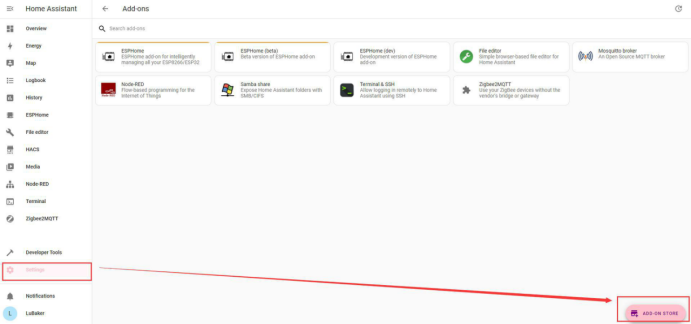
Click Settings→Select Add-ons→Open ADD-ON STORE→Search for ESPHOME
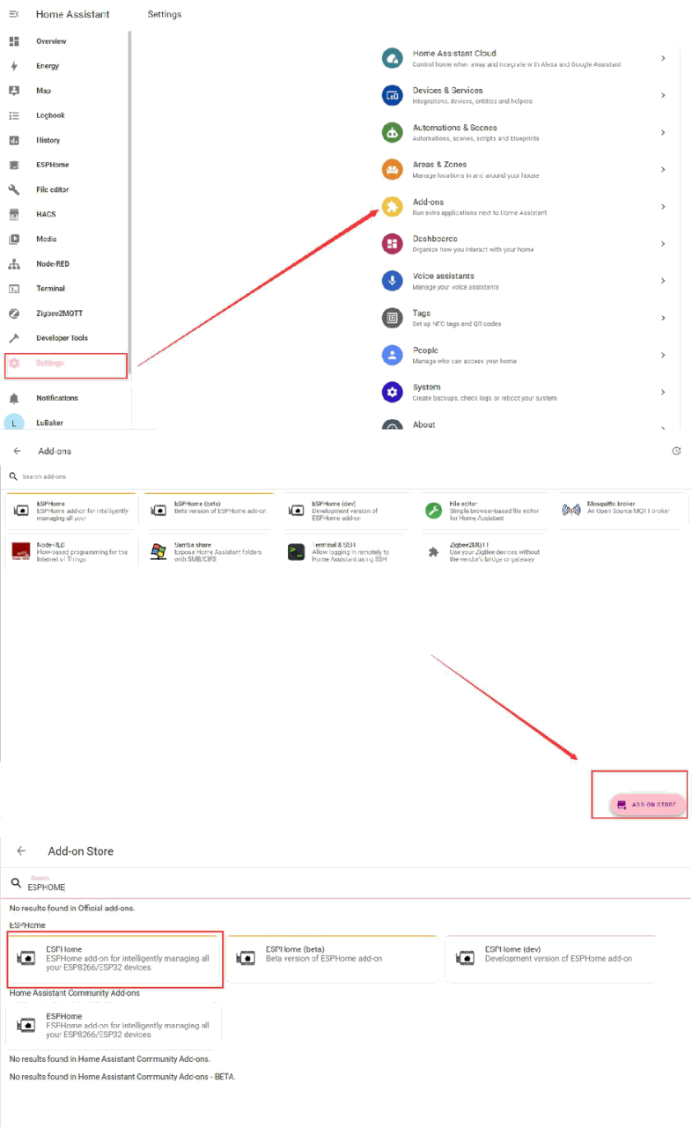
Start the ESPHOME. If the open fails, you need to restart
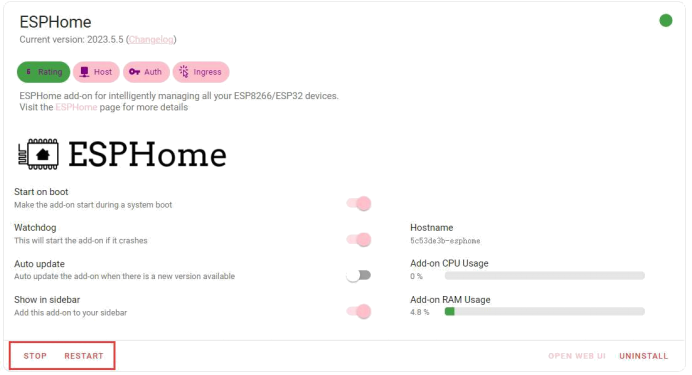
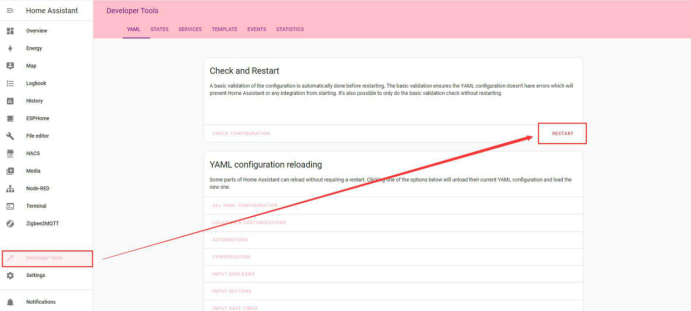
Create the device
Enter ESPHome and click Add device
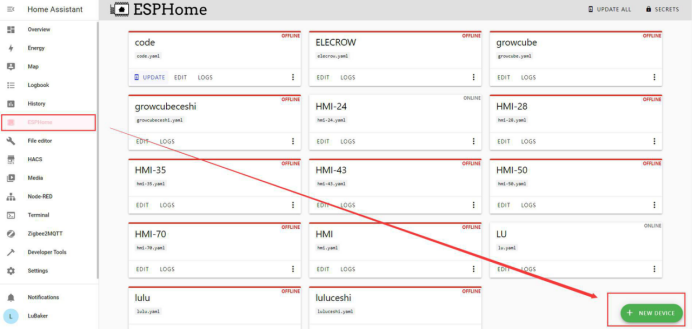
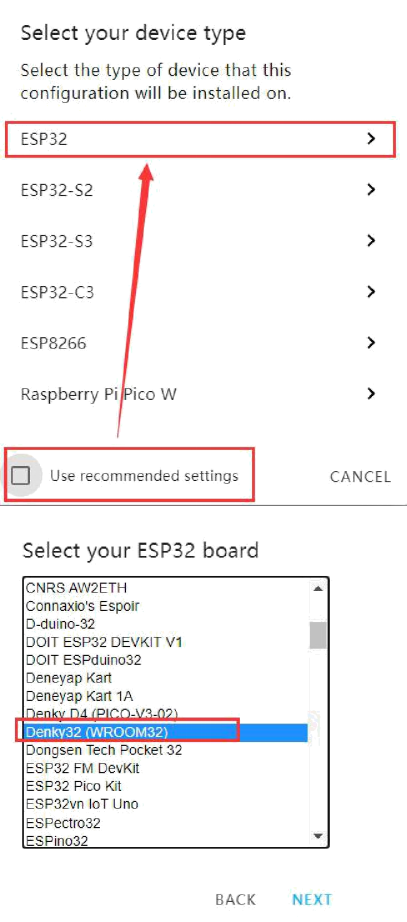
The device type selects ESP32, and the board selects Donky(WROOM32)
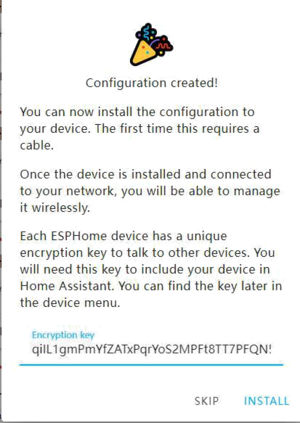
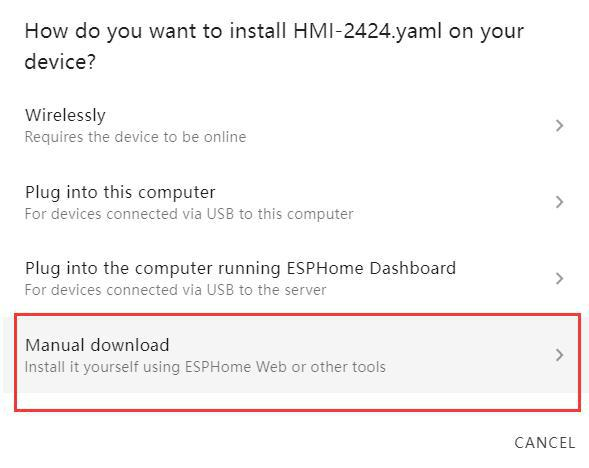
Generate the bin files
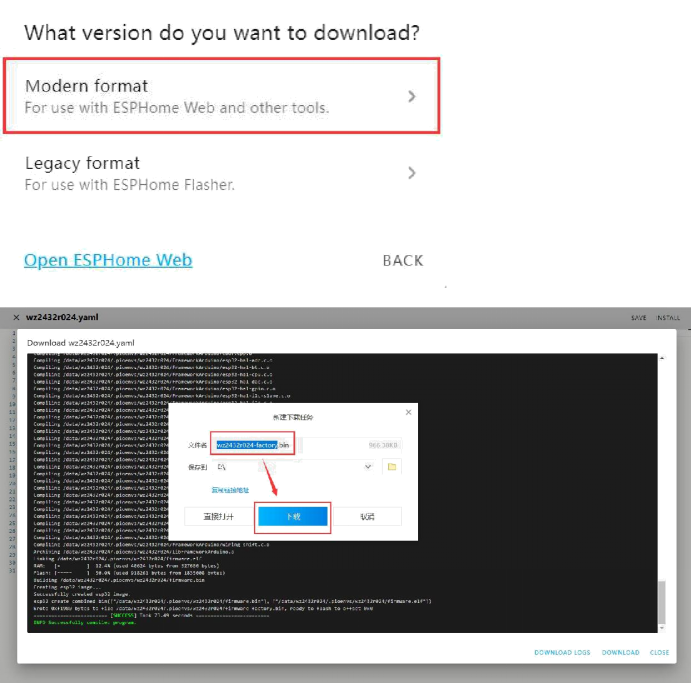
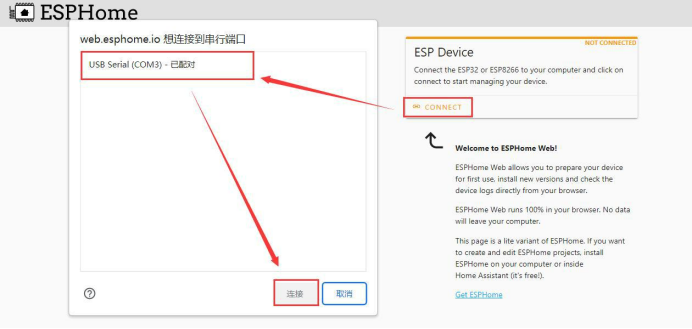
Open the website:https://web.esphome.io/?dashboard_wizard
Connect the correct port.
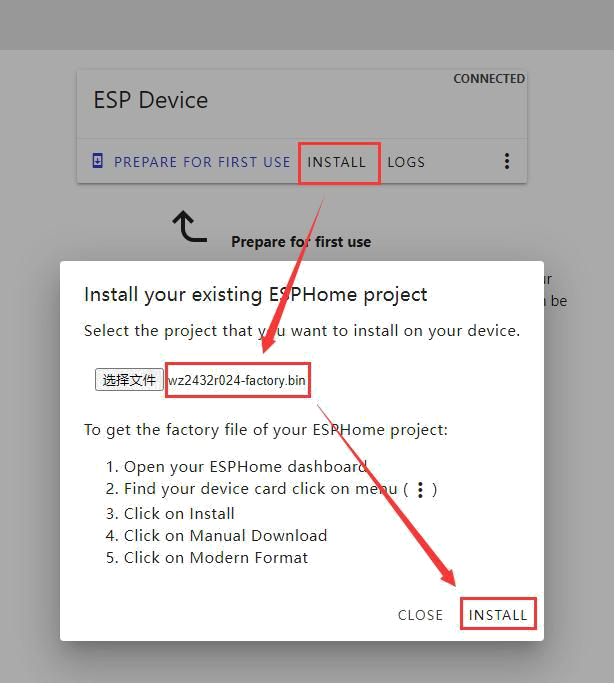
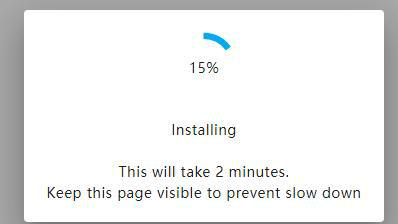
Waiting for the installation to be completed

Edit the code
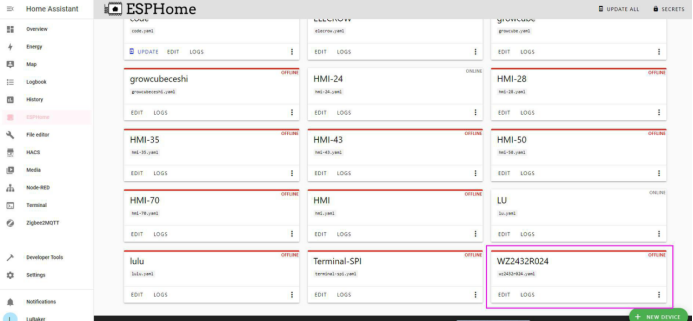
Back to the ESPHOME window and then restart the ESP32 to see the created device in the ONLINE state Note: Set the same WIFI account and password
Before we start editing our code, we do some preparations: Put the picture and tft font file into the / config / esphonme directory. We use a simple and easy to use tool to complete our requirements
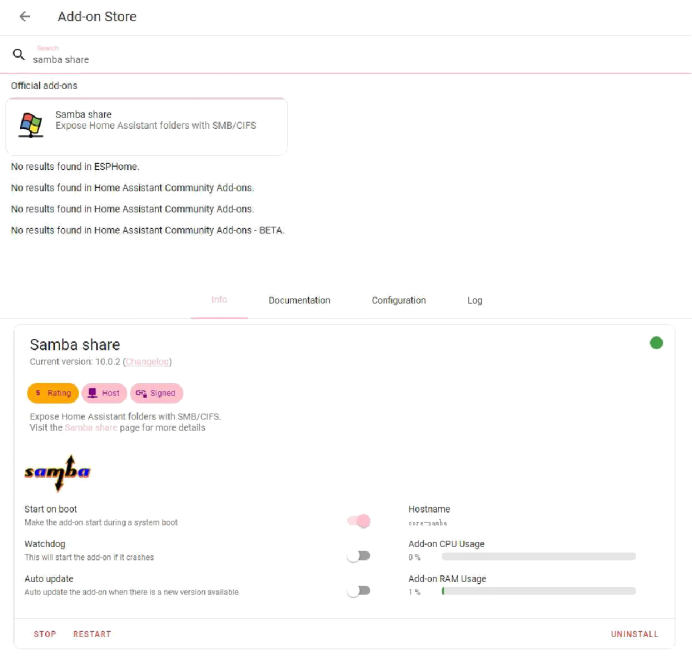
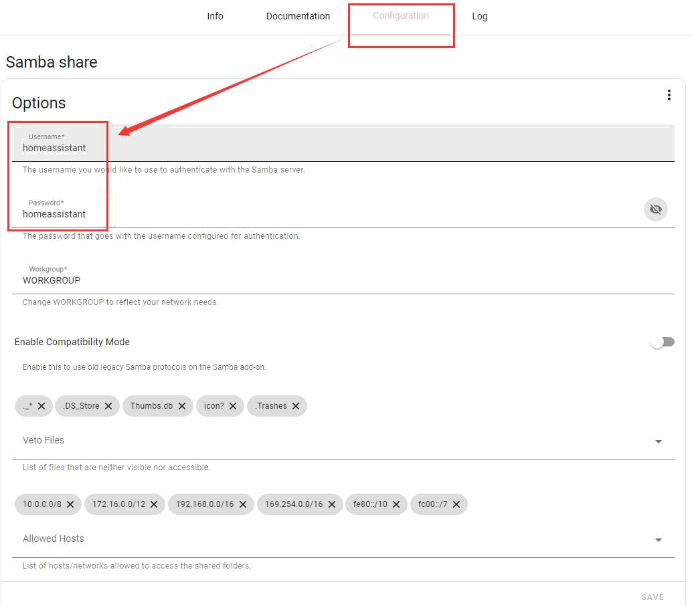
Enter the configuration interface and set up the account number and password
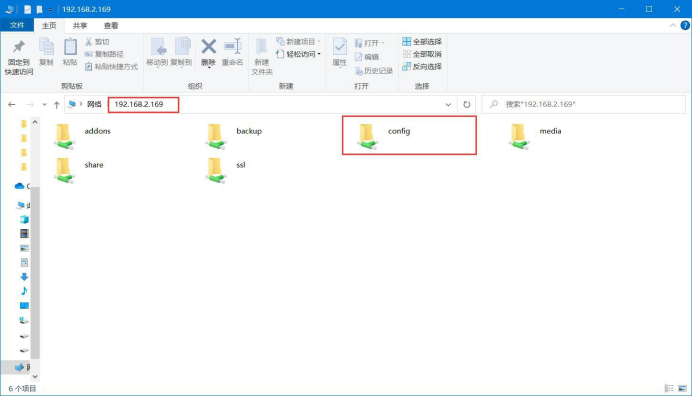
Then open computer input \192.168.2.169, then enter the / config / esphome directory
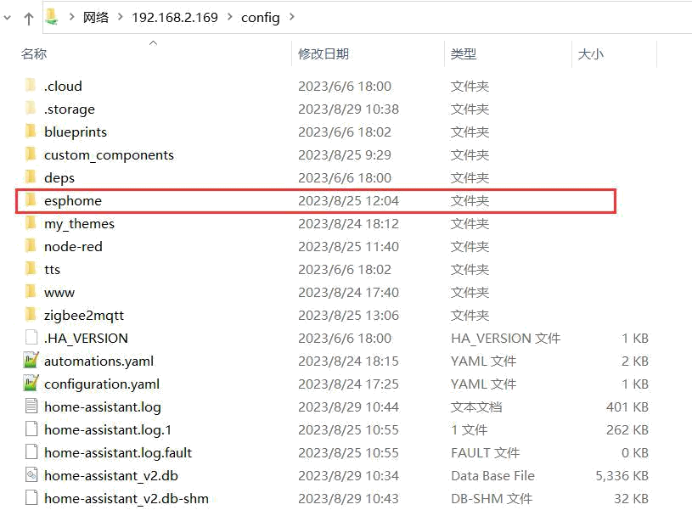
Put the following files into the esphome folder
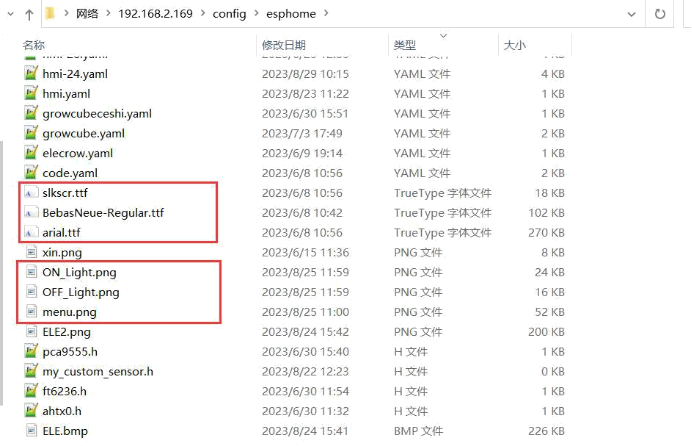
Then we can start editing the program

After editing the program, you can choose to burn online recording, which becomes very convenient
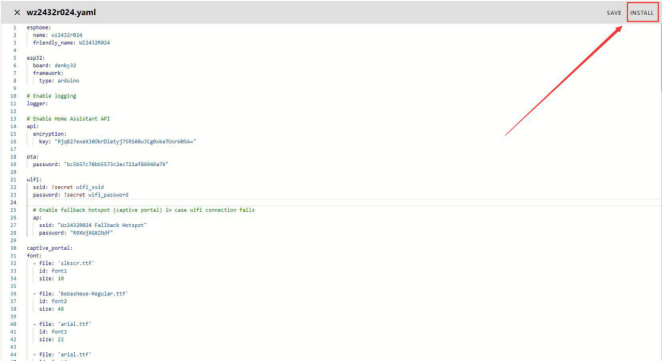
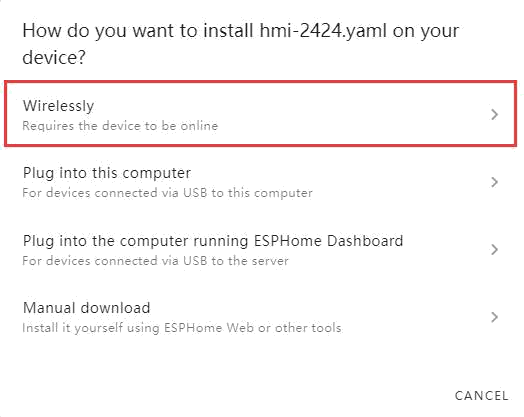
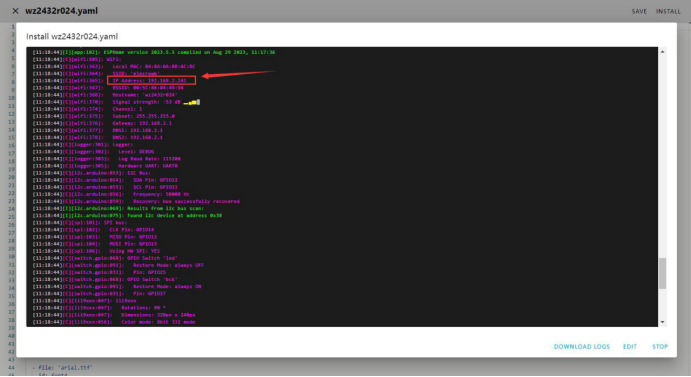
Successful burning:
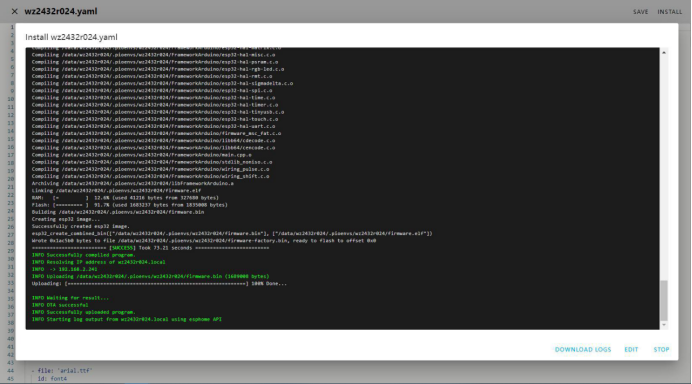
Remember this IP address:
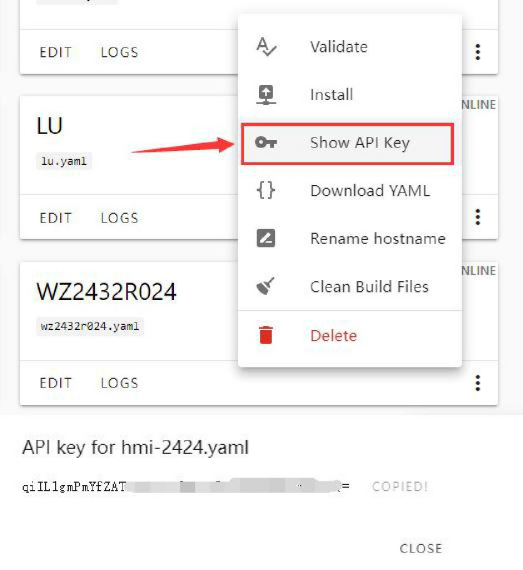
Remember this key:
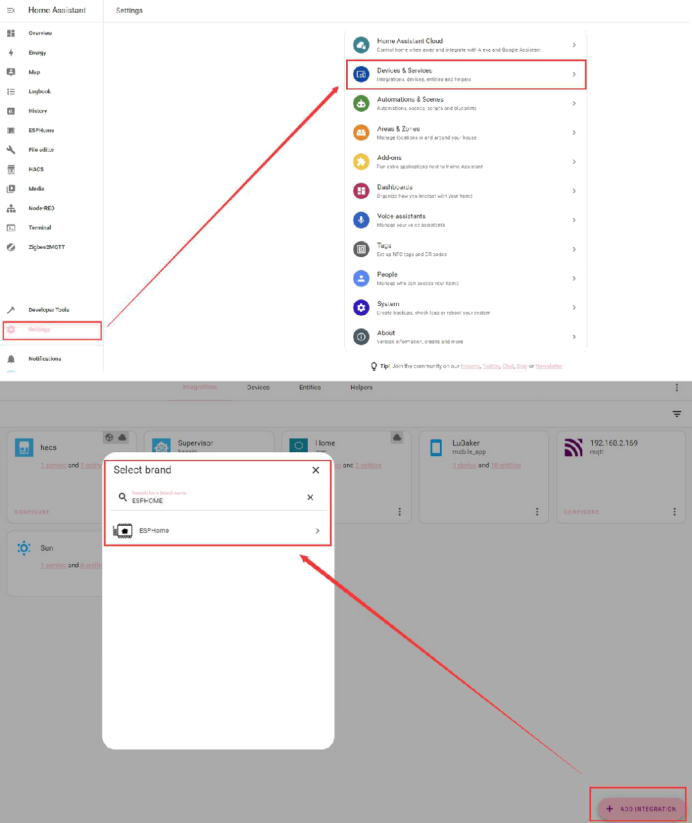
Add integrated devices
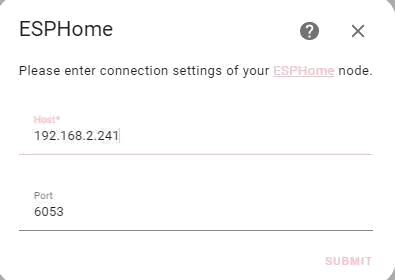
Enter the remembered IP address:

Enter the remembered key:
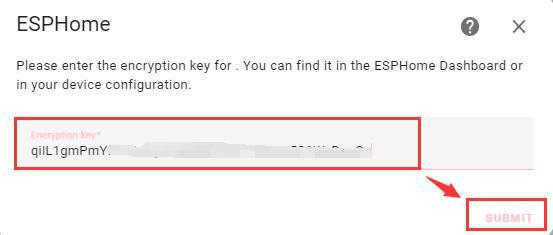
After completion, we can see that our device was added successfully:
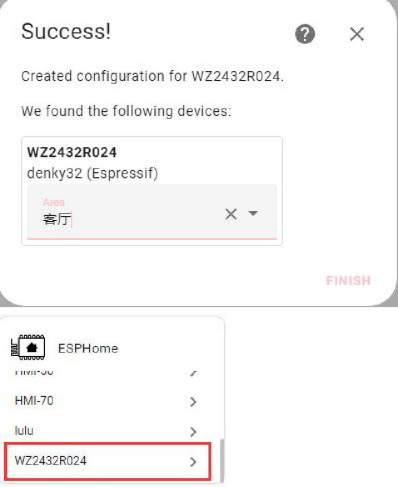
You can see the entities we created inside:

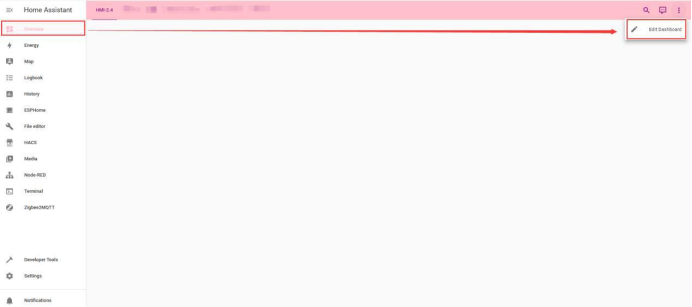
Now we start adding entities to the main interface Click Overview→Edit Dashboard
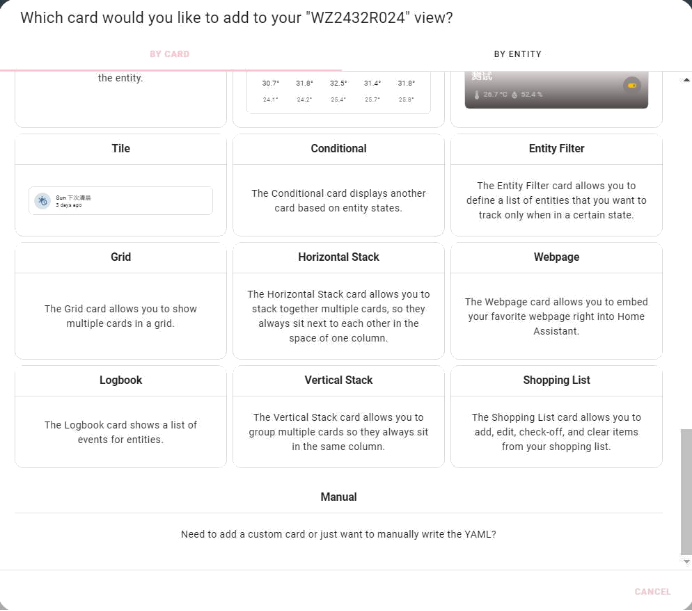
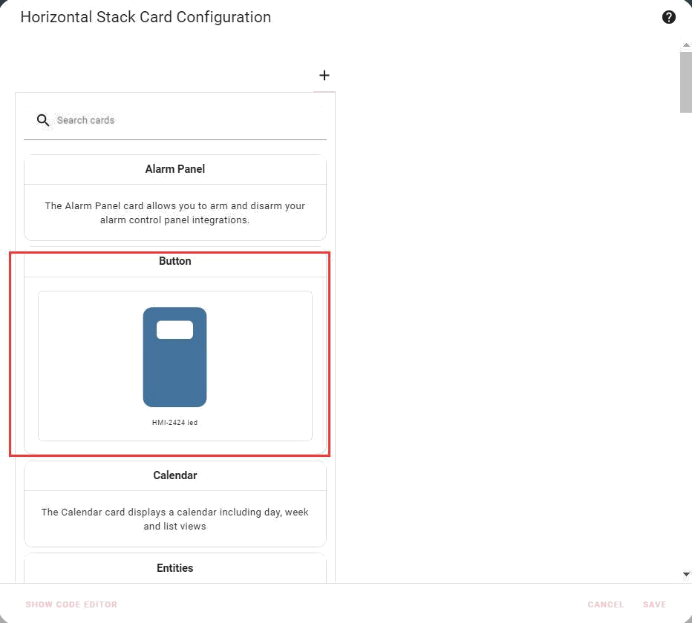
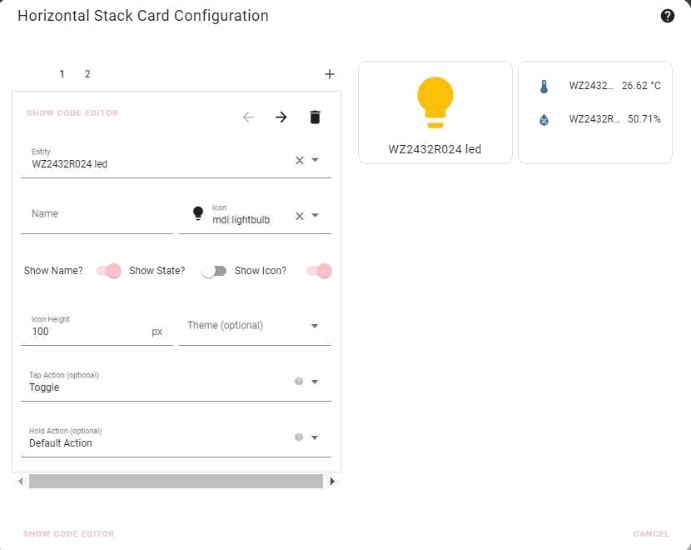
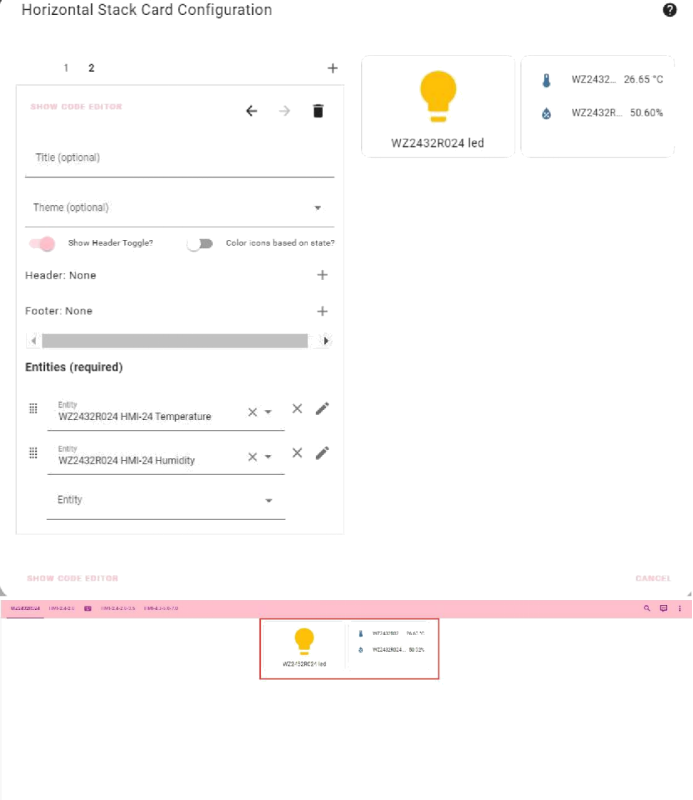
Click on the light:

Next, we make a graph of the temperature and humidity:
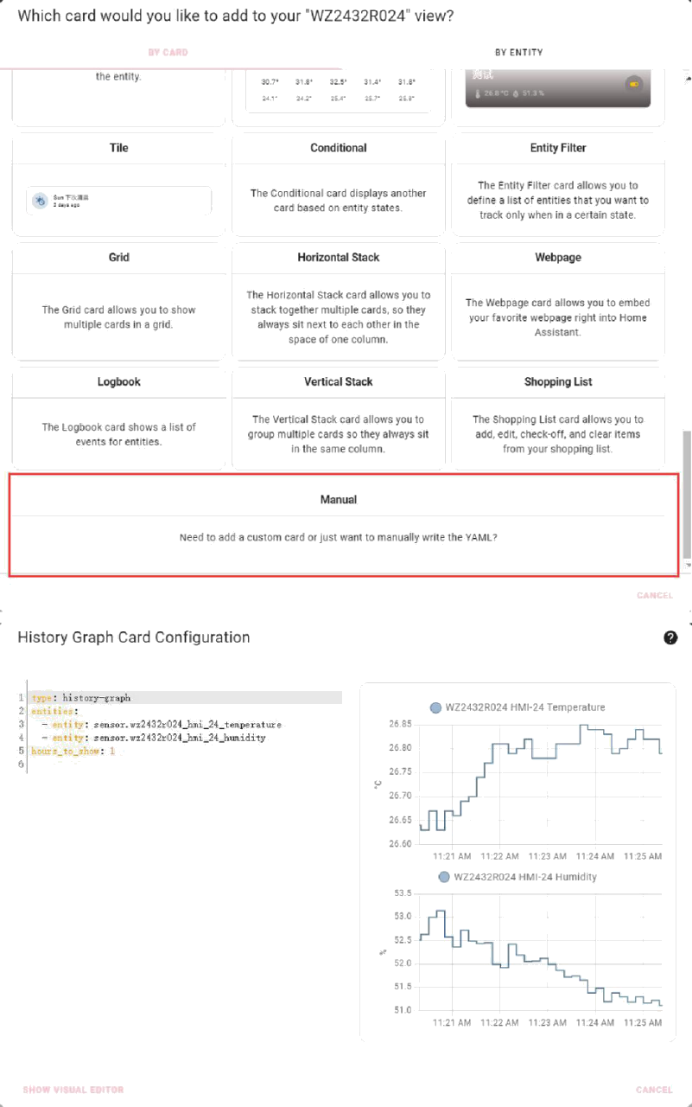
Done!
