


Story
This is a walkie talkie based off of the low-cost NRF24L01 module.
For the software, I used the RF24Audio which is designed for this purpose. The audio transmission quality isn't the greatest, and didn't have super high clarity. I wouldn't reccomend for anything more than a hobby project.
For the brain, I chose an Arduino Nano, just because of the size, and I wanted to keep it simple with chips, plus, the Arduino Nano is available for around 2 American dollars on Aliexpress.
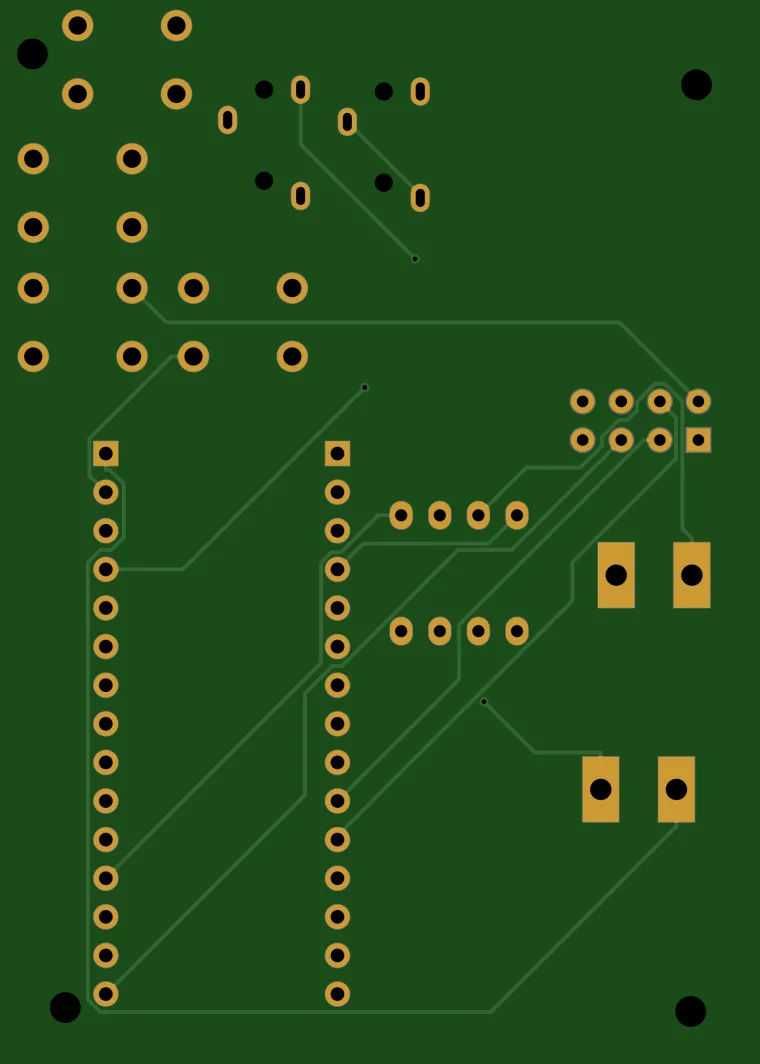
I followed this video mainly as a guide, https://www.youtube.com/watch?v=ms9jkr-C0FQ, however, the gerber file wasn't available when I was making this project. So I designed it myself, this was my first attempt at PCB design so it didn't really work out great.
Step 1 - Arranging
Arrange all the components you need, NRF24L01 module, Arduino Nano, Audio Amplifier (Line level, and output), microphone/audio input, along with the battery.
For the battery, I chose a 9V recheargable EBL battery from Amazon, along with some battery snaps.
Step 2 - Soldering
I soldered in the order of:
1. SMD Audio Amplifier
2. DIP Audio Amplifier
3. Microphone
4. Battery snap
5. NRF module.
6. Audio Jacks
7. Buttons
8. Arduino
However, you might feel more comfortable doing it in a different order. This is just how I thought it would be best to do it. But you might think differently.
Step 3 - Flashing the Arduino
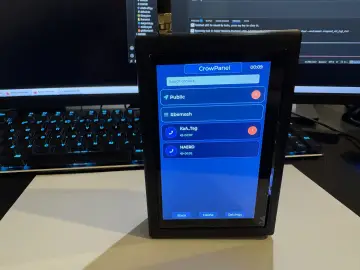
I'm assuming everyone here has flashed an Arduino before, but after you add the library. You go to Examples > RF24Audio > Basic This allows for super basic audio transmission between two devices.
You can have up to six devices on a channel. Which using a repeater script, I was able to get up to 8, however, it kept dropping out, so I will not be posting that here.
Step 4 - Troubleshooting
Some people have reported that the NRF modules don't always work, and I have confirmed that. I purchased 10 from a seller on Ebay, out of the 10, four were defective, and wouldn't be detected by the Arduino. I also purchased two from Elecrow, and only one worked well for audio transmission. The ones from Elecrow might just be my first attempt at soldering components to a PCB.
The solution that I have found in many places, is to bridge a capacitor between the 3V and Ground pins on the NRF module. I couldn't test this, as I didn't have any capacitors, so hopefully this works for you.
Conclusion
Thank you for trying out this project, I hope all works well for you.