
Story
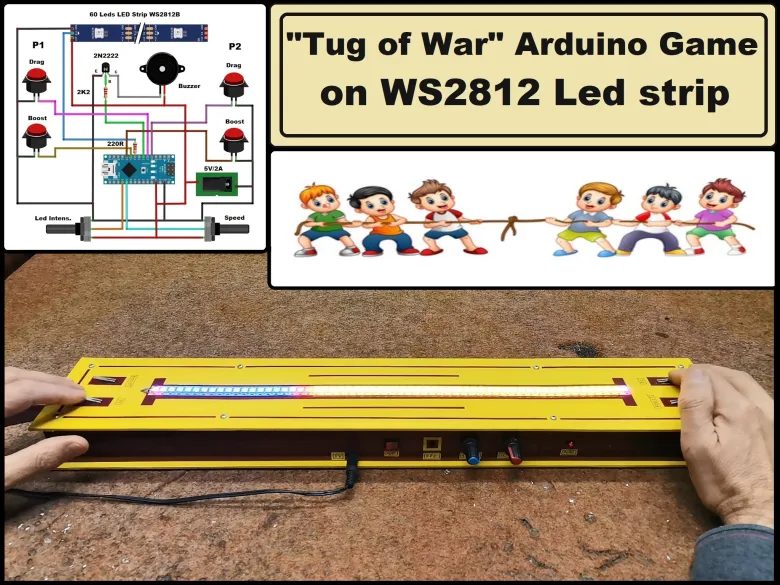
A Tug of War is a classic team-based game where two opposing teams compete to pull a rope in opposite directions. The objective is to pull the other team across a certain marker (often a line or flag) positioned in the center of the rope.

This time I will describe how to make an Arduino version of this game for two players. In fact, each player represents a team and has its own color. Thanks to the LED strip with programmable RGB LEDs with a built-in WS 2812 chip we can make this game in a very simple way.
You can watch full video description and gameplay at: https://youtu.be/jCjiPMrS2OU
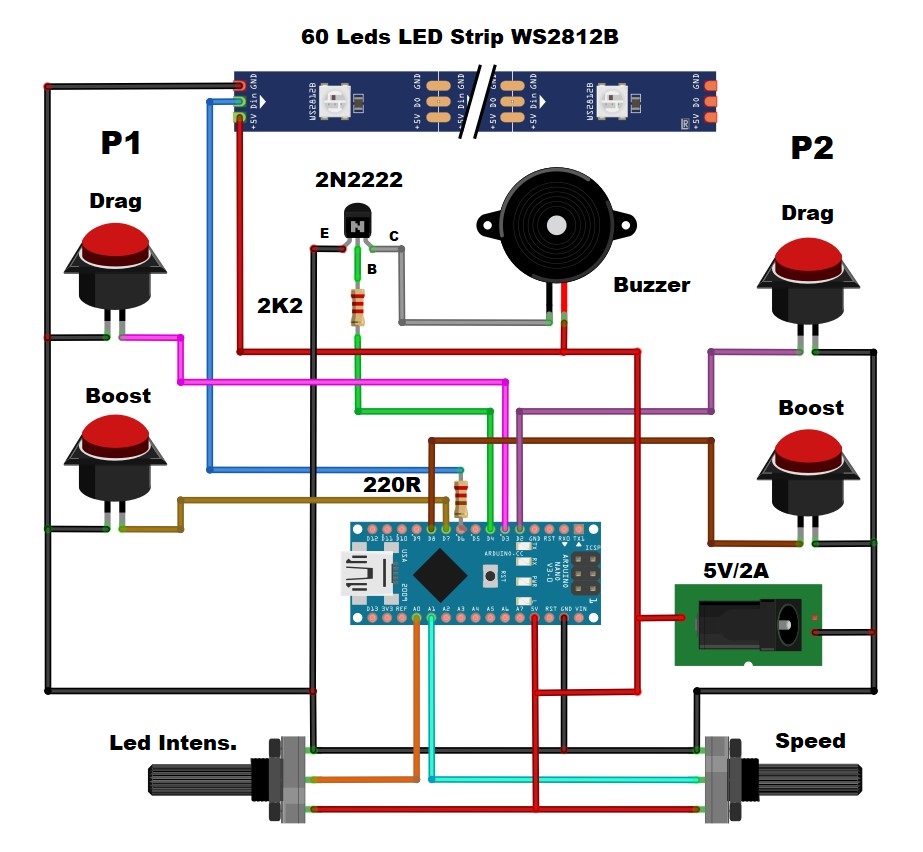
To make the game, we only need a few components:
- Arduino Nano microcontroller board
- Led Strip with 60RGB leds with built-in WS2812 chip
- Four buttons
- NPN Transistor
- Two potentiometyers 10K
- Two resistors
- and Buzzer
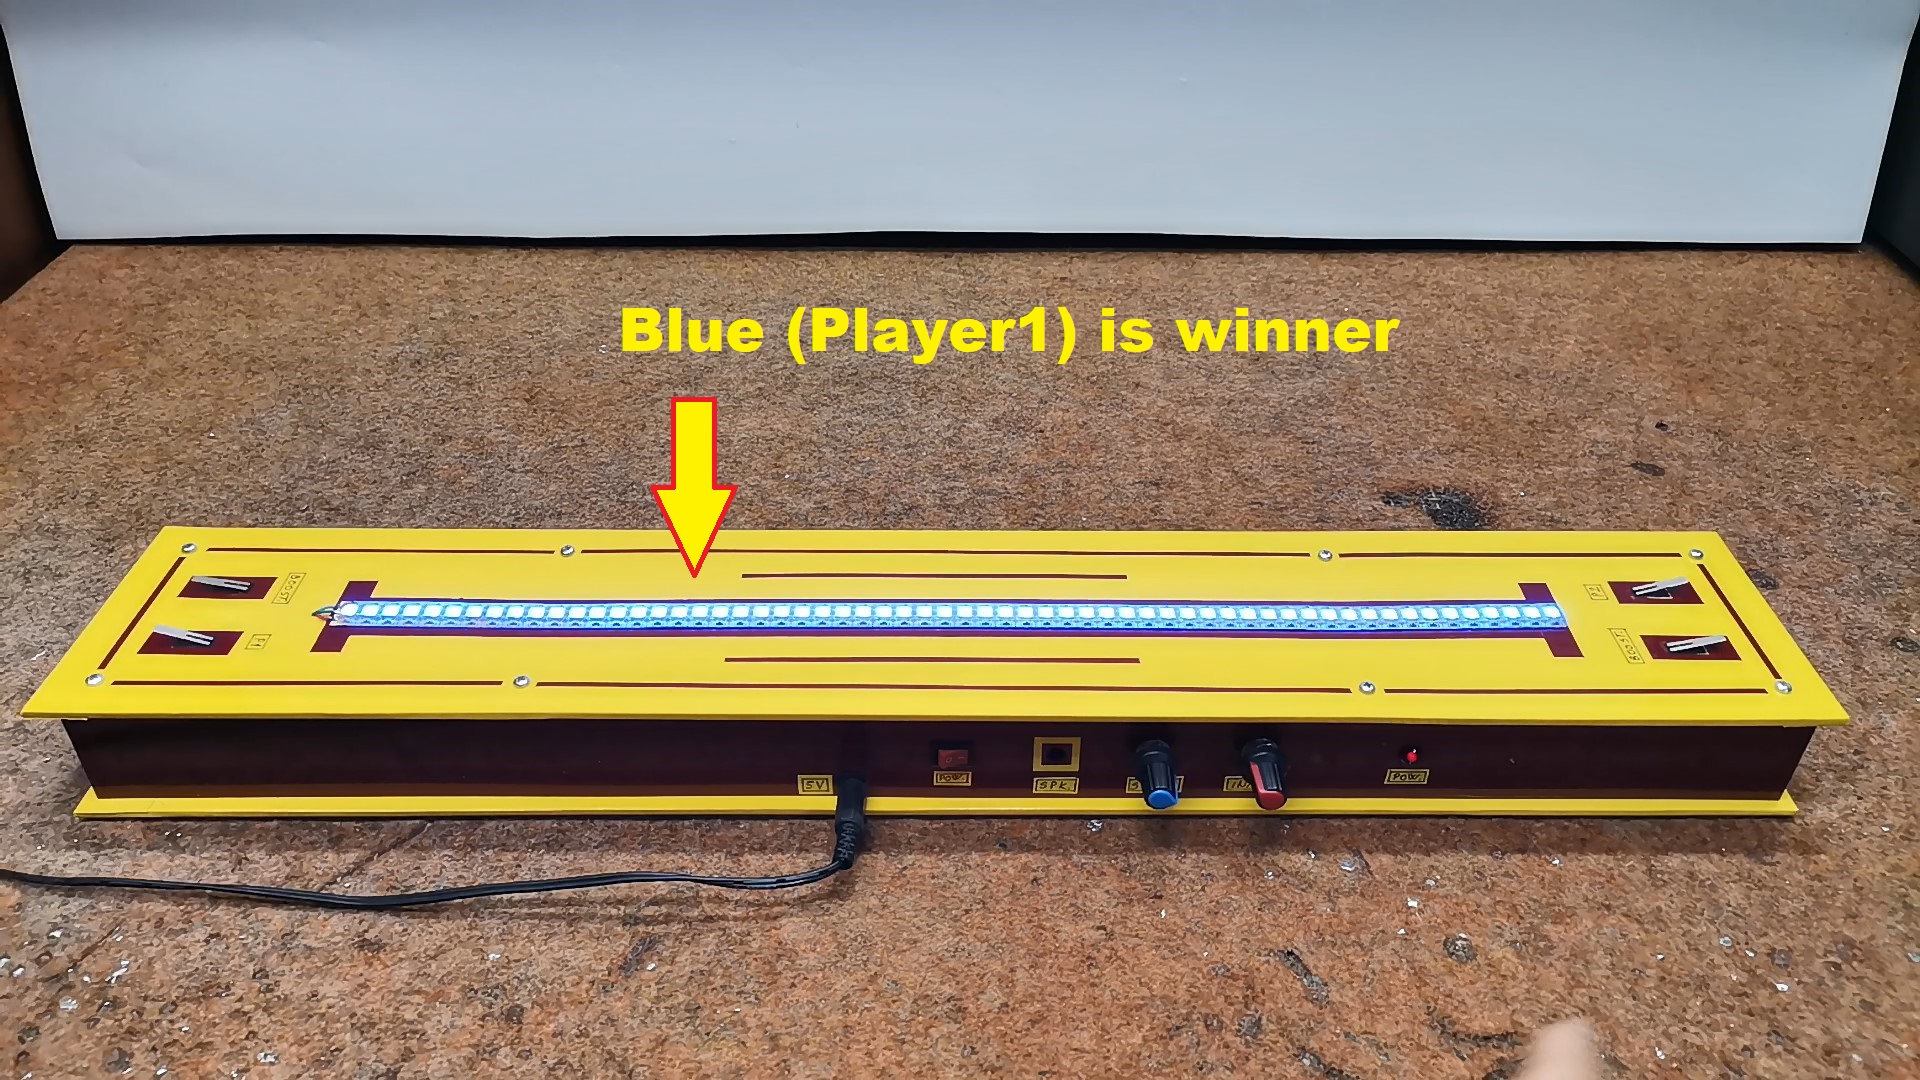
I'm actually using the box from a previous project of mine that used 4 buttons and two potentiometers, so I used the same hardware configuration, and the game even got more features and became more interesting to play. First, before I start playing, let me explain all the functions and how to play. Immediately after turning on the game, the two LEDs in the middle of the strip are activated, twice with red color, and the third time with magenta, which indicates the start of the game. This part is accompanied by appropriate sounds. Then, on both sides of these two LEDs, the remaining LEDs light up with the characteristic color for each player, in this case blue for Player1 and yellow for Player2.

The starting diode, seen from both sides, is magenta, and this is the limit to which we have to pull the opposing player. The movement of each player is indicated by beeps with different frequencies. Two red LEDs in the middle are actually the flag that shows the current position of the players. When this flag reaches one of the magenta LEDs, victory is declared for that player, in a way that all LEDs light up and flash three times with the color of the winner, of course by emitting appropriate sounds.
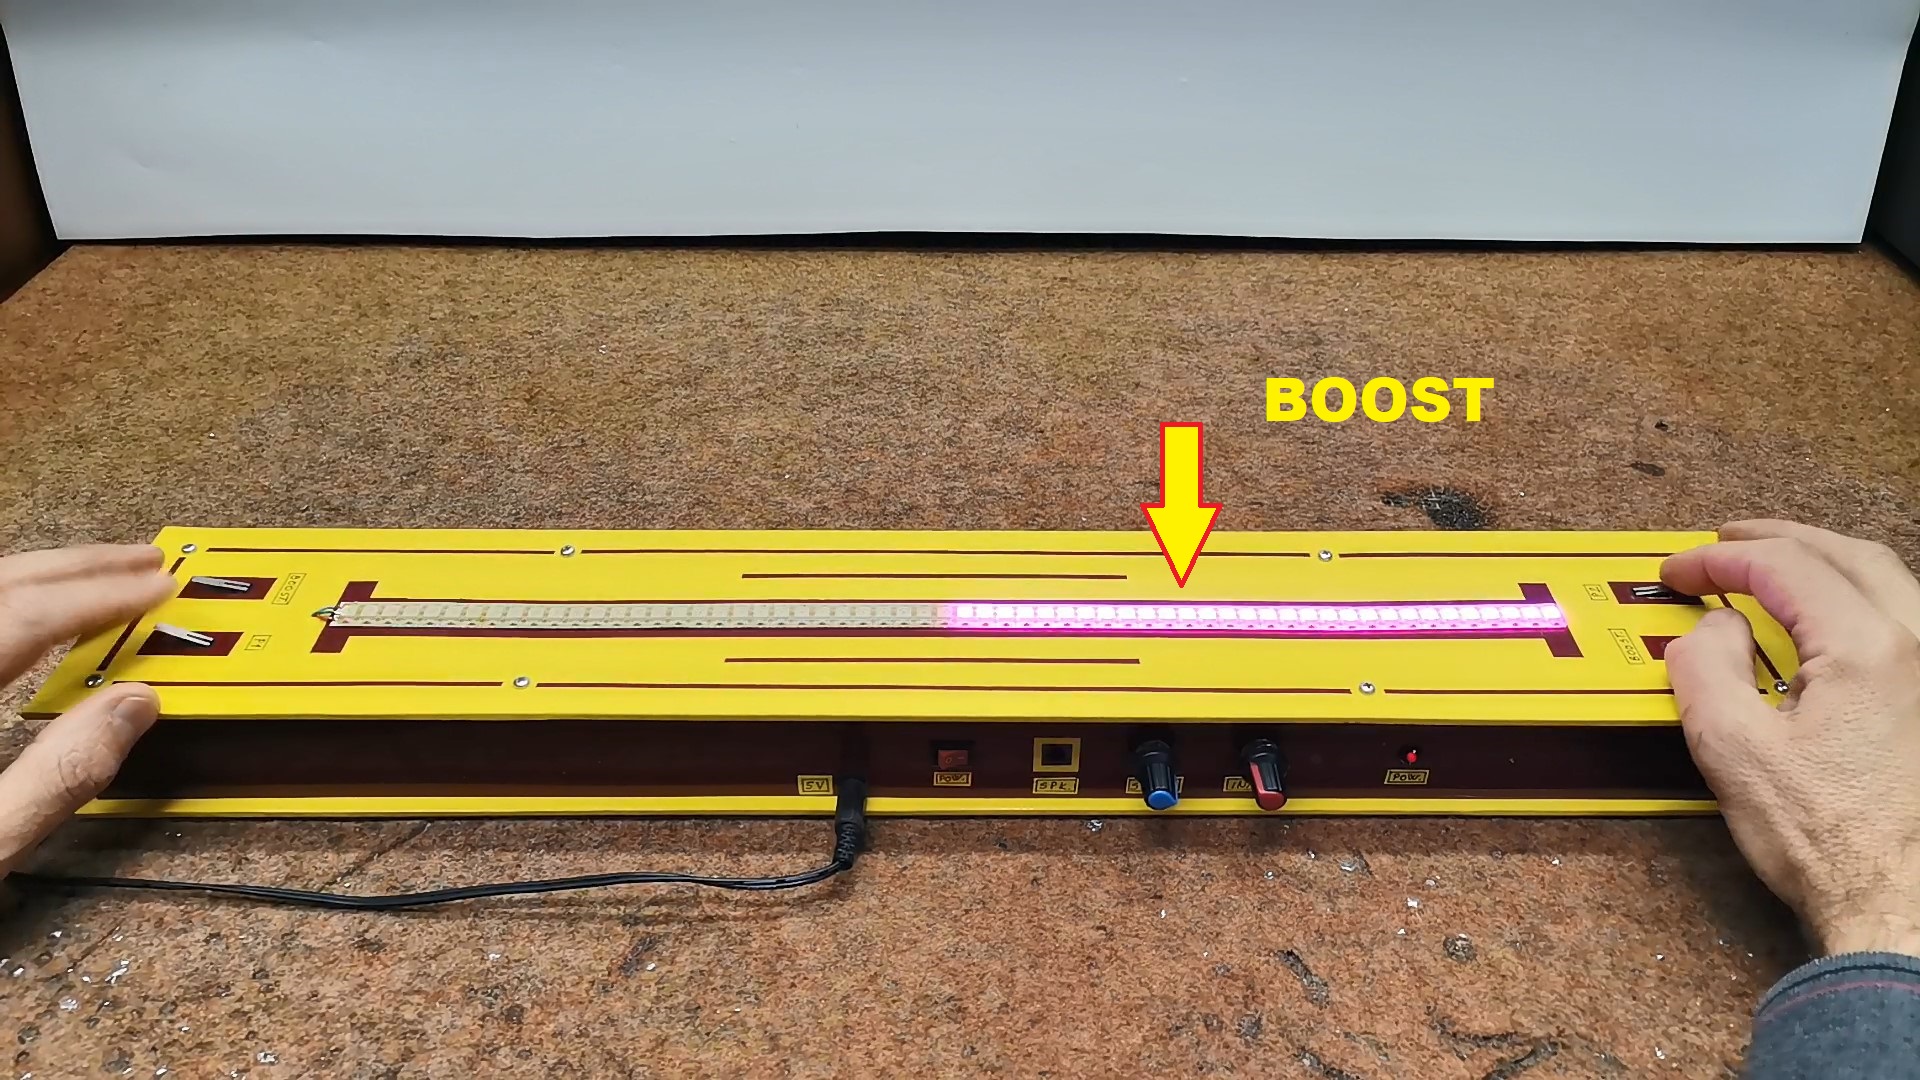
After the game ends, after a few seconds a new game starts in the way I explained previously. The two main buttons are used to pull the rope and the strength of the pull is proportional to the speed of pressing these buttons. The player who presses faster pulls the flag to his side. The second BOOST buttons, as the name suggests, are used to pull the rope with double strength and these buttons can only be used once during a specific game. The use of the BOOST button is signaled by a brief flashing of the magenta LEDs on the corresponding side of the player who used it.
Therefore, we need to think carefully at what point to use these buttons, which also gives the game a strategic component. When testing the game, I noticed that if the typing speed of both players is approximately the same, the game lasts a very long time and becomes boring. To avoid this moment, I used the first potentiometer to regulate the speed of movement of the rope, in 5 steps continuously. Here is what the movement looks like in the lowest and highest pulling speed. I used the second potentiometer to regulate the intensity of the LEDs, which is actually a very useful option that allows the device to adapt to operating in different conditions, for example, day and night.
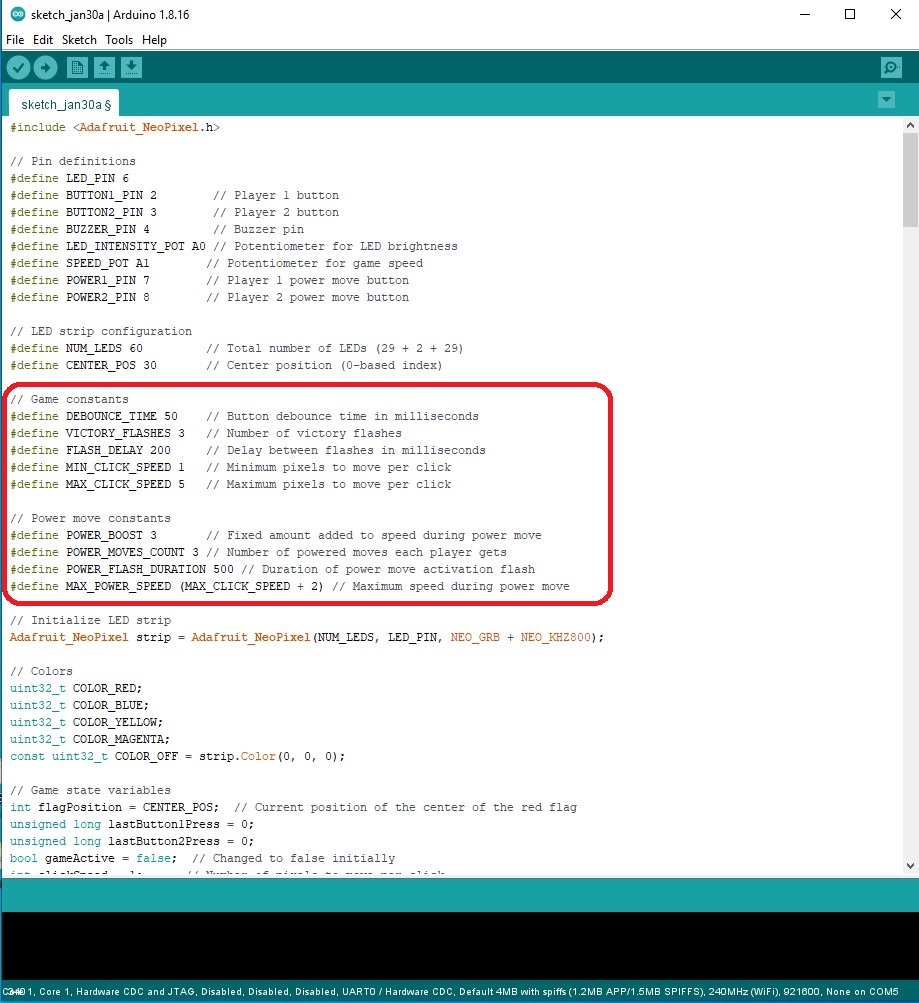
As you can see, the Arduino code may not be fully optimized, but it is relatively understandable, so you can easily make changes to it according to your own ideas, especially in terms of changing colors, sounds, and speed.
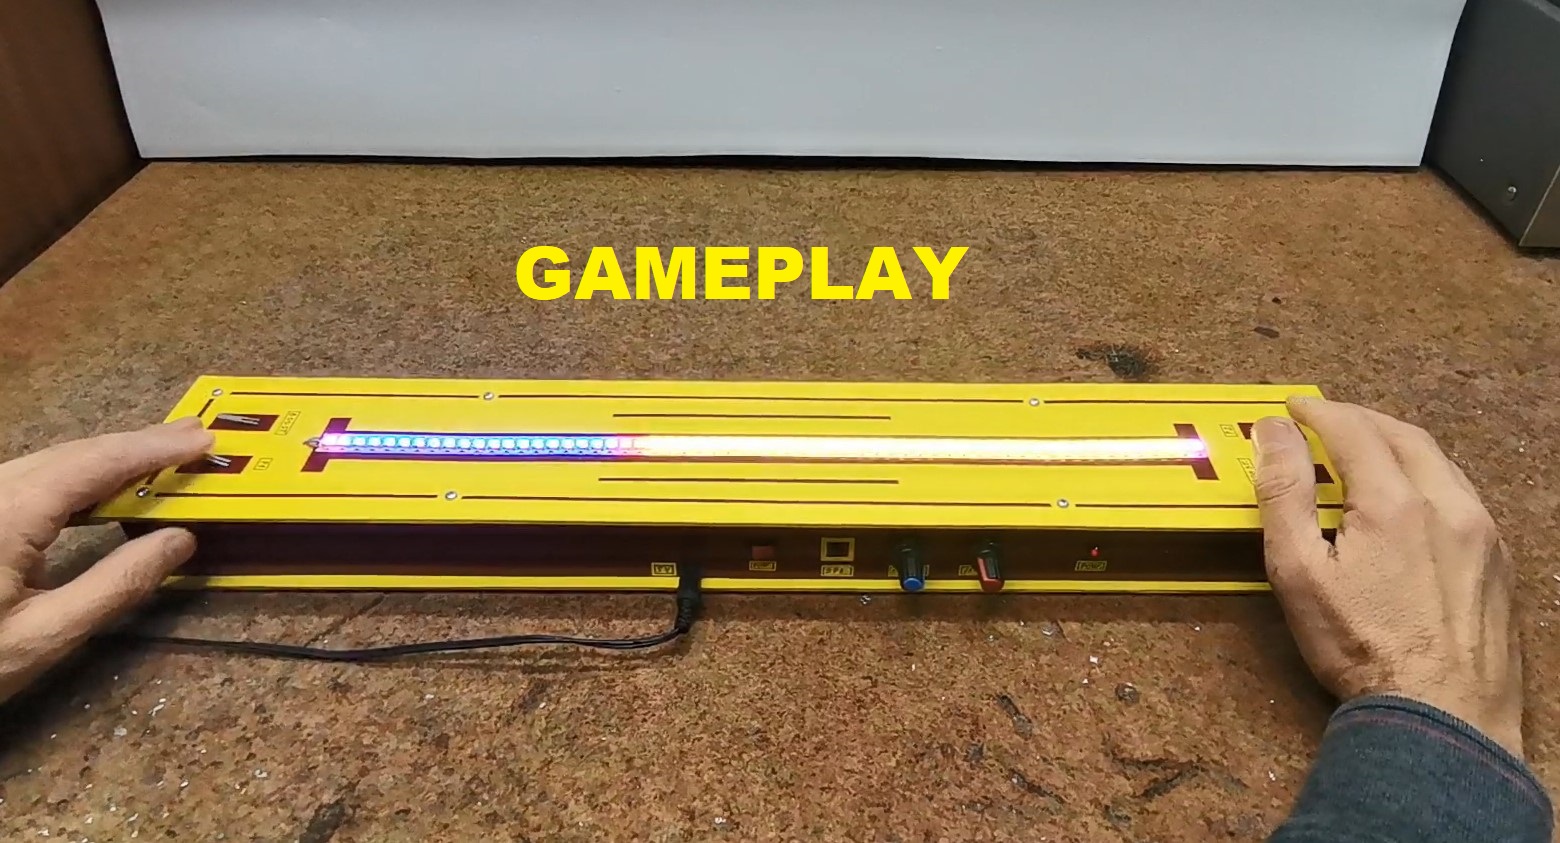
Now I will demonstrate to you what the gameplay looks like, noting that I will represent both players, and in a real game with different players, the gameplay is far more interesting and even addictive.
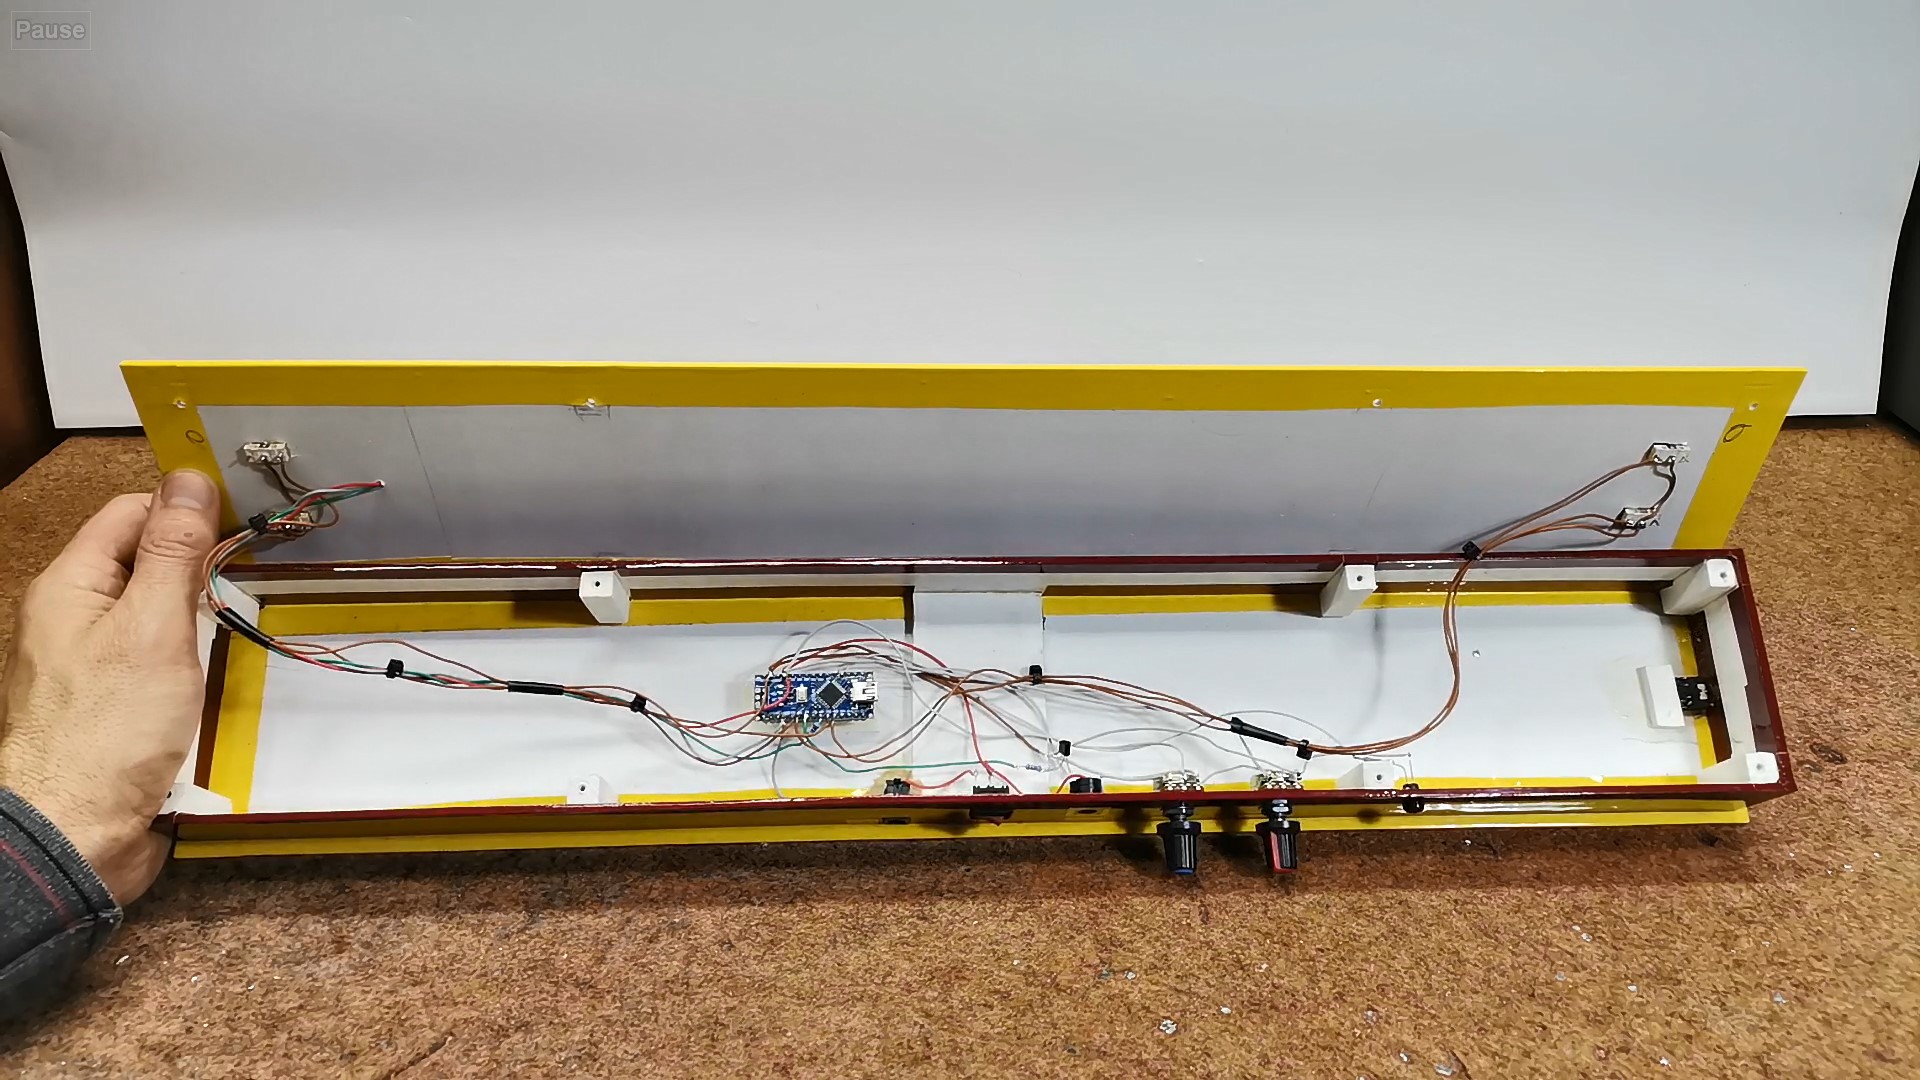
And finally a short conclusion. This is an interesting simple to make Arduino game that can be made in less than a day. The simplicity is due to the LED strip consisting of 60 special LEDs with built-in chips, so at any moment we have full control of each LED individually thanks to the Adafruit_NeoPixel library. The device is built into a suitable box made of PVC material, and covered with colored self-adhesive wallpaper. The power supply is 5V and a minimum current of 1A.