


Story
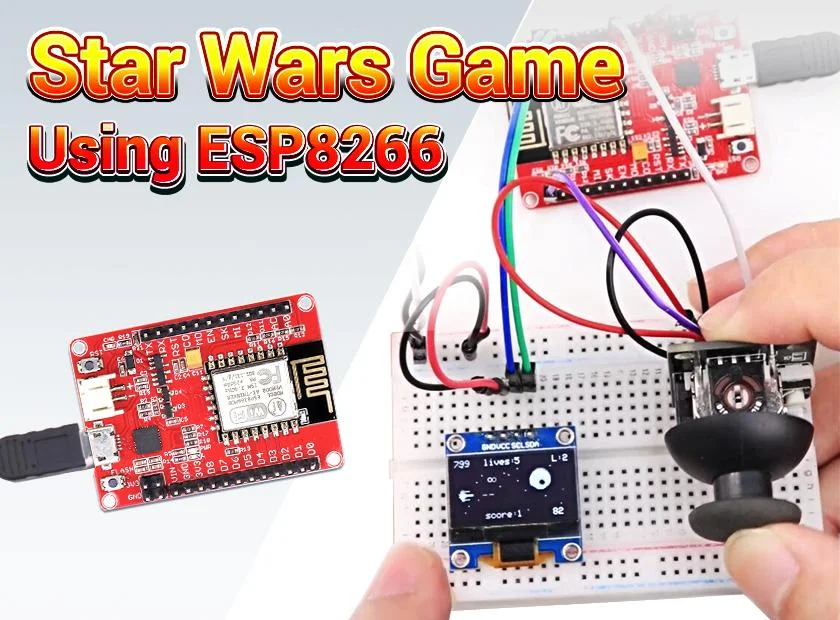
Touchless gestures are the new frontier in the world of human-machine interfaces.
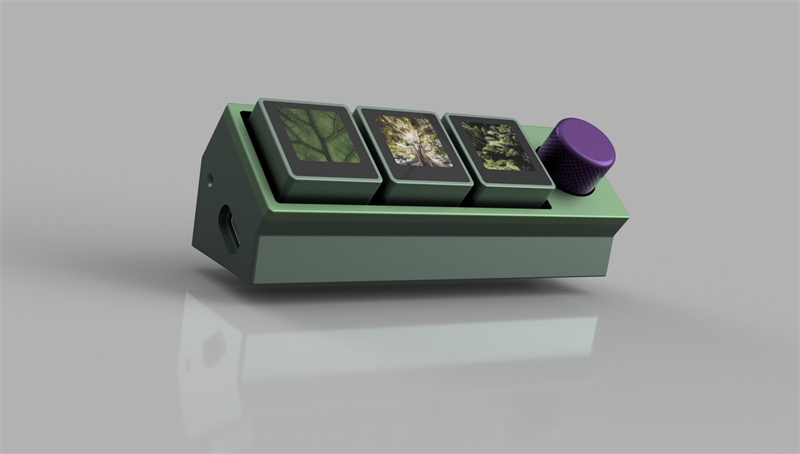
Yes, This Gesture Sensor also contactless. You just need to slide on the sensor, and then the sensor screen will feedback the corresponding results.
It offers ambient light and color measuring, proximity detection, and gesture sensing.
Supplies
In addition to this sensor, you will need other materials to complete the process.
Arduino or other microcontroller
Level shifting
Connectors
Breadboard
USB
Basic breakout board
Jumper Wires
Soldering tools
Notes before Hooking up
Pin
| Pin Label | Description |
|---|---|
| VL | Optional power to the IR LED if PS jumper is disconnected. Must be 3.0 - 4.5V |
| GND | Connect to ground. |
| VCC | Used to power the APDS-9960 sensor. Must be 2.4 - 3.6V |
| SDA | I2C data |
| SCL | I2C clock |
| INT | External interrupt pin. Active LOW on interrupt event |
Two Jumpers
- PS -- This jumper connects the power supplies of the sensor and IR LED together. When the jumper is closed (i.e. connected), you only need to supply power to the VCC pin to power both the sensor and the IR LED. If the jumper is open, you need to provide power to both the VCC (2.4 - 3.6V) and VL (3.0 - 4.5V) pins separately. This jumper is closed by default.
- I2C PU -- This is a 3-way solder jumper that is used to connect and disconnect the I2C pullup resistors. By default, this jumper is closed, which means that both SDA and SCL lines have connected pullup resistors on the breakout board. Use some solder wick to open the jumper if you do not need the pullup resistors (e.g. you have pullup resistors that are located on the I2C bus somewhere else).
Start to Hookup
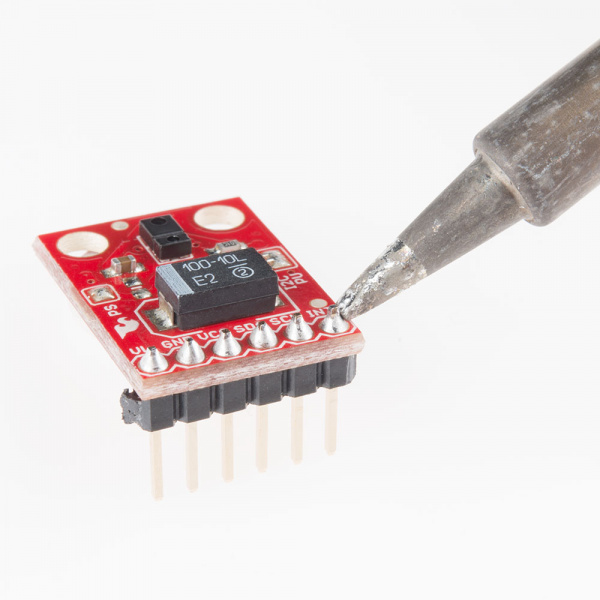
Add Headers
Solder a row of break away male headers to the 6 headers holes on the board.
Connect the Breakout Board
IMPORTANT:
(Note that we are leaving VL on the breakout board unconnected.)
(You must use 3.3V! If you try to use a 5V power supply or 5V I2C communications, you risk damaging it. If you are using a 5V Arduino (e.g. UNO), then you need to have some kind of level shifting.)
Now Connect the breakout board to the following pins on the Arduino:

| APDS-9960 Breakout Board | Arduino Pro 3.3V |
|---|---|
| GND | GND |
| VCC | VCC |
| SDA | A4 |
| SCL | A5 |
| INT | 2 |
Finally
After the Arduino Library Installation, you can use this project!