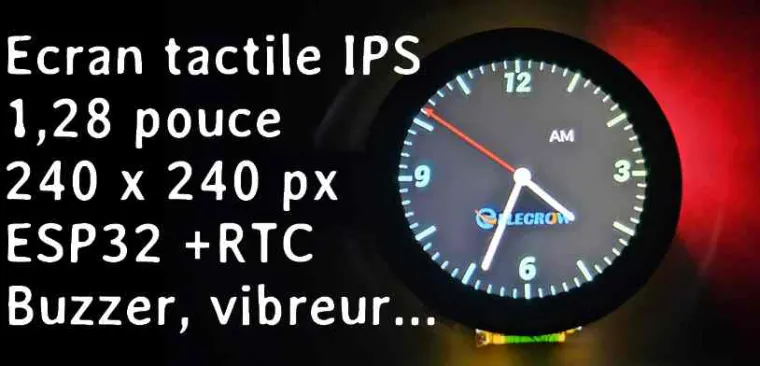
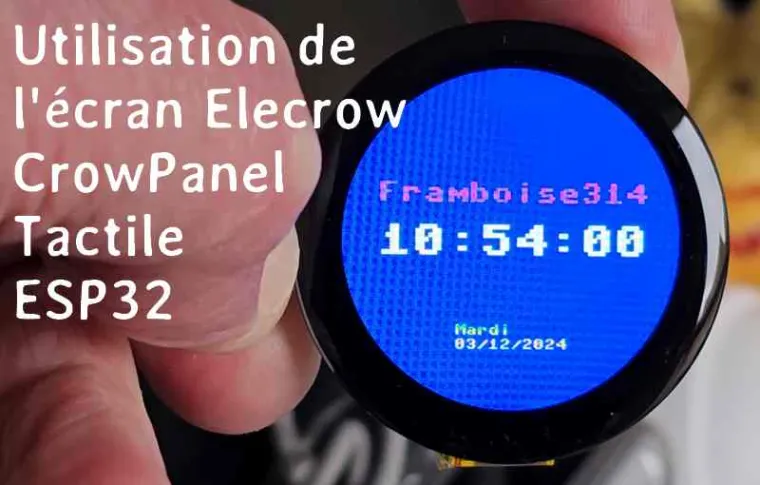
Following the presentation of Elecrow's circular touch screen equipped with an ESP32 C3, I decided to test the display in microPython, using Thonny. In this article, you'll find the steps involved in installing microPython and the first tests.
You'll find the original article in French but with an online translation via Google Traduction here: https://www.framboise314.fr/utilisation-de-lecran-rond-crowpanel-ips-tactile-elecrow-128-pouce-esp32/
Using Elecrow 1.28 inch CrowPanel IPS Touch Round Screen
Installing microPython
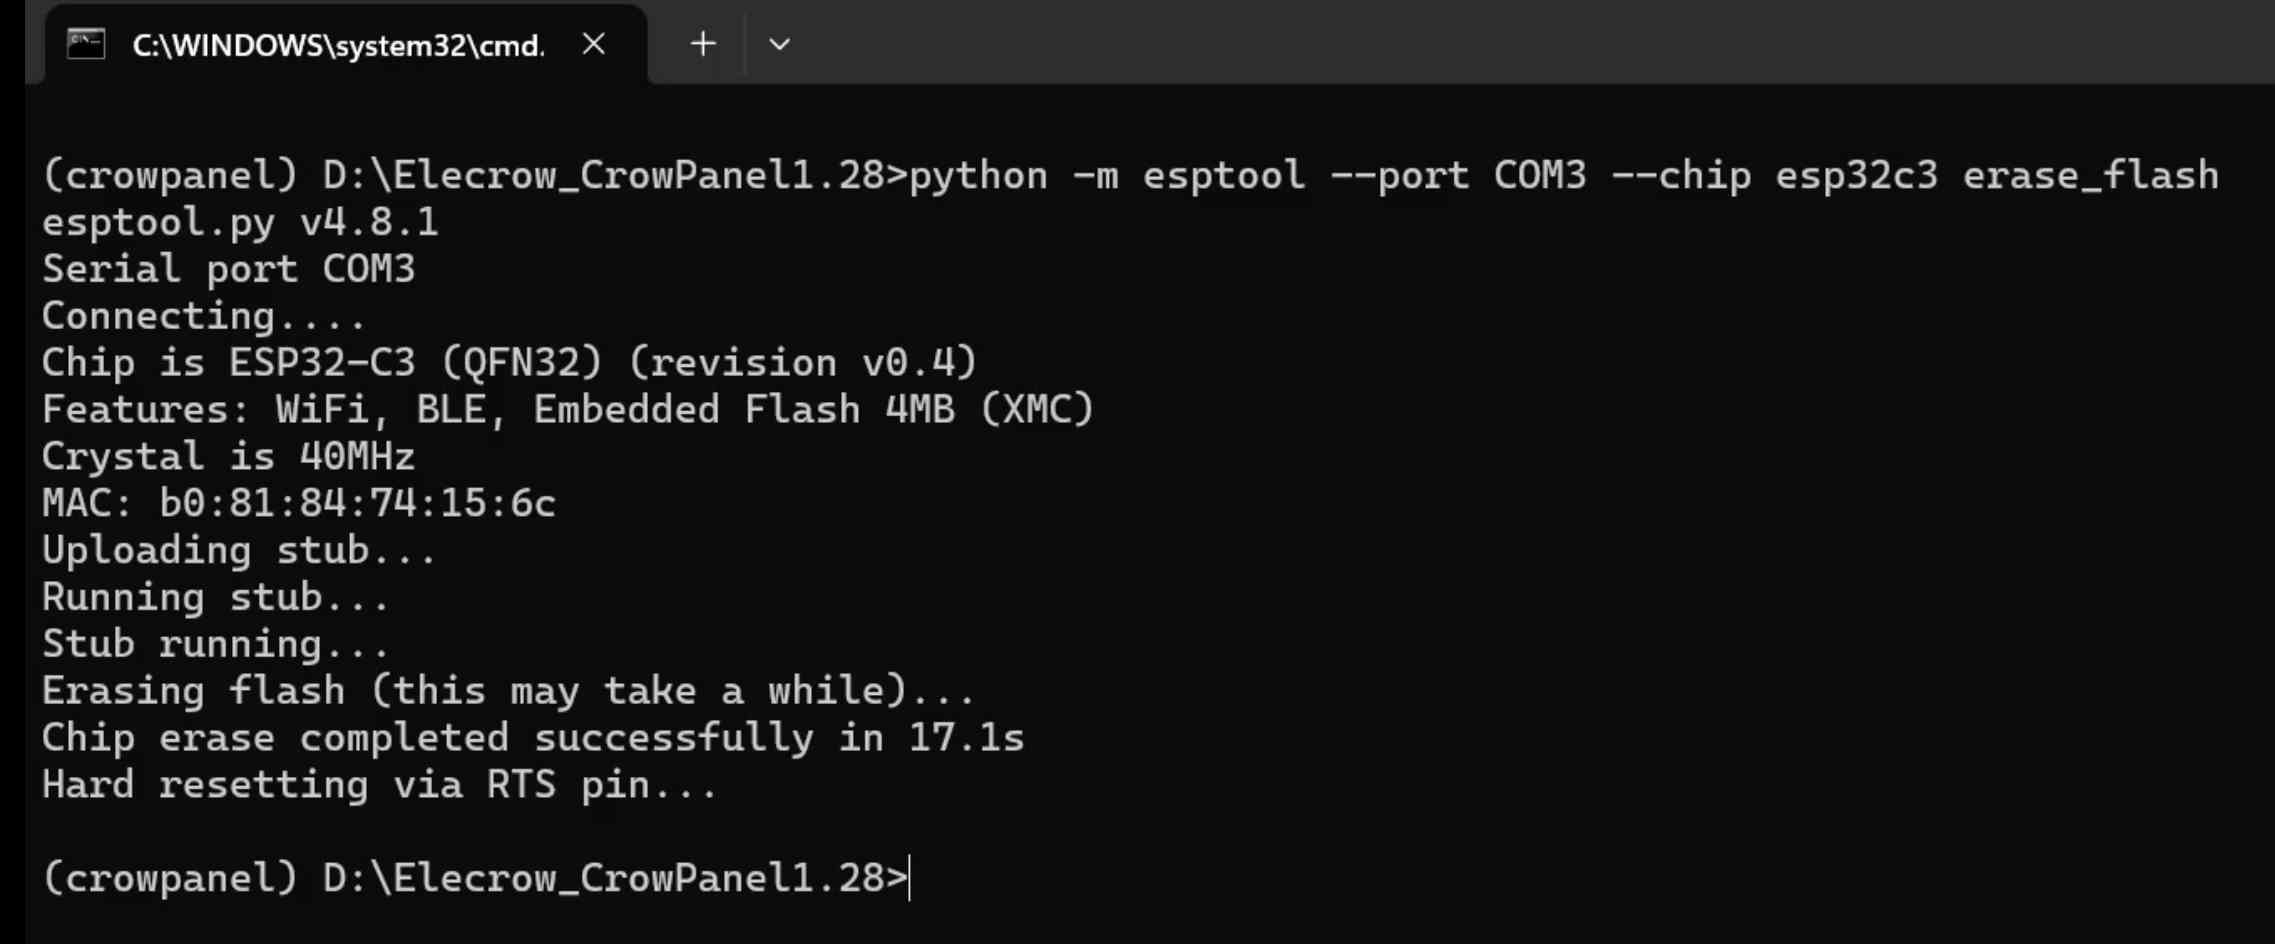
We'll start by erasing the Flash memory to start with a "clean" ESP32-C3. I used Python on a Windows 11 PC, as well as Thonny
I created a crowpanel folder and then a Python virtual environment in that folder:
python3 -m venv crowpanel
The virtual environment can then be activated

At the end of use we will exit properly with the deactivate command , but that is for later, when we are finished.
Then install esptool in this environment
(crowpanel) pi@framboise314:~ $ pip install –upgrade esptool
Then we can erase the Flash memory of the ESP32-C3
(crowpanel) D:\Elecrow_CrowPanel1.28> python -m esptool –COM3 port –chip esp32c3 erase_flash
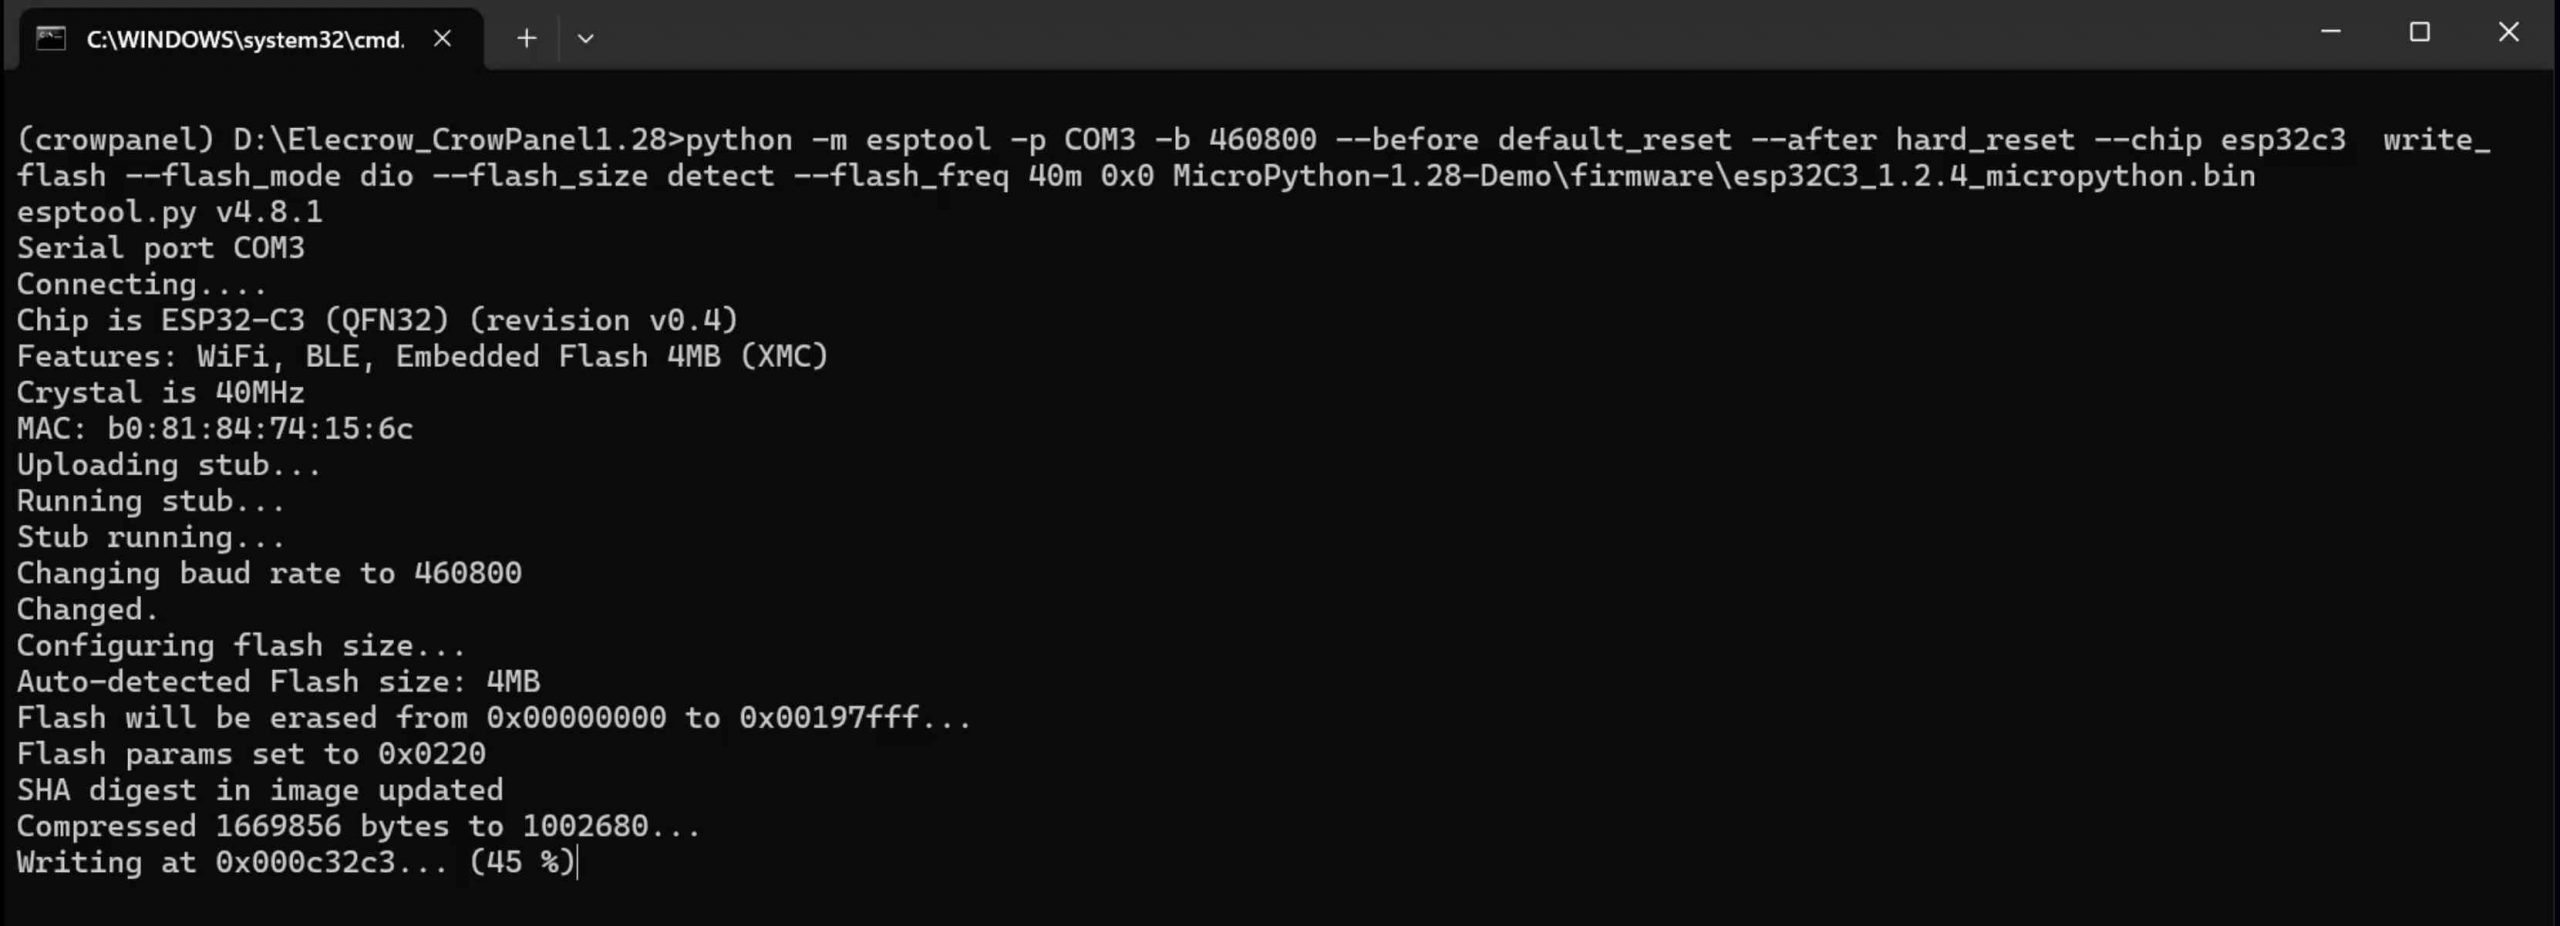
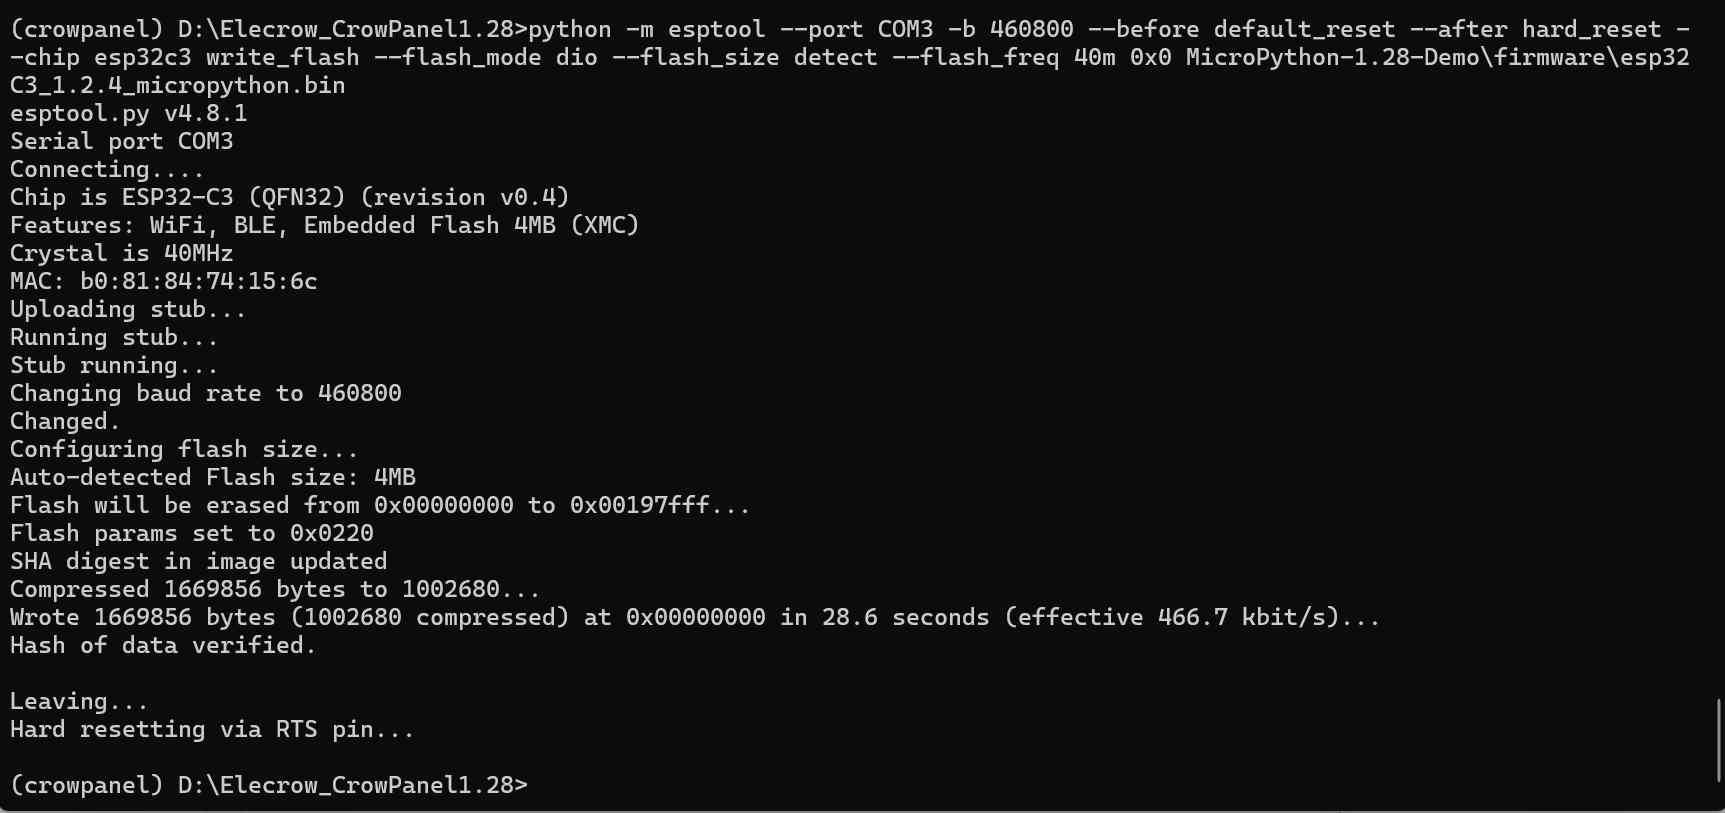
Finally install microPython (I used the version provided in the Elecrow folder).
(crowpanel) D:\Elecrow_CrowPanel1.28>python -m esptool –COM3 port -b 460800 –before default_reset –after hard_reset –chip esp32c3 write_flash –flash_mode dio –flash_size detect –flash_freq 40m 0x0 MicroPython-1.28-Demo\firmware\esp32C3_1.2.4_micropython.bin
We have finished preparing the ESP32-C3 in Python, you can exit the virtual environment
(crowpanel) pi@framboise314:~ $ deactivate

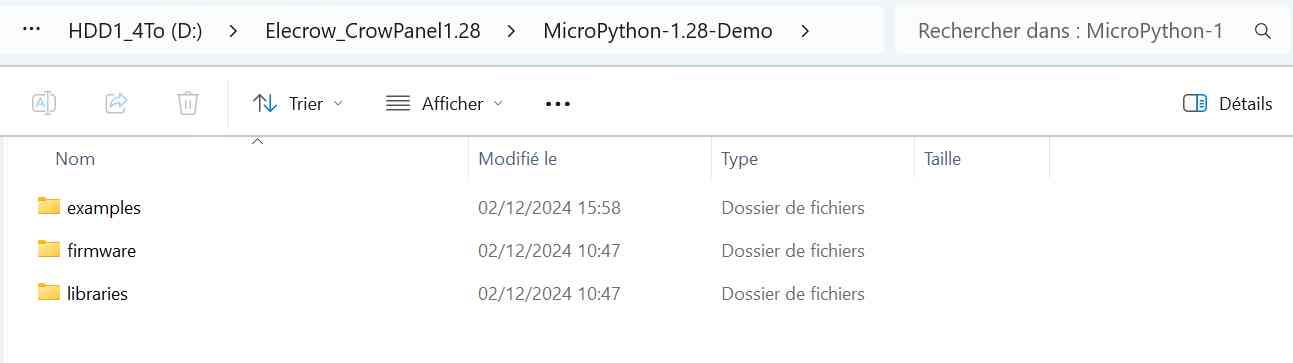
You can now download the demos
https://www.elecrow.com/download/product/CrowPanel/ESP32-HMI/1.28-DIS12824D/MicroPython-1.28-Demo.zip
then unzip the archive
microPython with Thonny
We can then launch Thonny
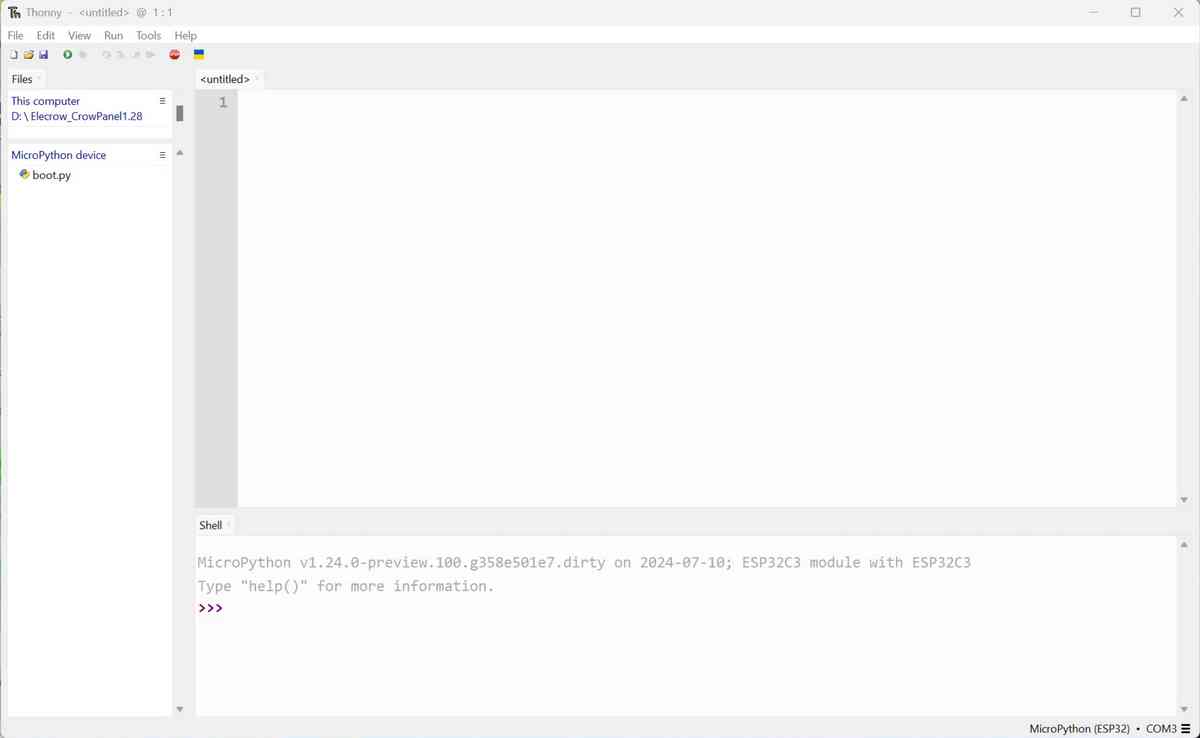
And we end up with the microPython prompt that we just installed on the ESP32c3, ready to work…
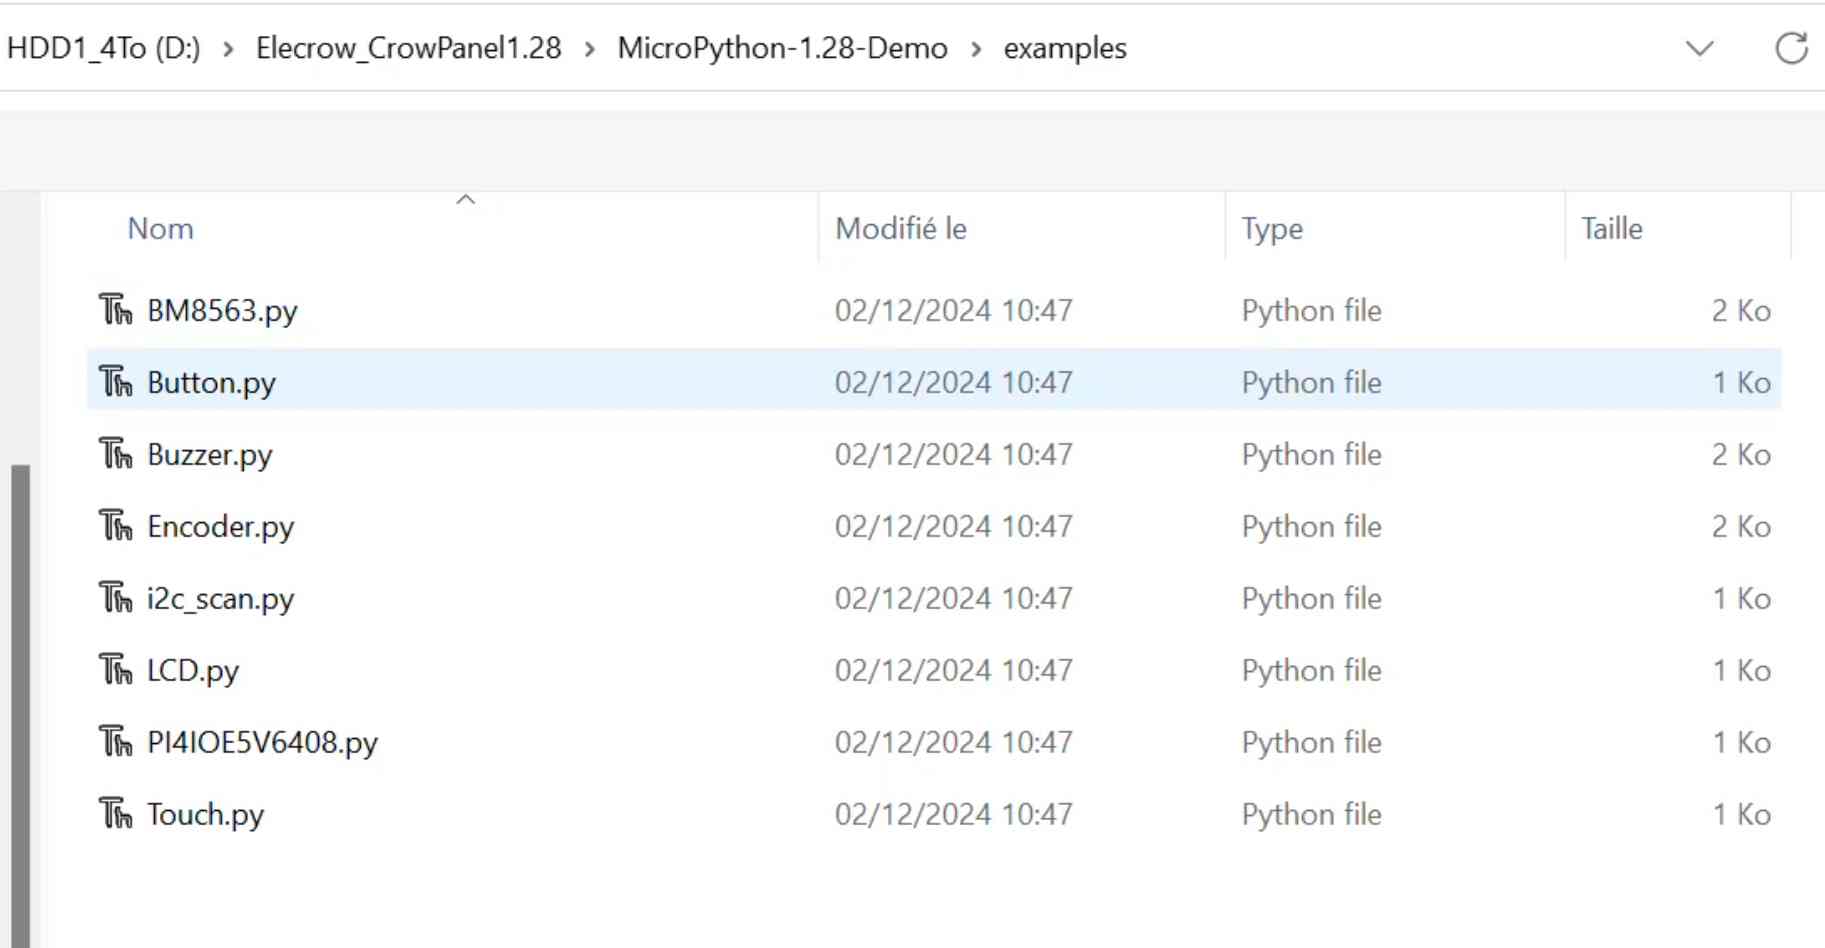
The examples are provided by Elecrow and this is what I tested.
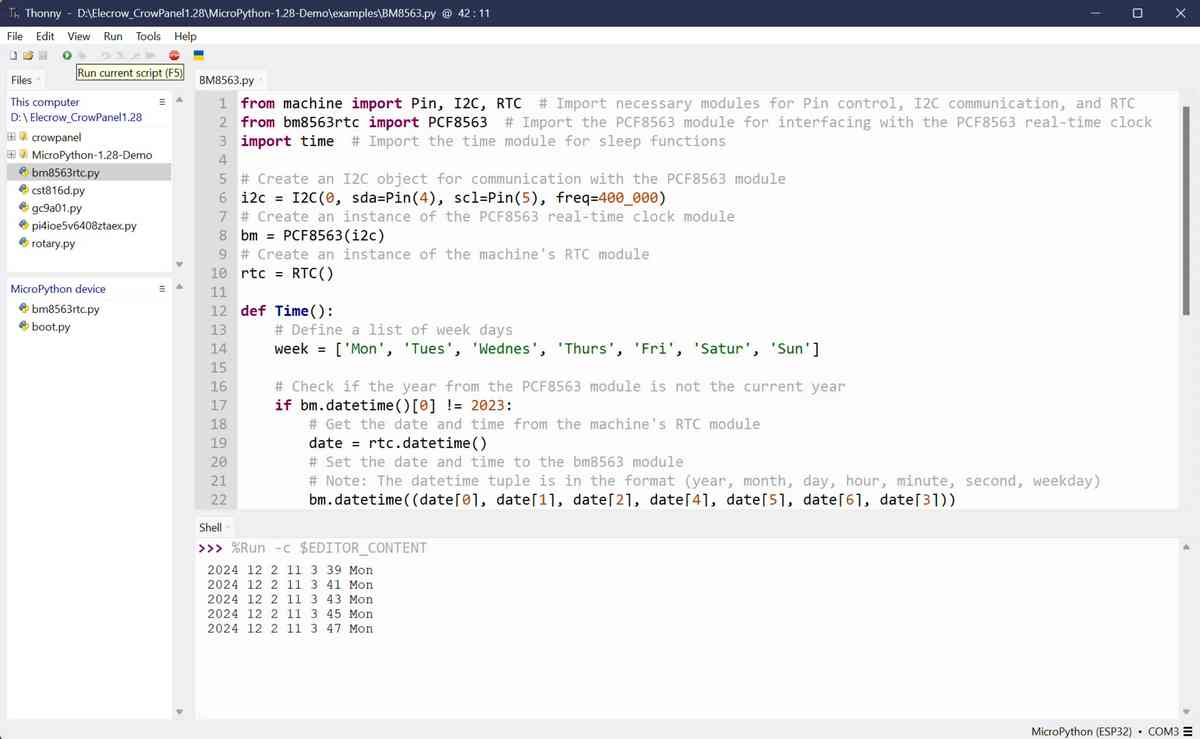
Test of the RTC clock with time display in the console. FYI, arrived from Elecrow a good week ago, the screen is always at the exact time.
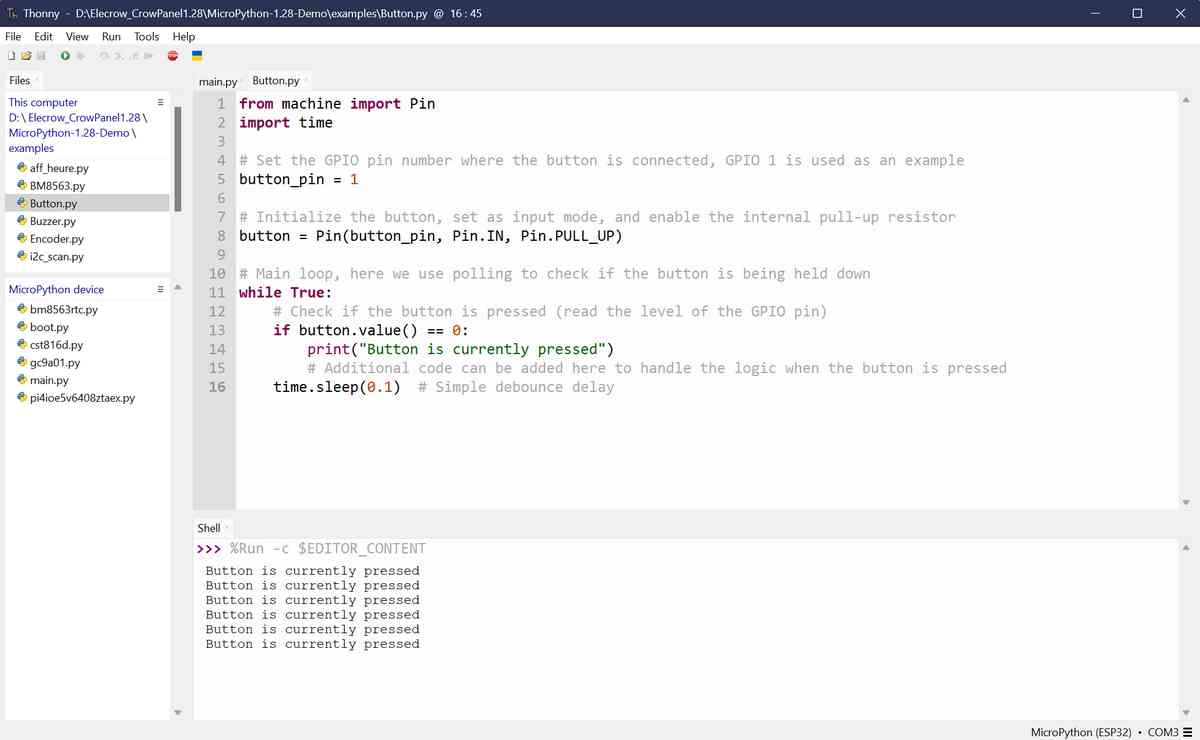
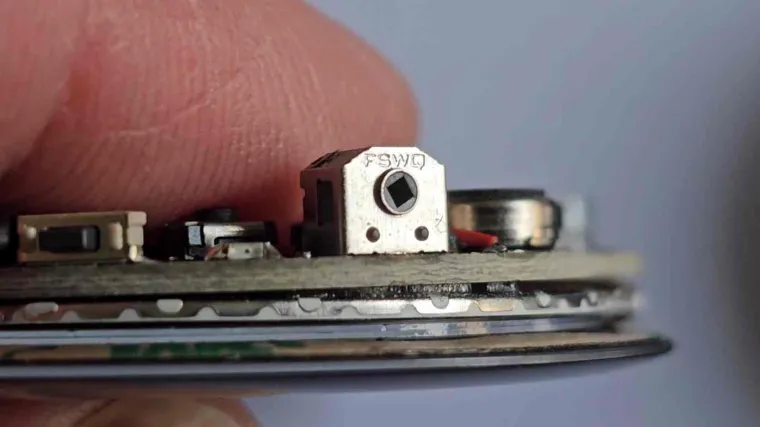
Testing the "user" button the console indicates when the button is pressed.
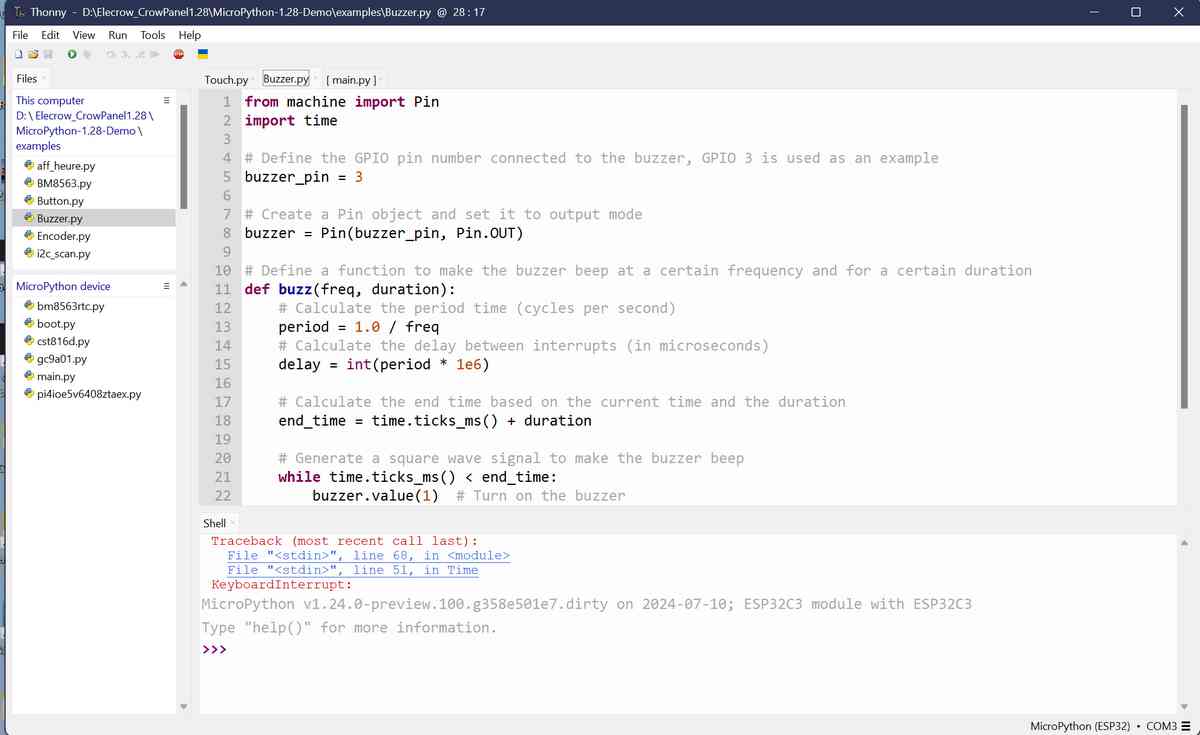
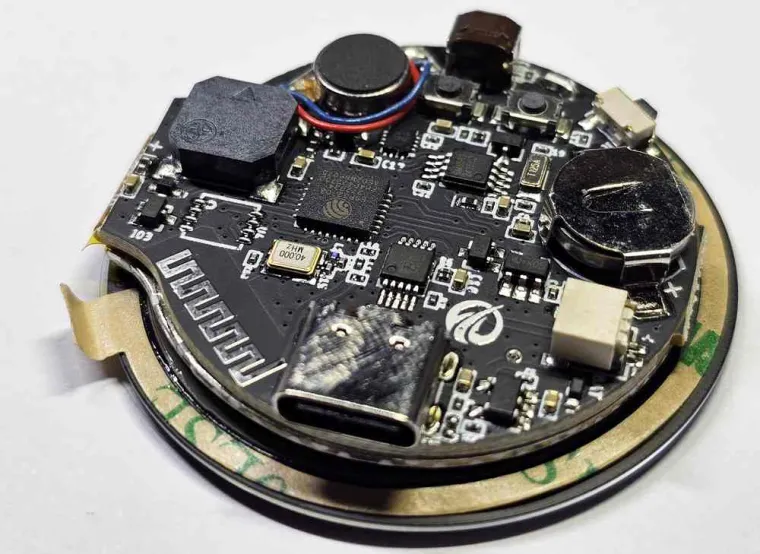
Buzzer test. I also tested the vibrator, then wrote a program to customize the display:
Final program
In the gc9a01.py library you can add the colors you are interested in
self.pink = 0x10c6
self.yellow= 0xffe0
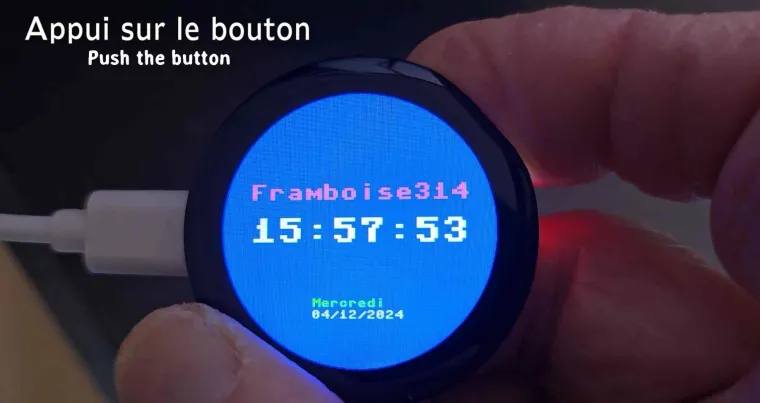
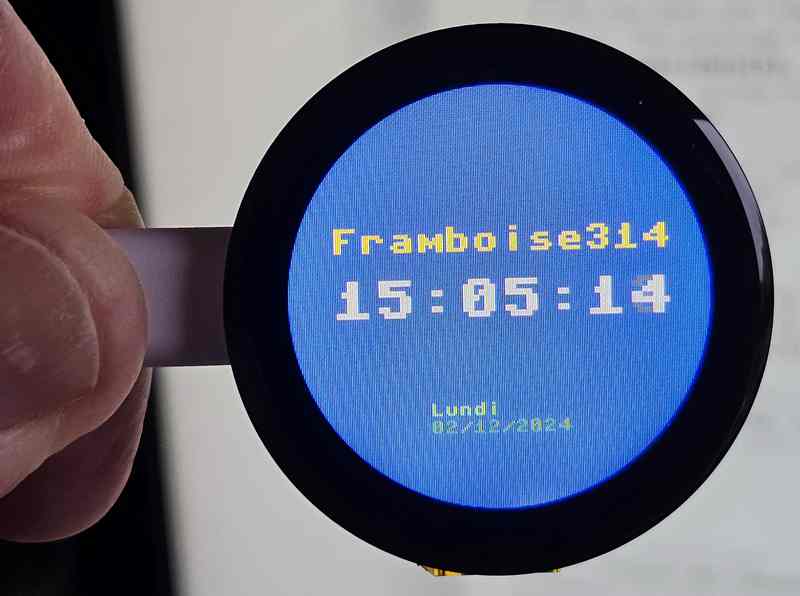
Finally I cleared the display (black screen) and used the button on the watch to display the time on demand…
1
2
3
4
5
6
7
8
9
10
11
12
13
14
15
16
17
18
19
20
21
22
23
24
25
26
27
28
29
30
31
32
33
34
35
36
37
38
39
40
41
42
43
44
45
46
47
48
49
50
51
52
53
54
55
56
57
58
59
60
61
62
63
64
65
66
67
68
69
70
71
72
73
74
75
76
77
78
79
80
81
82
83
84
85
86
87
88
89
90
91
92
93
94
95
|
from machine import Pin,I2C,RTC
from pi4ioe5v6408ztaex import PI4IOE5V6408
from gc9a01 import LCD_1inch28
from bm8563rtc import PCF8563 # Import the PCF8563 module for interfacing with the PCF8563 real-time clock
import time
# Import the time module for sleep functions
# Set the GPIO pin number where the button is connected, GPIO 1 is used as an example
button_pin = 1
# Initialize the button, set as input mode, and enable the internal pull-up resistor
button = Pin(button_pin, Pin.IN, Pin.PULL_UP)
# Initialize the I2C bus with the specified pins and frequency
i2c = I2C(0, sda=Pin(4), scl=Pin(5), freq=400_000)
# Create an instance of the PCF8563 real-time clock module
bm = PCF8563(i2c)
# Create an instance of the machine's RTC module
rtc = RTC()
# Create an instance of the PI4IOE5V6408 class with the I2C bus
io_expander = PI4IOE5V6408(i2c)
io_expander.write_pin(4, True)
time.sleep(1)
io_expander.write_pin(2, True)
time.sleep(1)
LCD = LCD_1inch28()
#LCD.write_text("Framboise314",25,120,2,LCD.blue)
#Eteindre l ecran
LCD.fill(LCD.black)
LCD.show()
time.sleep(0.5)
# Create an instance of the PCF8563 real-time clock module
bm = PCF8563(i2c)
# Create an instance of the machine's RTC module
rtc = RTC()
# Jours de la semaine
week = ['Lundi', 'Mardi', 'Mercredi', 'Jeudi', 'Vendredi', 'Samedi', 'Dimanche']
def Time():
global hour, minute, second, weekday, mday, month, year # Usage global des variables
# Define a list of week days
# Check if the year from the PCF8563 module is not the current year
if bm.datetime()[0] != 2023:
# Get the date and time from the machine's RTC module
date = rtc.datetime()
# Set the date and time to the bm8563 module
# Note: The datetime tuple is in the format (year, month, day, hour, minute, second, weekday)
bm.datetime((date[0], date[1], date[2], date[4], date[5], date[6], date[3]))
# Wait for 1 second to allow the time to be set
time.sleep(0.1)
# Get the current year, month, day, hour, minute, second, and weekday from the bm8563 module
year = bm.datetime()[0]
month = bm.datetime()[1]
mday = bm.datetime()[2]
hour = bm.datetime()[3]
minute = bm.datetime()[4]
second = bm.datetime()[5]
weekday = bm.datetime()[6]
# Print the current date and time to the serial console
print(year, month, mday, hour, minute, second, week[weekday])
# Wait for 1 second before printing the next time update
while True:
Time()
heure = f"{hour:02}:{minute:02}:{second:02}"
# Formater la date pour l'affichage
date = f"{mday:02}/{month:02}/{year}"
LCD.fill(LCD.blue)
LCD.write_text("Framboise314",25,80,2,LCD.yellow)
LCD.write_text(heure, 25, 110, 3, LCD.white)
LCD.write_text(week[weekday], 80, 180, 1, LCD.green)
LCD.write_text(date, 80, 190, 1, LCD.pink)
if button.value() == 0:
print("Button is currently pressed")
# Additional code can be added here to handle the logic when the button is pressed
# Afficher l'écran
LCD.show()
else:
# Afficher l'écran
LCD.fill(LCD.black)
LCD.show()
time.sleep(0.1) # Simple debounce delay
|
This is the assembly of several demo programs provided by Elecrow, with a little home-made adjustment… I also added some colors in the screen library, we are in BGR on 16 bits 😉
00:00
00:15
Afterwards, we can modify the program to leave the screen on for 2 or 3 seconds when we press... I'll let you have fun.
Add images
Switch from BMP to RGB565
The BMP format is rather complex with a header and colors coded on 3 bytes (RGB) or 24 bits.
To display on the CrowPanel screen we need a raw data file in RGB565 format without header.

First step prepare a 240x240px bmp file (I took my logo) and transform it from .bmp to RGB565. I used this program https://github.com/liyanboy74/bmp24-to-rgb565 that I compiled on a Raspberry Pi 5 which was also used to convert the files to RGB565.
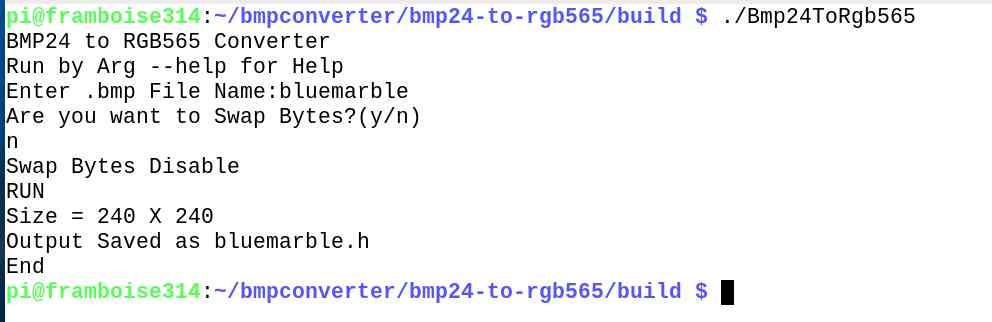
Then just launch the Bmp24ToRGB565 program. Enter the name of the .bmp file WITHOUT THE EXTENSION (here bluemarble) then n and it generates a .h file which contains…
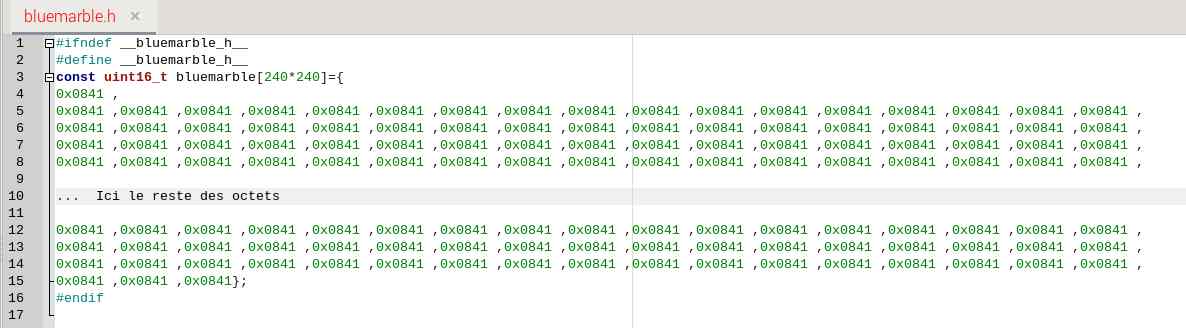
Here bluemarble is an array of uint16_t values ( uint16_t is a data type representing positive integer values on 16 bits). It is an array of 240*240 elements, which means that it can contain 57,600 uint16_t values.
But that is not what we need, we just need the data. In addition here they are in hexadecimal characters. So I wrote a bit of program in Python to "clean" this file (keep only the bytes) and write them in binary in another file which will be the one we will send to the screen, finally to the screen framebuffer!
Program conv_bmp_565.py
1
2
3
4
5
6
7
8
9
10
11
12
13
14
15
16
17
18
19
20
21
22
23
24
25
26
27
28
29
30
31
32
33
34
35
36
37
|
# Programme de conversion d'un fichier structure C RGB565 en code
# "brut" utilisable par l'écran du CrowPanel 1,28 pouce
# Extrait les 240x240 mots de 16 bits et les envoie dans un fichier
# Premier argument = nom du fishier à traiter
# Second argument = nom du fichier de sortie
# CC BY NC SA Framboise314 dec 2024
# Importer les bibliothèques utilisées
import re
import sys
#Extraction des données dans le fichier de départ
def extract_rgb565(input_file, output_file):
# Lire le contenu du fichier d'entrée
with open(input_file, 'r') as file:
logo_data = file.read()
# Extraire les valeurs hexadécimales
hex_values = re.findall(r'0x[0-9A-Fa-f]+', logo_data)
# Convertir les valeurs en binaire et les écrire dans un fichier
with open(output_file, 'wb') as f:
for value in hex_values:
# Convertir chaque valeur hexadécimale en entier
int_value = int(value, 16)
# Convertir l'entier en bytes (2 octets, big-endian)
f.write(int_value.to_bytes(2, byteorder='big'))
print(f"Fichier binaire '{output_file}' créé avec succès.")
if __name__ == "__main__":
if len(sys.argv) != 3:
print("Usage : python script.py <fichier_entrée> ")
else:
input_file = sys.argv[1]
output_file = sys.argv[2]
extract_rgb565(input_file, output_file)
|
To run this program:
python conv_bmp_565.py bluemarble.h bluemarble.bin
Binary file 'bluemarble.bin' created successfully.
Finally, to display this file on the screen, I added a function to the microPython library provided by Elecrow ( gc9a01.py ) in the microPython demo folder. Add this function in the class LCD_1inch28(framebuf.FrameBuffer):
1
2
3
4
5
6
7
8
9
10
11
12
13
14
15
16
17
|
# Nouvelle méthode pour afficher un RGB565
def afficher_image(self, filename):
# Taille des blocs à lire
block_size = 240 * 20 * 2 # 20 lignes de pixels
with open(filename, 'rb') as f:
for y in range(0, self.height, 20):
buffer = bytearray(block_size)
f.readinto(buffer)
# Vérification de la taille des données lues pour chaque bloc
if len(buffer) != block_size:
print(f"Erreur : Taille des données lues pour le bloc ({len(buffer)}) ne correspond pas à la taille attendue ({block_size}).")
return
for i in range(20):
self.blit(framebuf.FrameBuffer(buffer[i*240*2:(i+1)*240*2], 240, 1, framebuf.RGB565), 0, y+i)
self.show()
|
The one-time display produced an error (probably due to the size of memory used) by doing a block display it works and it is also fast… The following program is identical to the previous one, but we display the logo and we switch to the time display when we press the button.
The display program becomes:
1
2
3
4
5
6
7
8
9
10
11
12
13
14
15
16
17
18
19
20
21
22
23
|
while True:
Time()
heure = f"{hour:02}:{minute:02}:{second:02}"
# Formater la date pour l'affichage
date = f"{mday:02}/{month:02}/{year}"
LCD.fill(LCD.blue)
LCD.write_text("Framboise314",25,80,2,LCD.yellow)
LCD.write_text(heure, 25, 110, 3, LCD.white)
LCD.write_text(week[weekday], 80, 180, 1, LCD.green)
LCD.write_text(date, 80, 190, 1, LCD.pink)
if button.value() == 0:
print("Button is currently pressed")
# Additional code can be added here to handle the logic when the button is pressed
# Afficher l'écran
LCD.show()
else:
# Afficher l'écran
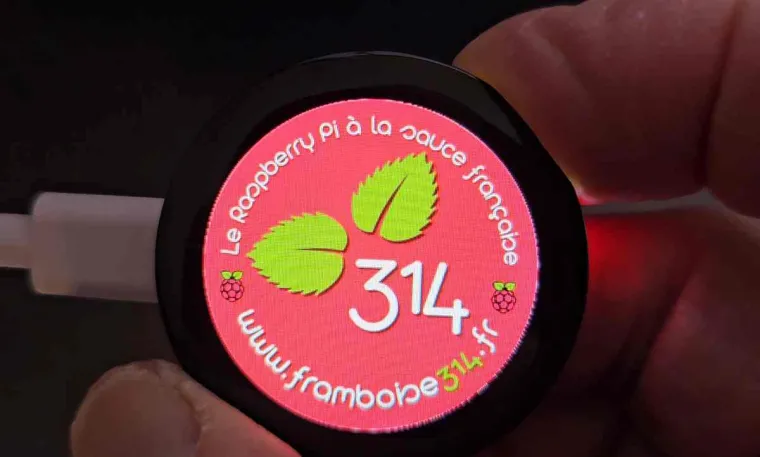
LCD.afficher_image('logo565.bin')
LCD.show()
time.sleep(0.1)
|
00:00
00:46
and with several images:
The end of the program becomes
1
2
3
4
5
6
7
8
9
10
11
12
13
14
15
16
17
18
19
20
21
22
23
24
25
26
27
28
29
30
31
32
33
34
35
36
37
|
...
logos = ['logo565.bin', 'bigbuckbunny.bin', 'bluemarble.bin']
current_logo_index = 0
logo_display_time = 2.0 # Temps d'affichage de chaque logo en secondes
check_interval = 0.1 # Intervalle de vérification en secondes
while True:
if button.value() == 0:
Time()
heure = f"{hour:02}:{minute:02}:{second:02}"
date = f"{mday:02}/{month:02}/{year}"
LCD.fill(LCD.blue)
LCD.write_text("Framboise314", 25, 80, 2, LCD.yellow)
LCD.write_text(heure, 25, 110, 3, LCD.white)
LCD.write_text(week[weekday], 80, 180, 1, LCD.green)
LCD.write_text(date, 80, 190, 1, LCD.pink)
print("Le bouton est appuyé")
LCD.show()
else:
# Afficher le logo actuel
start_time = time.time()
while time.time() - start_time < logo_display_time:
# Vérifier périodiquement l'état du bouton
# Si le bouton est appuyé on sort immédiatement
if button.value() == 0:
break
LCD.afficher_image(logos[current_logo_index])
LCD.show()
time.sleep(check_interval)
# Passer au logo suivant si le bouton n'a pas été pressé
if button.value() != 0:
current_logo_index = (current_logo_index + 1) % len(logos)
# Petite pause pour limiter l'utilisation du CPU
time.sleep(check_interval)
|
and we get:
00:00
00:51
Video
00:00
00:56
Conclusion
For a screen that costs less than $14 we have interesting possibilities. I haven't tested Wifi or BT yet, but we can imagine making our own watch, stopwatch, displaying information etc... enough to have fun for cheap.