


Story
This tutorial is available on my YouTube channel. You can watch it right below.
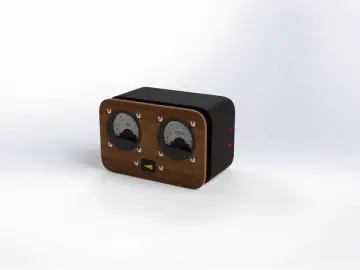
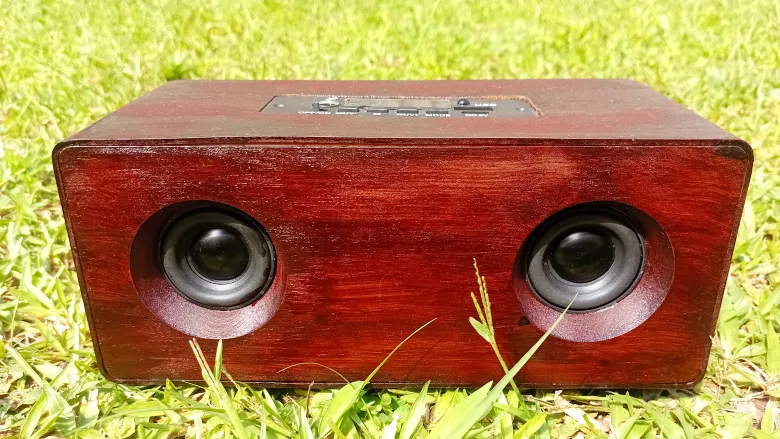
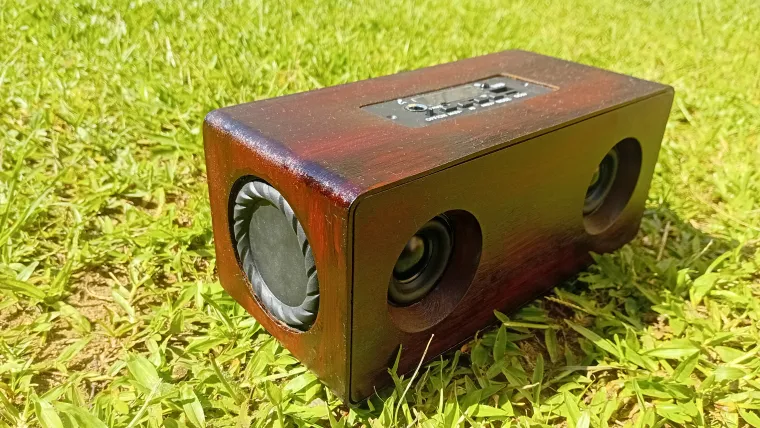
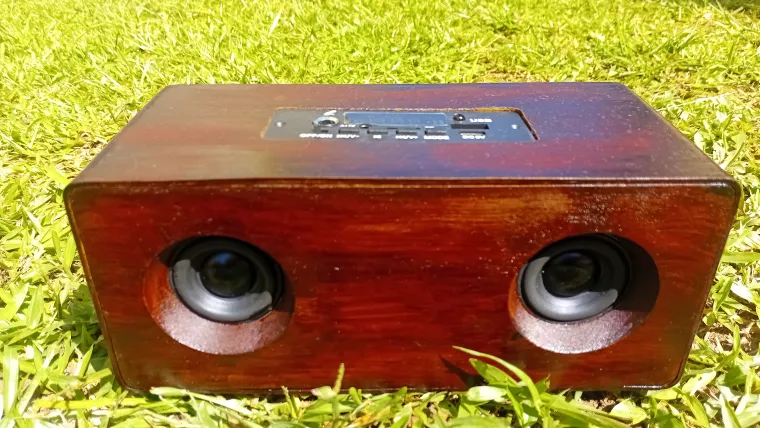
If you've ever wanted to build your own Bluetooth speaker, you're in the right place! In this guide, I'll show you step by step how I designed, 3D-printed, and assembled my own Bluetooth speaker. The result? A sleek, wood-like finish and high-quality sound that you can proudly display in your home.
Why Build Your Own Bluetooth Speaker?
Bluetooth speakers have fascinated me for a while. Understanding how they work and assembling one from scratch felt like an exciting challenge. I initially experimented with PVC and wooden enclosures, but neither method worked well for my setup. That's when I turned to 3D printing—it allowed for precision, customization, and an eye-catching design without requiring advanced woodworking tools.
Features of This DIY Bluetooth Speaker
-
Bluetooth connectivity for wireless audio streaming
-
Physical buttons and an infrared remote for easy control
-
Rechargeable battery-powered for portability
-
Custom 3D-printed enclosure for a professional look
-
Dual 5W speakers with passive bass radiators for rich sound quality
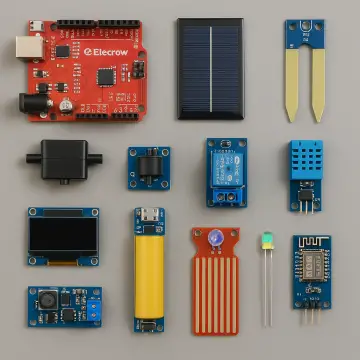
Components You'll Need
Electronics:
-
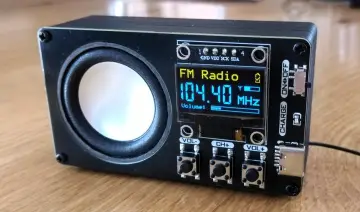
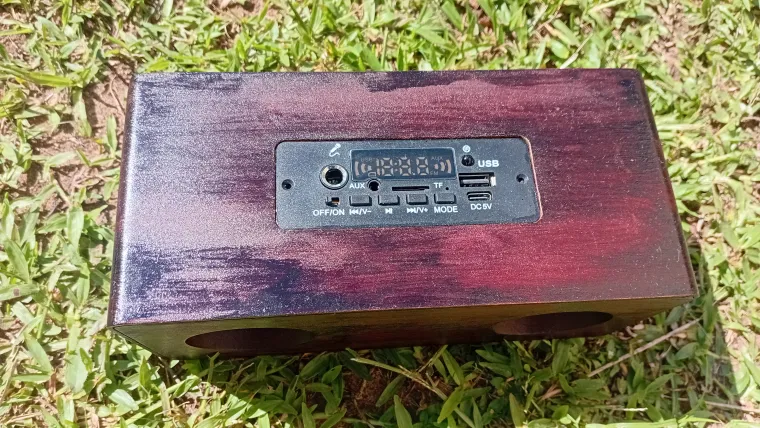
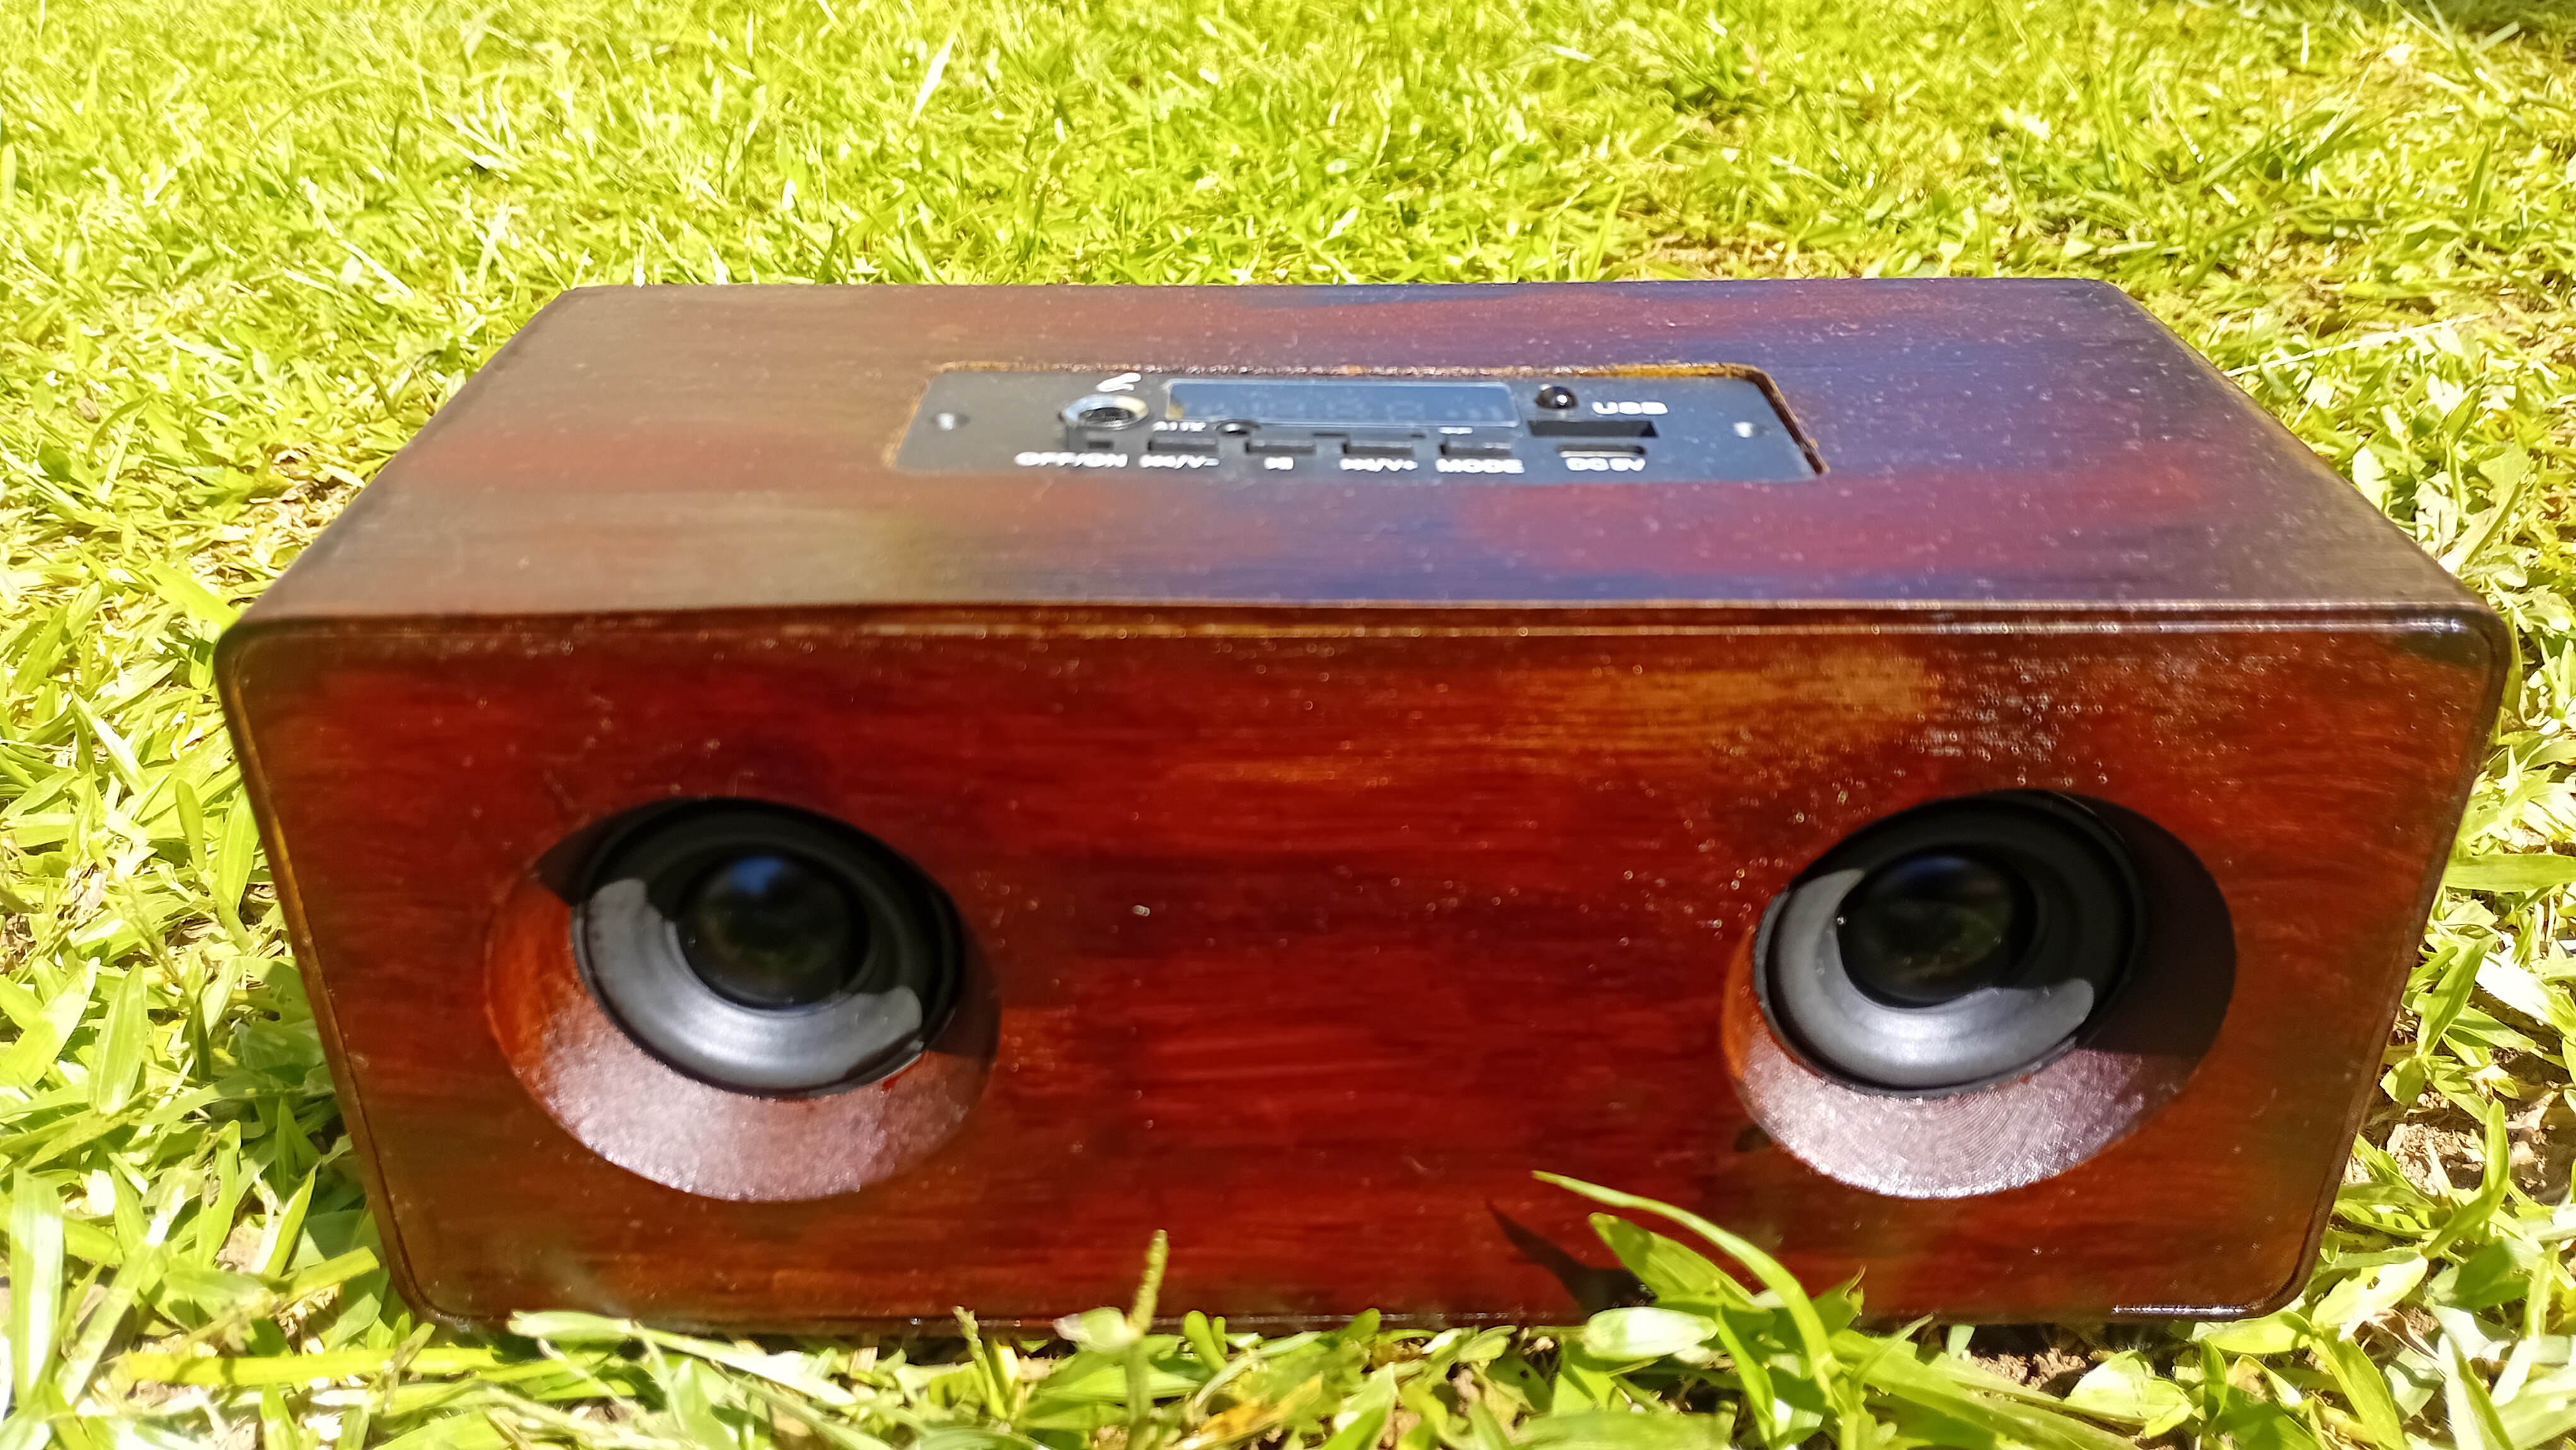
Bluetooth + Amplifier Module: Kebidu 5W module (supports Bluetooth, FM radio, SD cards, USB drives, and an infrared remote control)
-
Speakers: Two 5W, 4-ohm, 40mm diameter speakers
-
Battery: Two 18650 Li-Po batteries connected in parallel
-
Charging Module: TP4056 USB-C module
-
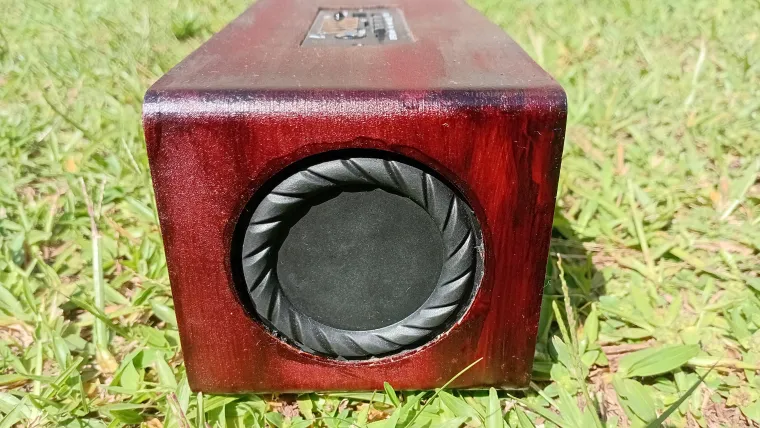
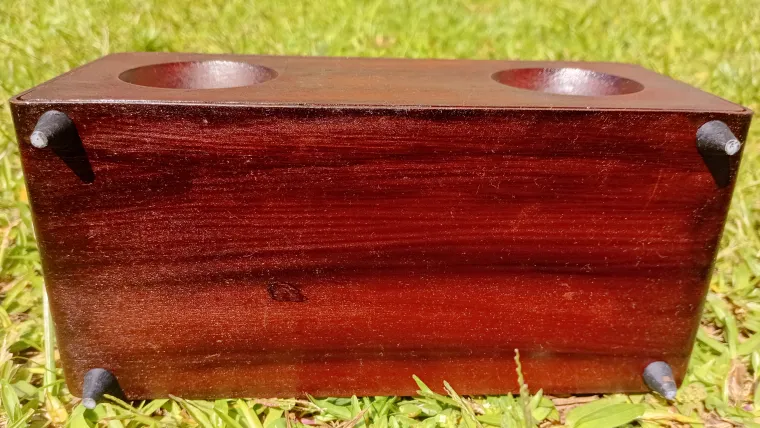
Passive Radiators: Two 66mm bass radiators
Additional Materials:
-
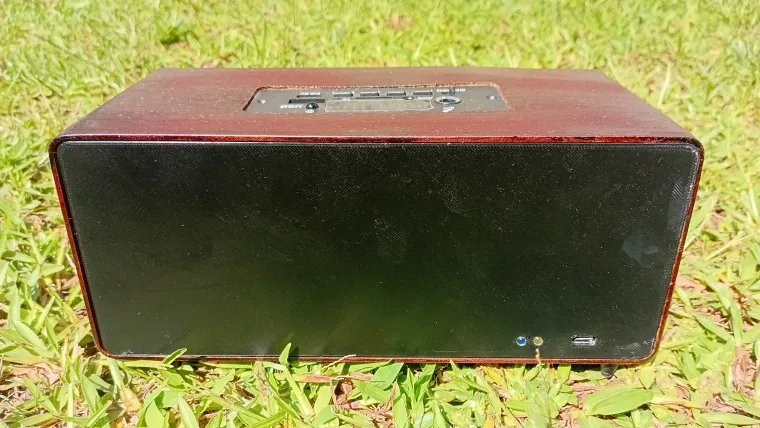
2x 3mm LEDs (power & charge indicators)
-
Super glue
-
2mm EVA foam sheets (for sound insulation)
-
Spray paint and Copic Ink Refills (for the wood-like finish)
Step 1: Designing the Enclosure
Using Fusion 360, I designed the enclosure to fit all components precisely. The key design considerations included:
-
Proper placement of the speakers and passive radiators for optimal sound quality
-
Secure housing for the amplifier and battery modules
-
A seamless design that eliminates the need for screws
I initially included a logo on the back panel, but during assembly, I realized it weakened the structure. So, I redesigned and reprinted the back panel for better durability.
Step 2: Printing the Enclosure
I uploaded my STL files to Elecrow, an online 3D printing service. I selected photosensitive resin for a high-quality finish, though you can use PLA or ABS if printing at home. After placing my order, Elecrow shipped the parts to my door, hassle-free.
Step 3: Setting Up the Electronics
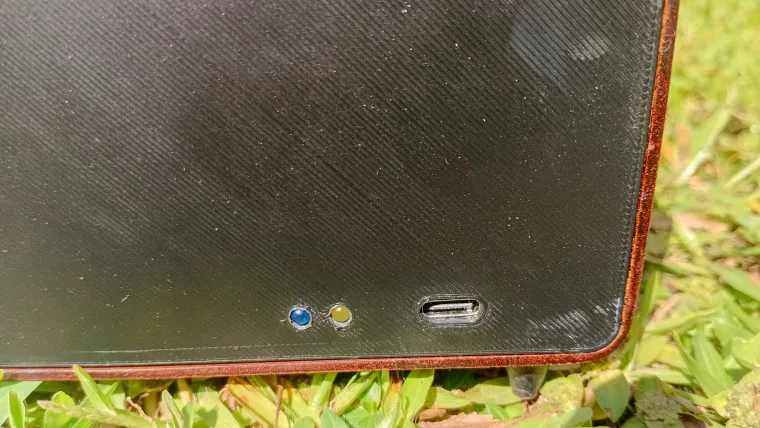
Modifying the Charger Module
Since the TP4056 module has built-in LEDs for charging indicators, I replaced them with external 3mm LEDs for better visibility.
Steps:
-
Desolder the built-in LEDs.
-
Solder wires to connect external LEDs.
-
No need for resistors—the module already includes 1k-ohm ballast resistors.
Wiring and Assembly
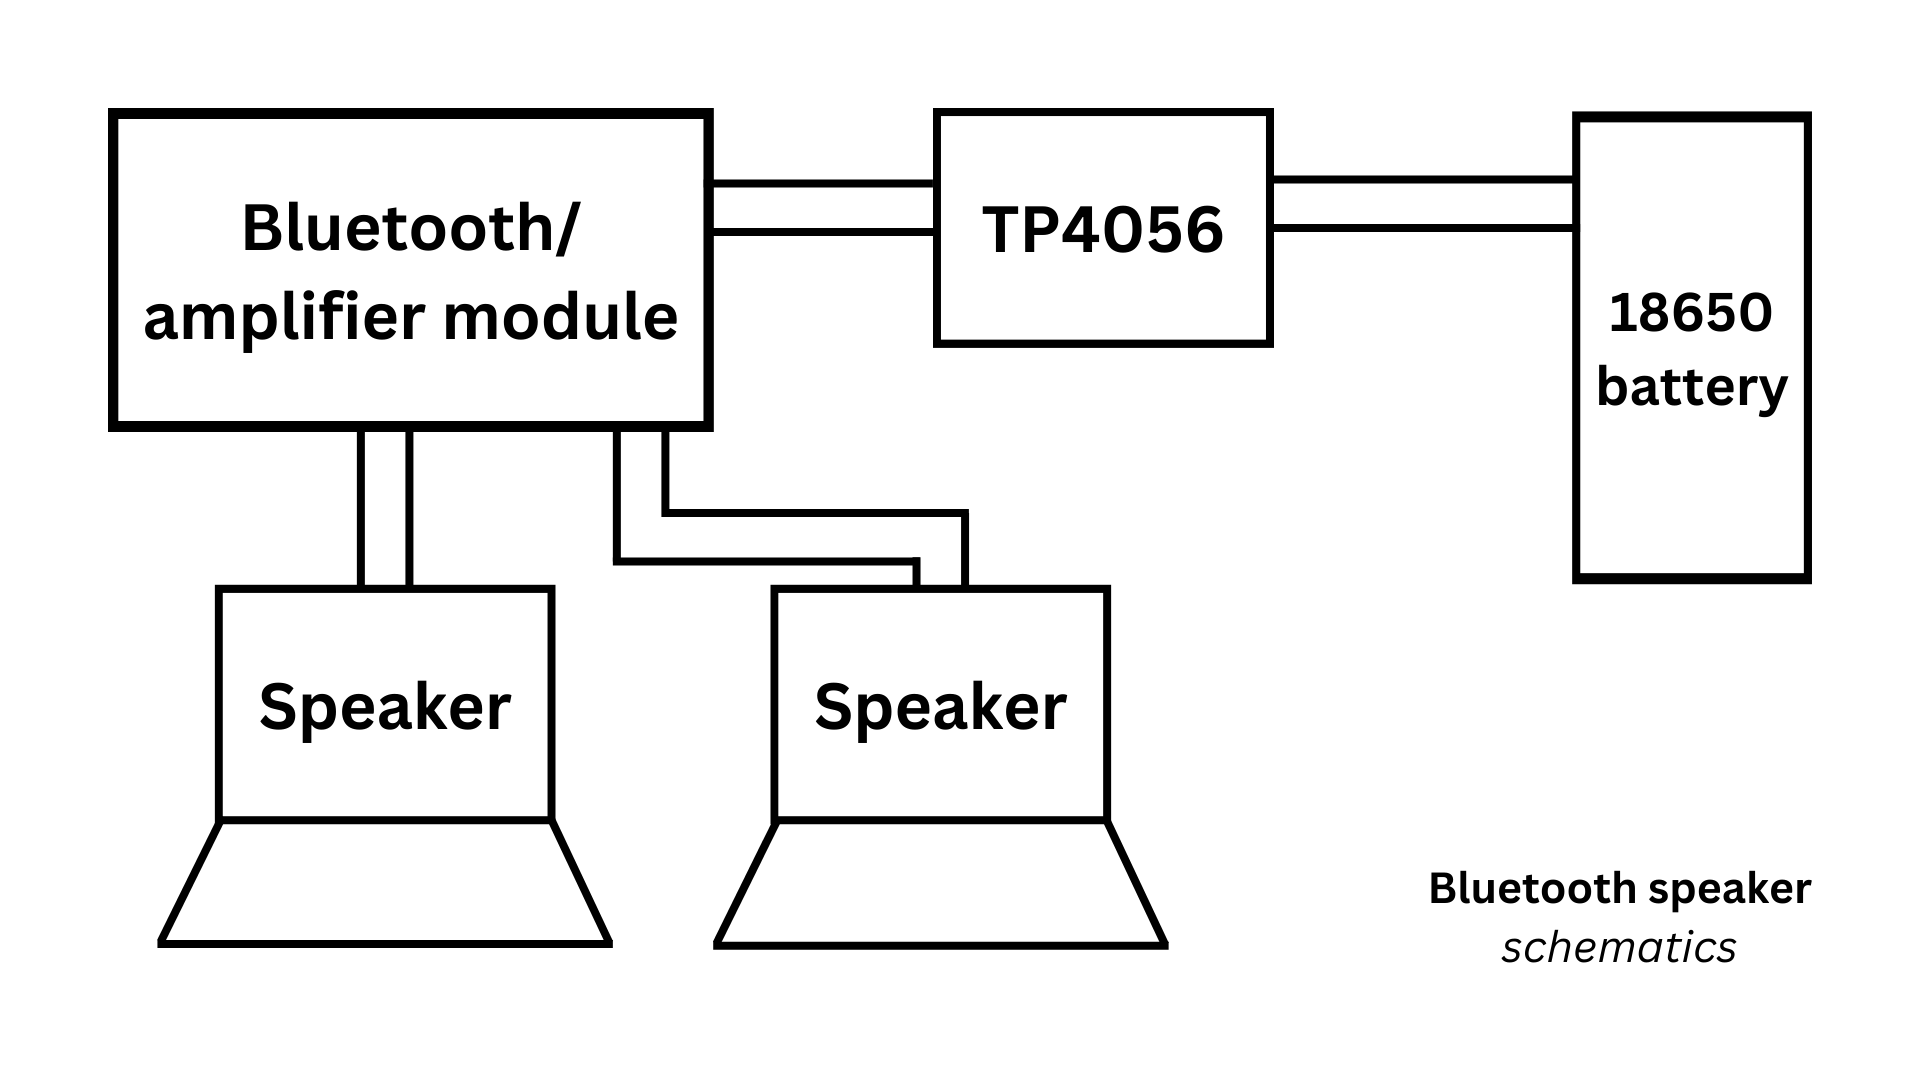
I soldered the batteries, amplifier, and speakers together. The wiring is straightforward:
-
Connect the batteries to the TP4056 charger module.
-
Connect the TP4056 output to the Bluetooth amplifier.
-
Solder the speakers to the amplifier module.
-
Attach the passive radiators for enhanced bass response.
Once wired, I tested the system by pairing the Bluetooth module with my phone—and it worked perfectly!
Step 4: Painting for a Wood Finish
A plain 3D print can look dull, so I gave my speaker a realistic wood texture using spray paint and Copic Ink Refills.
Painting Steps:
-
Base Coat: Spray the entire enclosure with a light caramel-colored paint (e.g., Rust-Oleum Warm Caramel).
-
Wood Grain Effect: Using Copic Ink Refills (E57, E59, E07), apply streaks with a brush to mimic wood grain.
-
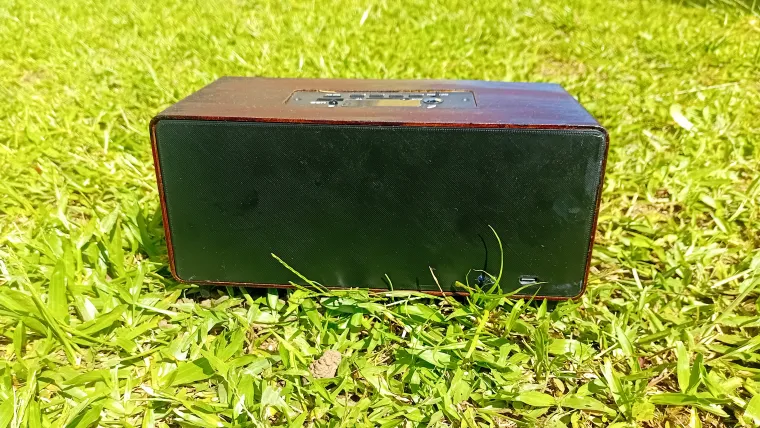
Back Panel: Paint it black for contrast or print it using black filament.
-
Interior Coating: Line the inside with 2mm EVA foam sheets to minimize vibrations and improve sound quality.
Step 5: Final Assembly
With all parts ready, I carefully placed each component inside the enclosure:
-
Secured the amplifier, battery, and speakers in place.
-
Ensured a tight fit to prevent air leaks.
-
Glued the panels together for a seamless finish.
Lessons Learned & Future Improvements
While the speaker turned out great, I encountered one issue—the passive radiators didn’t vibrate as expected. After consulting the DIY community, I learned that:
-
The radiators were too heavy for the small speakers to move.
-
Better tuning calculations would improve the bass response.
-
Software tools like WinISD can help optimize radiator selection.
For my next build, I’ll apply these learnings to design an even better speaker.
Final Thoughts & Sound Test
This project was incredibly rewarding! The wood-like finish gives it a premium feel, and the sound quality is a major step up from my previous builds. Despite minor flaws, I'm thrilled with the results—and you should definitely try building one too!
Build Your Own Bluetooth Speaker
Want to build your own version? Download the STL files and wiring diagrams from my GitHub repository and start your DIY Bluetooth speaker project today.
🚀 If you found this guide helpful, share it with fellow makers and subscribe to my YouTube channel for more DIY builds! This project files are also available on this GitHub repository.