Story
An e-paper display (also known as an electronic paper display or E Ink display) is a type of screen that mimics the appearance of regular ink on paper. It's typically used in devices like e-readers, smartwatches, and digital signage.

E-paper displays are known for being energy-efficient because they only consume power when the image or text changes, and they can be easily read in bright sunlight, unlike traditional backlit screens. This time I will describe and do a brief test specifically on this ELECROW CrowPanel ESP32 4.2” E-paper HMI Display, Driven By SPI Interface.
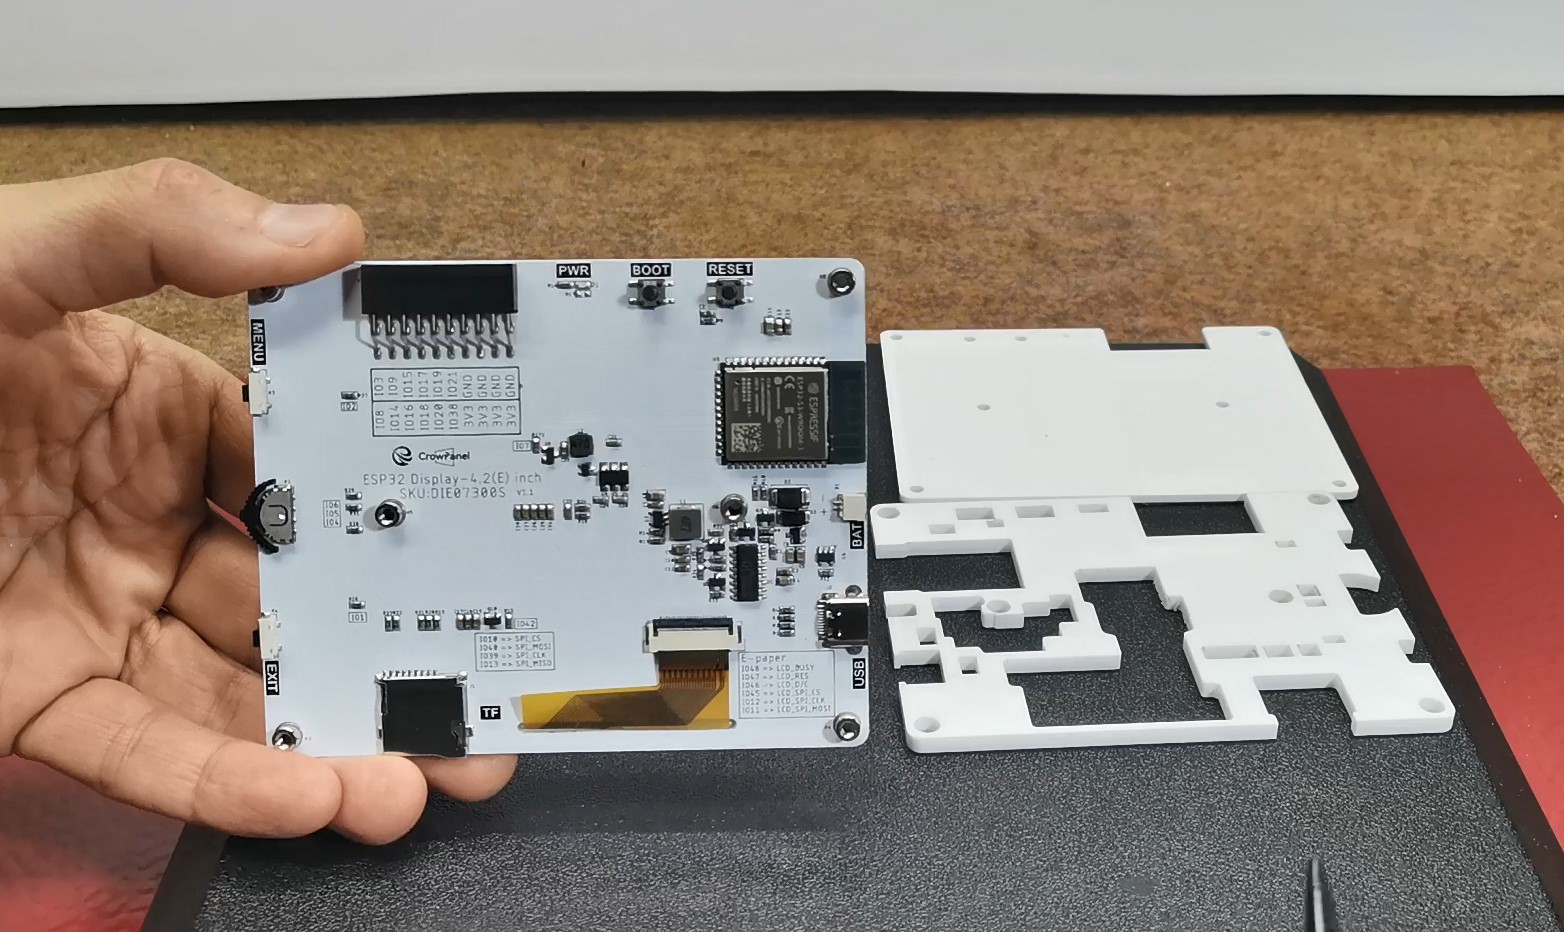
First, let me introduce you to the basic features of this device. In fact, this is an e-paper display with built-in ESP32-S3 chip as the main control ensures powerful performance and fast and stable data transmission through the SPI interface. The display has a high resolution of 400x300 pixels and supports two colors: white and black. If the back plate is removed, it will be seen that the device is equipped with multiple interface and button designs, including TF card slot, BAT interface, UART0 interface, 20 pin GPIO interface, back button, home button and rotary switch switch, which is convenient for users to develop and operate.
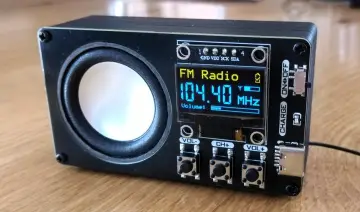
The white acrylic shell is not only beautiful but also protects the screen. Immediately after switching on, a demo program appears on the display, which shows the features of the device. Then the home screen appears, in which we can select the three options offered using the side buttons.

The first is to display text, then an example image, and a lamp control software scenario. If at any time we turn off the power, the image that is currently displayed remains on the screen. This is actually the main feature of this type of display. It only consumes power when refreshing.
First, let me briefly explain the procedure for installing some code using the Arduino IDE, which is actually the simplest way. Demo codes for this display can be found on the Elecrow website , as well as on GitHub . As an example, I will now install the code for a Wi-Fi weather station that draws data from the Openweathermaps website. For this purpose, we first need to have ESP32 support installed on the Arduino IDE, which is described in several of my previous videos. Then we go to Tools and select ESP32S3 Dev Module. Next, in the menu on the board, we need to make a few settings.
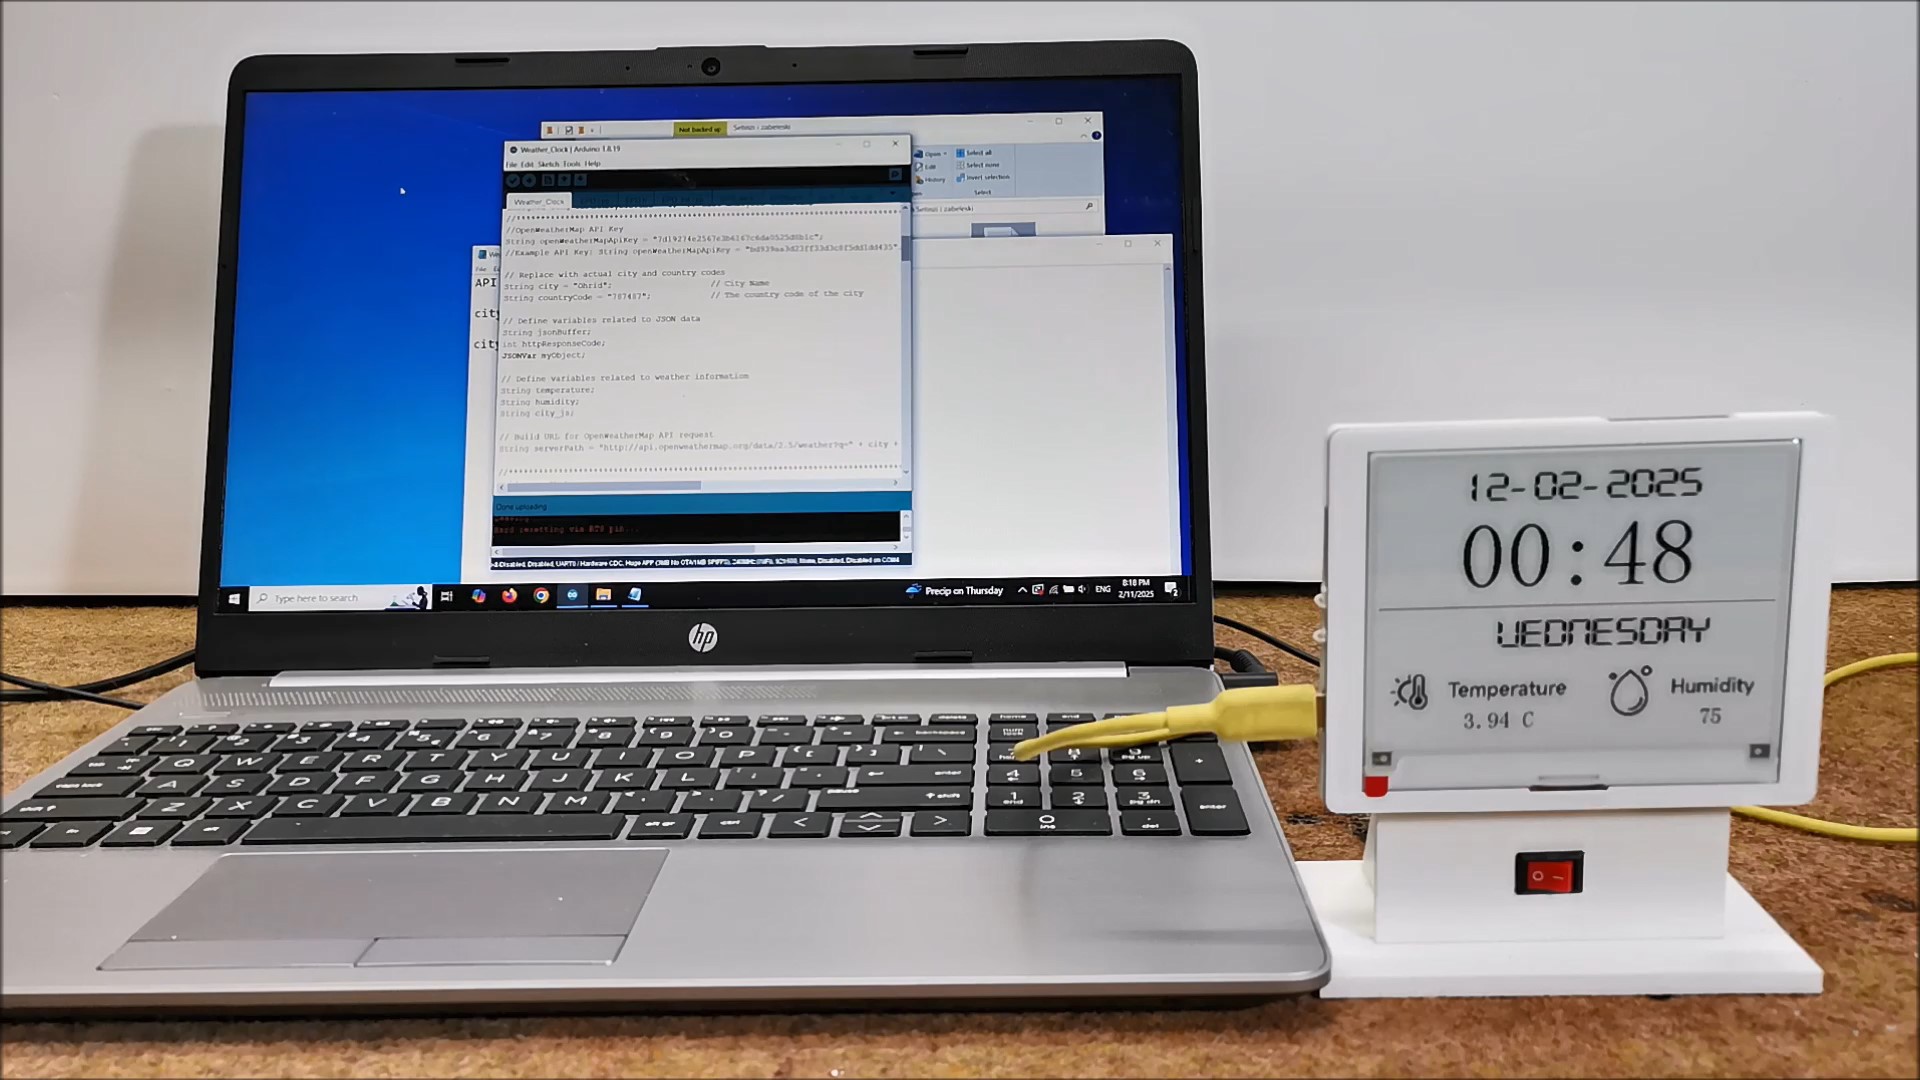
Now we can start the installation. We open the folder with the sketch and activate the .ino file. This will open the entire code structure, we just need to enter the WiFi network data and the openvedarmap API key and the country code. Then we select the appropriate COM port and press upload. In a short time, the upload will be completed and the weather station will appear on the screen. You can also find more examples on Elekrow's YouTube channel, but they all contain full support contained within the code itself, and does not use external libraries.
GxEPD2 is the most famous library for E-ink displays but unfortunately it does not have full support for this type of displays. On the makerguides page is described a little tweak with which we can get the GxEPD2 library library working on the CrowPanel 4.2-inch E-Paper and all credits go to them.
Now that I already had an advanced library at my disposal, I came up with the idea of creating a practical and very useful project. It is an information display that can be used in countless places and cases and has a universal purpose.
The display itself visually resembles a whiteboard intended for writing various temporary messages and informations. So the basic requirement for good functionality of such a device is to find an easy way to enter and delete messages. Considering that the display module contains an ESP32 microcontroller which, by the way, has WiFi and Bluetooth support, I managed to create an Arduino code with a WebServer in the local WiFi network, creating an easily manageable web interface through which the Info-Display is controlled. So we can write or delete messages via any computer or smartphone in the local network.
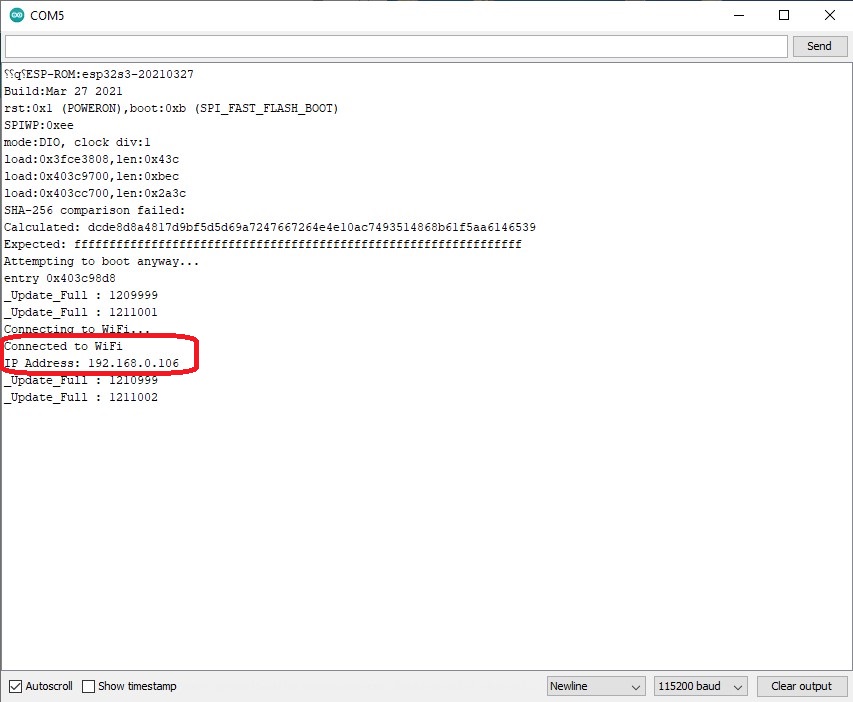
As for installing the code, the procedure is standard, and the only requirement is to have the GxEPD2 library installed, which is provided. Once the code installation is complete, we need to turn on the serial monitor and reset the device, which will give us its local IP address on the serial monitor. We will need this address later.
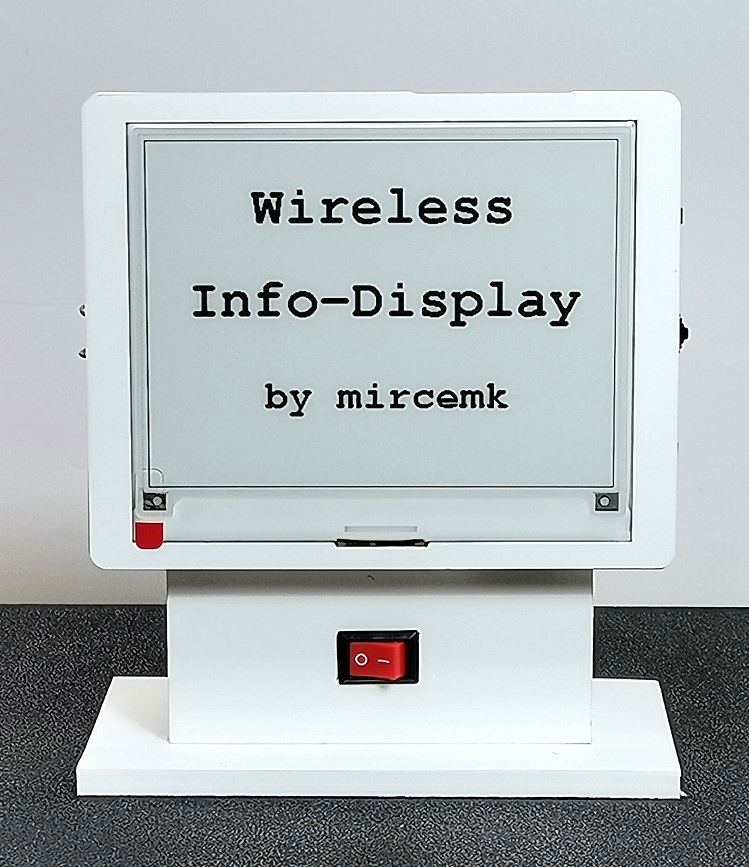
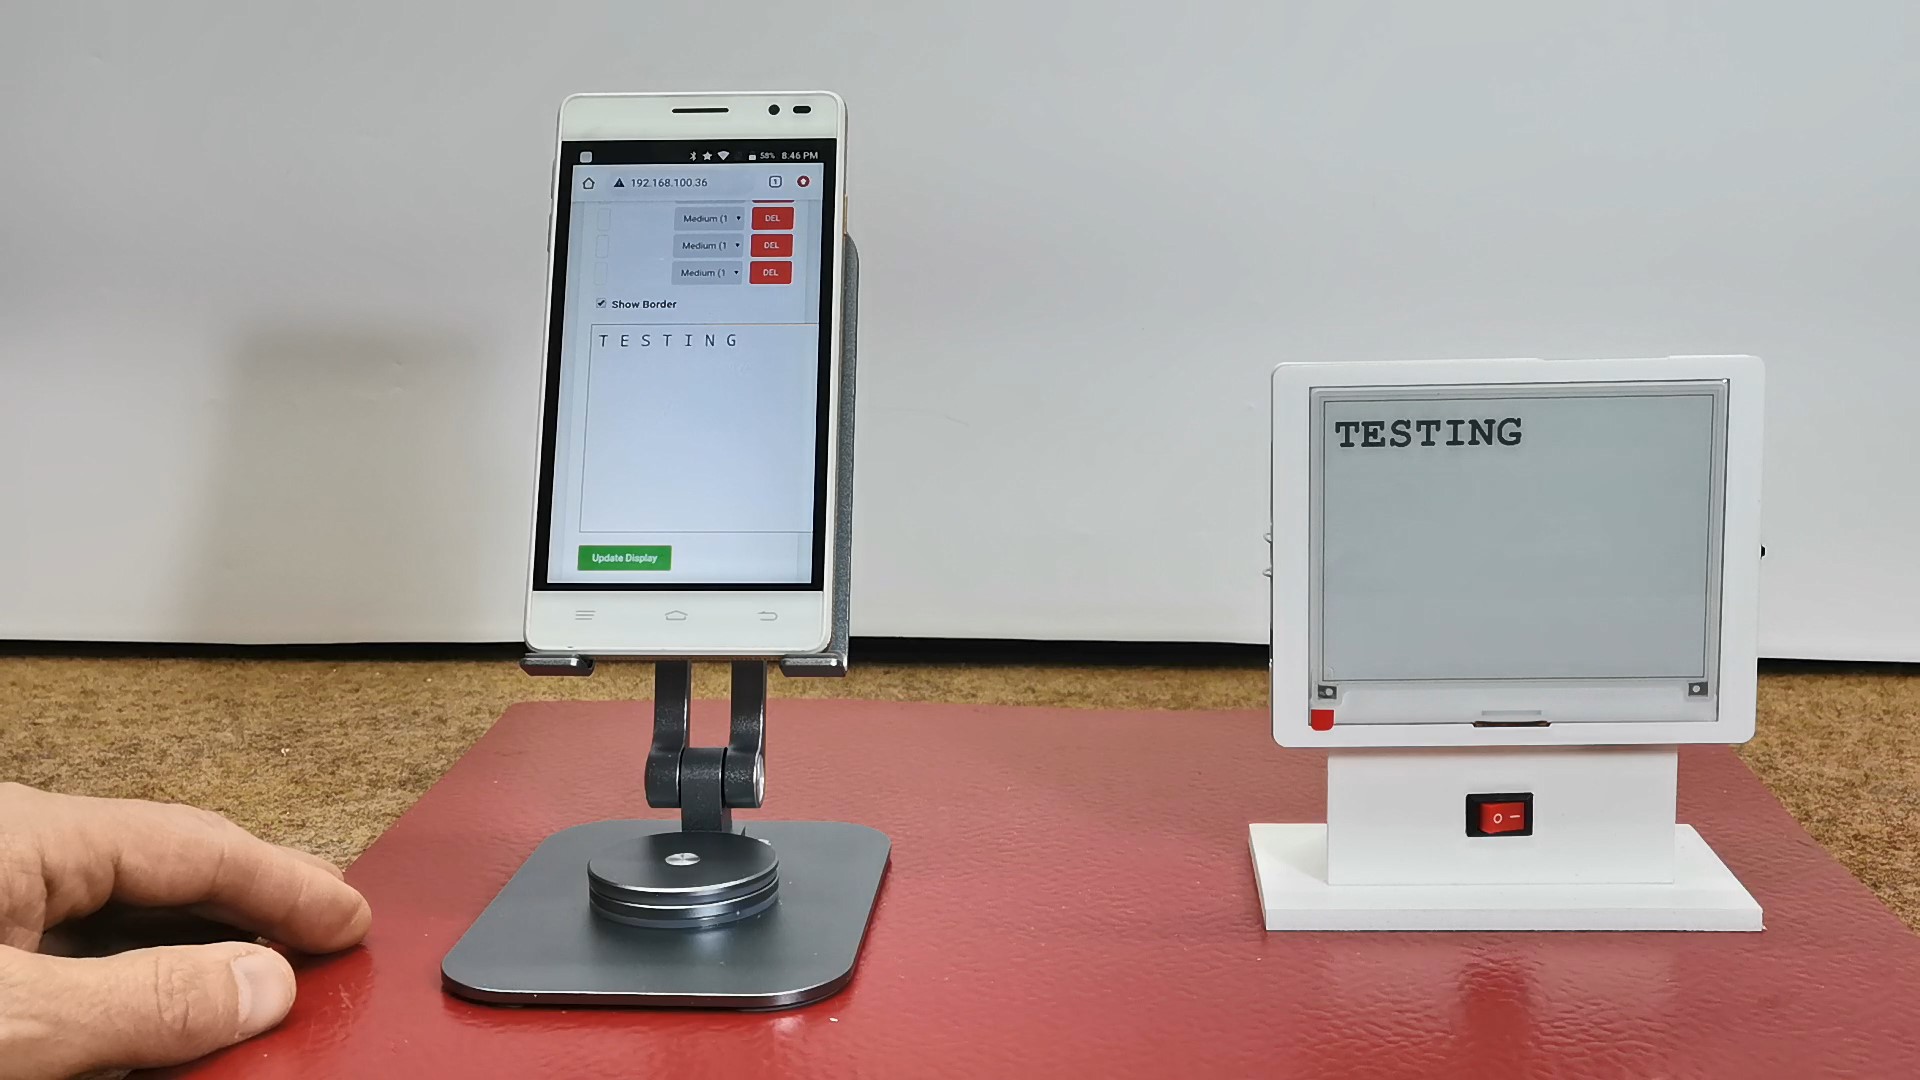
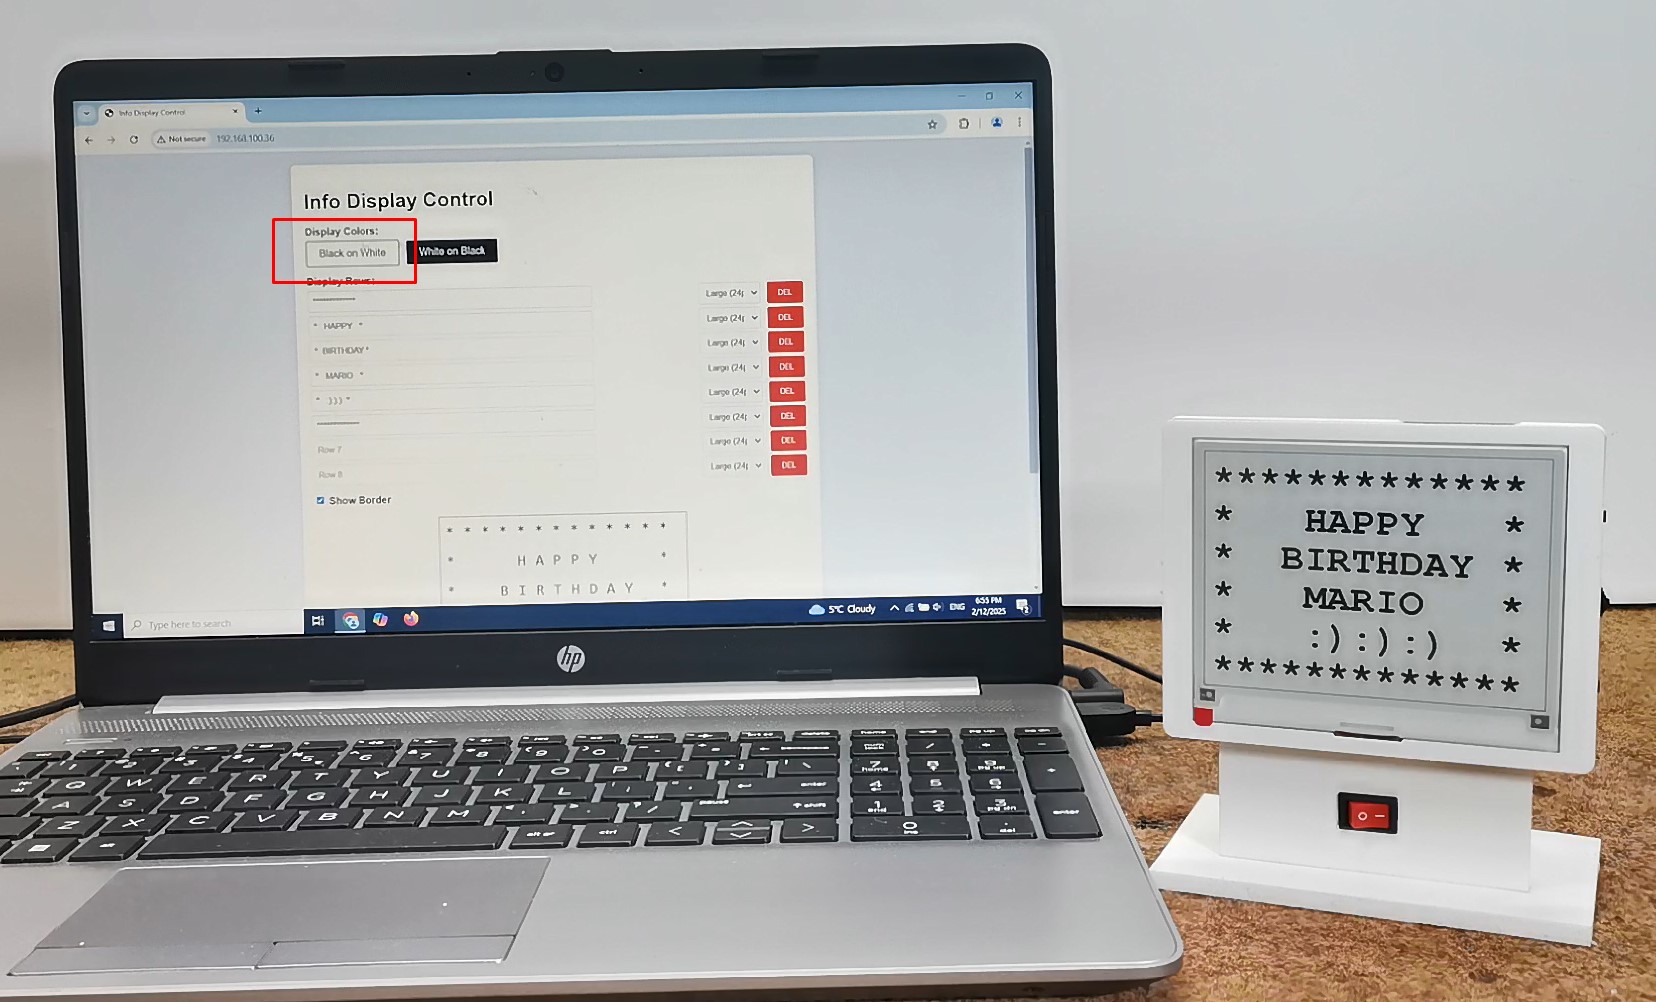
Let's see how this device works in real conditions. When turned on, a text with the device name appears on the screen, after which a blank white screen appears in the style of a whiteboard. At this point, the board is connected to the Wi-Fi network and ready to print text on it. As I mentioned earlier, we enter the text via the web interface, which we access by entering the given IP address from the serial monitor, in any web browser. We enter the received address into the browser and a clear interface appears on the screen through which we enter text on the display.
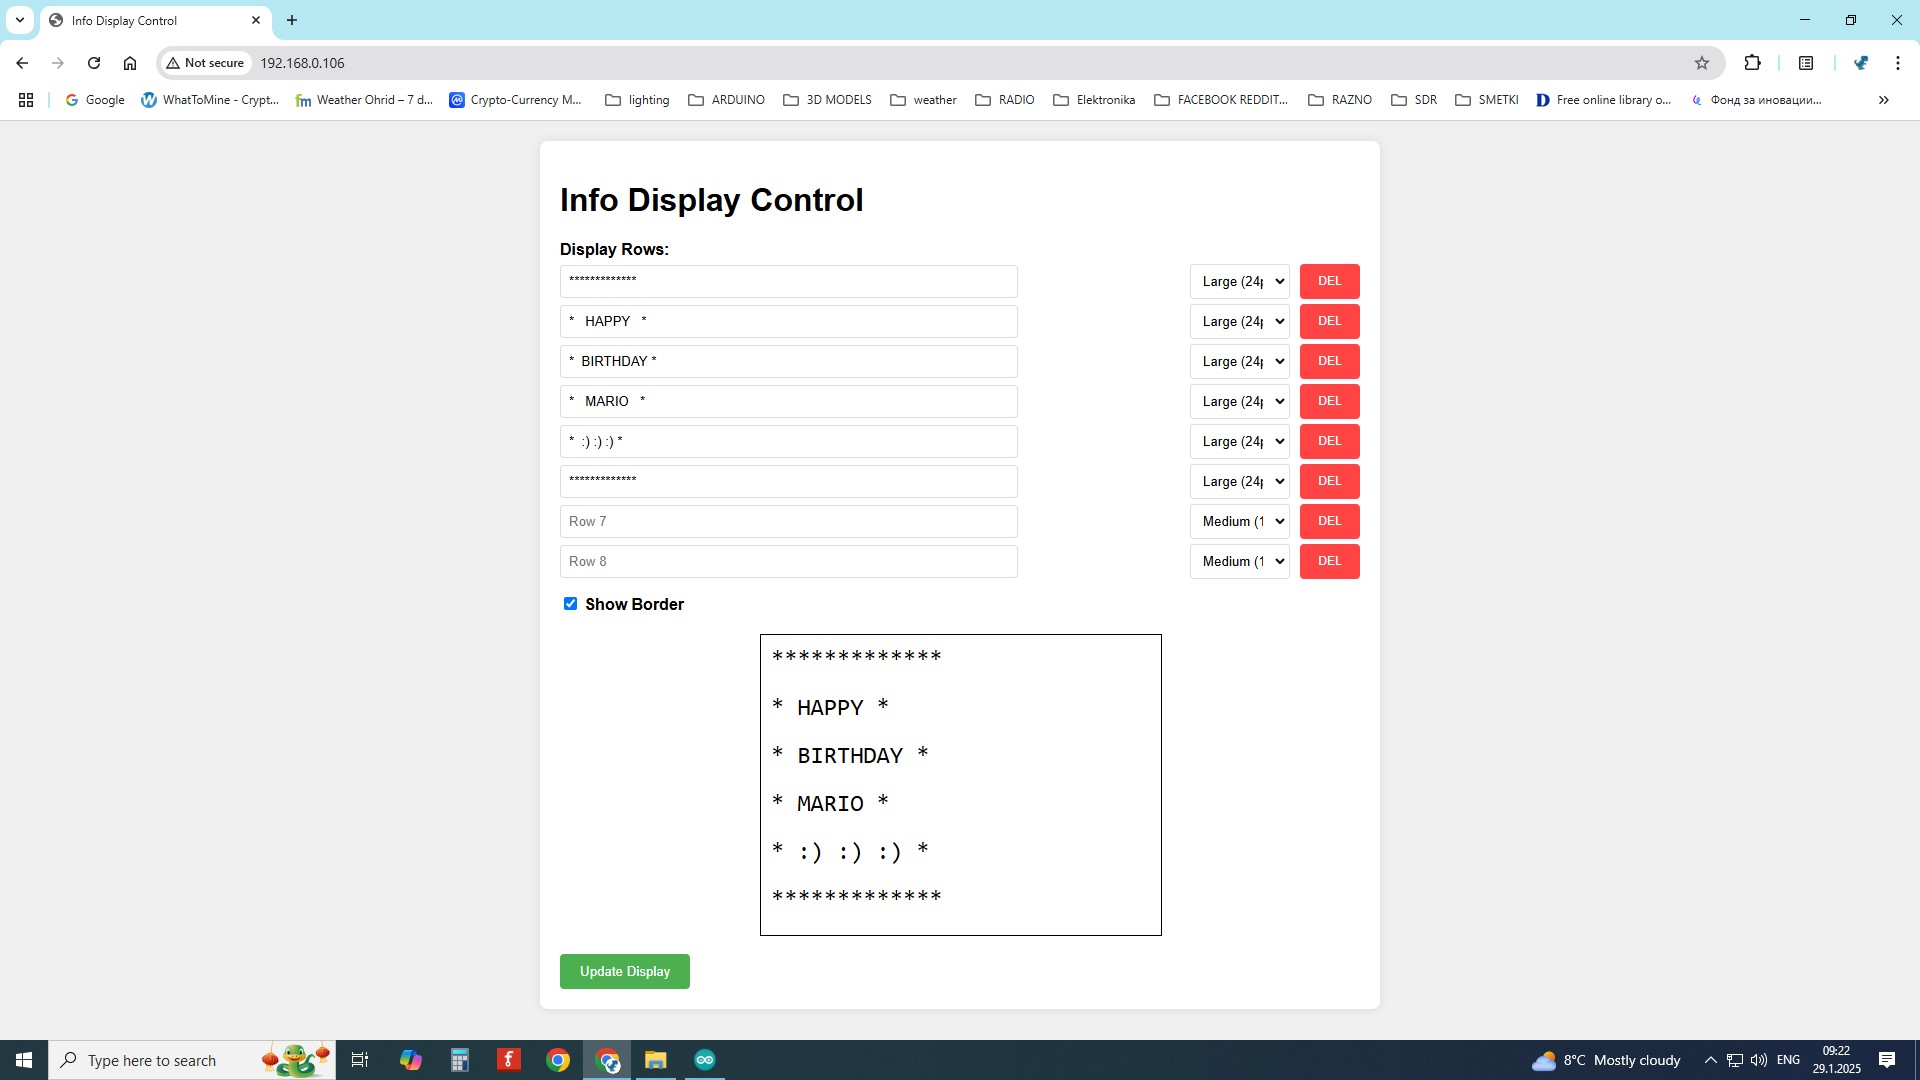
The text that needs to be displayed is entered in 8 fields. In each row individually, we can choose one of three offered font sizes, and next to it is a button for deleting the content in the row. Below is a field in which we can visually see how the text written on the board will look. At the bottom is a green Update button through which we transmit the content to the board via the Wi-Fi network. On the two buttons at the top of the screen, we can choose white text on a black background, or black text on a white background.
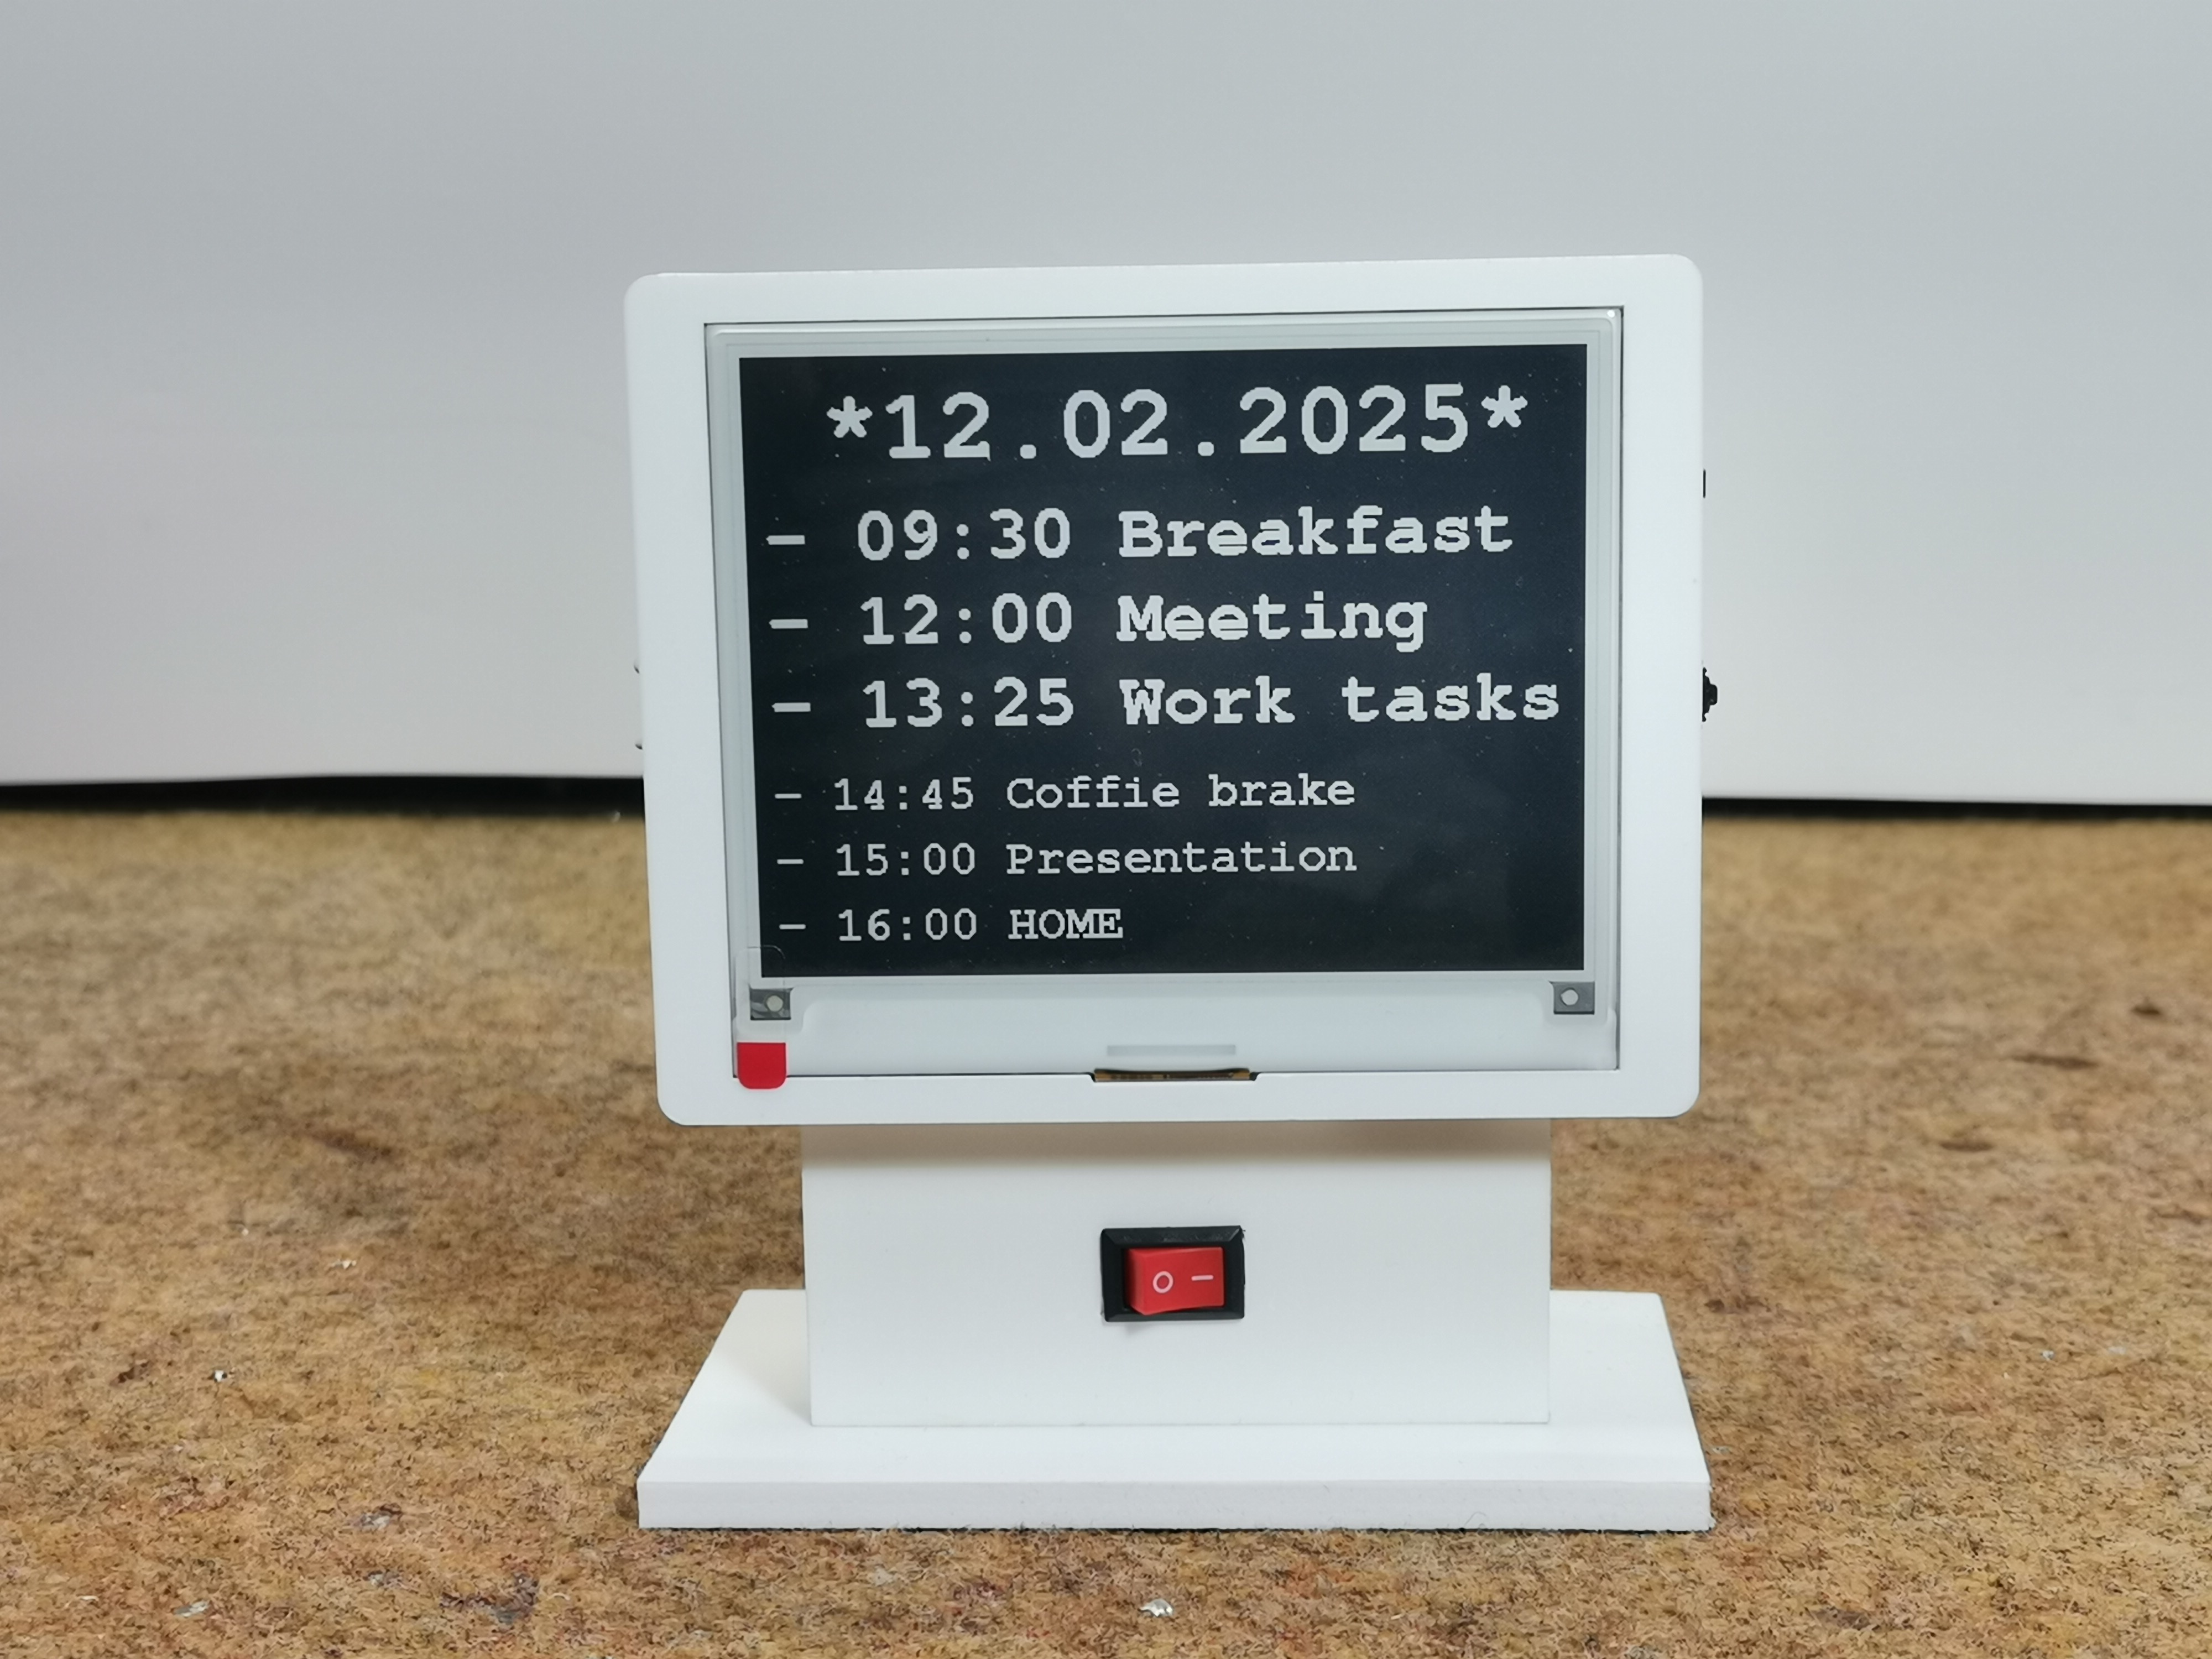
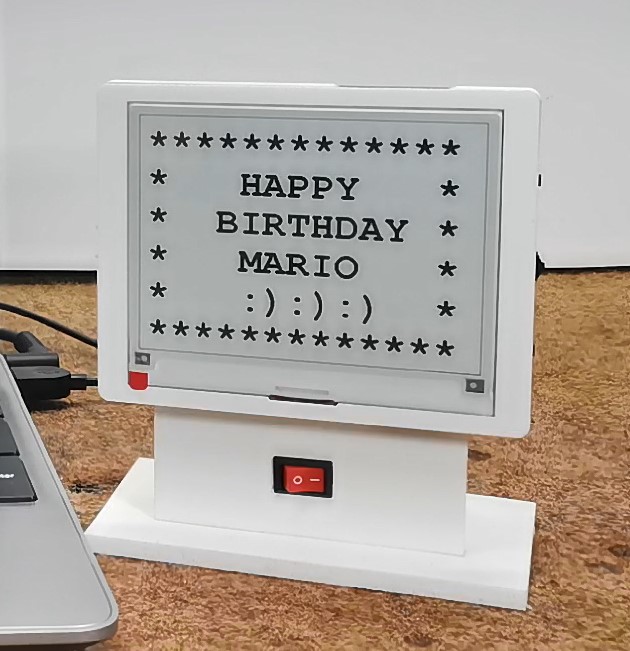
With combinations of characters, letters and numbers, we can also form a frame, various figures and similar content. In the following, I will present just a few examples of how to fill in the board.

And finally a short conclusion. Electronic paper displays can clearly display images/text under lighting or natural light, without backlight, with lower power consumption and longer life due to partial refresh. The visibility angle is almost 180 degrees. The device presented in this project uses an Elecrow E-Paper display module with a built-in ESP32S microcontroller and additional components enclosed into a suitable housing, and requires almost no hardware intervention, so we only need to install the sketch and get a fully functional final product.