Story
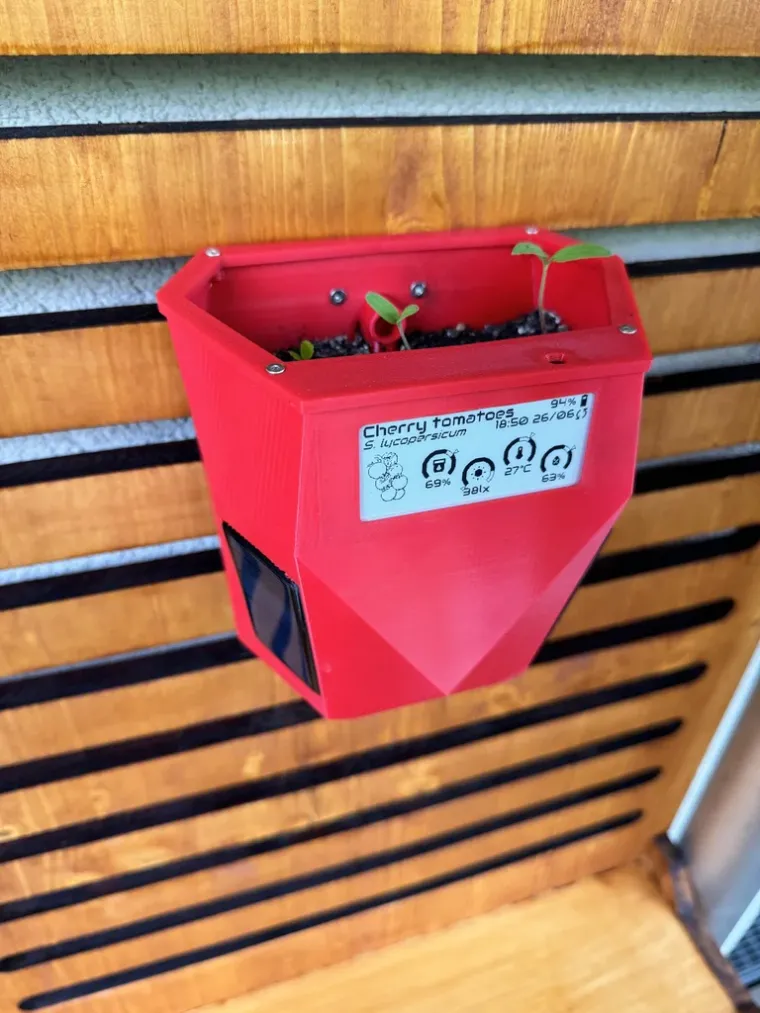
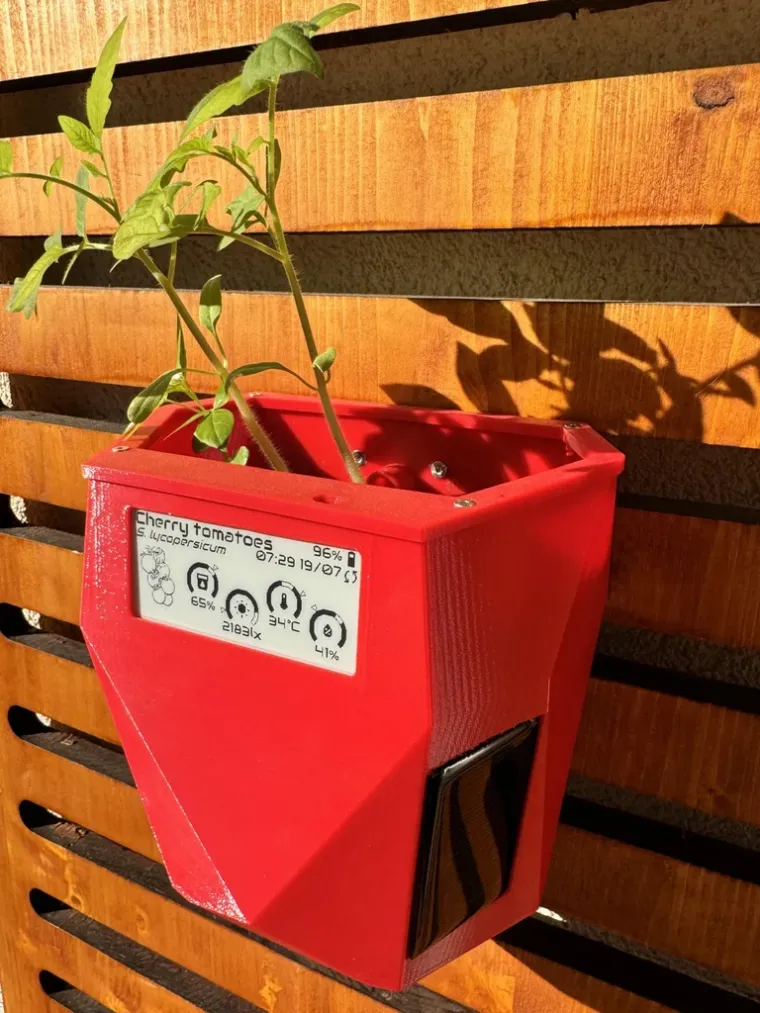
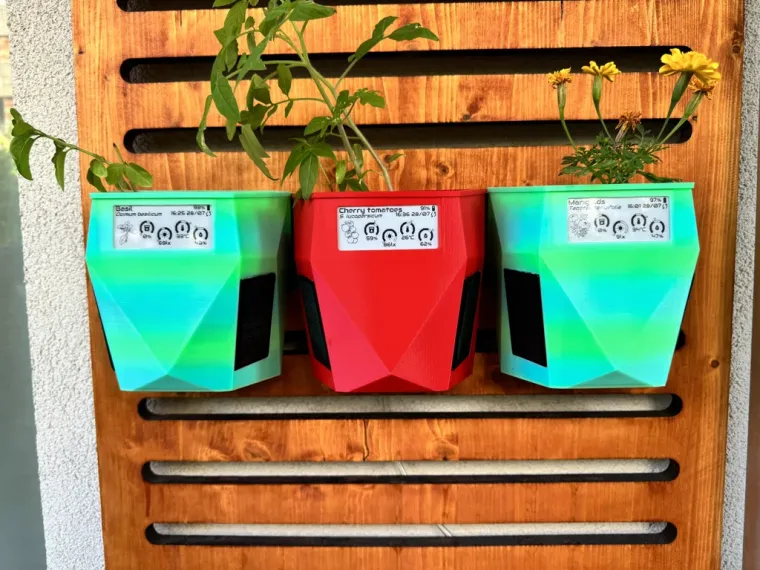
The e-Pot Prisma is crafted for easy 3D printing and adaptability. It can be wall-mounted and works well with both soil and hydroponic systems. The design features prismatic lateral sections to support solar panels and seamlessly incorporate the Smart Plant board.

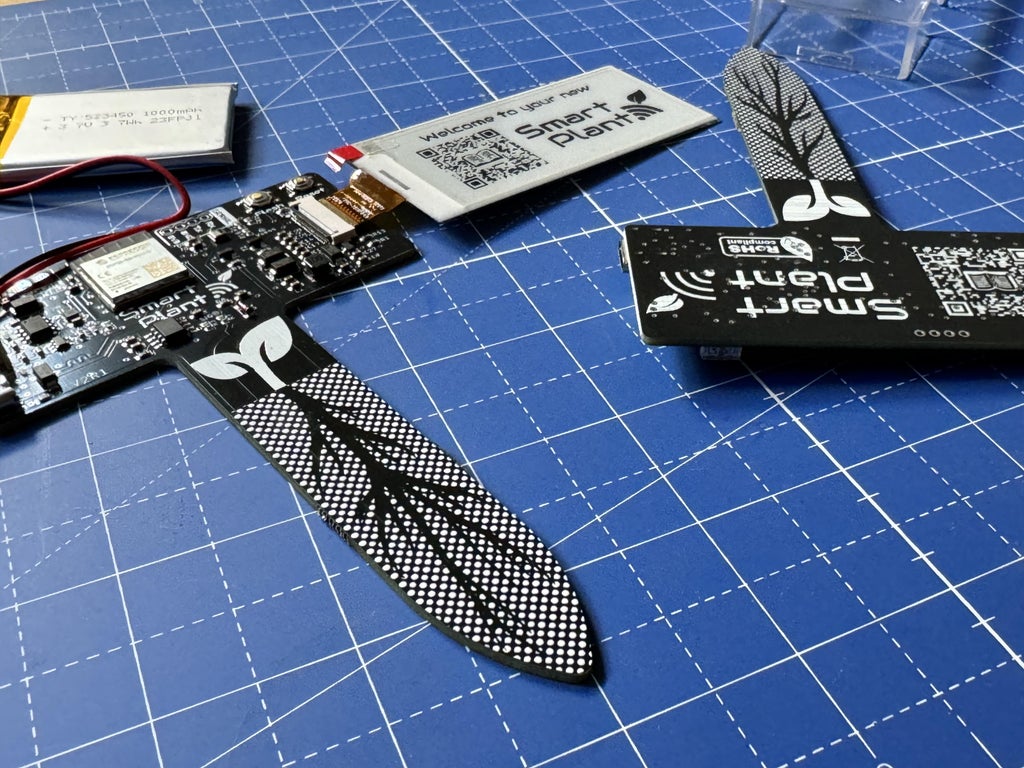
The Smart Plant is an electronic board designed to help gardeners monitor the health of their plants. With its advanced sensor suite, the Smart Plant can measure soil moisture, ambient light, air temperature and air relative humidity. In addition to its IoT capabilities, Smart Plant features a 2.9” e-paper display, allowing you to read your plant data at a glance.
Designed to be integrate with an hidroponic system or with simply to be irrigated automatically, the e-Pot Prisma includes two bottom holes for 6mm (OD) pipes: one for water input and another for draining excess water after it reaches a certain level. To test two different substrates—regular soil and clay pebbles for hydroponics—I experimented with various designs, including one with an embedded piping system in the 3D model and another that accommodates a small, attachable pipe.
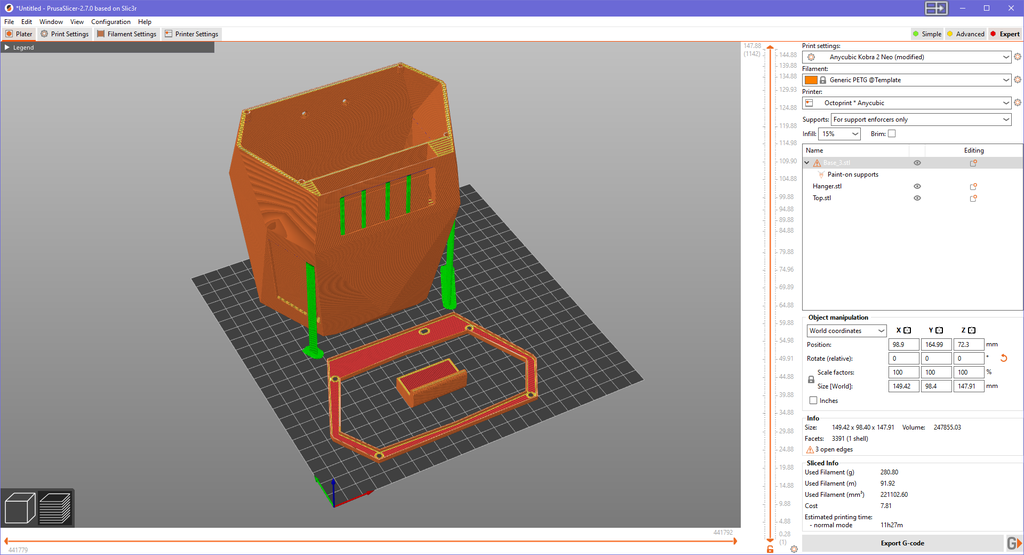
The model is designed to be printed in three separate parts (or together, depending on your preference): the pot itself, the upper cover, and the hanging arm.
To print the e-Pot Prisma, use PETG filament with your 3D printer. I opted for PETG because the pot is intended for outdoor use, where it needs to withstand a wide range of temperatures and weather conditions. If you plan to keep it indoors, PLA is also a suitable alternative.
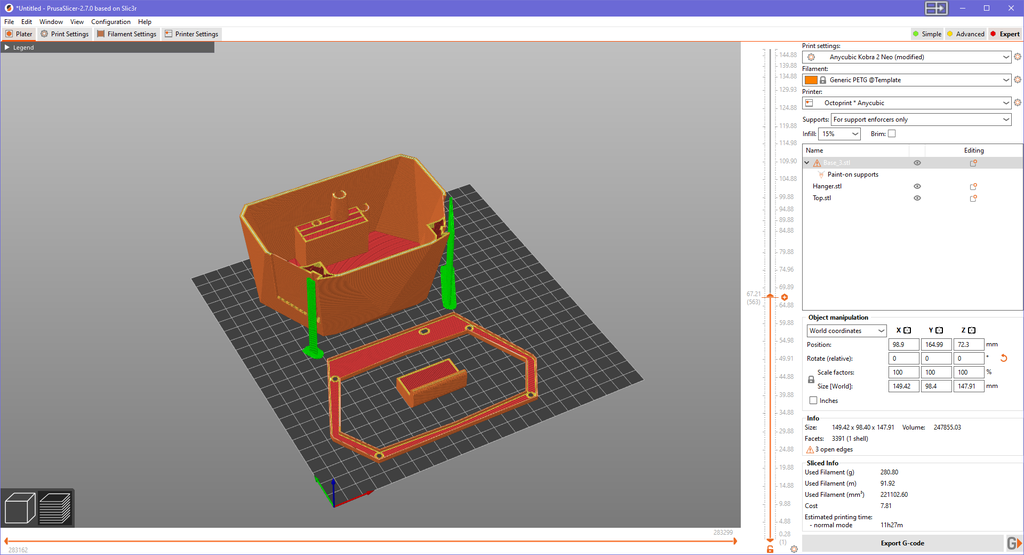
A specific note: I set the vertical shells to a perimeter of 4 to ensure fully solid walls, but you can adjust the printing parameters according to your preferences.
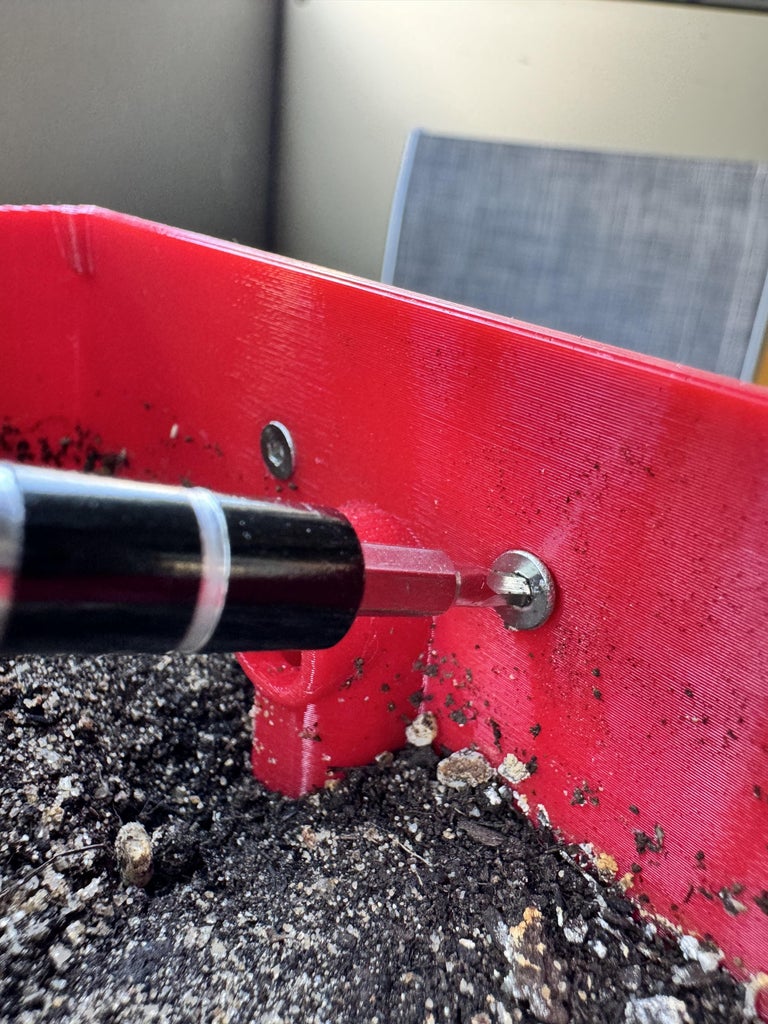
Once the pot is printed, begin by assembling the hanging arm using two 10x3M screws. I selected flat-head screws to ensure a smooth transition between the screws and the plastic surface.
Next, prepare the solar panels. Solder two wires, approximately 15 cm long, to the back of the solar panels, connecting the red wire to the positive pad and the black wire to the negative. After soldering, thread the wires through the corresponding upper lateral holes of the pot. Ensure the wires are fully inserted before gluing the solar panels onto the pot.
Now it's time to mount the Smart Plant. Since the Smart Plant's USB-C port will be inaccessible once it's integrated into the e-Pot, you'll need to flash it at least once with ESPHome via USB. After this initial setup, you'll be able to update it over the air (OTA).
Start by partially inserting the Smart Plant board into the pot, then connect the 2.9-inch e-paper display and the battery to the board. Be cautious during this step, as the board-display assembly is fragile and needs to be inserted at a specific angle.
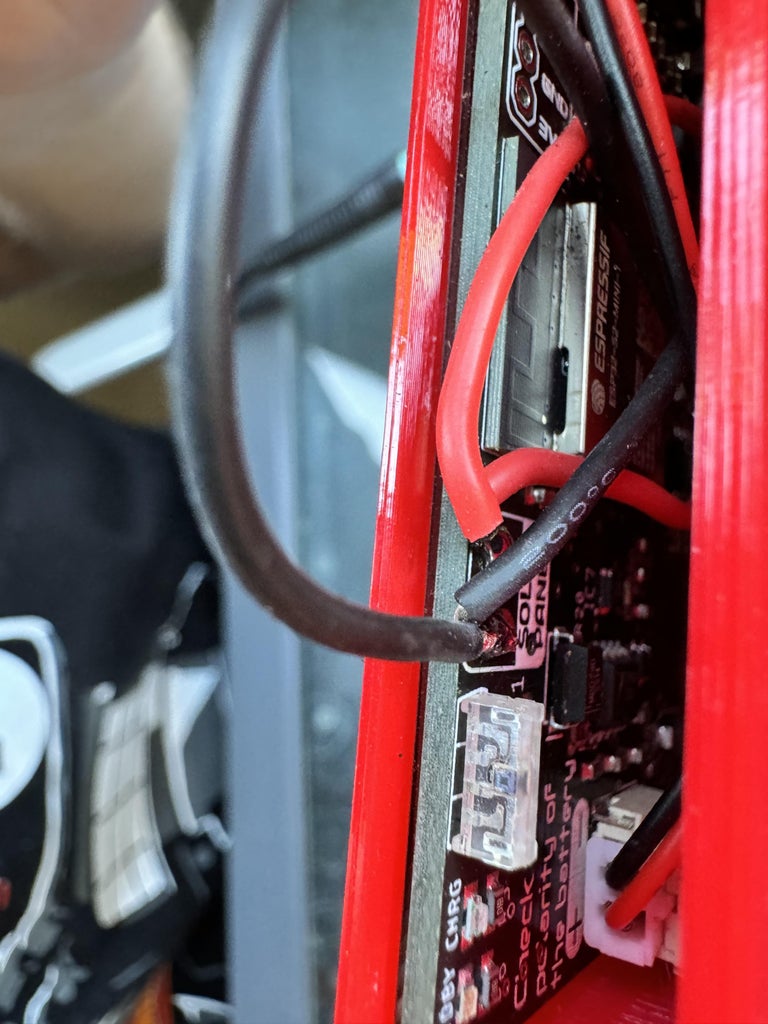
Before fully inserting the Smart Plant into the pot, solder the solar panel wires to the corresponding pads on the board, ensuring the polarity is correct by matching the wire colors.
Finally, secure the upper cover using the remaining four flat-head screws. This will protect the board compartment from potential water spills.
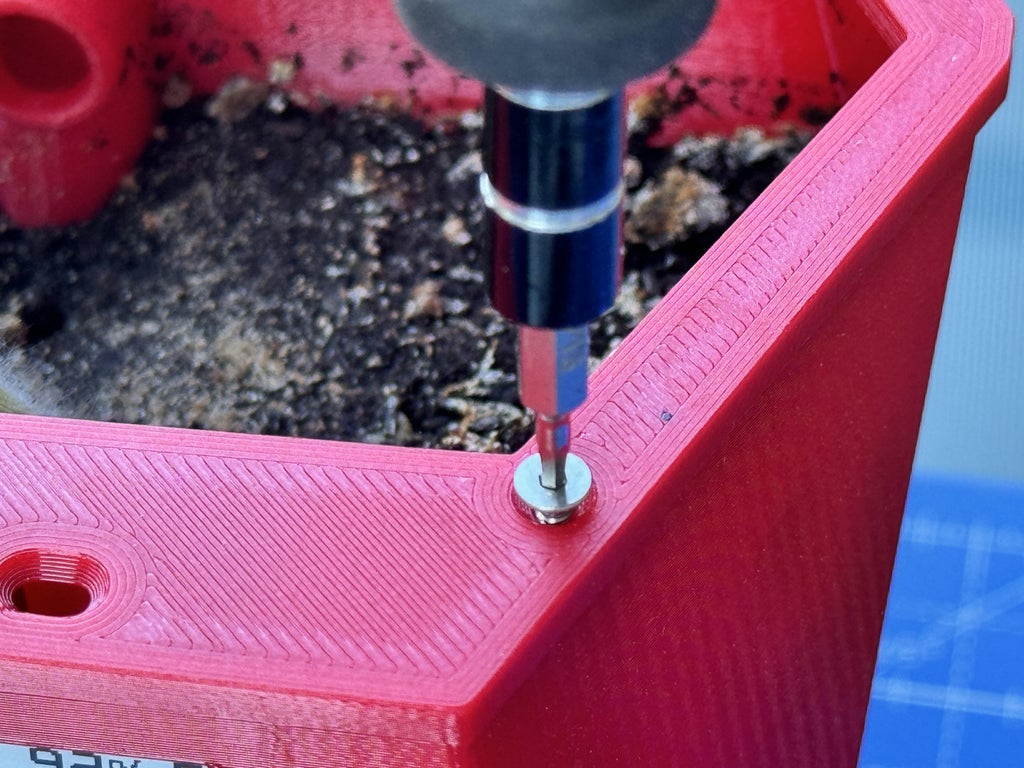
At this stage, the Smart Plant should be powered by the LiPo battery and accessible via Wi-Fi.
Proceed by adding the ESPHome-discovered device to your Home Assistant setup. Configure the plots and views for the streamed data—such as soil moisture, ambient light, air temperature, and humidity sensors—on your dashboard.
Part of the configuration and fine tuning of the system is the testing of the water pumping times into the Prisma e-pots, not only empty, but also filled with the final substrate.
I also strongly recommend integrating Plantbook into Home Assistant. Plantbook helps you select the ideal (or recommended) ranges for your specific plant, allowing you to determine the best parameters for optimal growth. Based on this information, you can create automations in your irrigation or hydroponic system to control how frequently the substrate is watered.
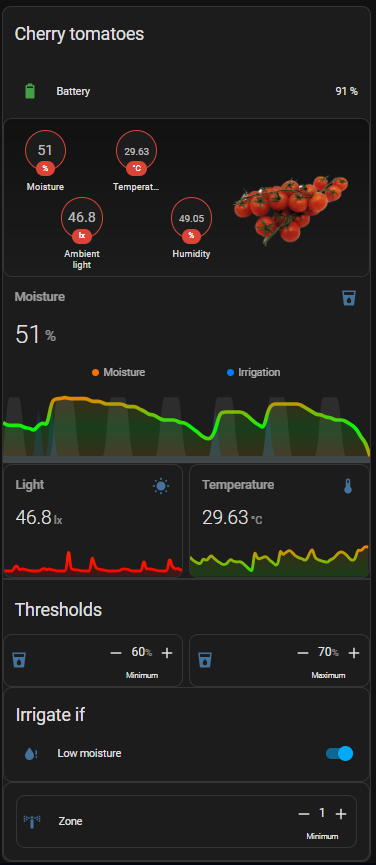
As part of these automations, I like to set up push notifications to alert me of any undesirable conditions in the e-Pot, such as temperature warnings.




![First steps with LVGL and SquareLine Studio [CrowPanel 1.28]](https://www.elecrow.com/media/qb/share/projects/image/2025/04/20250416/voila_59715213567ffcce24f2e6.webp)
