


Story
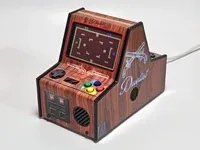
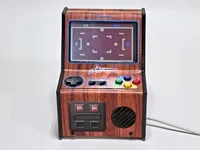
For 2-player coop or competitive gaming. It's designed to put your adversary right in your face. Note, the 2 screens show mirrored content, so don't expect to play games that require otherwise.
There's a lot of great Raspberry Pi-based consoles out there, but they all scared me with the wiring and soldering. If you're like me, and can't solder to save your life, then is is for you. All the components are plug-and-play. You'll still need a bit of effort getting Retropie configured how you like it, and there are some tricky parts in the print and assembly, but in all it's a fairly straightforward build.
Get the .STL files for your 3D printer here: https://www.thingiverse.com/thing:5156238
Some tips on assembly:
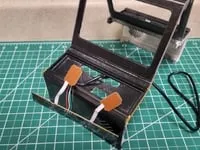
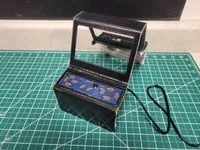
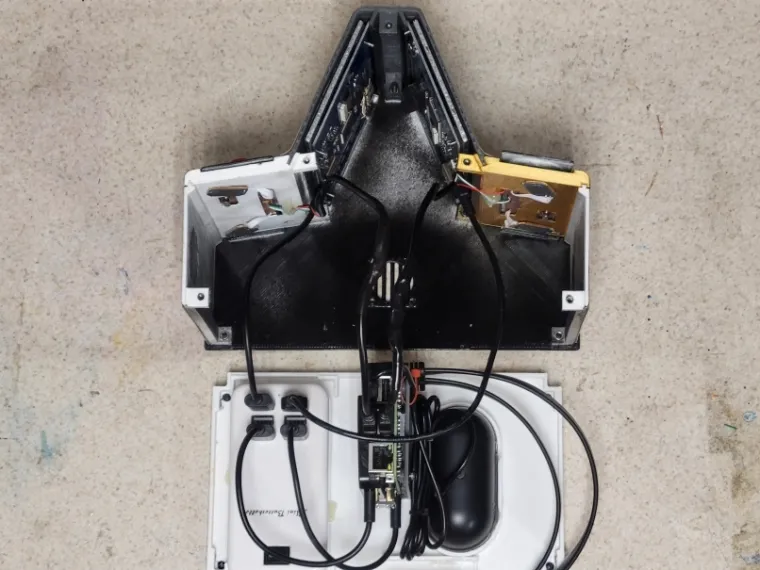
--Use small dabs of hot glue to hold the power bank and the speaker in place.
--Once you've disassembled your SNES controllers, tack the PCB board in place with another dab of hot glue. Tack the shoulder button sensors (not used in this build) out of the way with more glue (or just clip them off entirely). And anchor in place the 4 thin wires that come out of the PCB board (or, like me, have one break from metal fatigue during assembly).
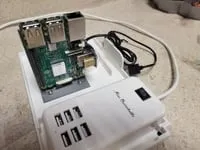
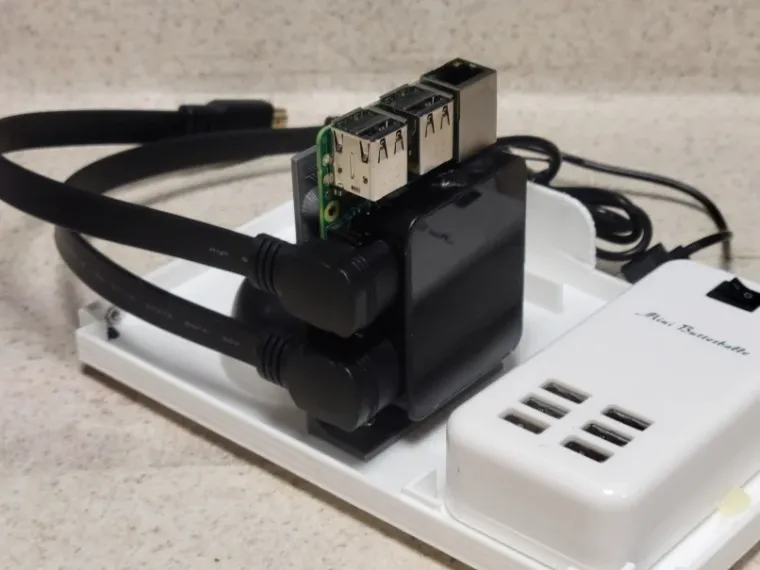
--The screens come with a 180-degree male-to-male HDMI patch chip, which you will connect to the RPI and the HDMI splitter. Look closely at the photos here.
--Print the "foot.stl" file in flexible filament for a nice feel.
--If you use the included PDFs for the wood paneling look, give each one several coats of spray on clear enamel before you cut them out. Otherwise your hand oils will ruin the prints.
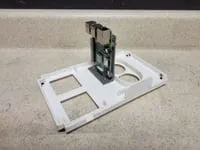
--Be sure to orient the RPI so that the MicroSD card is over the slot in the base. You'll want to be able to remove and replace the card from time to time.
Bill of Materials
-- Raspberry Pi 3. You could use a 4, and I did at first for the built-in dual HDMI outputs, but I could never get Retropie to mirror the 2 screens (even though Raspian had no trouble).
-- MicroSD card for the RPI. Size depends on how many and which ROMs you plan to load. 8gb is probably enough for very old games.
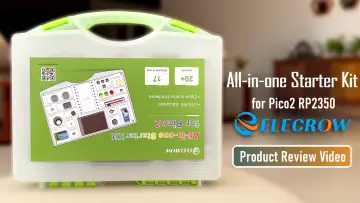
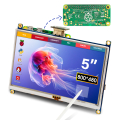
-- 2 ELECROW 5 Inch Raspberry Pi Screen Touchscreen 800x480 TFT LCD Display HDMI Interface [$47] or similar
-- 6 Ports USB Charger Hub Desktop US Plug AC Power Wall Travel Charging Adapter Slots Charging Station Extension Socket Outlet with Cable [$11.19]
-- 2 Pack SNES Retro USB Super Controller Gamepad Joystick, USB PC Super Classic Controller Joypad Gamestick for Windows PC MAC Linux Raspberry Pi 3 Steam Sega Genesis Higan Grey/Purple
-- HONKYOB USB Mini Speaker Computer Speaker Powered Stereo Multimedia Speaker for Notebook Laptop PC(Black) [$12] 3.9 x 1.2 x 1.78inch (10 x 3 x 4.5cm)
-- 2 URWOOW Flat Slim High Speed HDMI Male to Male Extension Cable 270 Degree Right Angle (1 Feet) Adapter Converter Cable.
-- M3 screws and nuts, 5mm and 10mm
-- 1 USB-A to USB-C cable, short, to power the RPI
-- 3 USB-A to micro USB cables to power the screens and the HDMI splitter
Look on https://retropie.org.uk for how to set up the OS and load software on your device. I strongly recommend you learn how to use FileZilla (for transferring files to/from the Pi) and PuTTY (for opening a command prompt on your PC that allows you to run code on the Pi). Here are some problems I worked out after much experimentation and searching:
Screen rotation, since the monitors are installed upside down:
On an RPI 3:
sudo nano /boot/config.txt
Add line "display_hdmi_rotate=2"
Ctrl + X to close, then Y, then Enter
On an RPI 4:
sudo nano /boot/cmdline.txt and add a video parameter at the end of the line:
video=HDMI-A-1:800x480M@60,rotate=180
Edit the autostart.sh script, in /opt/retropie/configs/all, and add "emulationstation --screenrotate 2"
Configure RetroArch for rotation by editing /opt/retropie/configs/all/retroarch.cfg and adding:
video_allow_rotate=yes
video_rotation = "2"
USB speaker setup, RPI 4:
From PuTTY: "aplay -l"
Look for "card" number with USB sound and make a note of it.
sudo nano /usr/share/alsa/alsa.conf
Scroll and find the following two lines: "defaults.ctl.card 0" and "defaults.pcm.card 0"
Change the 0 to 1 to match the card number of the USB device you noted above.
To save the file and return to the command line use [CTRL-X], [Y], [ENTER].
USB speaker setup, RPI 3:
I haven't gotten it to work on an RPI 3 yet. I've tried a dozen approaches to no success. These include the steps above for RPI 4, editing .asoundrc, editing retroarch.cfg, editing retropie_setup.sh, plus every combination of sound settings I can find from within Emulation Station. The speaker plays fine from the command line, so I know the RPI 3 can output sound to this speaker. If anyone has any fresh ideas, I'd love to hear them.