Story
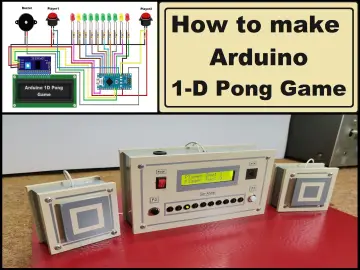
Some time ago I presented you a simple to make, but interesting game, a 1D version simulation of "Pong game" made with Arduino and 10 LEDs. This time I'm going to use the same hardware with minimal pinout changes to show you how to make an equally fun and addictive game known as "Hunter". The goal of the game is to press a button at the moment when a pre-defined LED is lit and we get a point.
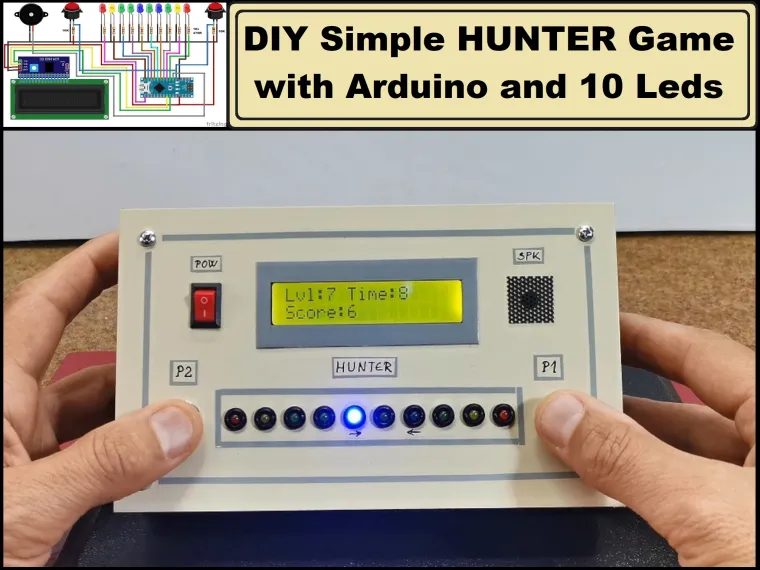
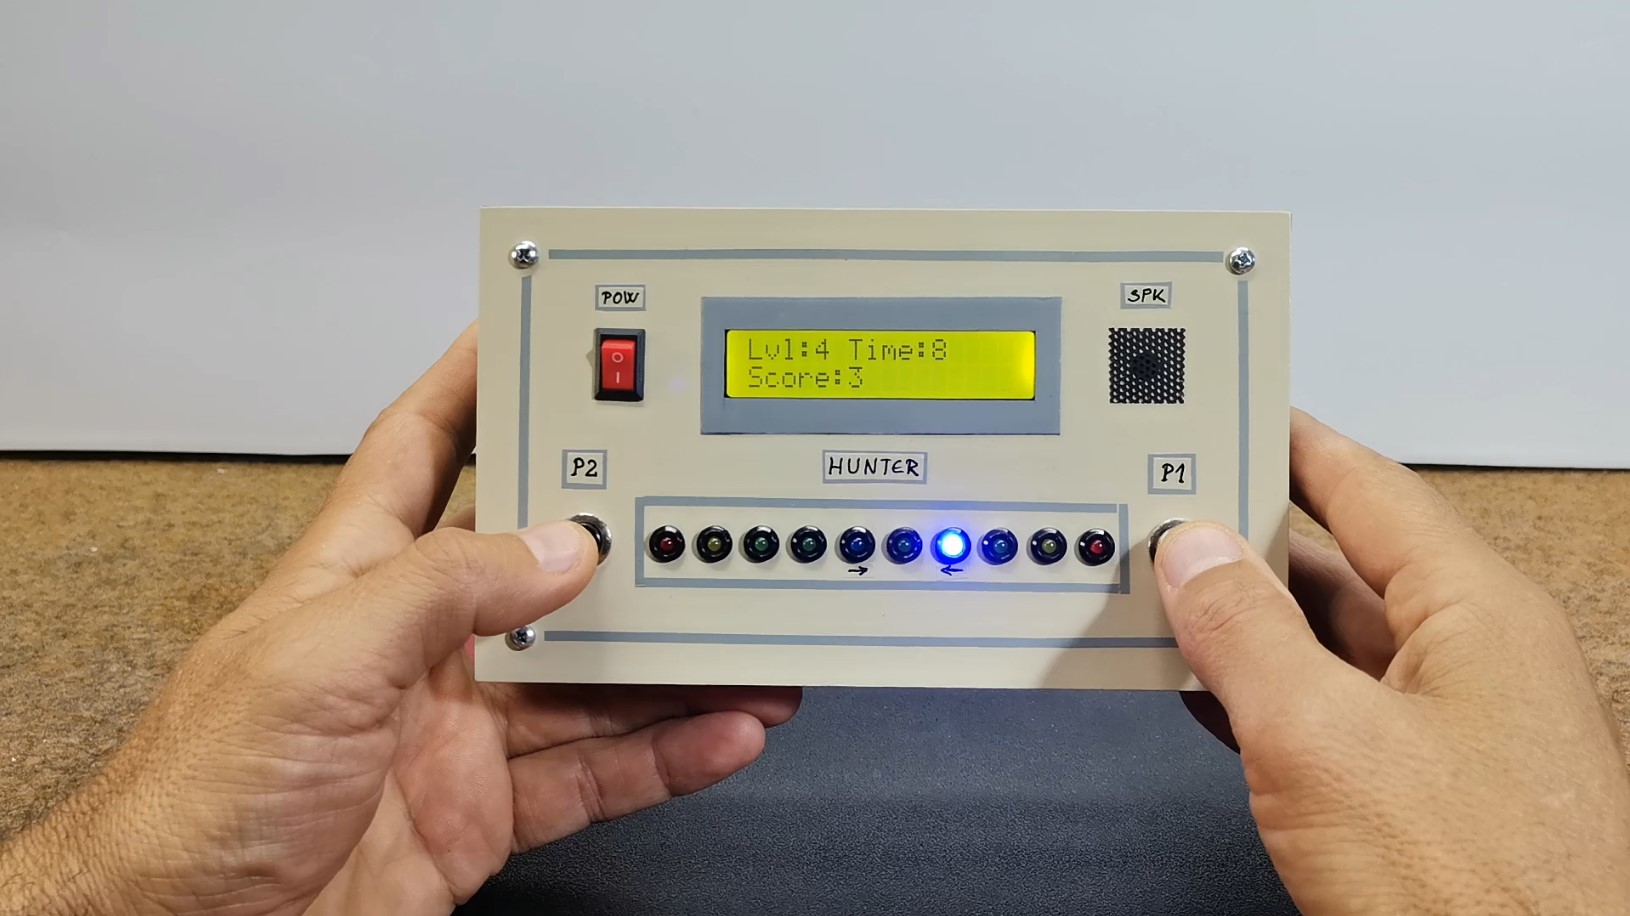
This is a modified version of the Hunter, with two LEDs marked as the target. The Target LEDs are Blue, and the arrows indicate the direction of movement in which they are active. The LEDs "move" in the style of the Night Rider effect, where the first target (LED) is active when moving from left to right, and the second one vice versa, from right to left.
Information about the game and the score is displayed on the 16x2 LCD Display.
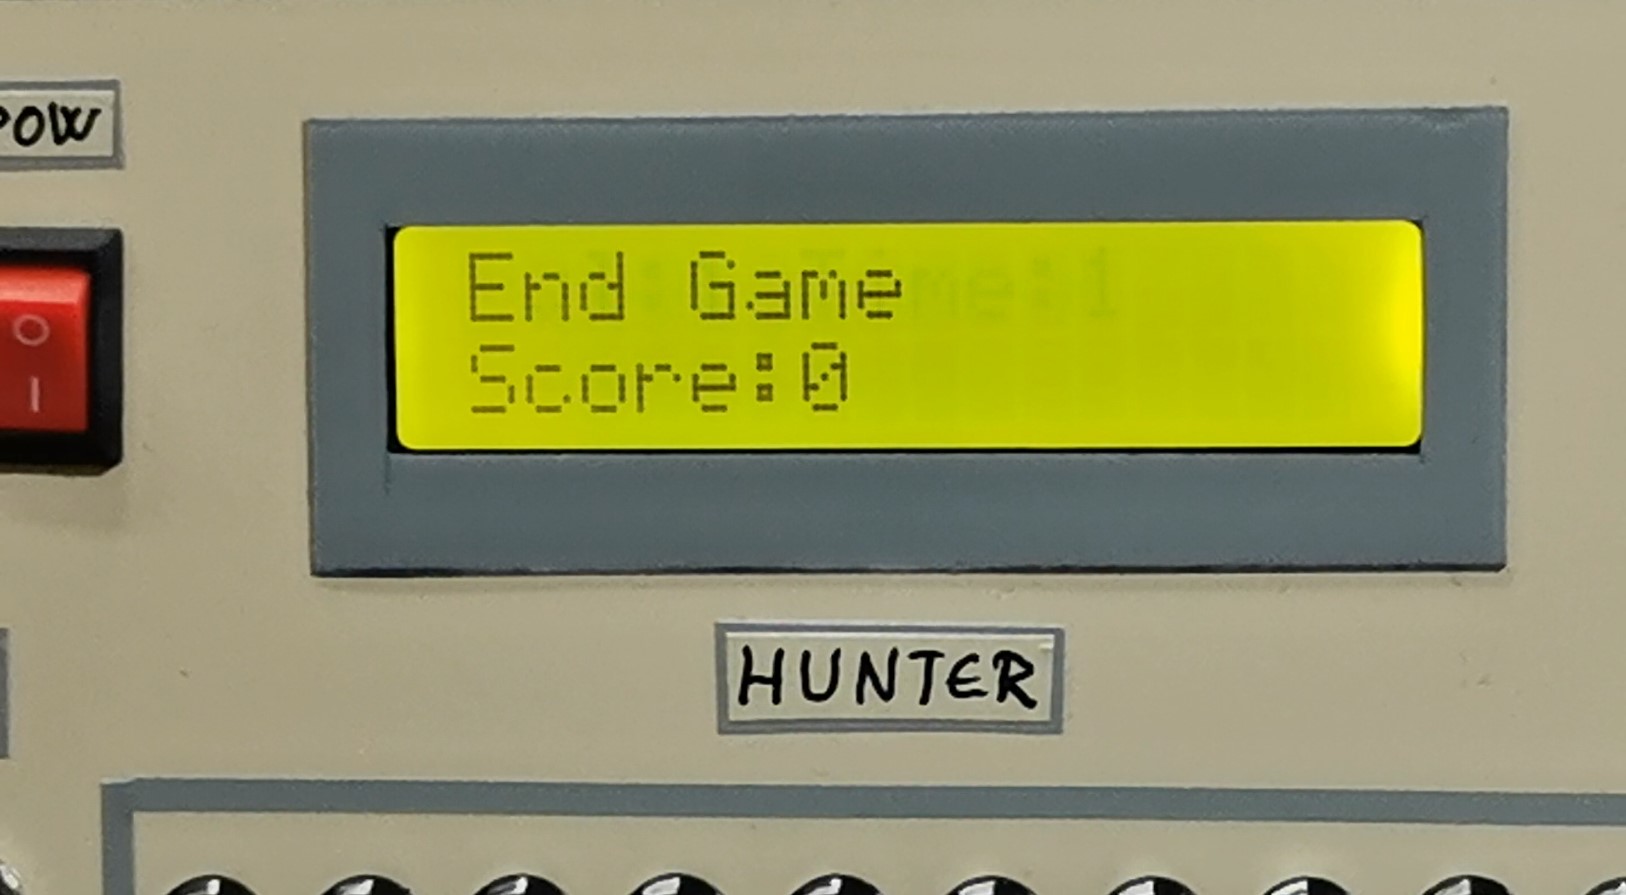
The first level is the easiest, and in each subsequent level the speed of movement of the LEDs increases. For each level we have 10 seconds to hit the target. With each passed level we get one point. If we fail to hit a target within 10 seconds, the game ends, the score is displayed on the screen, and after three seconds a new game begins. The movement of the LEDs, hitting the target, and the end of the game are followed by corresponding different sounds generated by a small buzzer.
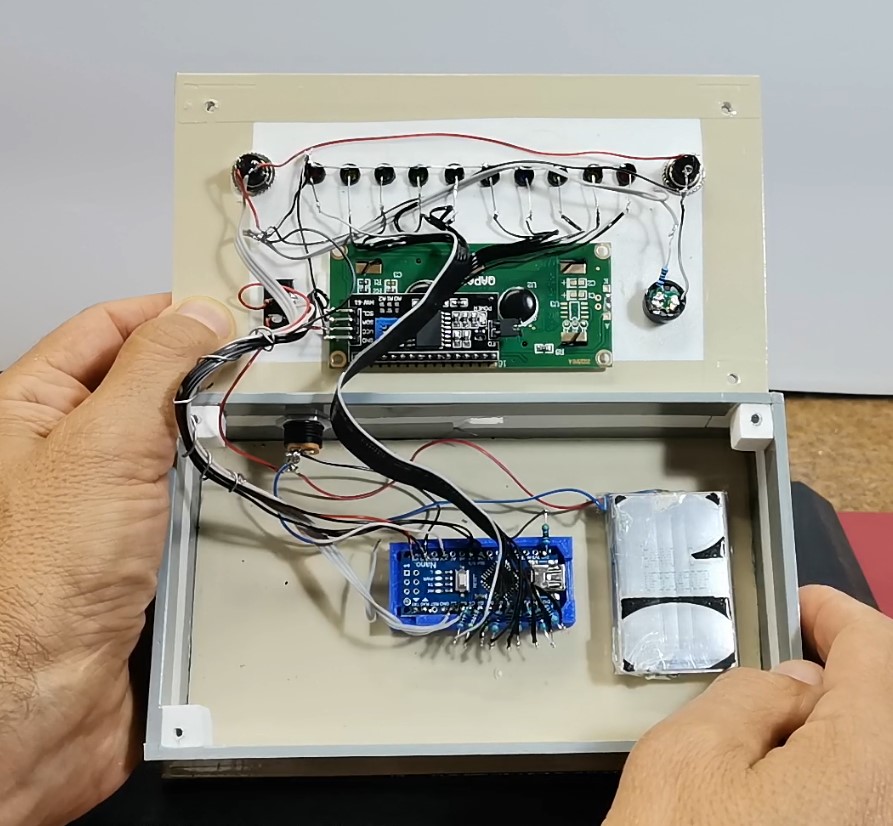
As I mentioned before, the game is very simple to make and contains only a few components:
- Arduino Nano microcontroller board
- I2C LCD Display 16x2
- 10 LEDs
- 2 Buttons (only one is enough, but in this case they are connected in parallel because they remained from the previous project)
- Buzzer
- And ten resistors of 470 ohms to limit the current of the LEDs
I should mention here that you can also use only one resistor for all the LEDs. Namely, in this project, more than one diode is never lit at one time. In this special case, we connect the anodes directly to the Arduino pins and the cathodes to each other, and through a series resistor of 470 ohms to ground (the negative pole). Schematic diagrams for this case is given below.

Аnd now let's see how this device works in reality: At the start of the game the LEDs start to move from left to right and vice versa in the style of effect night rider. Now you need to press one of the buttons at the moment when one of the blue target Leds is lit. If we did it successfully, we go to the next level, where the Leds moves with higher speed. If we fail to hit the target in 10 seconds, the game ends and the final score appears, and after three seconds a new game starts.
And finally a short conclusion:
This is a custom version of the Hunter game with 10 LED and LCD display to show the score, followed by various sound effects. It was made on the basis of a previous project, where the same hardware and box were used, and only the Arduino code was changed. In the next period I will try to make another interesting game, while again using the same hardware configuration from the previous two projects.


