


Story
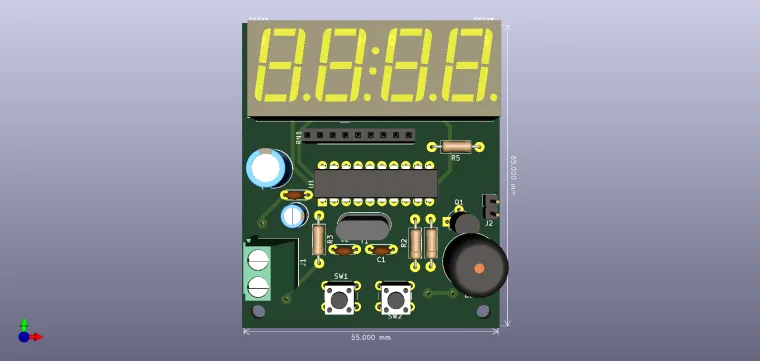
Digital Clock with AT89C2051
Circuit Operation
Short SW2 presses cycle through displaying the current time in HH:MM and MM:SS format as well as the 12/24-hour display format option. A short SW1 press while on the 12/24-hour display format will toggle the setting. A short SW2 press will then enter the timer mode. A short SW1 press will toggle the start/stop of the timer. A long SW2 press will reset the timer. The timer will continue to increment (if running) even when cycling through other modes. Timer currently resets after 60 minutes.
A long SW1 press while viewing the current time in HH:MM format will enter the set time mode. The hours section will begin to blink. Short SW2 presses will increment the hour by 1. Holding SW2 down will cause the clock to increment quickly after 1 second. A short SW1 press will then move to the minutes where operation is similar to setting the hour. Another SW1 press will exit set time mode and the clock will return to display the current time.
Short SW1 presses cycle through setting and enabling the alarm. When viewing the currently set alarm time, the display will blink. This is done to differentiate between viewing the current time and the currently set alarm time. While viewing the alarm time, a long press of SW1 will enter the set alarm mode, at which point only the digits being set will blink. Setting the alarm is similar to setting the current time.
A short SW1 press while viewing the alarm or exiting out of setting the alarm will enter the enable/disable alarm mode. A short SW2 press will toggle this setting. A short SW1 press exist to the display current time mode.
While setting the current time or alarm in 12-hour mode, the colon will be off to indicate AM and is on to indicate PM.
Circuit diagram and bill of materials available in the download section.
P.S. I am not the original author of this circuit.
Enjoy it!


