


Story
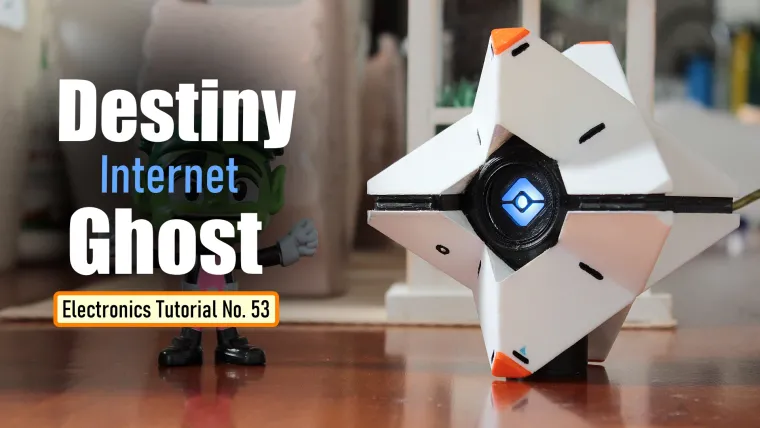
Destiny Internet Ghost - Internet Notifier
The Internet has changed the way we live our lives. From communication, education, banking, entertainment and shopping, the Internet has had a profound impact on our world.
Gone are the days when the pen was the most important tool in this world. times have changed and now the internet rules the world.
It is very difficult to imagine our world without the Internet.
In the year 2021 I created a "Internet Hardware WatchDog" using NodeMCU which reboots my home router whenever there is an issue with the Internet. This device sits next to my router and happily takes care of it whenever it has a hiccup.
This year, I wanted to extend the watchdogs horizon by adding an "Internet Status Notifier" that displays the current status of the Internet using an RGB LED.
When the Internet is up and running, the notifier displays a blue light and when the Internet is down it goes red. Video: https://youtu.be/mWDEx0khpWM
Note: If you do any work with "mains power" such as 120v or 240v AC power wiring, you should always use proper equipment and safety gears and determine whether you have adequate skill and experience or consult a Licensed Electrician. This project is not intended for use by children.
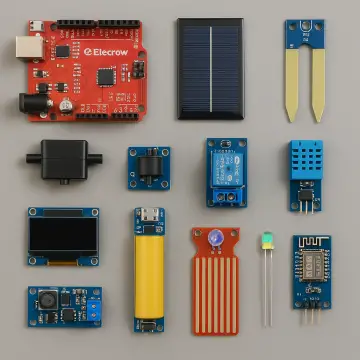
Components Required

For this project we need:
1 x RGB LED
1 x 200 Ohm Resistor
1 x WeMos-D1 Mini/NodeMCU
1 x 220V to 5V Step Down Converter
1 X 2M Long Power Chord
1 x 220v Male Wall Plug, and
1 x 3D Printer
Circuit Diagram

The circuit is very simple.
Connect the 5V pin and the GND pin of the D1-mini to the stepdown converter.
Then, connect the Common Anode of the RGB LED via a 220ohm resistor to the 3.3V pin of the D1-mini.
Then connect the Blue LEDs to D6, Red to D7 and Green to D8 pin of the board.
That's it as simple as that.
The Logic

When the device is turned on it starts pinging "www.google.com".
If it receives a successful ping, the Blue LED turns on and starts fading in and out.
If the ping drops, the blue LED turns off and the Red LED turns on and starts fading in and out until a successful ping is received.
After running the code on a breadboard for a few days, I figured out that the D1-mini board sometimes freezes and completely becomes unresponsive. To avoid this situation, I added a logic to "reboot" the board every hour.
3D Model

While browsing the Internet, I stumbled upon "Destiny Ghosts".
The Ghost is an AI companion in the game "Destiny". It is a floating intelligence that was created by the "Traveler" during his dying days to assist the Guardians to protect the Universe.
I immediately fell in love with the concept and the design of the Ghosts. I spent a few days creating my own 3D model of the Ghost. You can download the STL files from www.cults3D.com.
3D Printing

Ghosts are floating machine entities slightly larger than a human hand. They consist of a spherical core with a single glowing "eye" surrounded by a "shell". The default Ghost shell consists of eight roughly tetrahedral white segments with orange highlights, but there are huge diversities of shells available that Ghosts can adopt for cosmetic purposes.
In the game Ghosts are used for navigation, accessing computer systems, lighting dark areas, summoning your Sparrow, and much more.
3D Printing is a highly addictive hobby! There are so many things you can do using a 3D printer. From designing 3D Models to printing them using the 3D printer has now become my new hobby. I've been a "maker" since I was 10 years old, and have always constructed and made my own stuff. 3D printing for me is a blessing. I am totally lost in the 3D printing heaven.
3D printing has changed my electronics workshop life forever. Before when I used to order parts, I always used to wonder if the parts would fit into my project's resources... but after I got my 3D printer... it doesn't matter at all, because if it doesn't fit - I could design and print it myself. The 3D printer was definitely "The Missing Piece" from my electronics workshop.

Coloring

Using Acrylic Colors, I painted the body of the Ghost.
After that, I super glued the orange highlights to the tetrahedral white segments.
Next, I super glued the front eye and the back lid to the body of the Ghost.
After that, I super glued the stand to the back bit of the Ghost. This stand will keep the unit straight when you place it on your desk.
Adding Electronics

Since the circuit is very simple, I did not design a PCB for this. I just went ahead and soldered the D1-Mini and all other components to a general purpose perf-board.
At the top bit, I soldered the D1-Mini and the RGB LED and at the bottom bit, I soldered the 200v-to-5v step-down converter and the 220ohm resistor.
Next, after soldering the 2M long power-cord, I hot glued the perf-board to the back bit of the unit.
The Code
The code starts by including all the necessary libraries.
Then it defines all the variables needed for setting up the WiFi connection.
Next, it defines the LED Pins followed by the list of all the global variables used in the code.
In the setup() section, I first defined all the pin modes followed by setting up the Wi-Fi connection. I assigned a static IP address to the D1-mini board. If you want to use DHCP then go ahead and delete these three lines from your code.
Next in the loop() section, I am pinging 8.8.8.8 or Google.com and if I receive a successful ping I am fading in and out the Blue LED. If the ping fails the Red LED faded in and out.
Both BrightnessController() and pingTest() functions are defined in the bottom section of the code.
Then, to avoid the D1-mini from freezing and becoming unresponsive, I am using the ESP.reset() function to reset the device every hour.
Demo On A Breadboard

Before adding the electronic bits to the 3D printed bits, I did a quick test on a Breadboard to make sure everything works as expected.
As you can see, when I turn on the circuit the Green LED starts flashing. As soon as a connection is established with the router the device starts pinging 8.8.8.8.
Initially, few of the pings fail and the Red LED lights up. As soon as a successful ping is received the Blue LED starts fading in and out.
Bingo! Job done...
Final Demo

So, this is how my final setup looks like.
Powering on the unit makes the green LED flash until it establishes a connection with the router. After that, the Blue LED starts fading in and out advising us that the unit has received successful ping from www.Google.com.
You can install this unit anywhere in your house and use it as an "Internet Status Notifier".
Thanks
Thanks again for checking my post. I hope it helps you.
If you want to support me subscribe to my YouTube Channel: https://www.youtube.com/user/tarantula3
Video: View
Full Blog Post: View
References
GitHub: View
Stl Files: Download
Internet Hardware WatchDog Using NodeMCU: View
Support My Work
- BTC: 1Hrr83W2zu2hmDcmYqZMhgPQ71oLj5b7v5
- LTC: LPh69qxUqaHKYuFPJVJsNQjpBHWK7hZ9TZ
- DOGE: DEU2Wz3TK95119HMNZv2kpU7PkWbGNs9K3
- ETH: 0xD64fb51C74E0206cB6702aB922C765c68B97dCD4
- BAT: 0x9D9E77cA360b53cD89cc01dC37A5314C0113FFc3
- LBC: bZ8ANEJFsd2MNFfpoxBhtFNPboh7PmD7M2
- COS: bnb136ns6lfw4zs5hg4n85vdthaad7hq5m4gtkgf23 Memo: 572187879
- BNB: 0xD64fb51C74E0206cB6702aB922C765c68B97dCD4
- MATIC: 0xD64fb51C74E0206cB6702aB922C765c68B97dCD4
Thanks, ca again in my next tutorial.