
Story
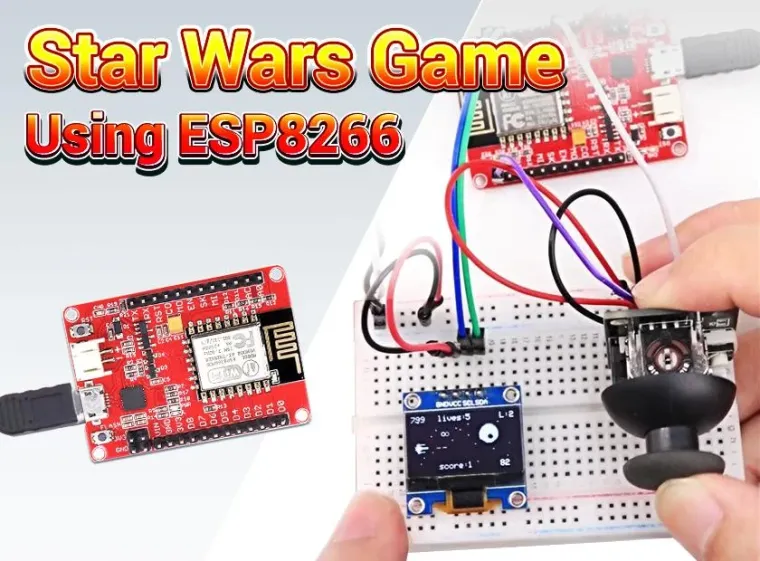
This guide demonstrates how to craft a Star Wars game with the ESP8266, OLED Display, and Joystick Module. While the Star Wars game is familiar to most of us, assembling it with your own hands using acquired electronic knowledge adds a personal touch.
Supplies
Step 1: Circuit Connection
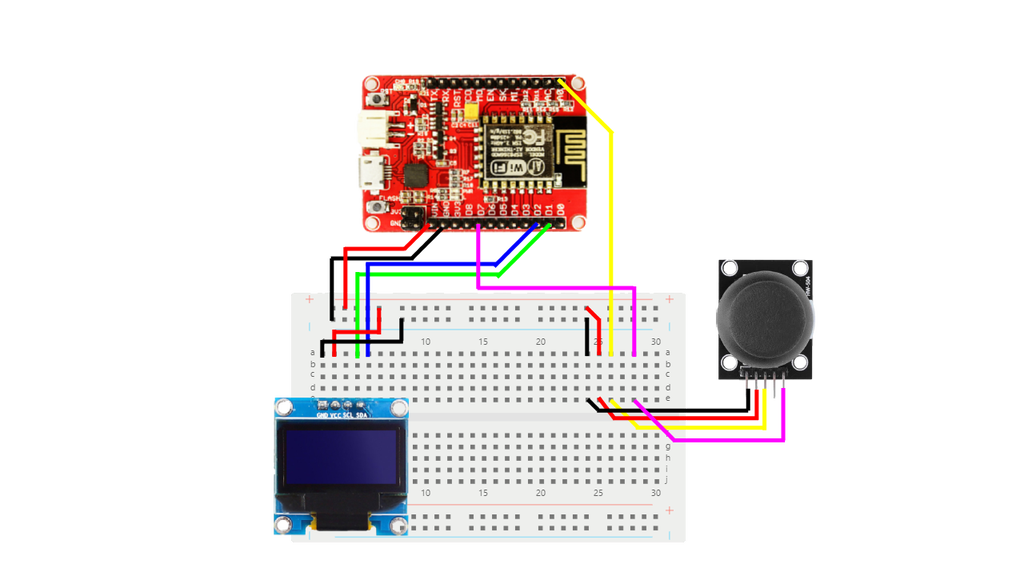
To simplify connectivity and operation, we are using a breadboard for connection. The wiring process is straightforward, requiring only 4 wires to connect each module.
Due to misalignment between the joystick pins and breadboard holes, additional wires may be necessary for us to smooth our project.
Note that the default I2C pins of ESP8266 are GPIO4 and GPIO5(SDA, SCL). And the joystick's X or Y output pin must be linked to the ESP8266's input/output pins supporting analog, namely A0 or A1. Failure to do so may result in getting the wrong numbers of X or Y.
Step 2: Code Implementation
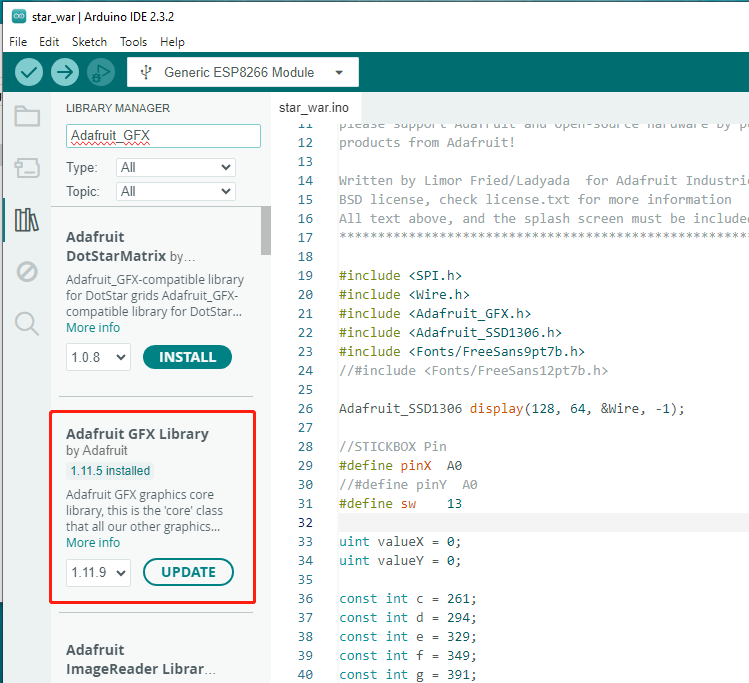
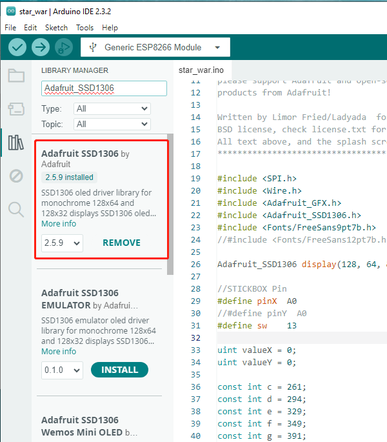
Download the required libraries - Adafruit_GFX and SSD1306 - from the Arduino IDE.
In the Star Wars game, I utilize only one axis for control, the X-axis governs spaceship movement, with a button designated for launching attacks.
 Other codes are not fully explained here. You can find the complete code in my repository.
Step 3: Uploading and Testing
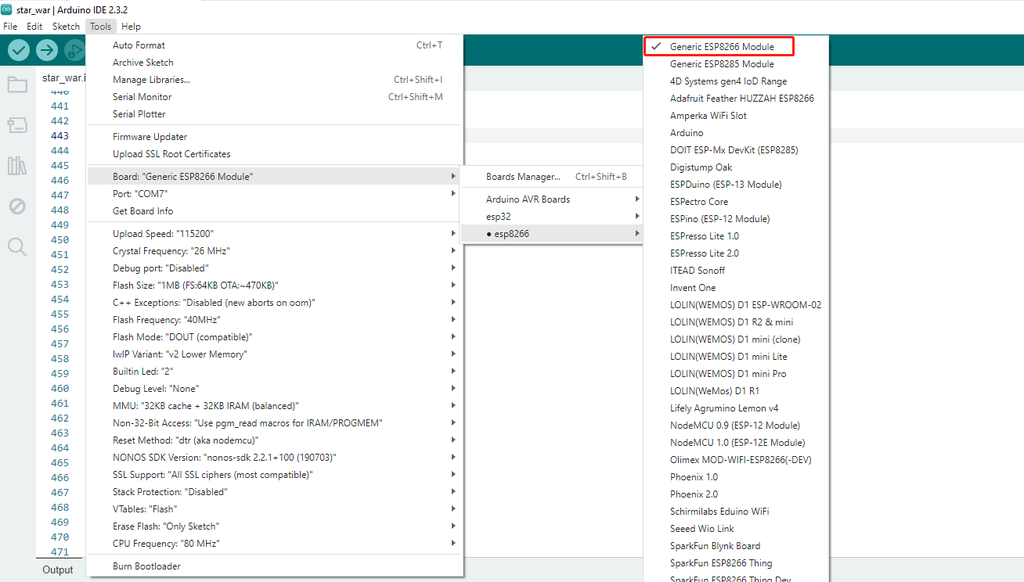
Select the appropriate board.
Upload the code.
Test the final outcome.
DIY star wars gameStep 4: Exploring Further Possibilities
Given the ESP8266's networking capabilities, it's possible to incorporate additional boards for enhanced functionality. Consider utilizing two ESP8266 boards, one for remote control while the other for displaying the game. Through Wi-Fi communication, the two boards can interact, enabling remote game control. This advancement presents an intriguing opportunity for further development. If you are interested in this idea, feel free to explore my code for potential enhancements.
This guide for Star Wars game empowers enthusiasts to embark on an exciting journey of DIY game development, blending classic gameplay with modern technology. DIY your own Star Wars game NOW!