
Story
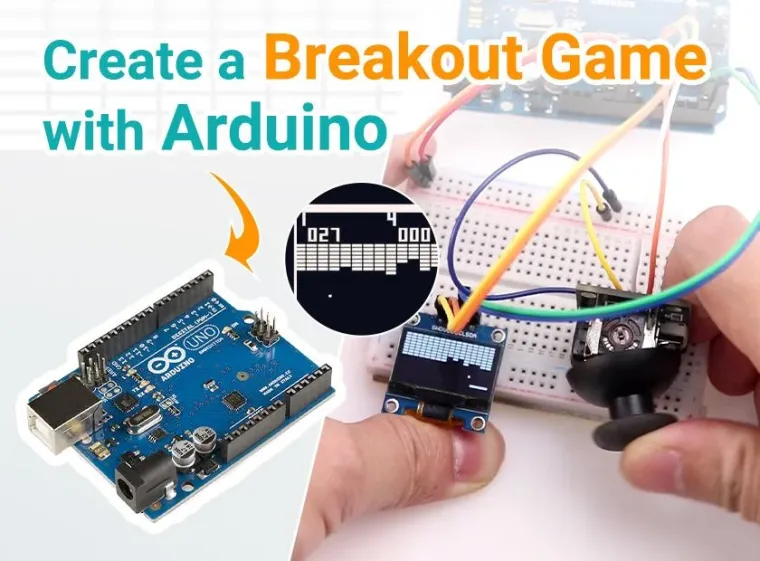
Hello, friends. Welcome to the exciting world of Arduino game development! Today I am going to present the simple yet entertaining breakout game created with Arduino UNO, an OLED display, and a joystick. The process is not complex. What we need is careful consideration of code’s logic implementation. By bringing the classic breakout game to life, you’ll not only enhance your programming skills but also experience much fun. Now, let’s begin our journey.
Supplies
Step 1: Circuit Connection
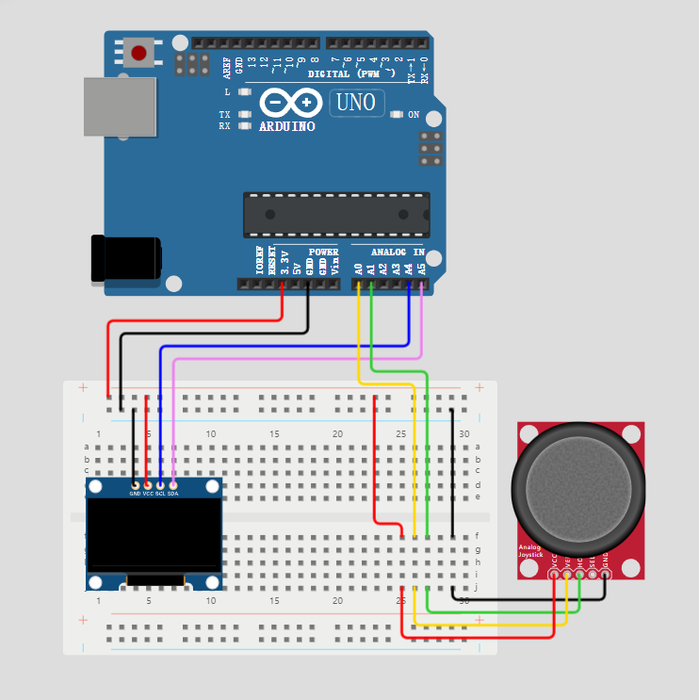
In the circuit diagram, extra wires are utilized to bridge the breadboard and modules due to the misalignment of the holes. However, in practice, it is feasible to mount the OLED display and joystick module onto the breadboard directly. Linking the Arduino to the breadboard is the only thing we need to do as for circuit connection.
For convenience, the chosen OLED display employs I2C communication, utilizing only two wires. It is connected to the Arduino UNO's default I2C pins (A4 and A5).
To ensure accurate value readings, the analog pins which are responsible for reading the x and y axis of the joystick module should be connected to the Arduino's analog pins (A0-A5).
Step 2: Code Implementation
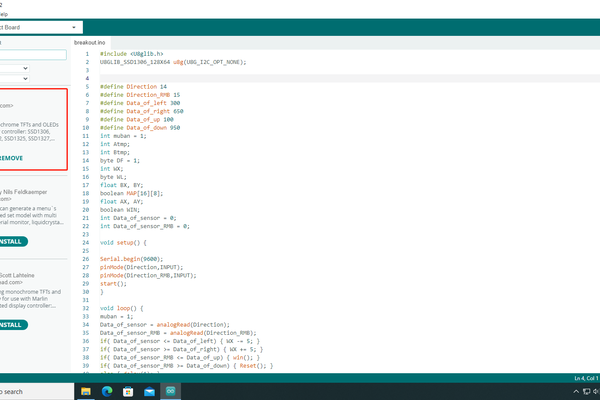
Before code writing, download the required library "U8glib" to facilitate operation at the OLED display.
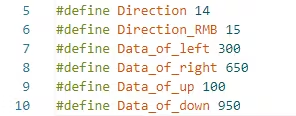
During code writing, we should pay attention to the part of joystick control. Both axes are utilized, one for lateral movement in the game, while the other for game start and end operations.
 For the complete code, refer to Elecrow's GitHub repository.
Step 3: Upload & Testing
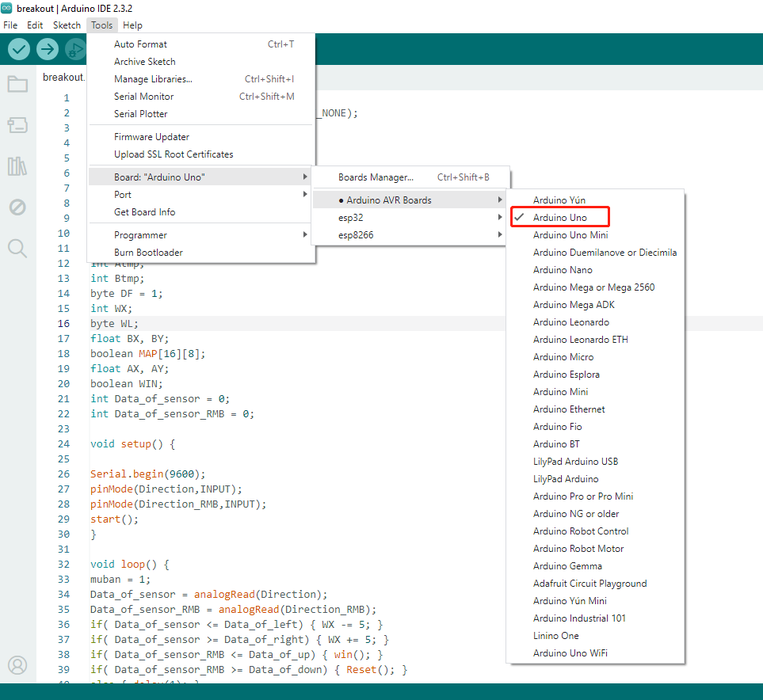
Select the appropriate board and upload the code to see your achievements!
If you've found this guide helpful, please share it with your friends to create a breakout game with Arduino together.