Story
Introduction story
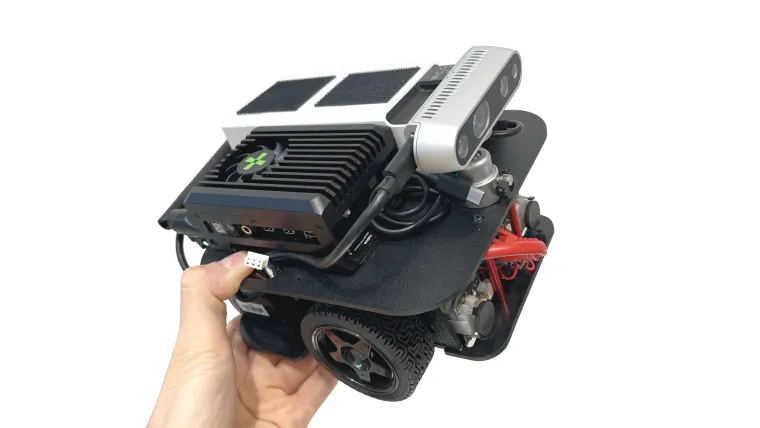
I invite you to use a Radxa X4 to build a ROS2 powered robot featuring Robotics SDK and Realsense 3D Vision camera technology.
A development Robotics SDK software aimed to boost development of the AMR(Autonomous Mobile Robots) robots in logistics, last-mile delivery and industrial automatisation service fields. I say Robotics SDK product is a Robotics OS for robot OEMs manufacturers. This robust solution upgrades mobile robots with the most cutting-edge, industrial-grade functionality available at Intel.
Robotics SDK equips AMR robots with essential autonomy skills for precise localization and navigation, complemented by an advanced set of ITS Path Planned Navigation Plugins. It works using Intel-proprietary algorithms and products like ADBSCAN, CollabSLAM. These products facilitate seamless and autonomous operation.
Prerequisites
- If you don't have any ROS robot then follow Part 1 of the MIKRIK Robotics tutorial here. Build a tele-operated car robot, running ROS1 Raspberry node. After you made it, continue following steps described here.
- If you have any ROS robot, add VSLAM functionality to it by following steps below. You can setup ROS1-ROS2 bridge with your robot, or run all communications using ROS2 if your robot runs ROS2. If you have /cmd_vel topic provided by your robot, you can communicate between a robot and Robotics SDK host software with minimal changes. Read more here
In this tutorial you will learn more about Robotics SDK software using Radxa X4 board as host part of the system.
Cost-cut Ideas
Buy second-hand Realsense camera on Ebay ~100$. It can be D415, D430, D435 or D435i, and so on.
Robot Chassis To Choose
You can purchase my robot chassis on Elecrow, or use your own.
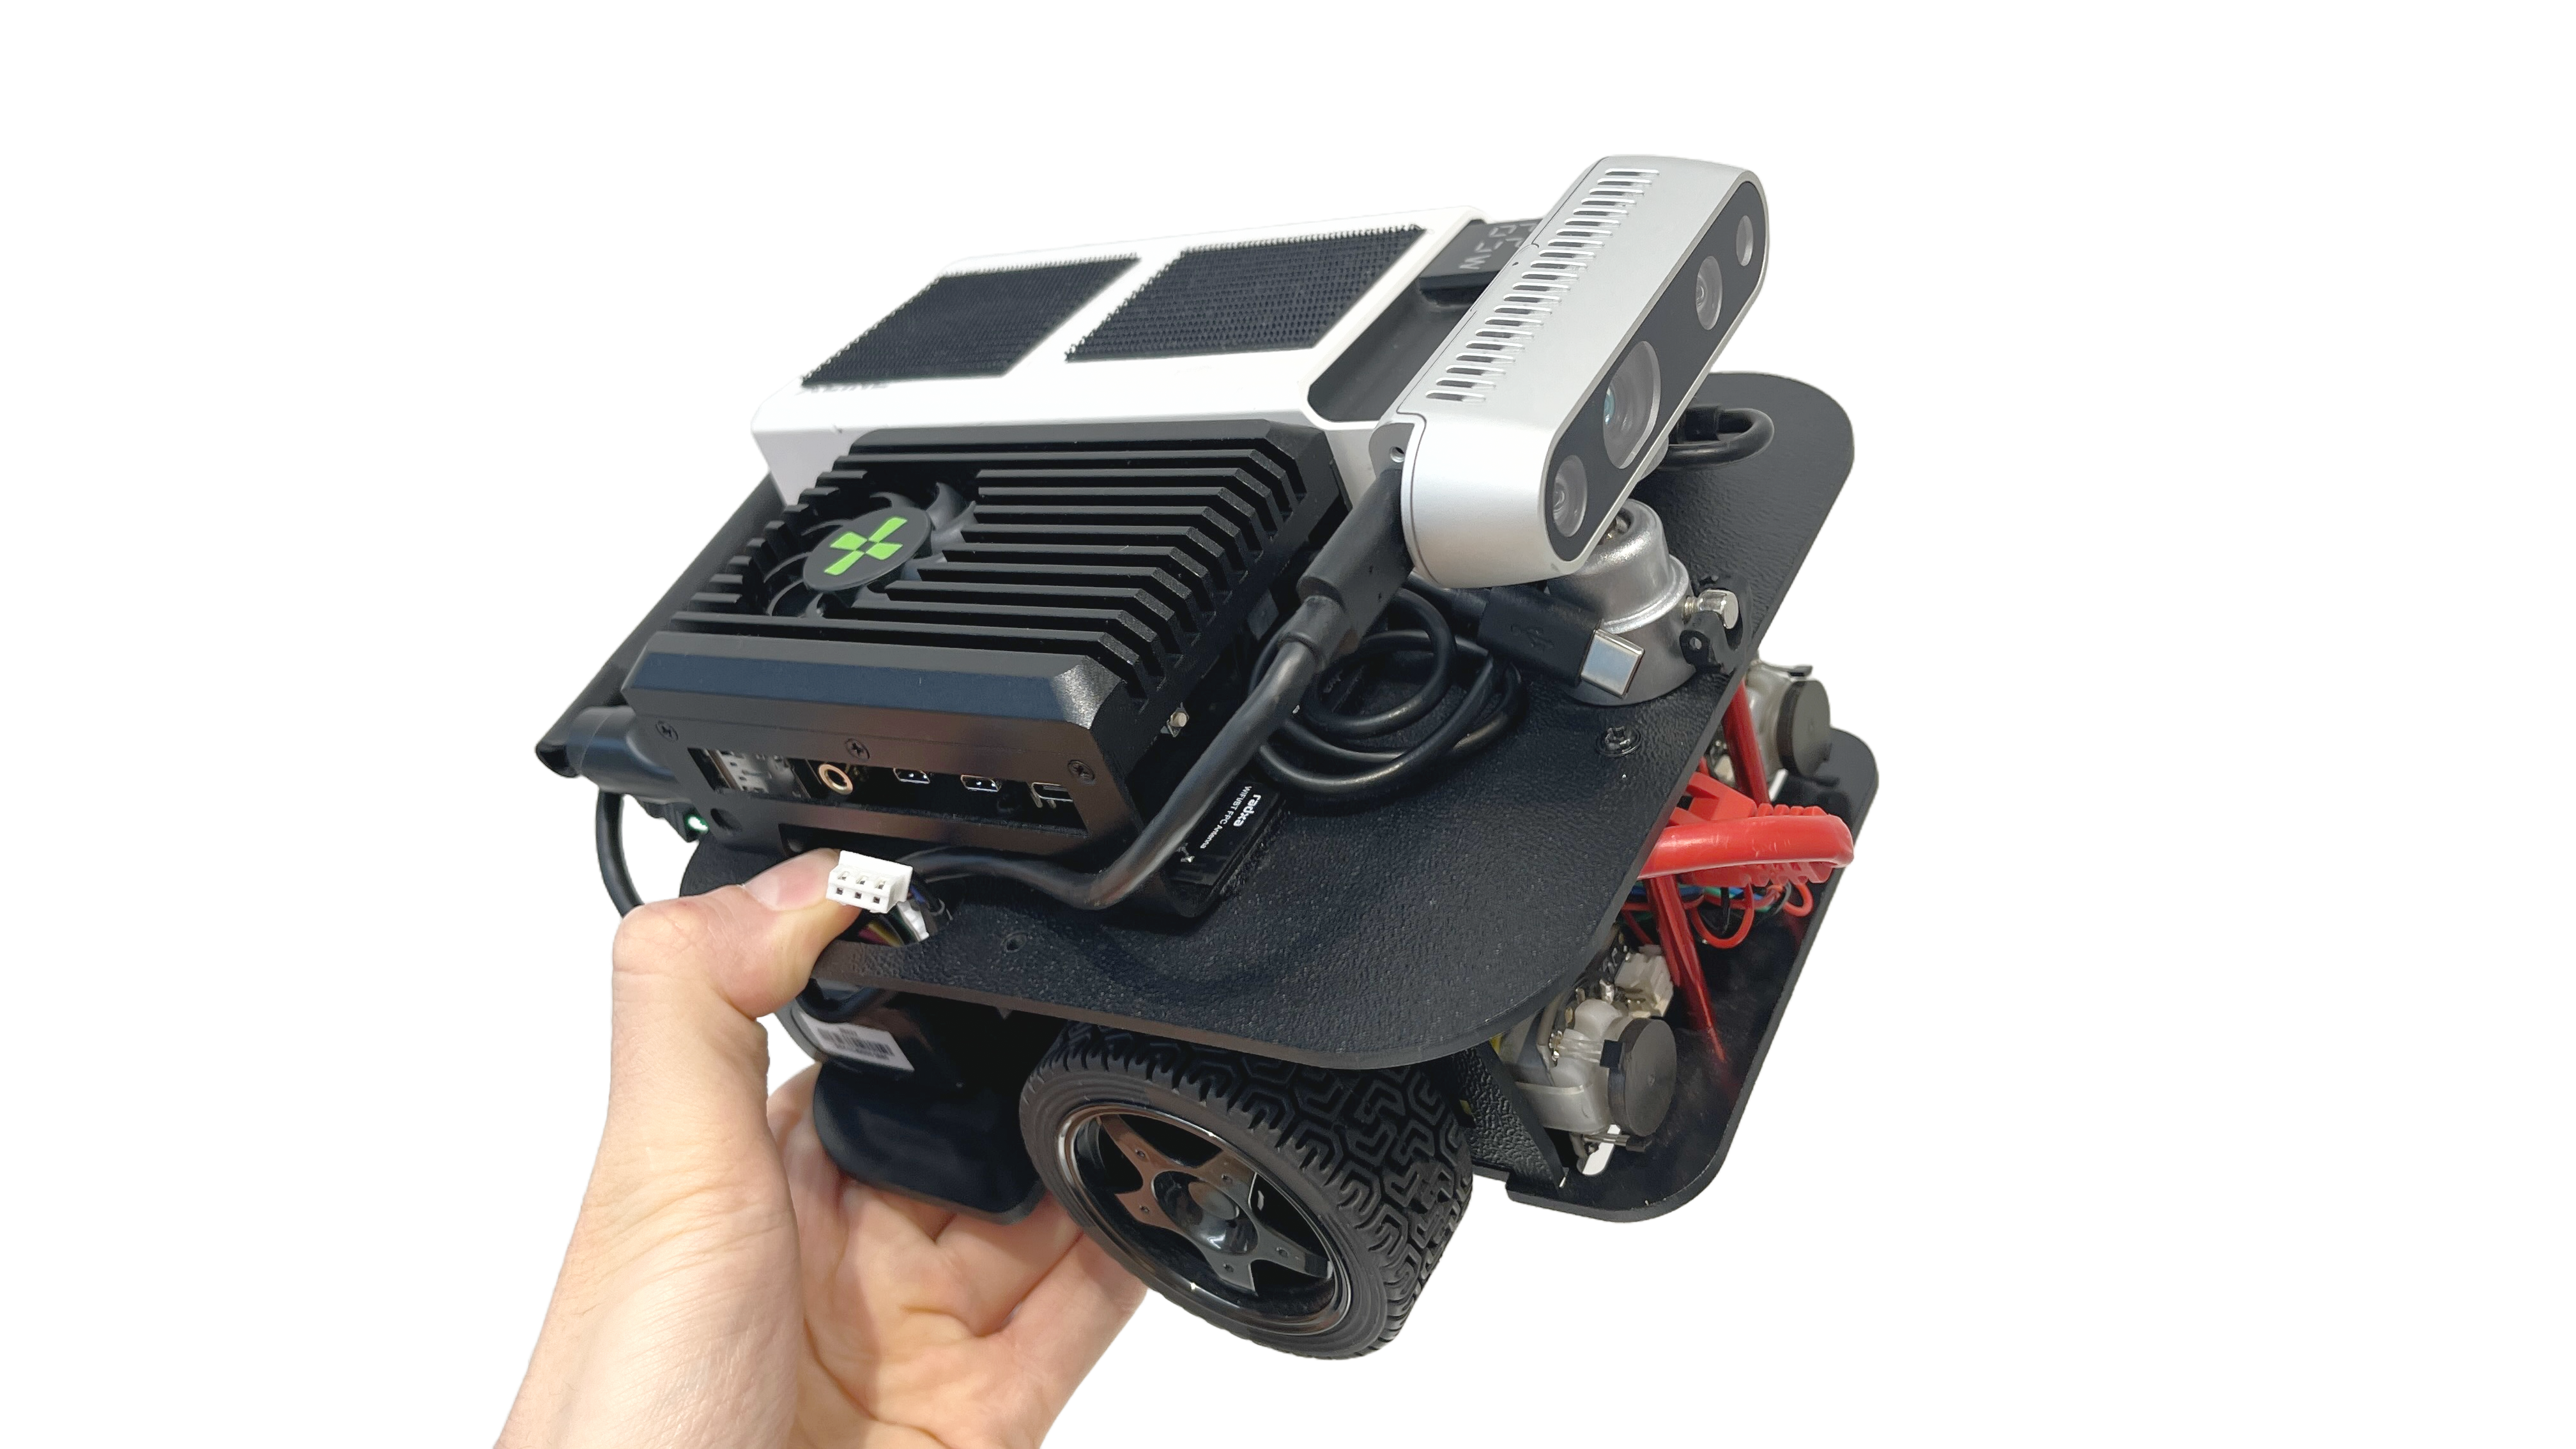
Final version of the Radxa X4 MIKRIK Robot Based On My Chassis
Part 1 Power your Radxa X4 Platform
Step 1.2 Wiring update
To power Radxa X4 board you can use a powerbank with Type-C cable.
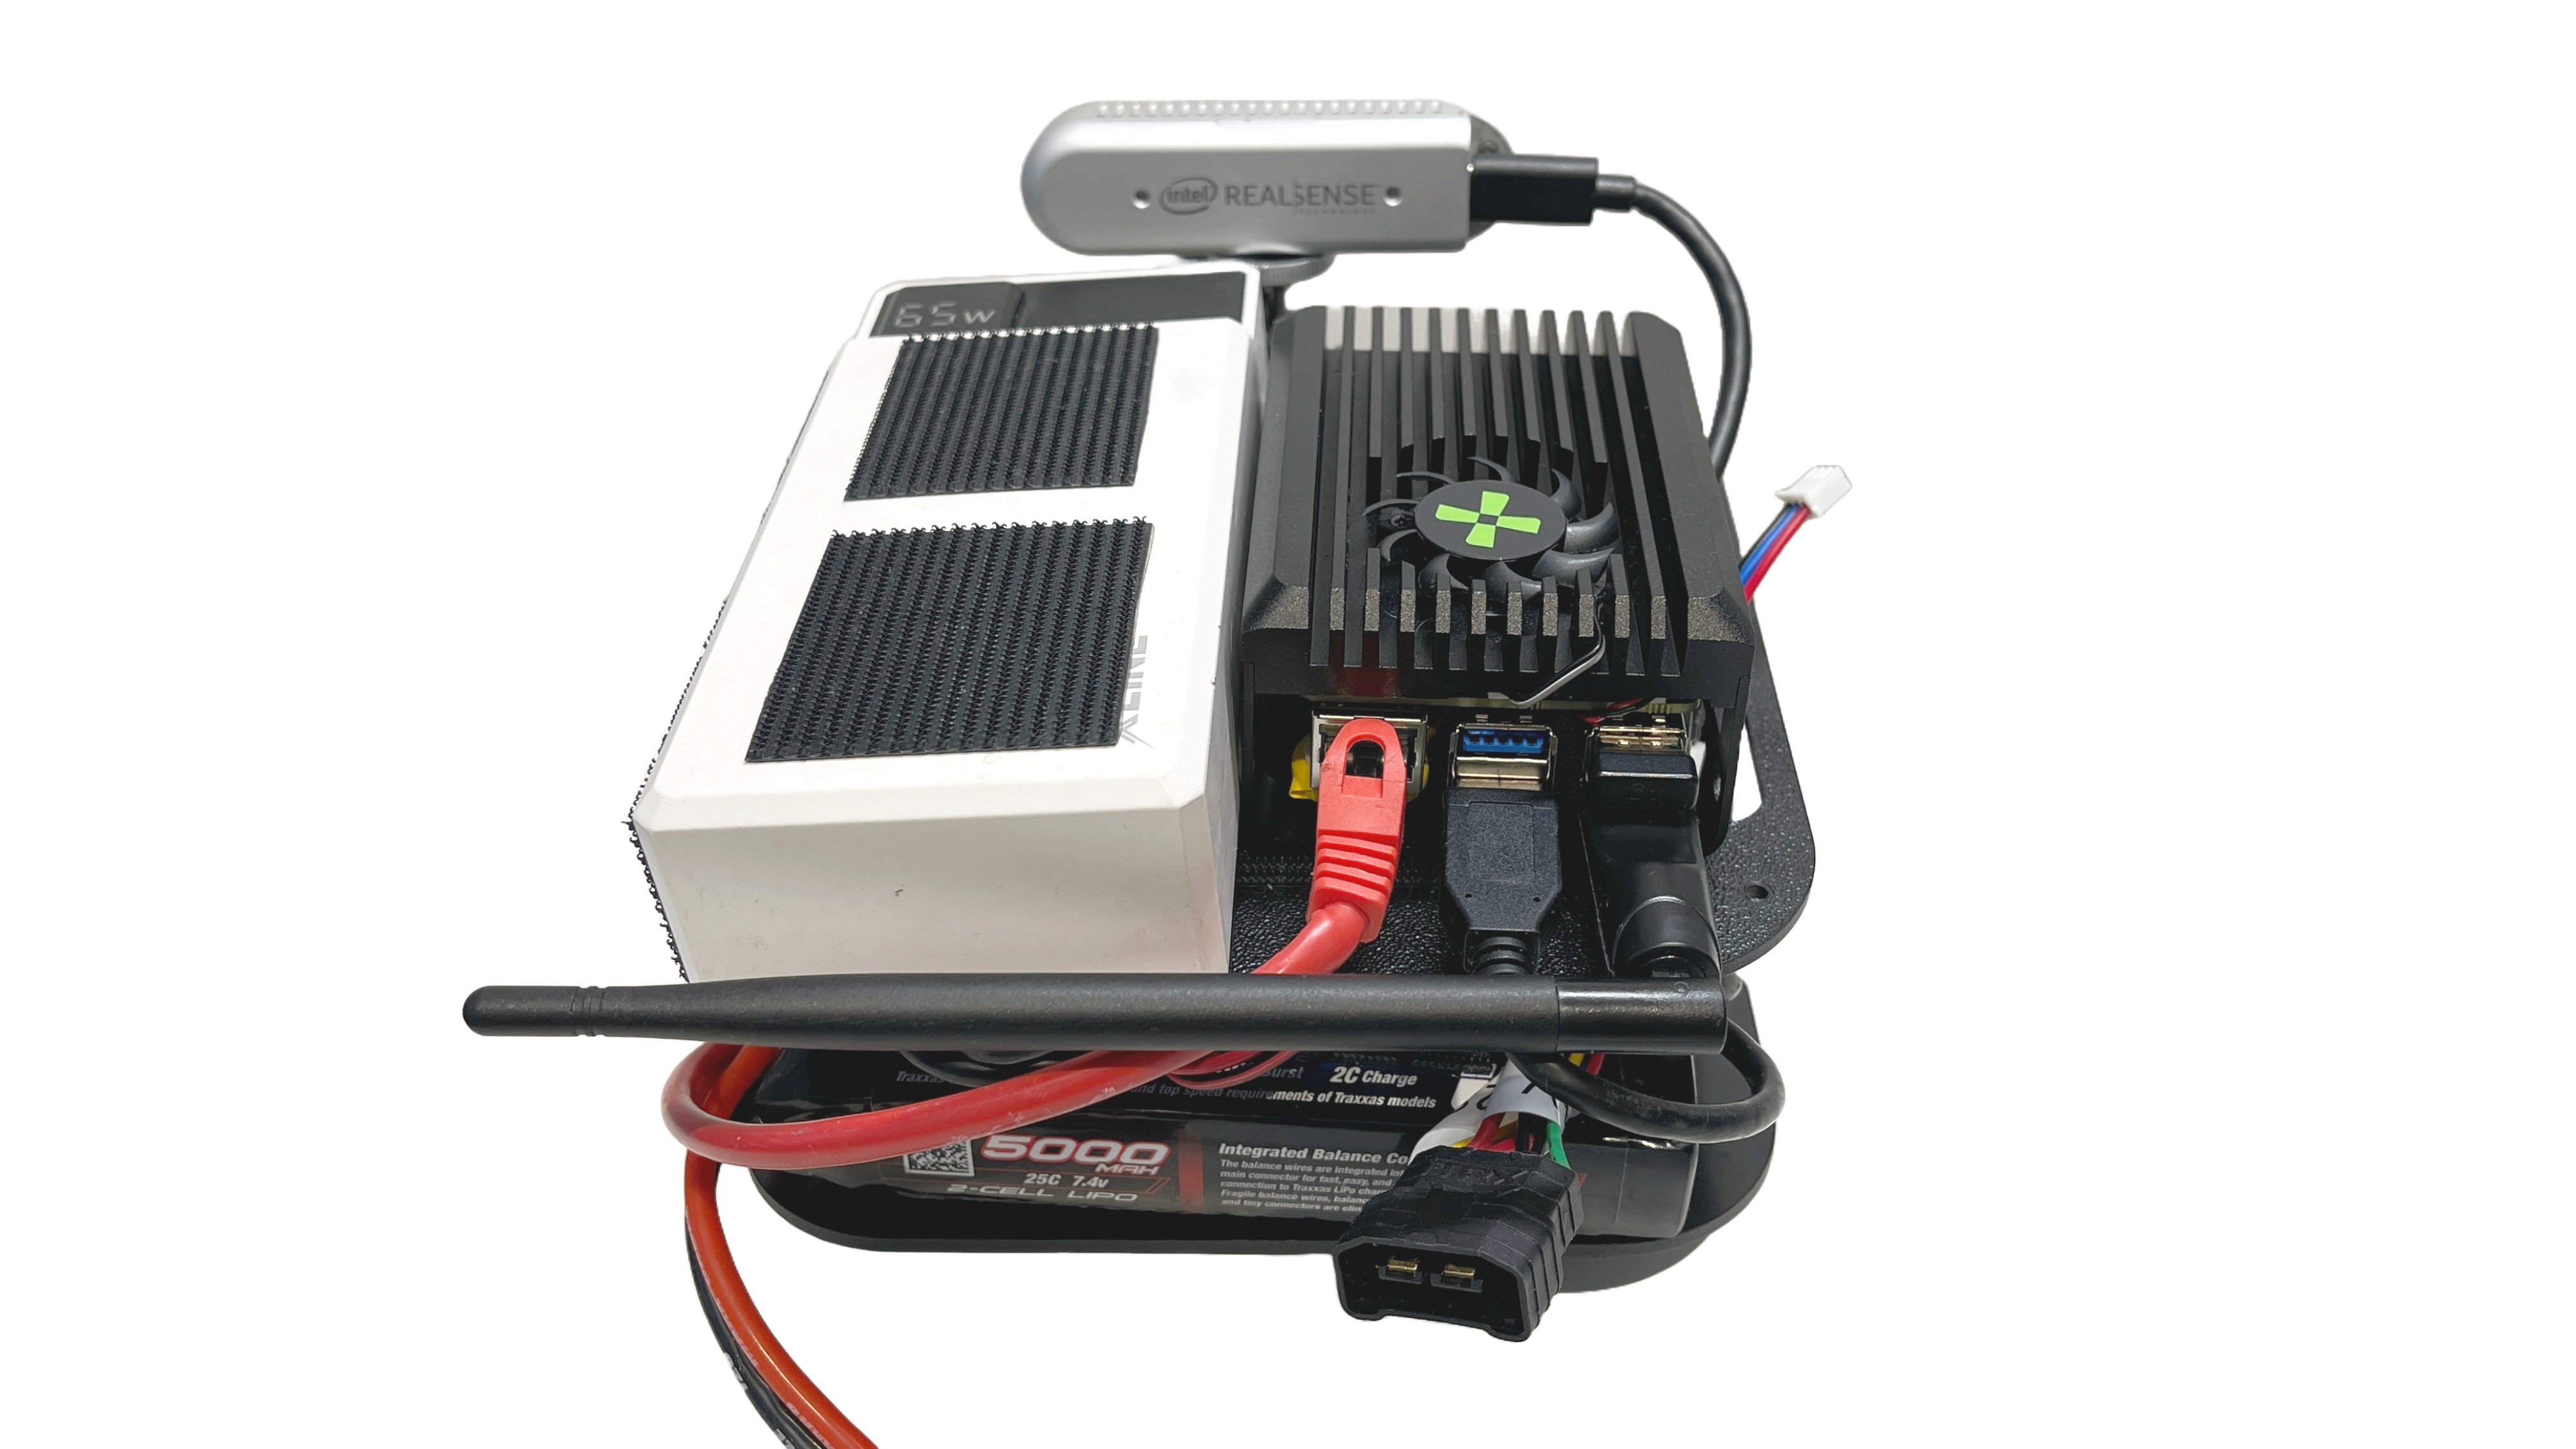
Mikrik Radxa X4 Robot Video
Now I will share steps to make Visual SLAM based on Realsense D435i camera work in three modes: mapping, localization, and localization with navigation. Of course, you can use any other Realsense camera, just replace camera name in config file, like GMSL Realsense camera.
Part 2 Setup Robotics SDK on your Radxa X4 host computer
Step 2.1 Install Ubuntu 22.04 for Intel IoT
Download a Ubuntu 22.04 Desktop version Intel IoT for Radxa X4 Intel Atom X7000E Series CPU here
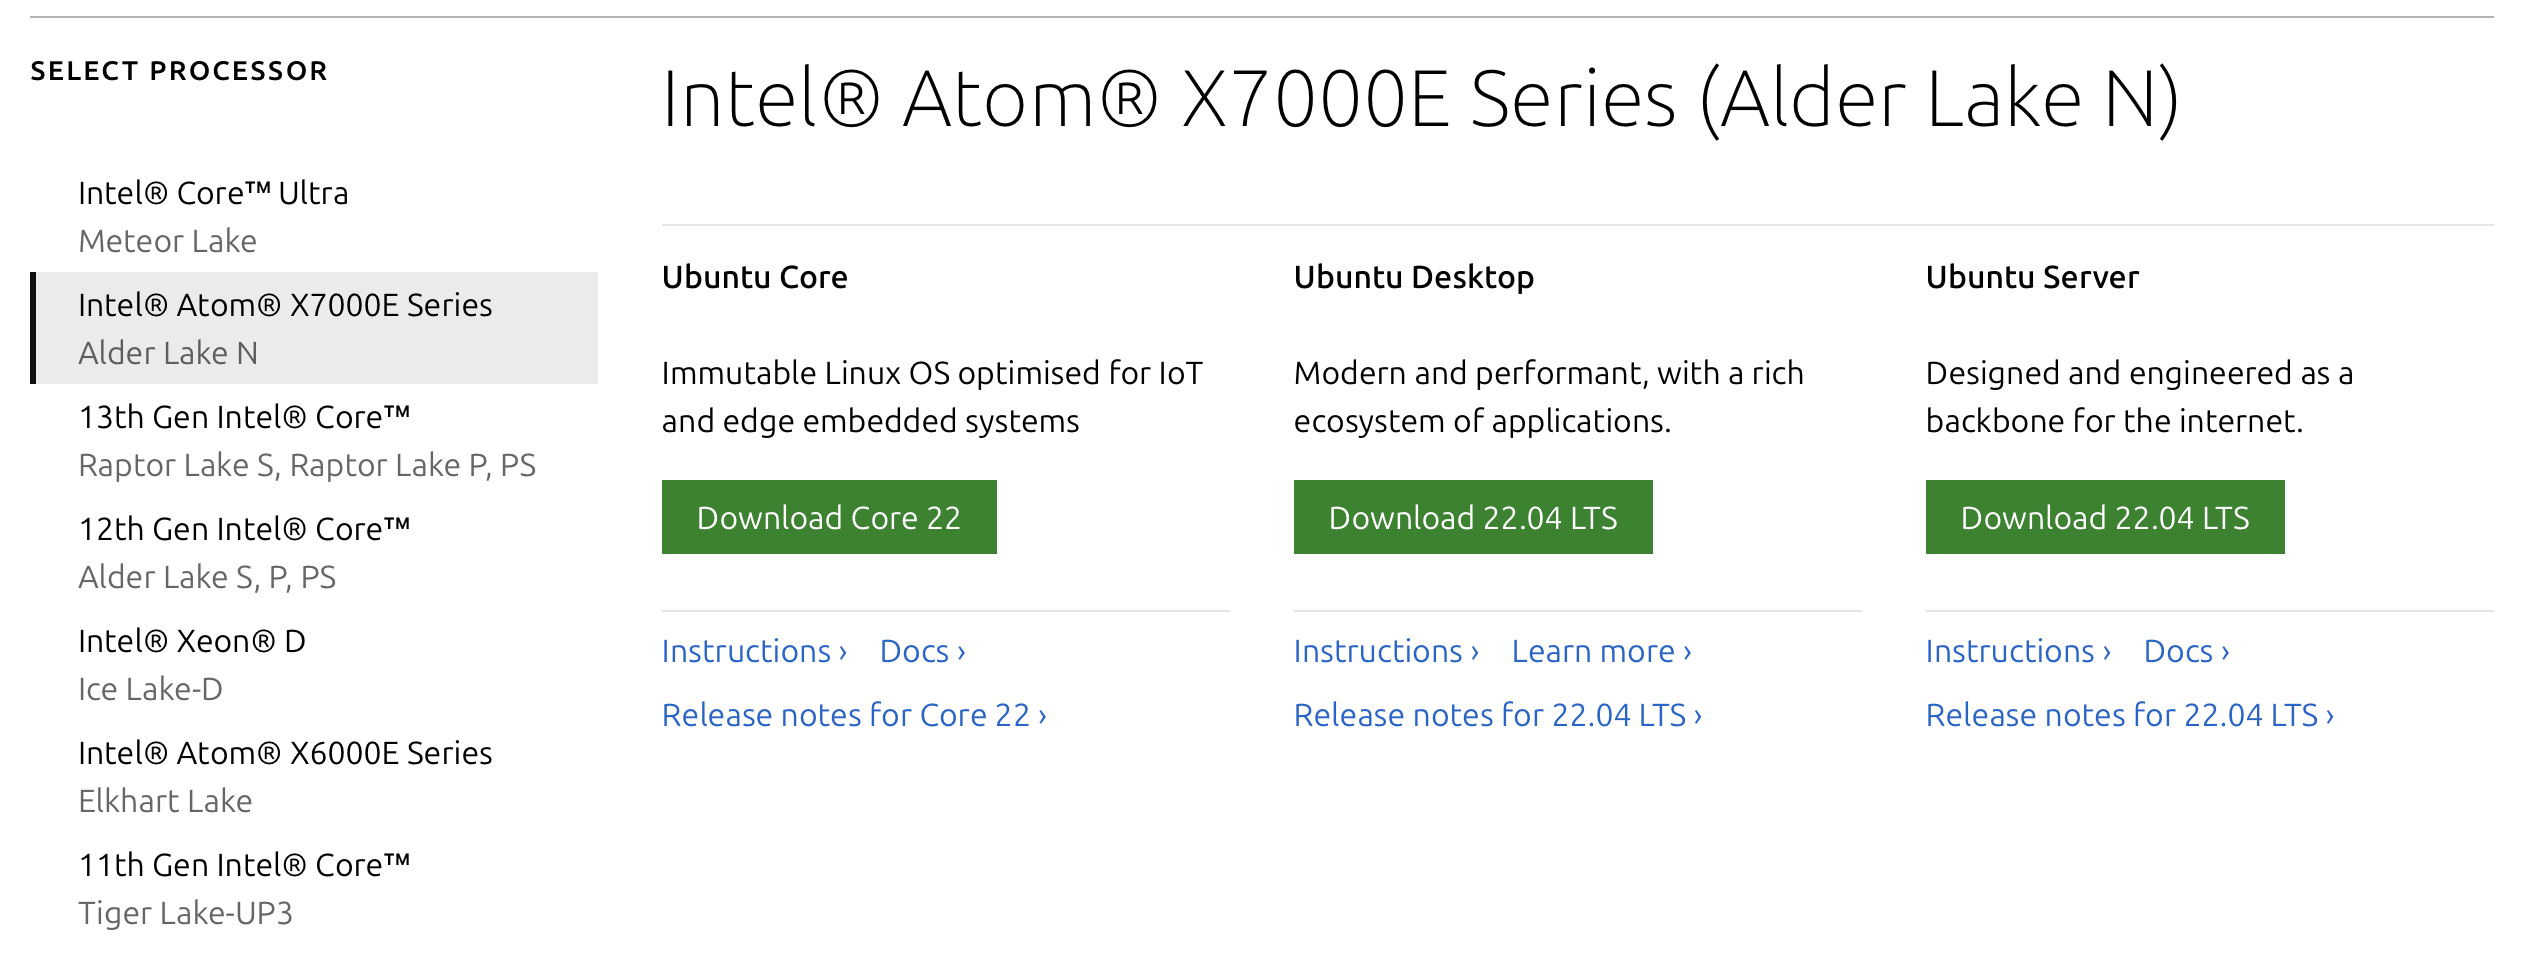
If you already have installed 22.04 LTS Ubuntu Desktop, you may try to replace kernel with kernel for Intel IoT. It worked for me. Steps are described here.
Note: When I installed the necessary Ubuntu Dekstop version I lost my built-in WiFi module connectivity, didn't investigate it further, and installed an external Wi-Fi dongle that worked straight from the box. If you met with the same problem, let me know, maybe necessary to build a drivers for a built-in WiFi module that are not included in the Intel IoT kernel.
Step 2.2 Install Intel Robotics SDK
Follow official documentation page Getting Started Guide
During the installation steps choose genXe in the prompt terminal window.
When you will reach the step to install actually Robotics SDK, using command below, check if it works:
sudo apt install ros-humble-robotics-sdkIn my case, I got an error, and was not able to install Robotics SDK it using default apt method
For me it worked only using aptitude command with a few tricks.
sudo aptitude install ros-humble-robotics-sdkWhen it will print you a first solution, type "n"
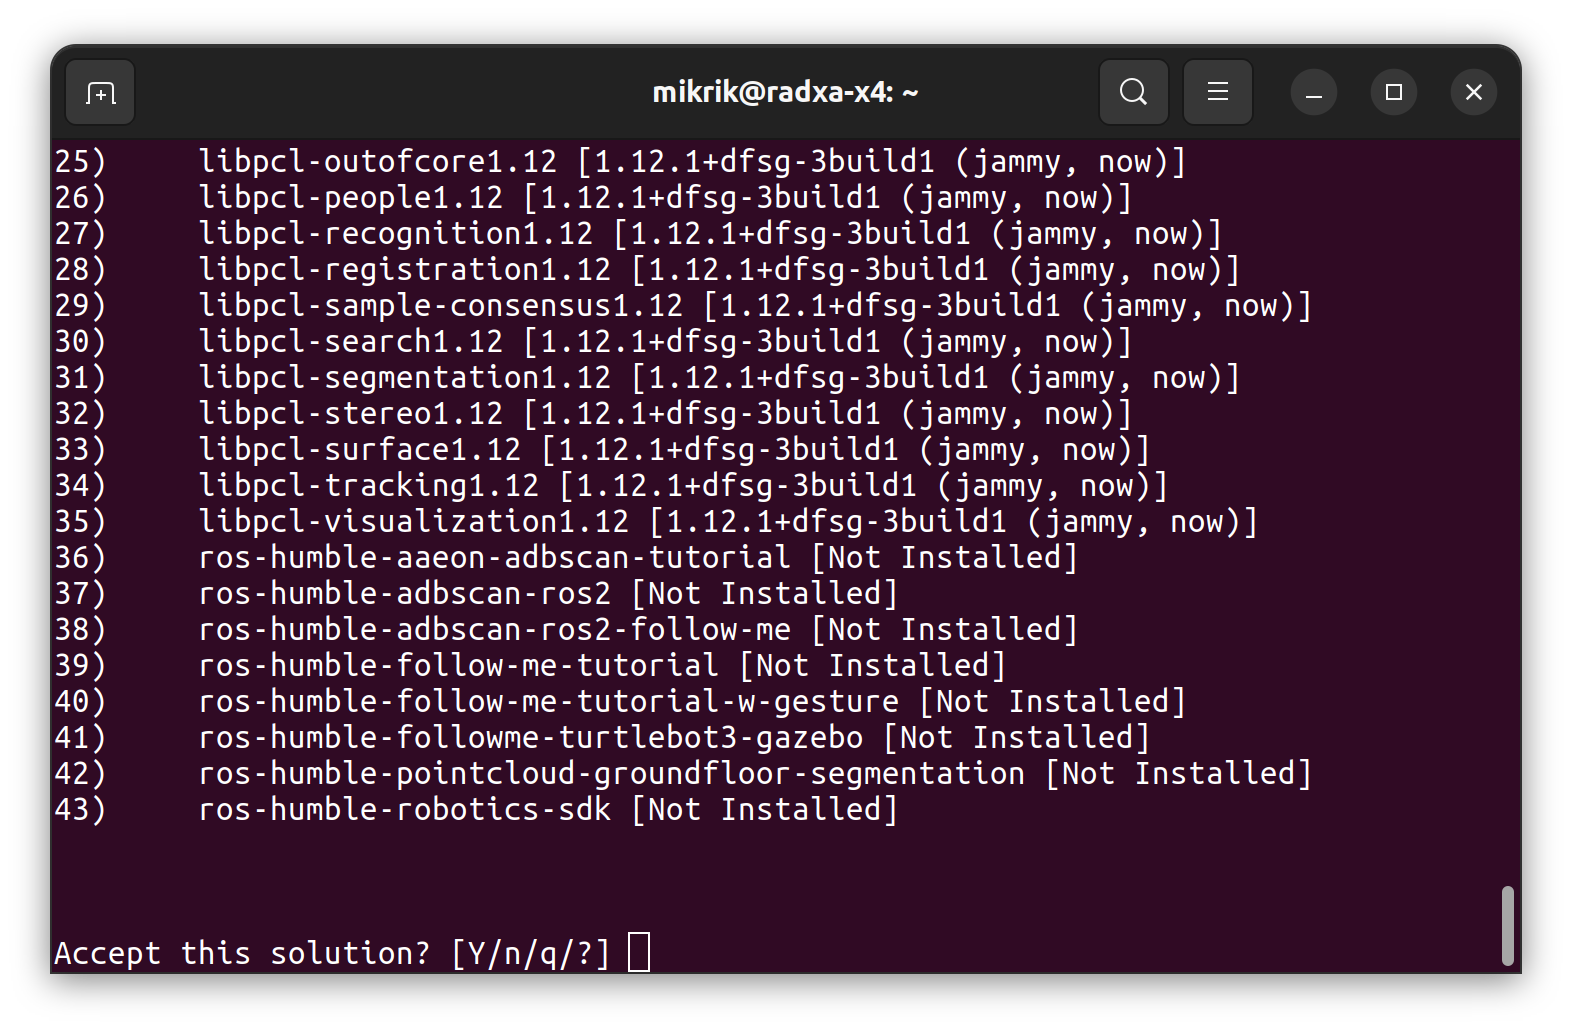
Second solution, and again type "n"
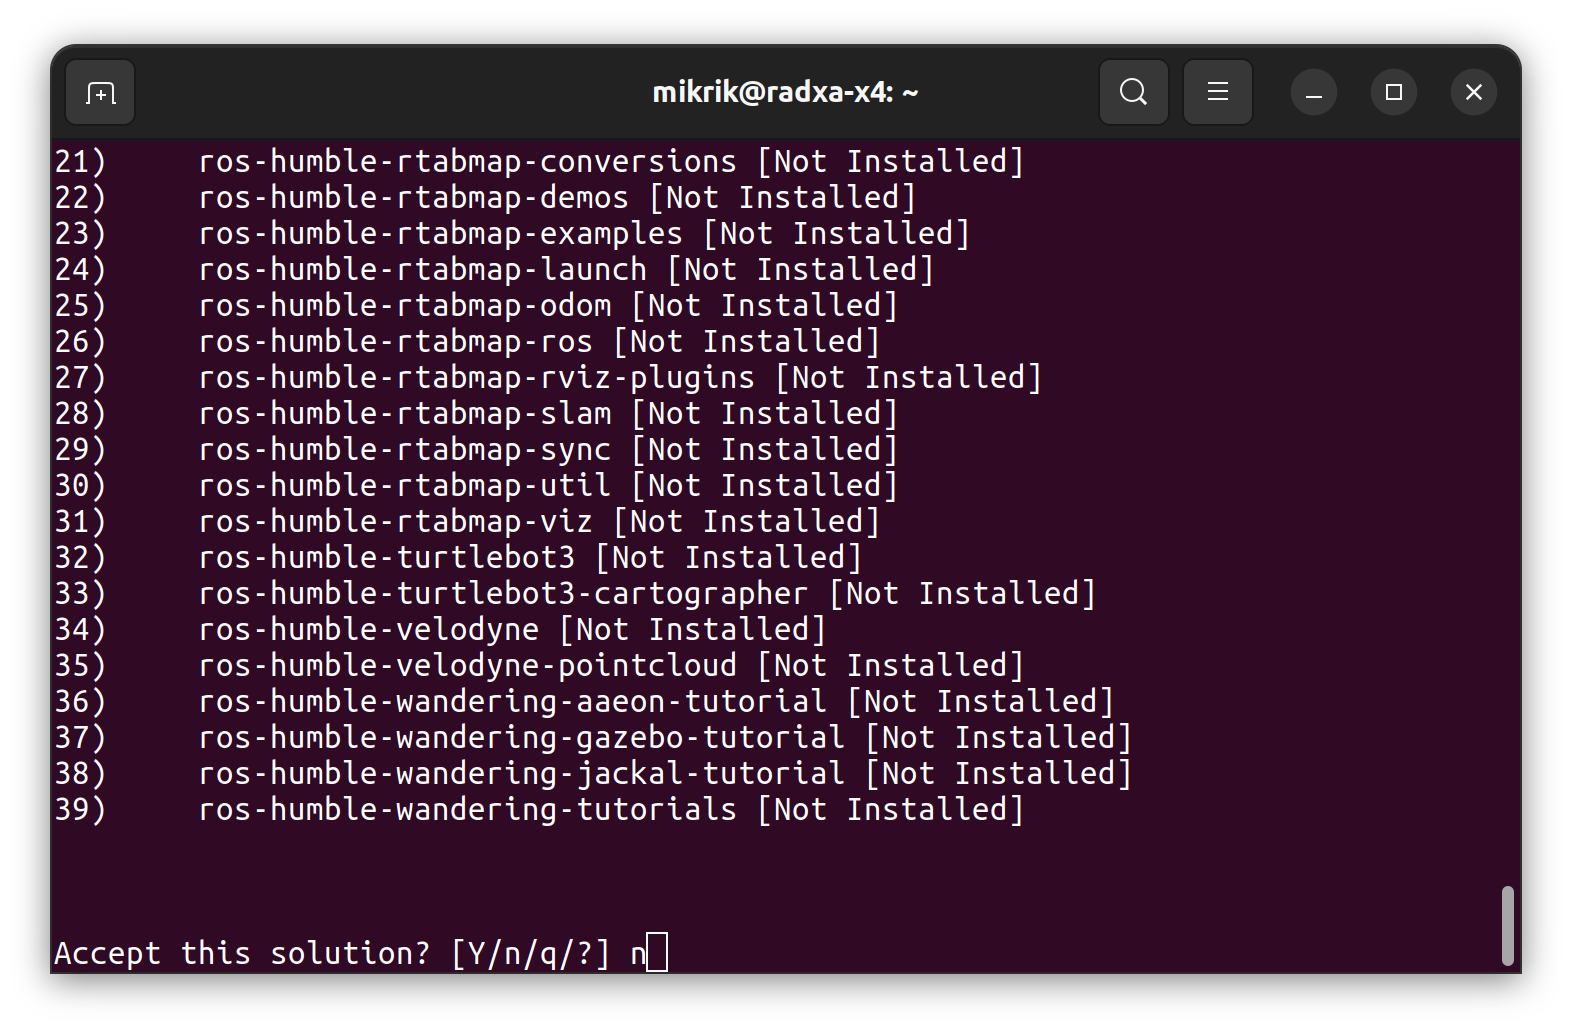
Third solution, and again type "n"
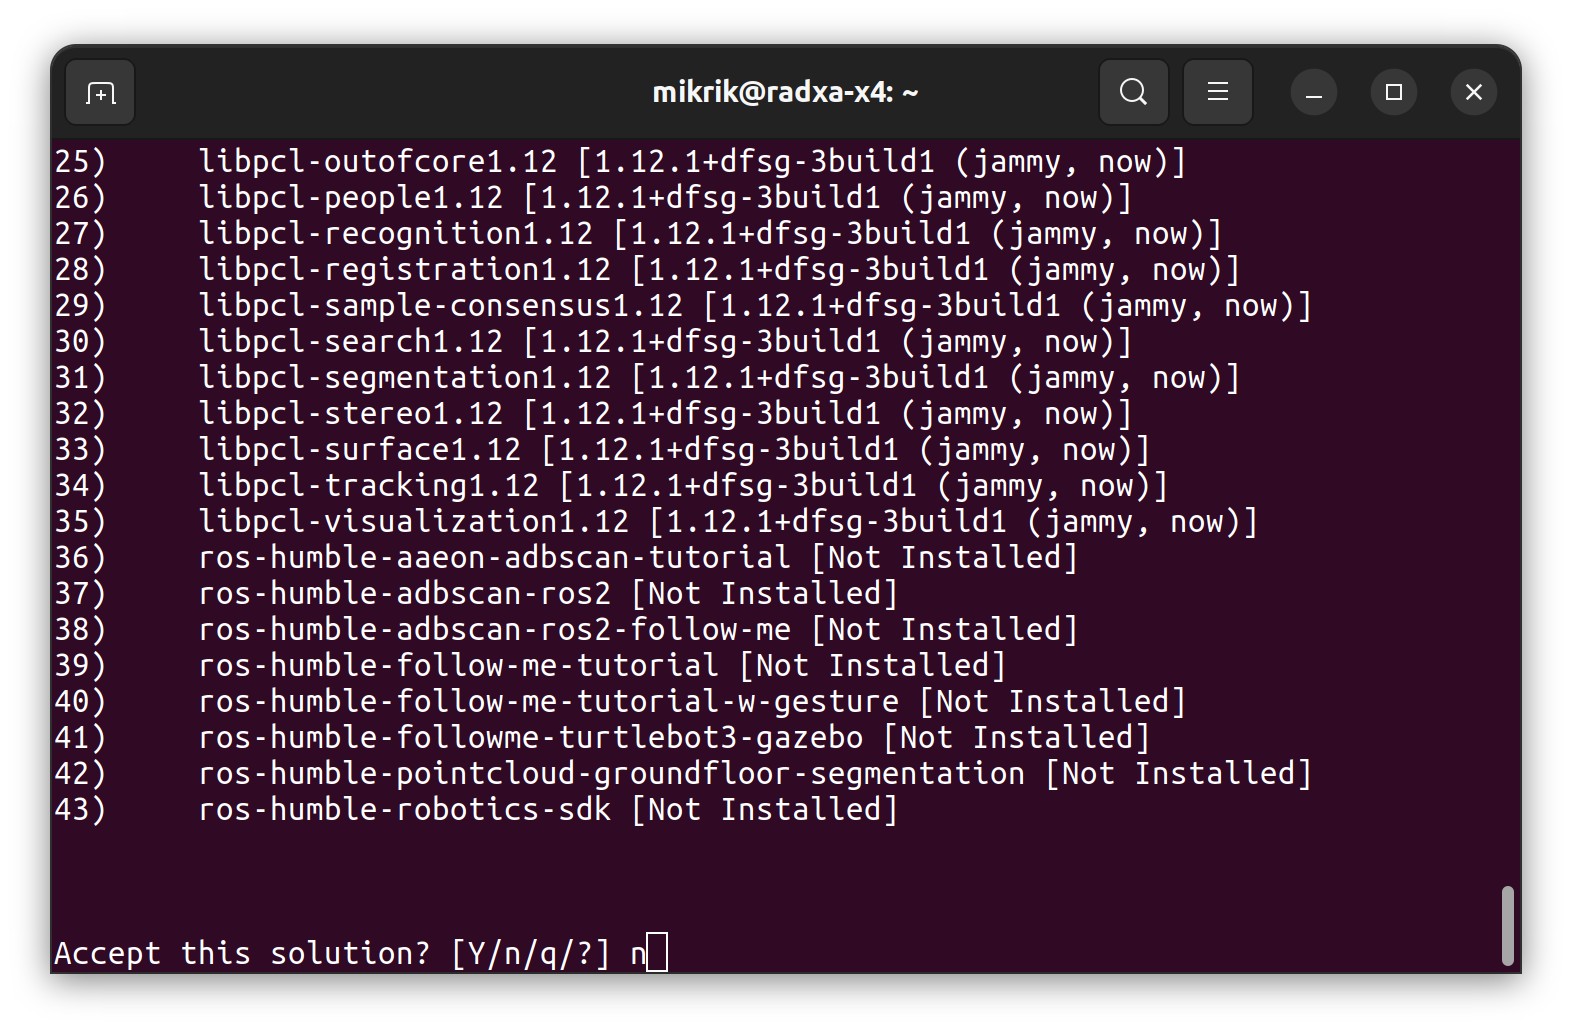
The last time type "n"
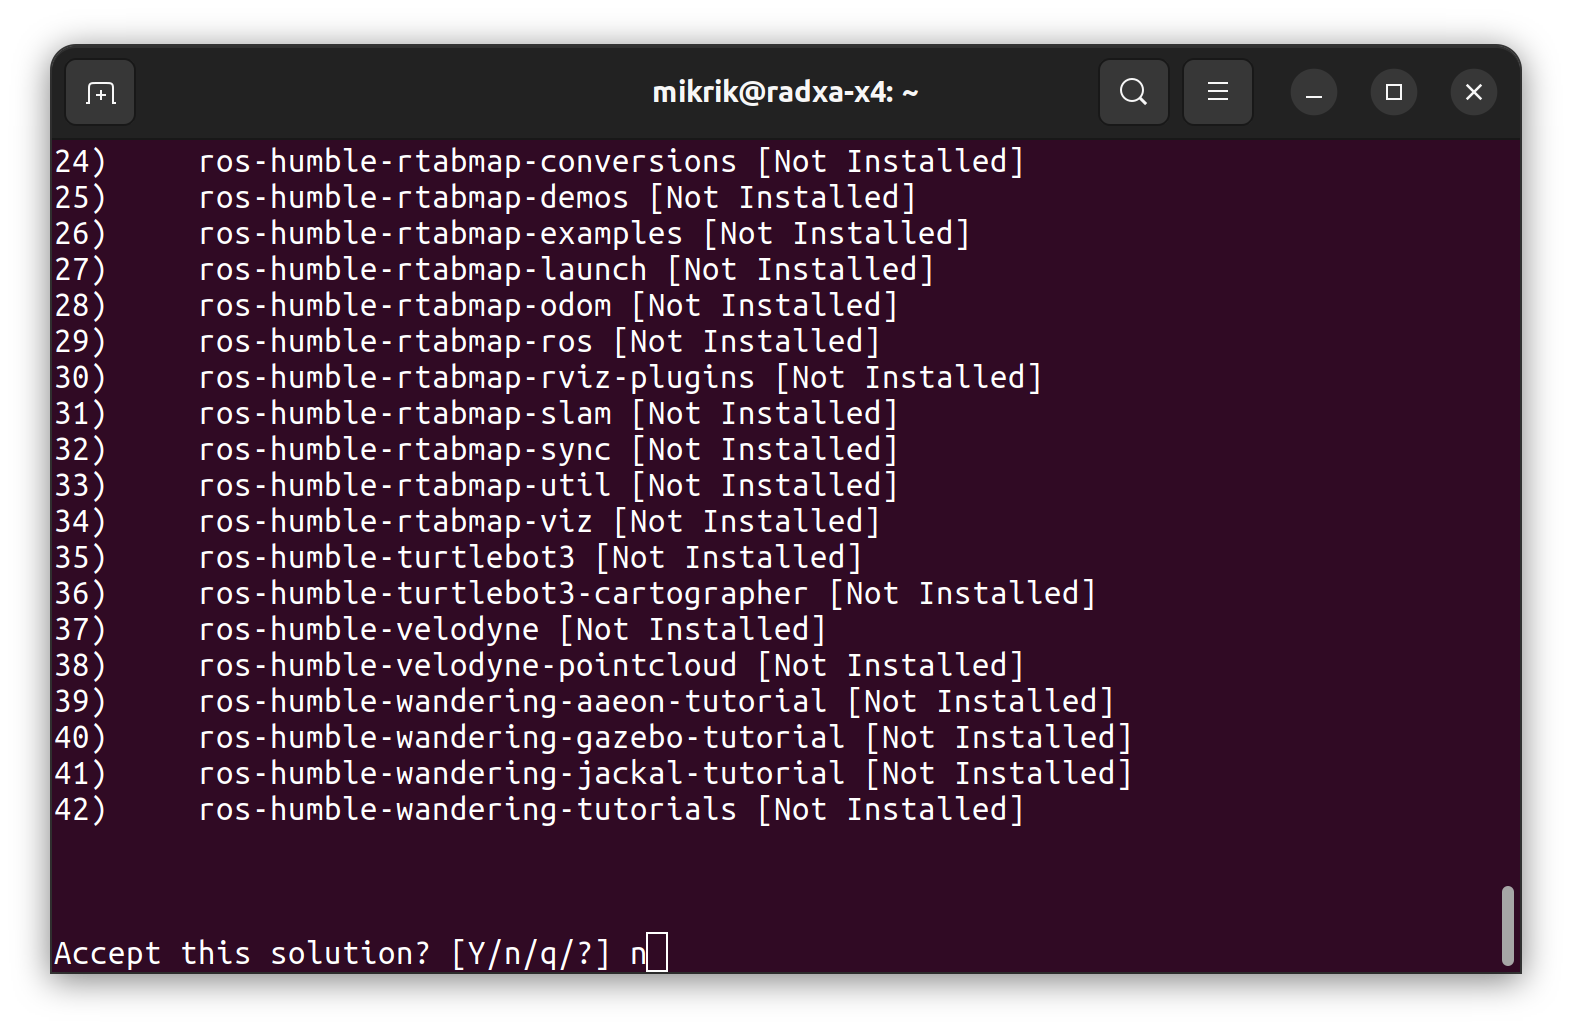
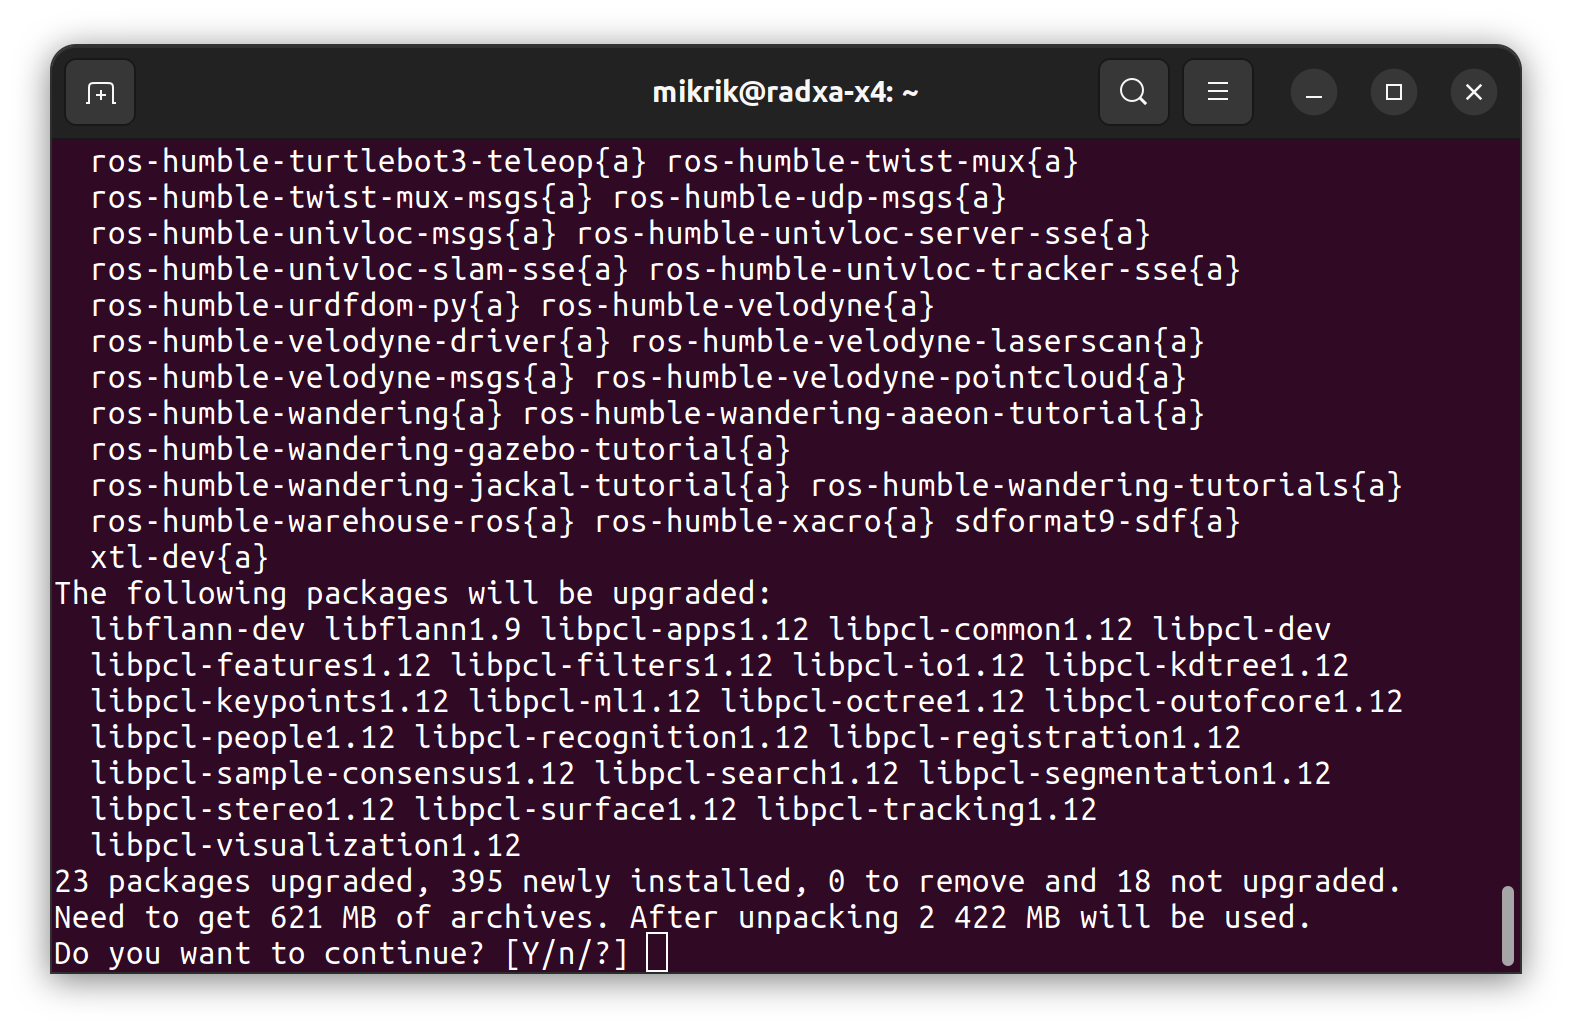
And on the fifth solution solution suggestion, type "Y". You can try to type "Y" for all cases mentioned above.
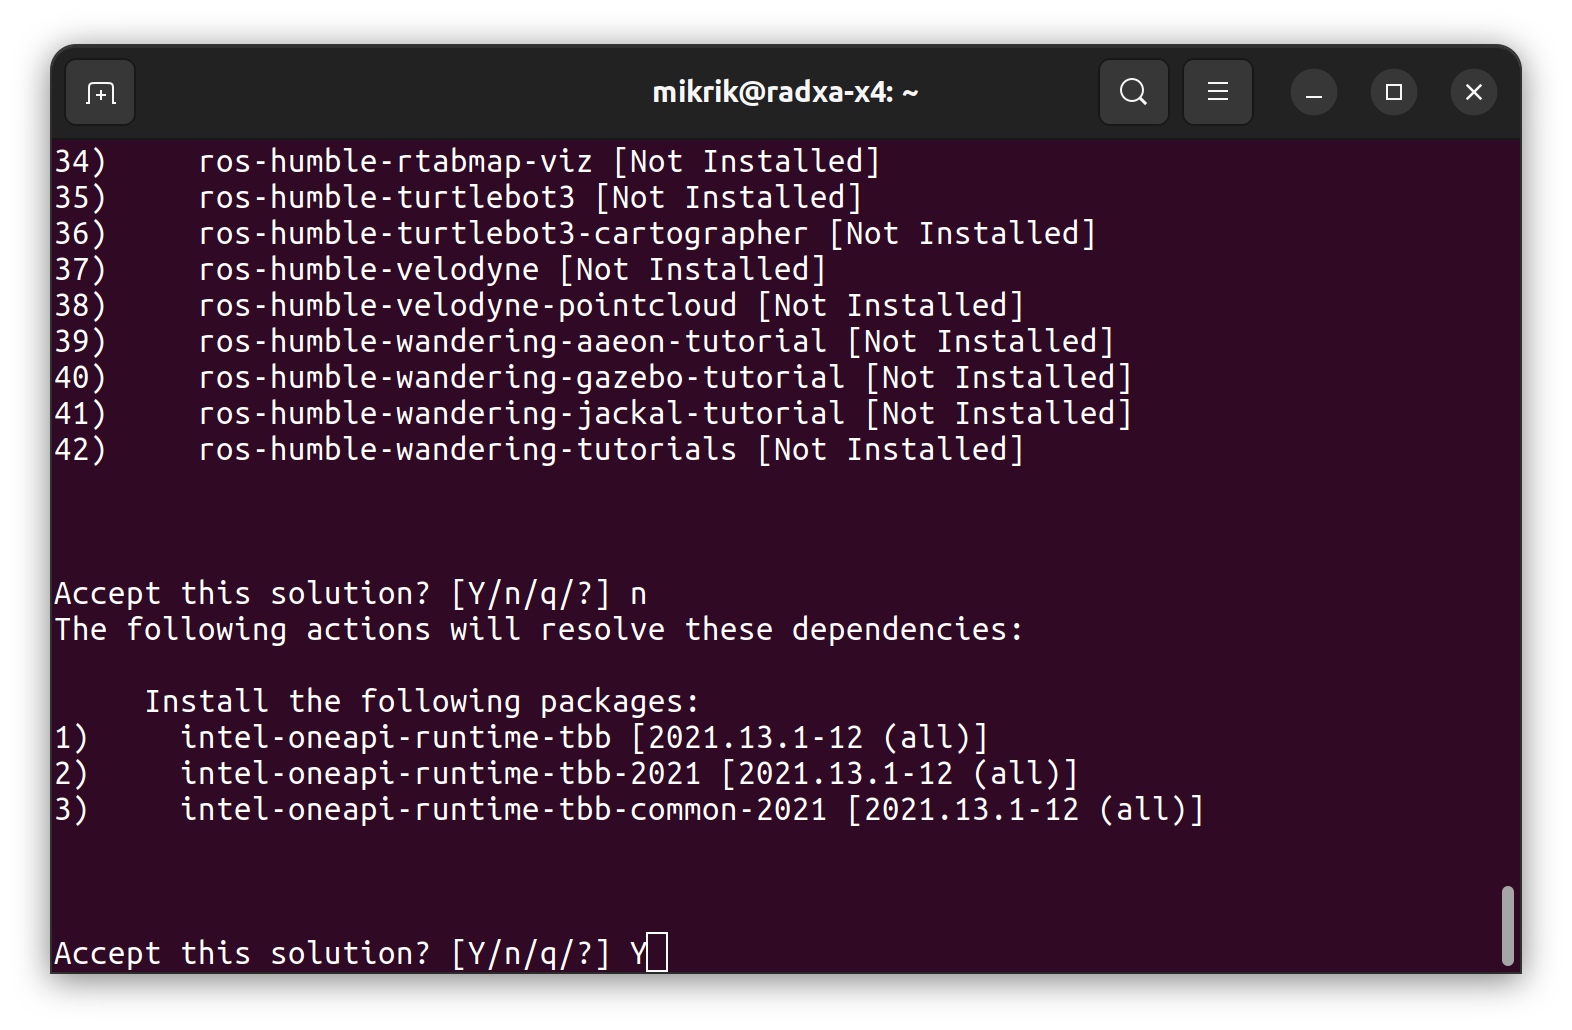
Type "Y" here too
Step 2.3 Update camera namespace
Remove unnecessary namespace 'camera'. Open with file:
sudo vi /opt/ros/humble/share/realsense2_camera/launch/rs_launch.pyDelete default value 'camera' of the camera_namespace. Line below change from:
{'name': 'camera_namespace', 'default': 'camera', 'description': 'namespace for camera'}to
{'name': 'camera_namespace', 'default': '', 'description': 'namespace for camera'}Part 3 Mapping Mode using Robotics SDK
Step 3.1 Clone the repo
First, take updated by me scripts from the repo mikrik-robotics-sdk.
Clone the repo mikrik_robotics_sdk
cd ~
git clone https://github.com/mxlfrbt/mikrik_robotics_sdk.git
Step 3.1 Mapping Mode Introduction
Before launch Mapping and Localization you need to change files in the default Robotics SDK installation folder.
Step 3.2 Mapping Mode Setup
Collab Visual SLAM mapping is done using two ROS2 nodes: univloc_trackerand univloc_server, each of them has a separate launch file. Please, read more about Collab SLAM on the Robotics SDK page here.
Make a copy of the Univloc Tracker Launch file:
sudo cp /opt/ros/humble/share/univloc_tracker/launch/tracker.launch.py /opt/ros/humble/share/univloc_tracker/launch/tracker_mikrik.launch.pyOpen newly created file with sudo:
sudo vi /opt/ros/humble/share/univloc_tracker/launch/tracker_mikrik.launch.pyIn L21 replace string:
configFilePath = os.path.join(get_package_share_directory('univloc_tracker'),'config','tracker.yaml')with the string that leads to the new config file in a folder cloned from my Github repo:
configFilePath = '/home/<your-username-here>/mikrik_robotics_sdk/tracker_configs/mikrik_robot_tracker.yaml'Tracker file is ready. Make sure that path <your-username-here> to the config file mikrik_tracker.yaml is the correct one.
Now you have to edit Univloc Server launch file.
Make a copy of the file:
sudo cp /opt/ros/humble/share/univloc_server/launch/server.launch.py /opt/ros/humble/share/univloc_server/launch/server_mikrik.launch.pyOpen server file again with sudo:
sudo vi /opt/ros/humble/share/univloc_server/launch/server_mikrik.launch.pyReplace in a newly created file L104 from:
rviz_config = os.path.join(get_package_share_directory('univloc_server'), 'config', 'rviz2_server.rviz')with:
rviz_config = '/home/<your-username-here>/mikrik_robotics_sdk/rviz_configs/mikrik_server_localization_nav2.rviz'Step 3.3 Mapping Mode Launch
Launch it by running bridge first.
Note: Make sure that inside the bridge launch script is the correct path to the sourced files.
cd ~/mikrik_robotics_sdk/scripts/
sudo chmod u+x bridge_launch.sh
./mikrik_bridge_launch.sh
Make script executable:
cd ~/mikrik_robotics_sdk/scripts/
sudo chmod u+x realsense_collabslam_mapping.sh
Launch Mapping Mode:
cd ~/mikrik_robotics_sdk/scripts/
./realsense_collabslam_mapping.sh
Mapping mode running. After script launch, you will see the rviz window.

Note: Put a tick on Map checkbox, to see a 2D generation in rviz! By default, it is turned off.
Now you can drive robot around and build map.
Mapping Process
Part 4 Robotics SDK Localization Mode
Localization uses the same tracker file, but a different configuration file. I created a copy of the tracker file with a mark "loc" meaning "localization". It will contain a path to the different tracker config file, to make it work in localization mode.
Step 4.1 Localization Mode Setup
Create a copy of the tracker file again:
sudo cp /opt/ros/humble/share/univloc_tracker/launch/tracker_mikrik.launch.py /opt/ros/humble/share/univloc_tracker/launch/tracker_mikrik_loc.launch.pyOpen tracker_mikrik_loc.launch.py file with sudo:
sudo vi /opt/ros/humble/share/univloc_tracker/launch/tracker_mikrik_loc.launch.pyIn L21 replace string:
configFilePath = '/home/<your-username-here>/mikrik_robotics_sdk/tracker_configs/mikrik_robot_tracker.yaml'with the string that leads to the new config file:
configFilePath = '/home/<your-username-here>/mikrik_robotics_sdk/tracker_configs/mikrik_robot_tracker_localization.yaml'Step 4.2 Localization Mode Launch
Notes: Make sure script contains correct path to all files. Assuming that ROS1-ROS2 bridge is already running.
Make script executable:
cd ~/mikrik_robotics_sdk/scripts/
sudo chmod u+x realsense_collabslam_localization.sh
Launch Localization Mode:
cd ~/mikrik_robotics_sdk/scripts/
./realsense_collabslam_localization.sh
After you launched localization mode, very important to check that your rviz opened correctly. Map created during the Mapping Step must be loaded, and visible in rviz, you must see moving TF-tree of the robot.
Make sure that rviz title name on the top of window shows the path to the config file mikrik_server_localization_nav2.rviz.
If it is not, then double check that path to the rviz config file is a correct in file
/opt/ros/humble/share/univloc_server/launch/server_mikrik.launch.py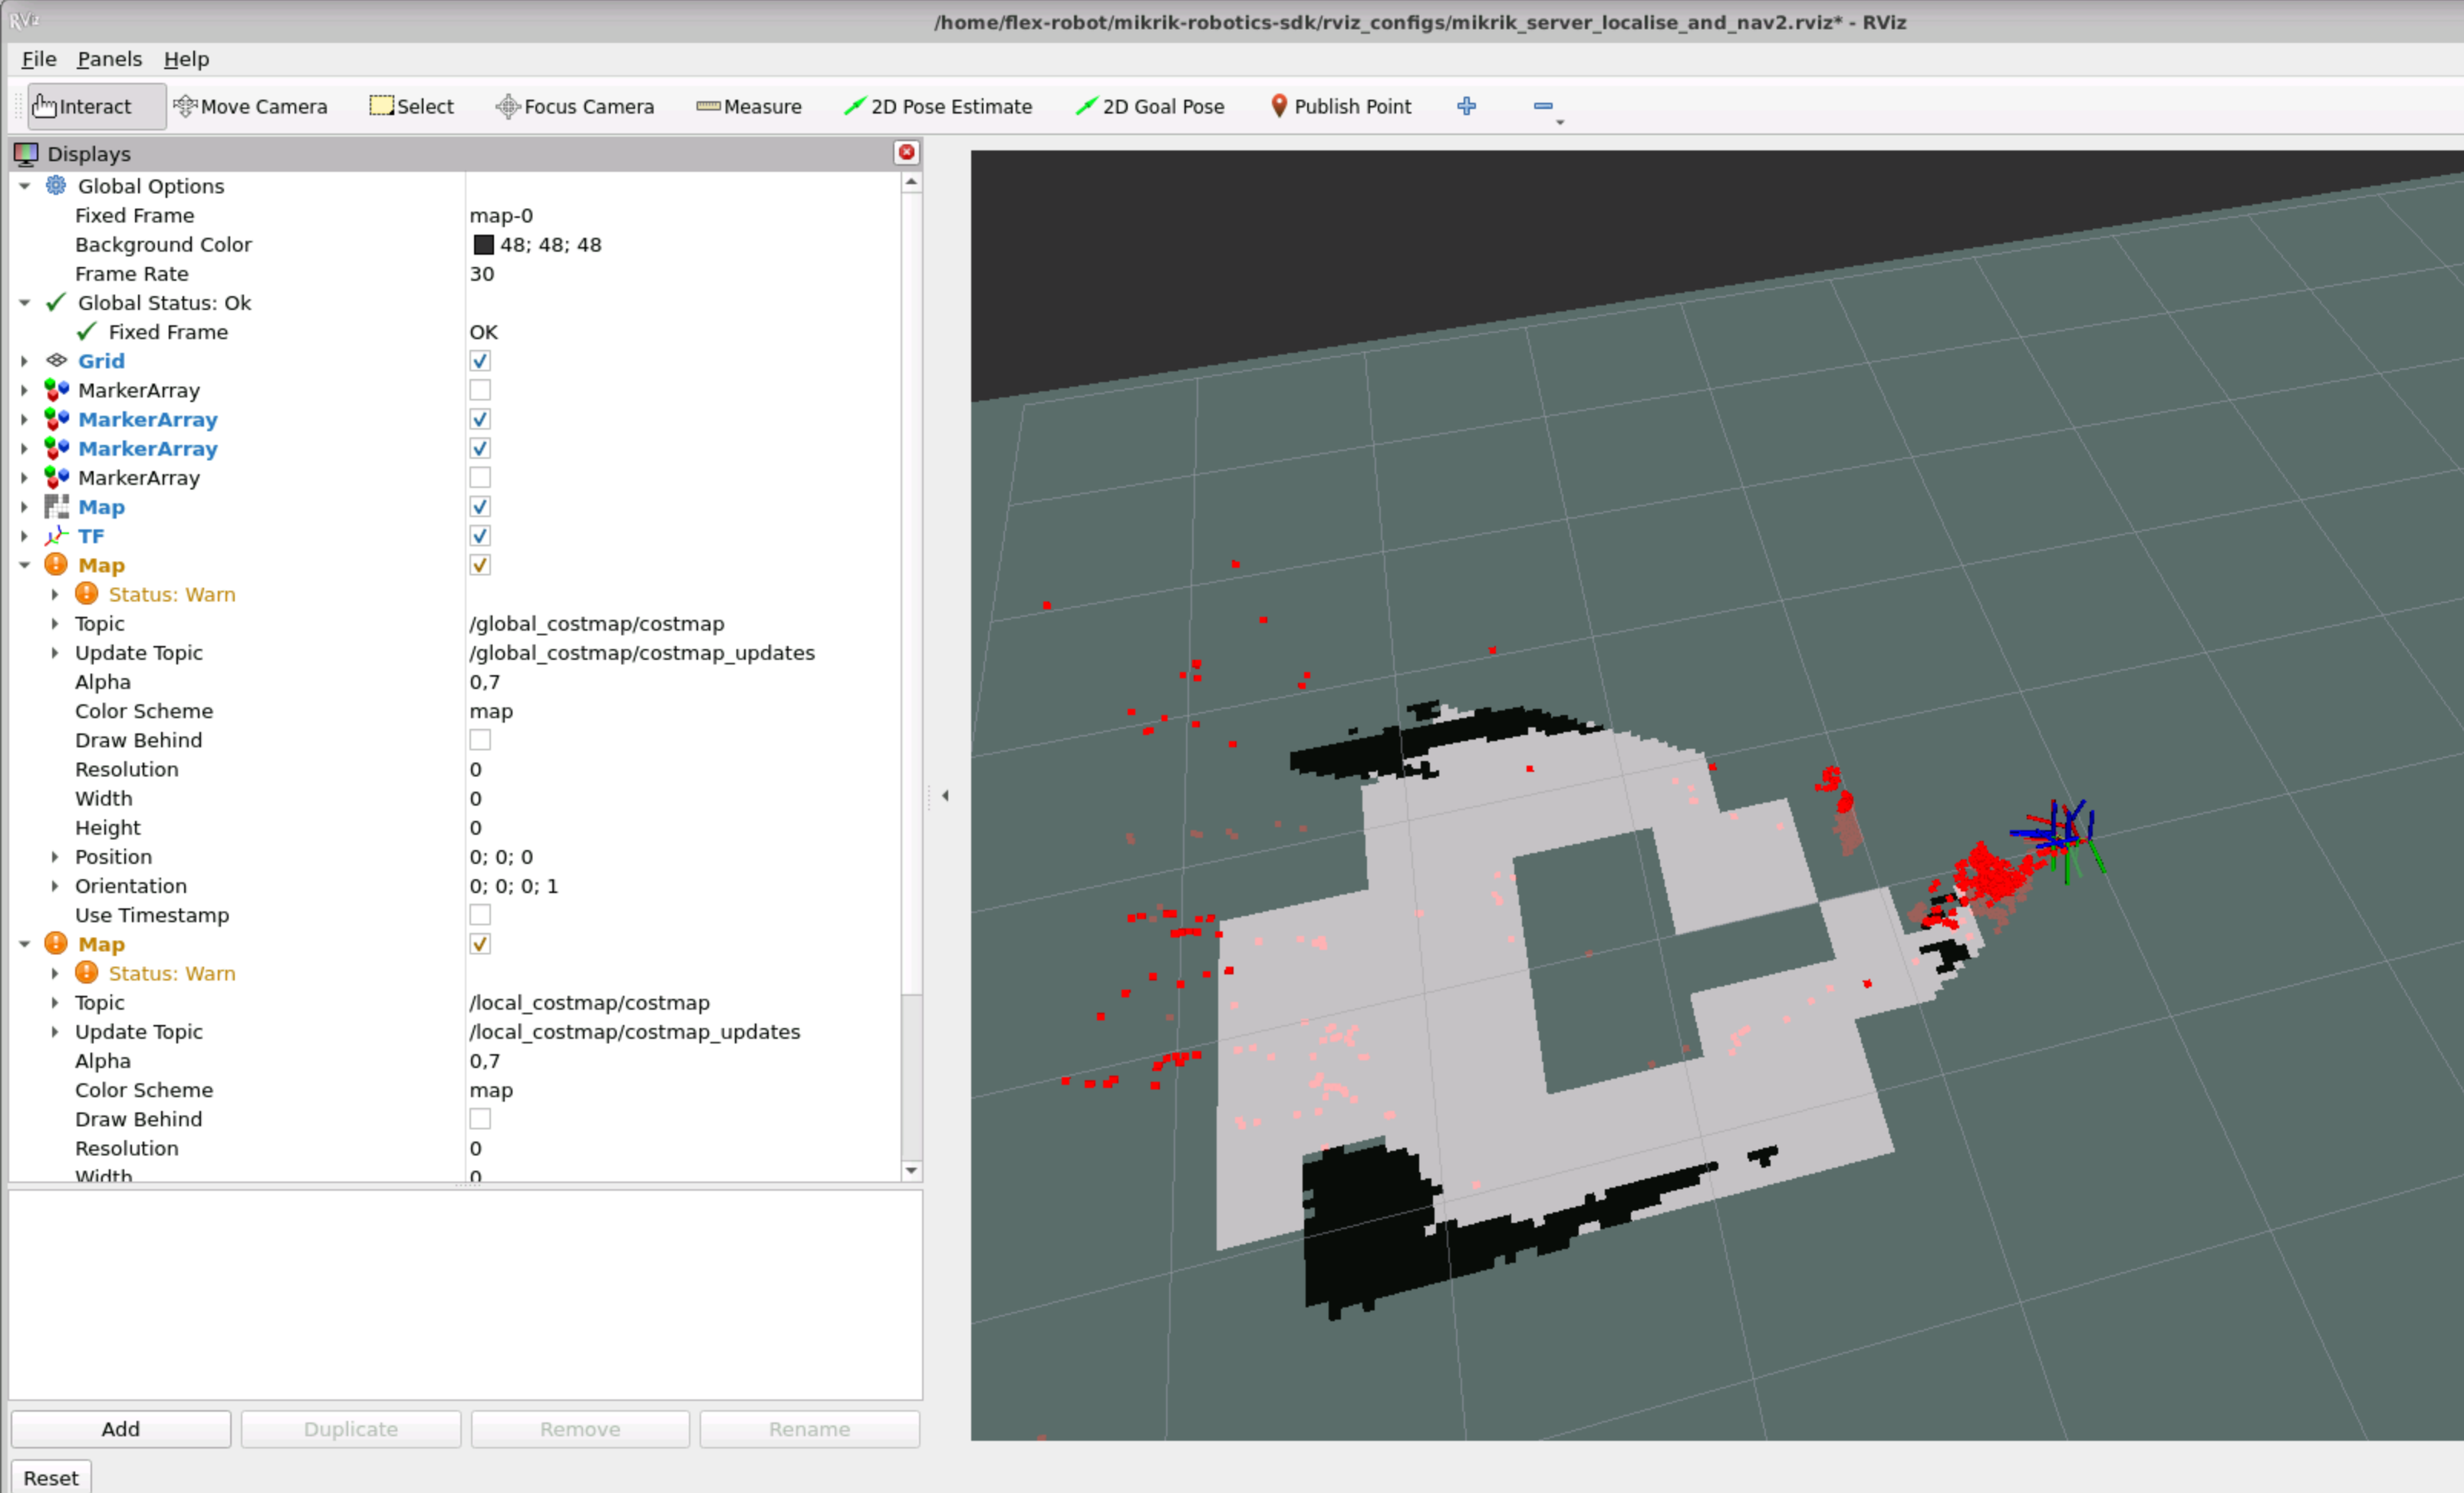
You no need to close rviz window, proceed with navigation node setup.
Localization Process
Part 5 Navigation Mode
Now you can get navigating on the map.
Step 5.1 Navigation Setup
Create a copy of the default nav2 launch file:
sudo cp /opt/ros/humble/share/nav2_bringup/launch/navigation_launch.py /opt/ros/humble/share/nav2_bringup/launch/mikrik_cslam_nav2_launch.pyAdd two remappings.
Open with sudo launch file:
sudo vi /opt/ros/humble/share/nav2_bringup/launch/mikrik_cslam_nav2_launch.pyAdd two remapping into section in L57:
Instead of:
remappings = [('/tf', 'tf'),
              ('/tf_static', 'tf_static')]
Add remappings:
remappings = [('/tf', 'tf'),
              ('/tf_static', 'tf_static'),
              ('/cmd_vel', '/mobile_mikrik/cmd_vel'),
              ('/map', '/univloc_server/map')]
Save file.
Change inside navigation script realsense_collabslam_navigation.sh path to the nav2 configuration file relevant to your file system.
cd ~/mikrik_robotics_sdk/scripts/
vi realsense_collabslam_navigation.sh
Change in line L4 path to the config file
params_file:=<your-username-here>/mikrik_robotics_sdk/nav2_configs/mikrik_robot_nav2.param.yamlNow you can launch Navigation node!
Step 5.2 Navigation Mode Launch
Make sure that ROS1-ROS2 Bridge, and Localization node are running!
Make script executable:
cd ~/mikrik_robotics_sdk/scripts/
sudo chmod u+x realsense_collabslam_navigation.sh
Launch it by running
cd ~/mikrik_robotics_sdk/scripts/
./realsense_collabslam_navigation.sh
If everything is correct, you will see that localization rviz window got updated with a costmap on it.
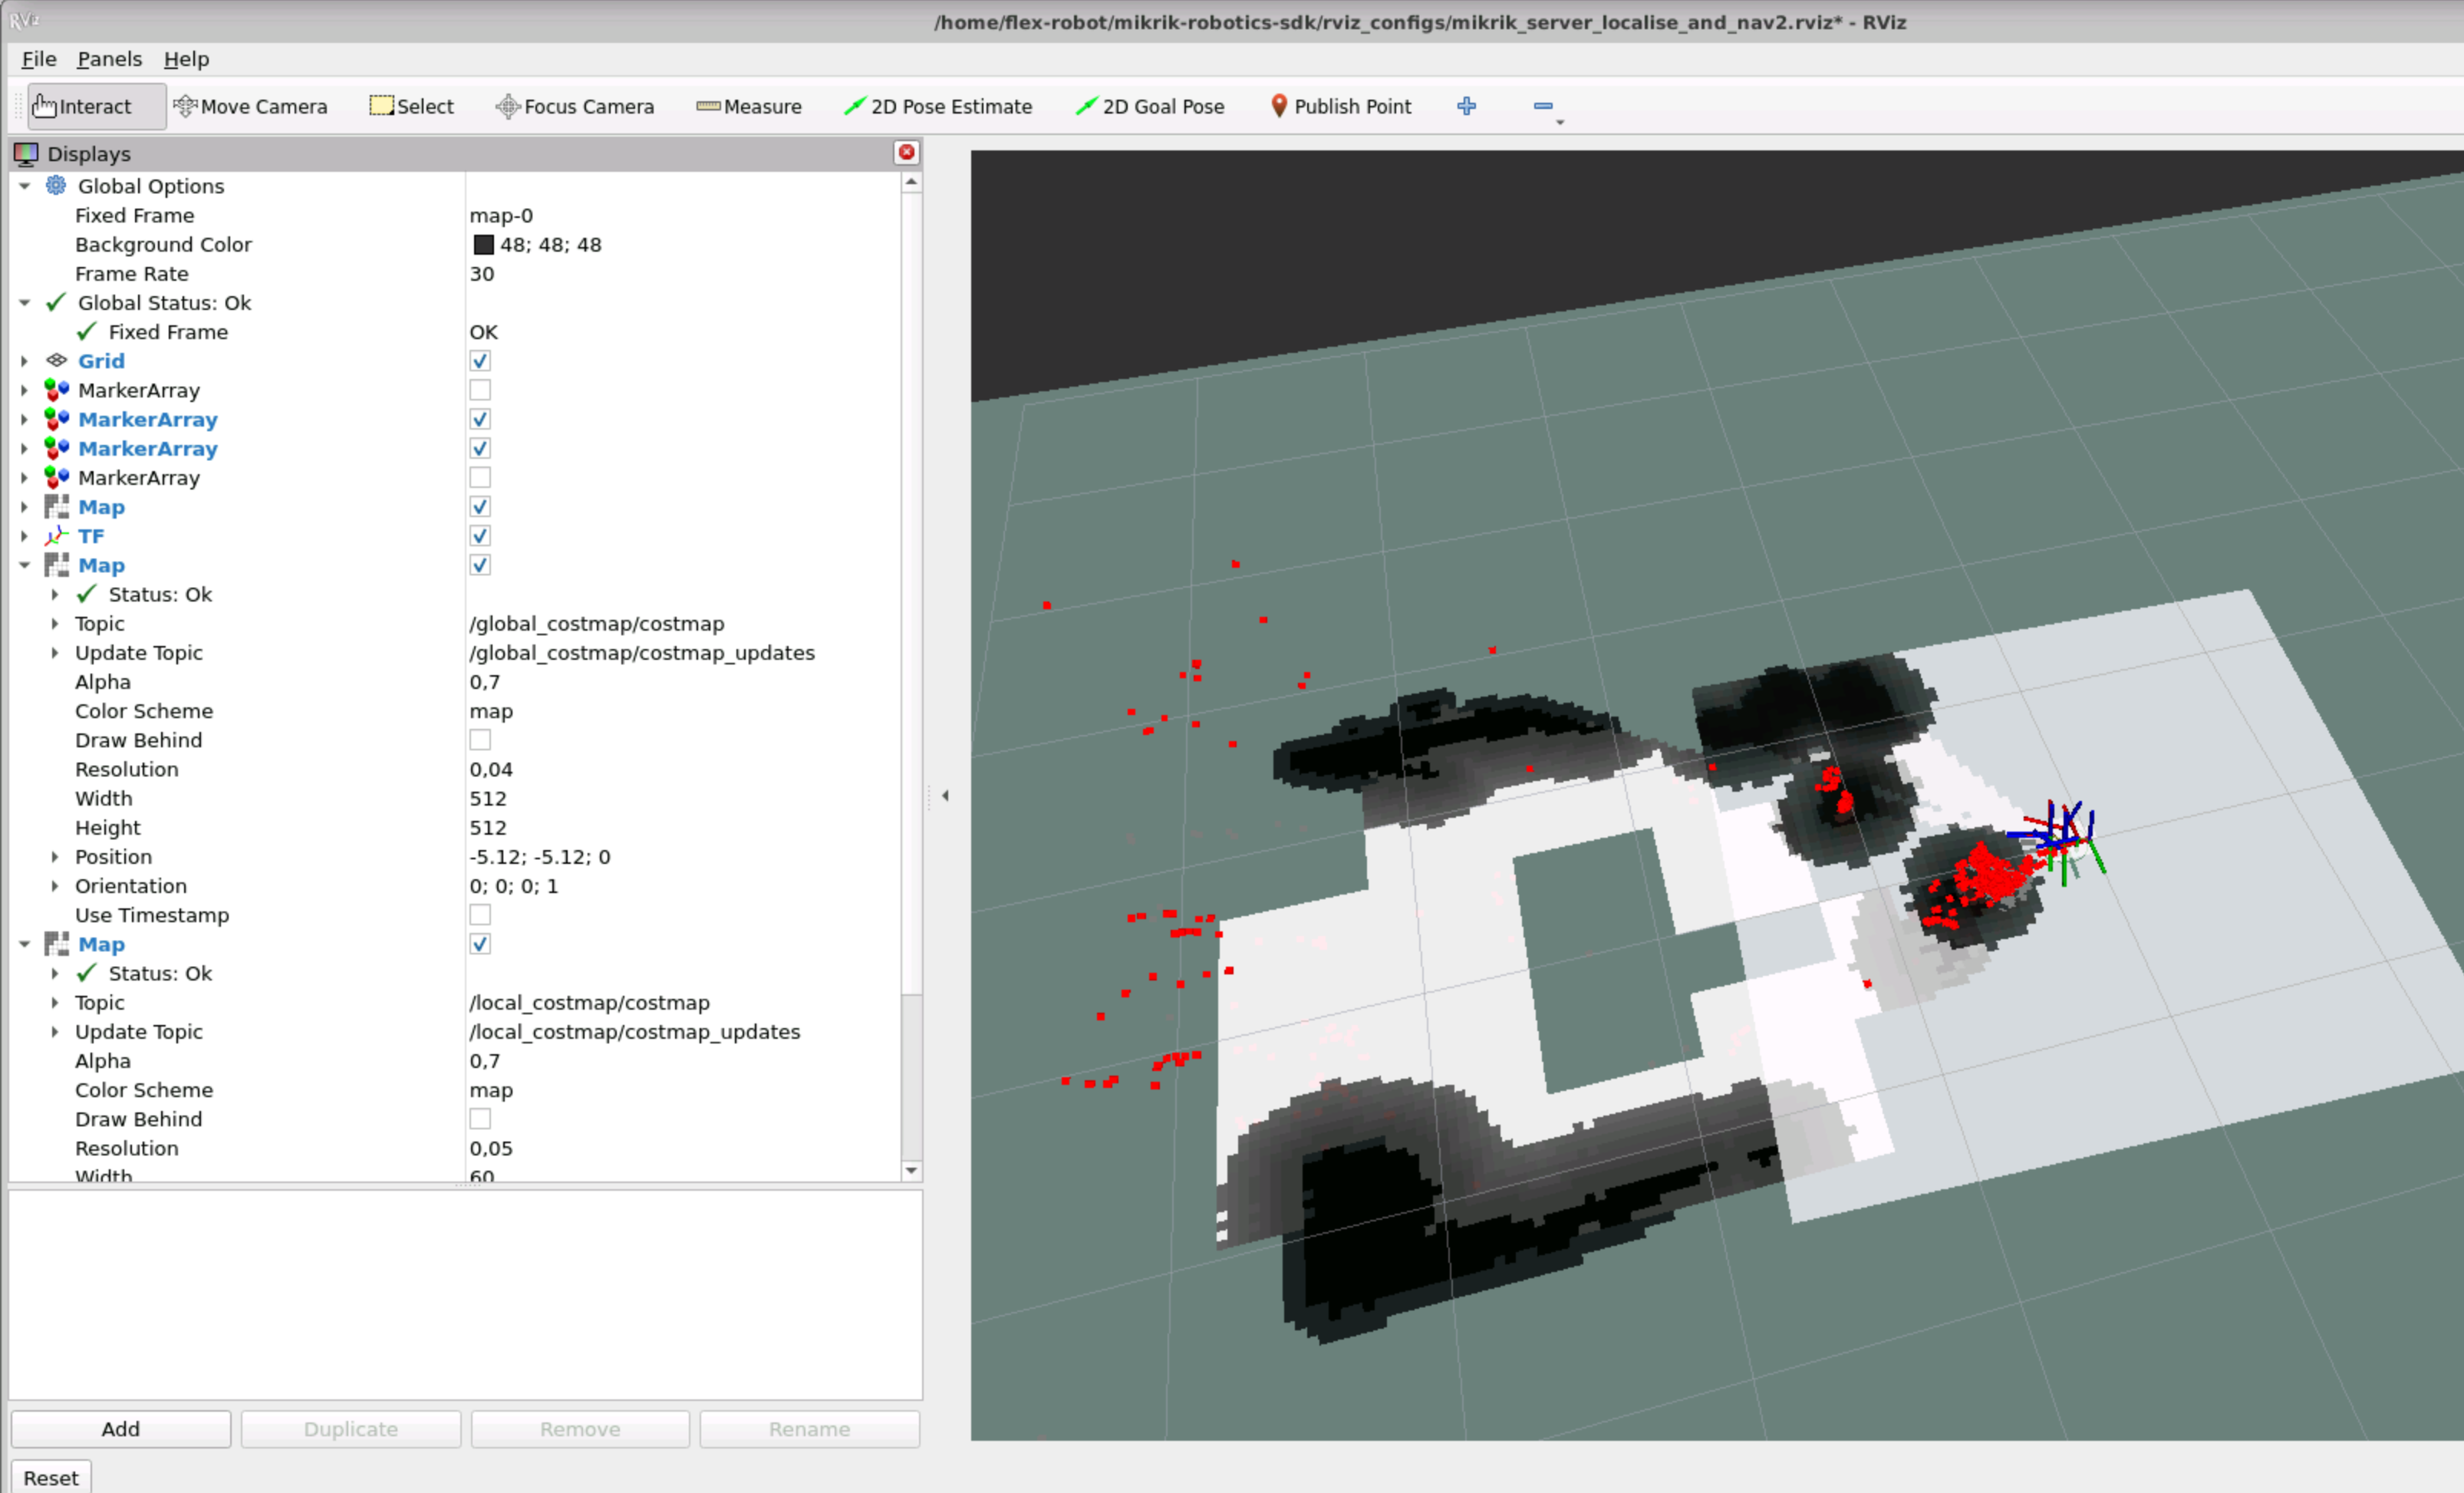
Navigation Process
Tips
You might also install realsense-viewer to check your camera performance and to update its firmware. Follow official Realsense guide to install GUI interface app for your camera.
Troubleshooting
- If you don't see TF tree and map, make sure that ROS1-ROS2 bridge running on Radxa X4.
- If brdige is runnning, make sure that you launched ROS1 nodes on Raspberry side.
Slack Support Channel
Met an issue? Please join my Slack channel or leave comments below the post.
Custom E-Learning Courses For Your Company
I'm writing a custom E-Learning courses for your company, for more details, please, contact me https://www.tmlr.pl


