


Story
There is a star tree in our company called Facai tree, the meaning of getting rich. This tree stands together with us through thick and thin several years since our company set up. She sees the development of us and her growing speed also represents our company’s fast developing speed these years. However, the most sadness is that she is low in spirits recently for the reason of lacking scientific care. We are so busy in works that often forget to water her for a long time and what’s worse, she can seldom see the sunlight. We are so worried about her now and hoping to help her out of her sorrows. Kevin, our kindly engineer has thought out a project making full use of our Crowtail series products to make a project for her to remind our members to care more about her.
The most important feature of this project is easy to use and can be of great help in making your life become more intelligent. The major function is to collect the data of soil moisture, light strength of this tree and the indoor temperature & humidity. When the soil is short of water, the buzzer controlled by Crowtail will tweet reminding to water the tree. This project aims to deal with all the data from every sensor and then displays on the OLED screen. Then establish LANS (Local Area Network Server) through the ESP8266 module. It allows all the computers in this LANS to visit to know the living environment of this tree and the current temperature & humidity of office.
Step 1: Module Preparing and System Designing

Let’s start the details of the project, following items are needed in this project:
1. Crowduino x1 100% Arduino compatible
2. Crowtail - Base Shield x1 It has stranded interfaces for convenient connection.
3. Crowtail - Buzzer x1 It’s used to alarm and remind people to water the tree.
4. Crowtail - Moisture Sensor x1 It is used to test the soil moisture of environment tree.
5. Crowtail - Light Sensor x1 It’s used to test the light strength of environment tree.
6. Crowtail - Temperature & Humidiy Sensor x1 It’s used to test the temperature & humidity of the office.
7. Crowtail - OLED x1 It’s used to test the soil moisture, temperature & humidity and light strength of living environment.
8. Crowtail - Serial Wifi x1 it’s the LAN server of company and can know the environmental state of Facai tree when visit.
9. Crowtail - Cable x 5
10. USB cable x 1
11. 5V USB power supply or 9V DC jack power supply
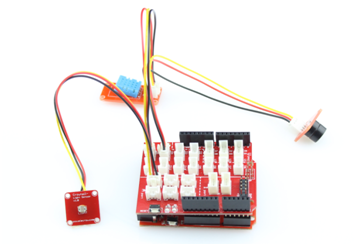
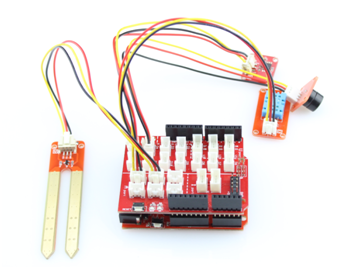
Step 2: Install the Buzzer
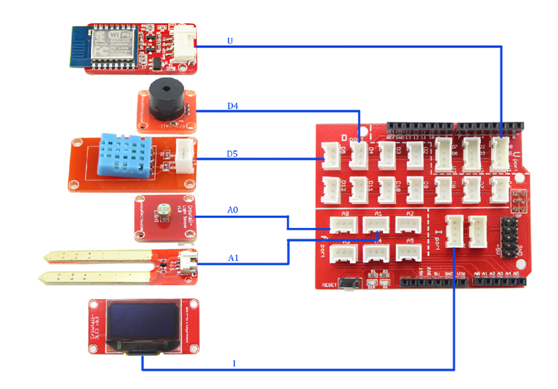
First of all, plug the Crowtail - Base Shield into Crowduino, connect the Buzzer to the Crowtail - Base Shield and connect the sensors to the Digital ports D4 as picture. When the soil moisture is lower than a setting value, the buzzer will send out a alarm telling us the tree is thirsty and needs some water.
Step 3: Install the Crowtail - Temperature & Humidity Sensor
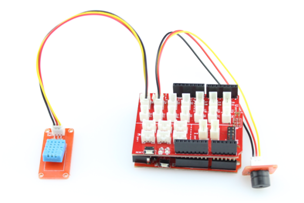
Crowtail - Temperature & Humidity Sensor can measure the current temperature & humidity of the office correctly. It’s digital output and here we connect it into the D5 interface. You can also plug it to other interfaces such as D6, D7.
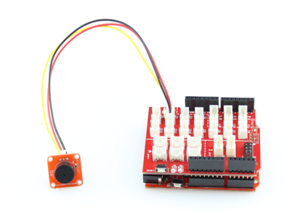
Step 4: Install the Light Sensor
For better knowing the lighting conditions of this tree, we need a Light Sensor in this step to test the light strength. Because this environment tree needs a lot of sunlight and if the light strength is not enough, you should change the position. Choose a suitable position when installing the Light Sensor to reflect the light condition correctly of the living environment.
Note that if you found the cables are too short, you can use the extension cables to extend the length.
Step 5: Install the Soil Moisture Sensor
We connect the humidity sensors to the Crowtail - Base Shield and connect the sensors to the analog ports A1 as the picture.
Plug this sensor into the soil, the sensor would report the information of moisture to Crowduino like: “hey, I am thirsty now, please give me some water!” This kind of Soil Moisture Sensor is cheap and stable, but it may be corroded after a long-term usage such as one year. You can also use other Soil Moisture Sensor like the capacitive moisture sensor, but it may cost you more money.
Step 6: Install the Crowtail – OLED
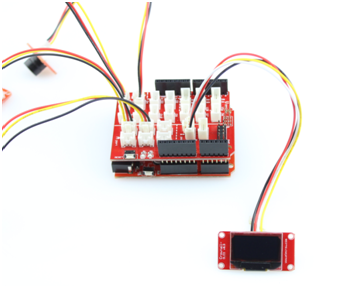
Crowtail - OLED is used to display the living situation of the environment such as soil moisture, temperature & humidity and light strength. It’s IIC interface to connect I Port (IIC Port).
Step 7: Install the Crowtail - Serial Wifi

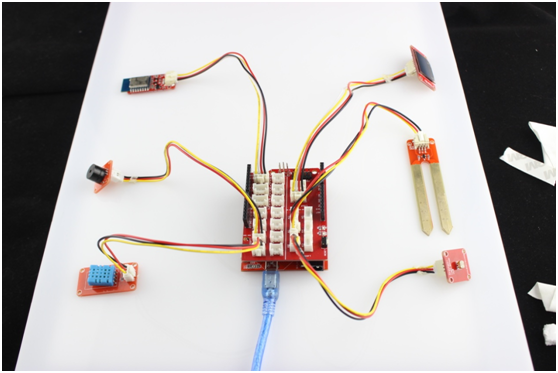
Crowtail - Serial Wifi is the LAN Server of company. We can know the living state of this environment tree any time when visit it. It communicates with the Crowduino via a serial port to implement the data communication.Note that when download the program, we need to take it down firstly to avoid it interfering us downloading the program. The Baud rate of module was set 115200 when leaving factory.
Step 8: 5V USB Power Supply or 9V DC 1A Jack Power Supply
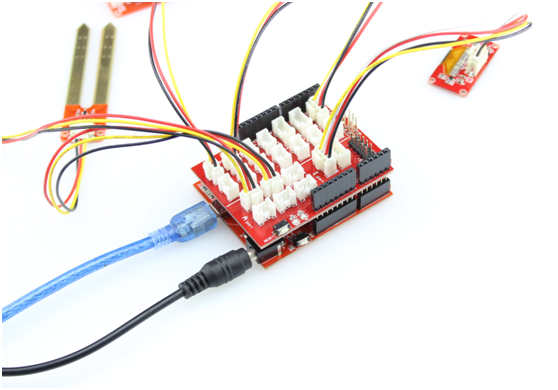
Power supply is the basic condition of this testing system on environment tree. We should select a DC power supply with large enough wattage to ensure normal working. Here we use a 9V1A DC power supply.
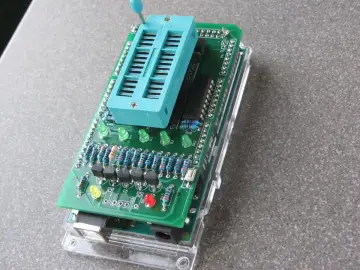
Step 9: Download the Firmware and Have a Try!
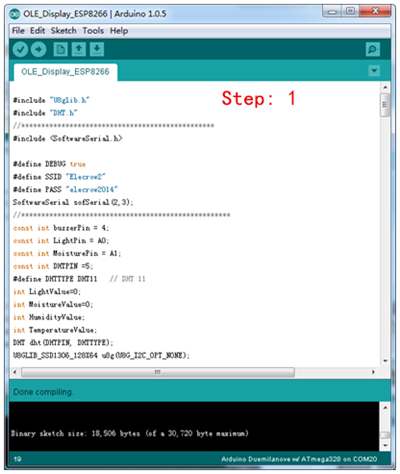

1. Use USB to connect the Crowtail with computer and open the program.
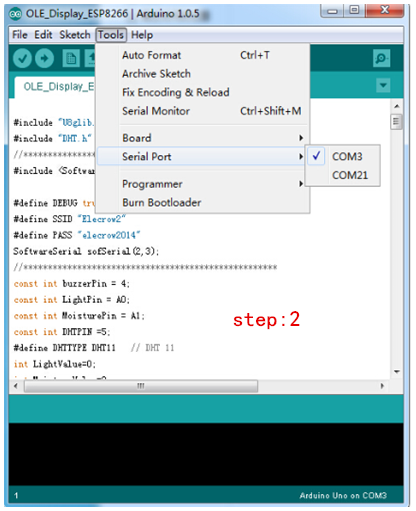
2. Choose your COM interface connecting with Crowduino, here we choose COM3.
3. Choose the target board. Here we use Crowduino.
4. Upload the program as picture.
Download the program from the attachment.
Notice: we should take down the Crowtail- Serial Wifi first when download program. If it’s connecting, the program may not be downloaded. Connect the Crowtail - Serial Wifi again after finishing downloading program. Press the reset key of Crowduino to allow the program start from the beginning.
Step 10: Connect the Module by the Browse
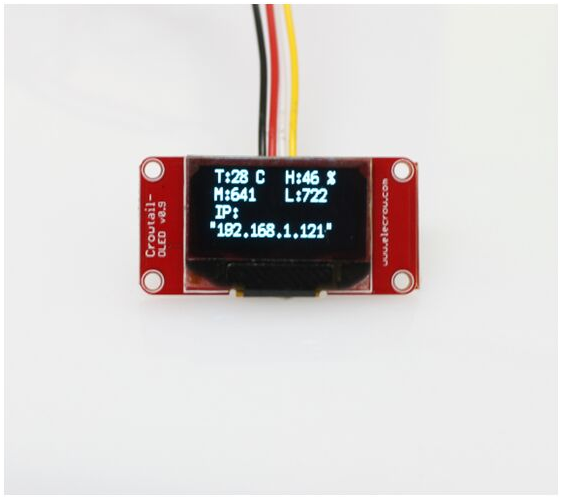
We need to know the IP address and default port number when visiting the server. The IP will show on the OLED as the picture.
We can see the IP is 192.168.1.121, the default port is 80, so we only need to go the browse and type 192.168.1.121 and then click enter key.
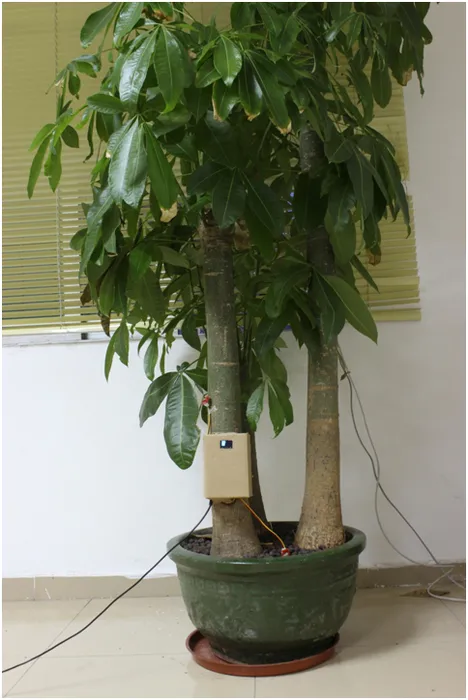
Step 11: Install the System to the Tree

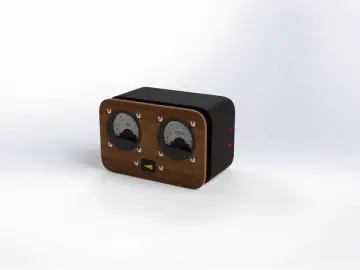
To make the system a beautiful appearance, we can put it into a carton and then install it onto the tree. Plug the Moisture sensor into the soil and fixed the Light Sensor in a facing-sun position. All the project is done here and then enjoy it.
Step 12:

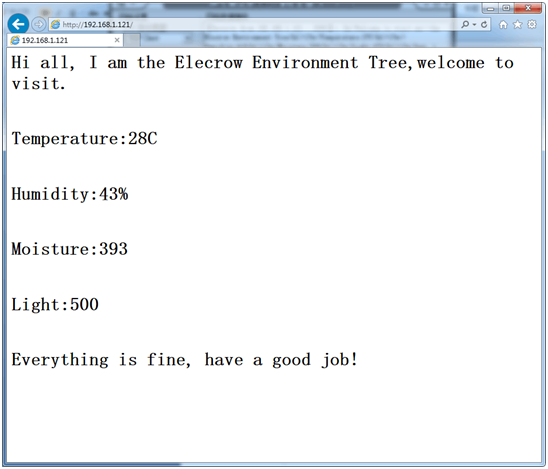
One day after installing this system on the tree, Linda, one of our members wants to check the working effect of this system and curious to see the situation of this tree. So she types 192.168.1.121 and enter the key, then she can see the current situation showed on OLED as above picture saying that: everything is fine, have a good job!
This system does work well, and with this project, we can know its current situation of this tree any time and then take measures accordingly. We are so glad she grows quite flourishing now! She is precious for us and we sincerely hope that she can grow better and faster as well as our company, stepping to flourishing and prosperity!