Currency
Toggle Nav

Running Retro Gaming Emulators on Raspberry Pi 5
April 22, 2025

Running Retro Gaming Emulators on Raspberry Pi 5
If you’ve ever wanted to relive the golden age of gaming, the Raspberry Pi 5 is your new best friend. This tiny computer packs enough punch to emulate classic consoles from the NES to the PlayStation 1, and even some lightweight PlayStation 2 and PSP titles with a bit of tweaking.
But where do you start? In this guide, we’ll walk through what you need, how to set things up, and how to get the most out of your Raspberry Pi 5 retro gaming setup.
Why Use Raspberry Pi 5 for Retro Gaming?
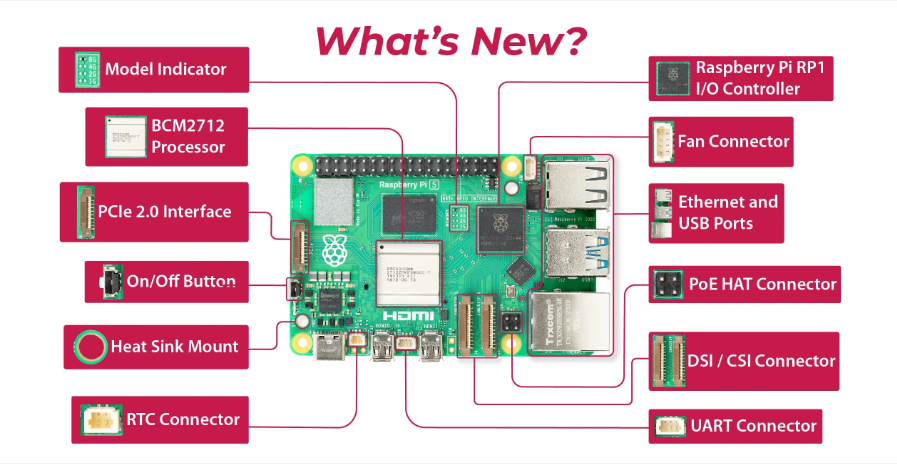
The Raspberry Pi has always been a favorite among hobbyists, tinkerers, and retro gaming fans. With the release of the Raspberry Pi 5, the game has changed—literally. This version features:
● A faster quad-core ARM Cortex-A76 processor
● Up to 8GB RAM
● PCIe 2.0 expansion support
● Improved GPU performance
● Native support for USB 3.0 and better thermal management
What this means in practical terms is simple: smoother emulation, better compatibility with more demanding consoles, and the ability to run high-quality frontends and shaders without a hitch. It makes Raspberry Pi 5 retro gaming smoother and more enjoyable than ever before.
Getting Started: What You’ll Need
Before diving into software, make sure you have the hardware ready. Here’s a basic checklist for your Raspberry Pi set up for emulator projects:
● Raspberry Pi 5 (preferably the 8GB model)
● USB-C power supply (at least 27W recommended)
● MicroSD card (32GB minimum, 64 GB+ recommended, Class 10 or better)
● Micro HDMI to HDMI cable
● Keyboard, mouse, and monitor (for setup)
● Game controller (Xbox, PlayStation, or USB-based retro controller)
● Case with cooling (an active fan or heat sink is highly recommended)
You might also want a small SSD or USB 3.0 flash drive if you plan to store a lot of ROMs and BIOS files.
Choosing Your Software: RetroPie vs. Batocera vs. Lakka
There are a few major platforms that allow you to run a Raspberry Pi game emulator, and your choice depends on what kind of experience you're after.
RetroPie
RetroPie is the most popular option, offering a wide range of emulators and a robust community. It’s based on Raspberry Pi OS and uses EmulationStation as its frontend.
Pros:
● Large community support
● Easy to customize
● Regular updates and documentation
Cons:
● A bit more involved to set up on Pi 5 (still being optimized)
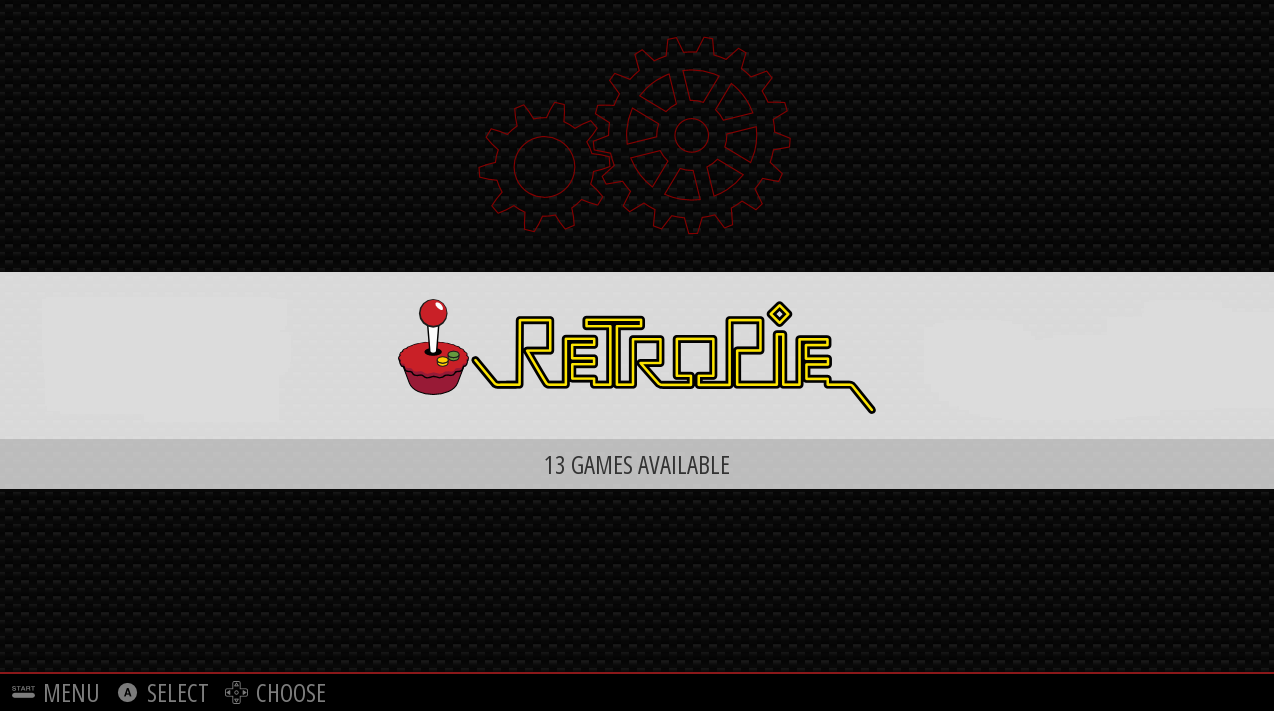
(Picture Source: Retropie)
Batocera
Batocera is a Linux-based plug-and-play OS focused entirely on retro gaming. You just flash it onto your SD card or USB drive, and you’re ready to go.
Pros:
● Simplest setup
● Attractive UI
● Good performance on newer Pis
Cons:
● Less flexible than RetroPie
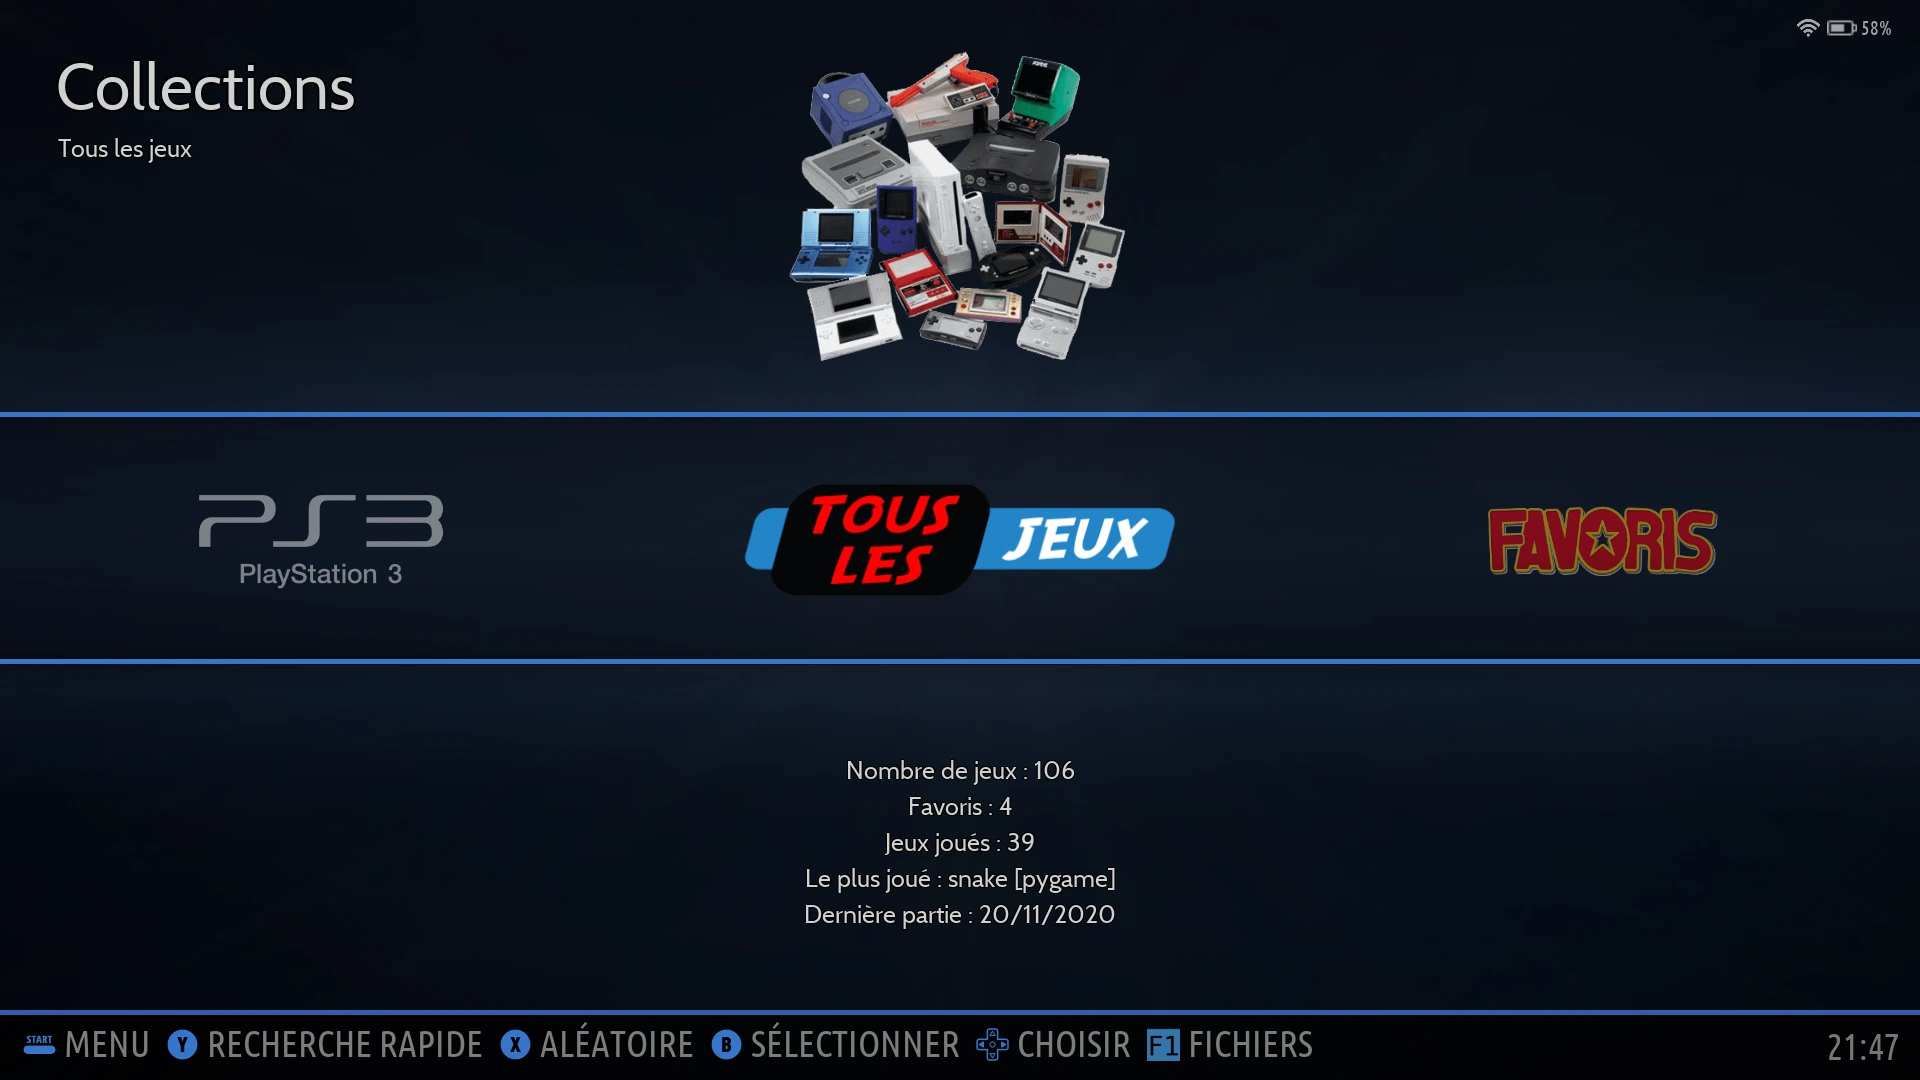
(Picture Source: Batocera)
Lakka
Lakka is essentially a retro-gaming version of LibreELEC, built on RetroArch.
Pros:
● Clean, minimalist interface
● Powerful configuration options via RetroArch
Cons:
● It can feel a bit technical
● Not as beginner-friendly
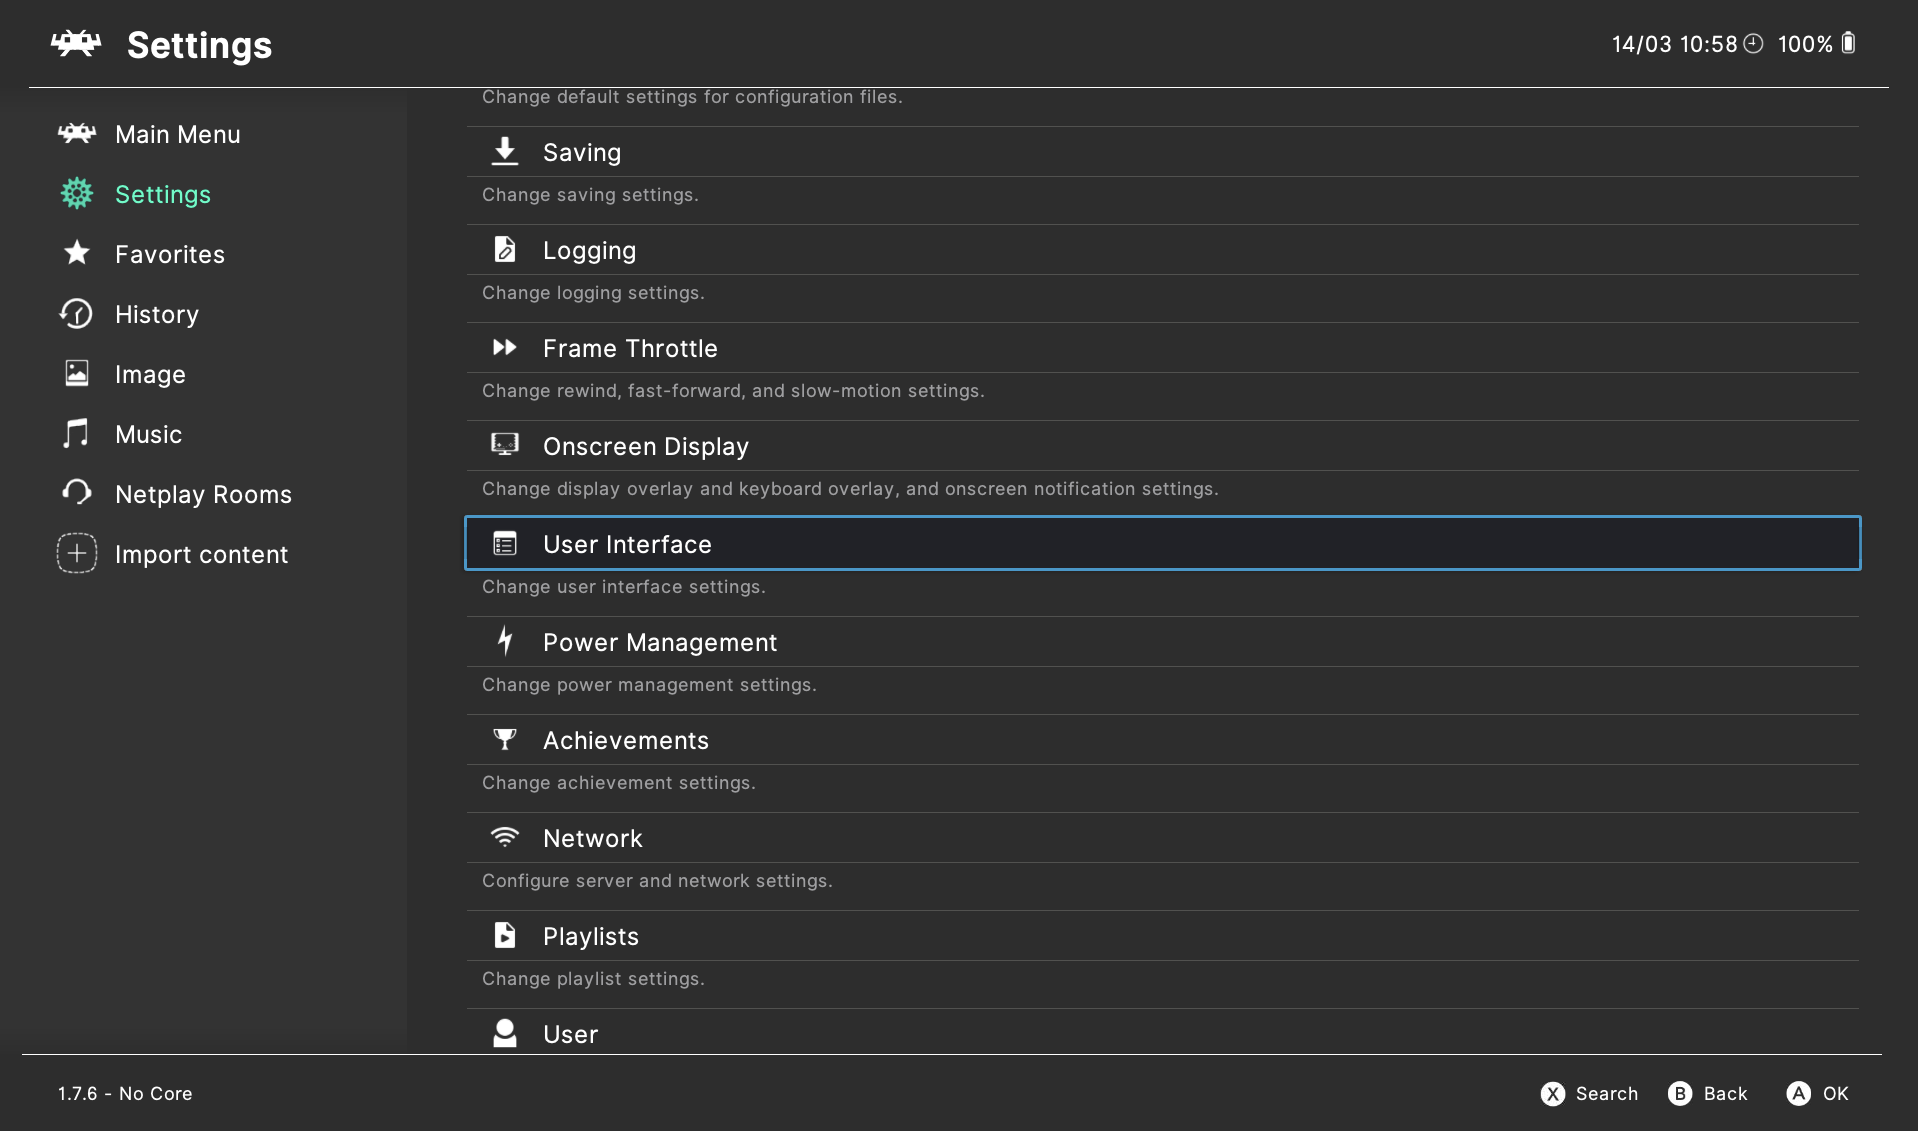
(Picture Source: Lakka)
Installing the OS and Setting Things Up
Once you’ve picked your platform, the setup process usually looks something like this:
1. Flash the OS
Use Raspberry Pi Imager or balenaEtcher to flash the OS to your SD card or USB drive.
2. Initial Boot and Configuration
Plug in your Raspberry Pi, connect peripherals, and boot up. You’ll go through a first-time setup process where you’ll configure your controller, Wi-Fi, and system settings.
3. Adding ROMs and BIOS Files
a. ROMs are the game files you’ll be playing. These need to be added manually via USB, network, or SSH.
b. BIOS files are required for some emulators (like PlayStation or Sega CD) to work properly. Make sure to legally source them from your own hardware.
Pro Tip: Organize your ROMs into folders by system. Most platforms will auto-detect the console and assign the appropriate emulator.
What Systems Can the Pi 5 Handle?
Thanks to its improved specs, the Raspberry Pi 5 can handle a wider range of systems than ever before.
● Excellent Performance: NES, SNES, Game Boy (all models), Sega Genesis, Neo Geo, MAME, Atari systems, PlayStation 1
● Playable with Tweaks: Nintendo 64, Dreamcast, PSP, Sega Saturn
● Experimental: PlayStation 2 (select games using AetherSX2 or other ARM-compatible emulators), GameCube (very limited, mostly non-playable)
Keep in mind, performance also depends on the Raspberry Pi game emulator used, settings like resolution and shaders, and whether or not you’re using overclocking.
Happy Making Time!